My laundry room is a place where I spend a lot of time! Because of that, I want to make sure that my laundry room is a beautiful and happy place! This post is about second-hand cabinets painted for the laundry room.
After all, doing laundry isn’t necessarily a happy thing to do. Three weeks ago in my Laundry Pantry Room Combo post, I announced that I will be participating in the One Room Challenge hosted by Calling It Home.
For this challenge, I decided to show you how I re-did my Laundry Pantry room, aka “Pandry”. This week I will be focusing on how I added in my built-in cabinets! Catch up on all the previous laundry room posts at the end of this post.

Last week I showed you how to assemble and stain a gorgeous wood countertop!
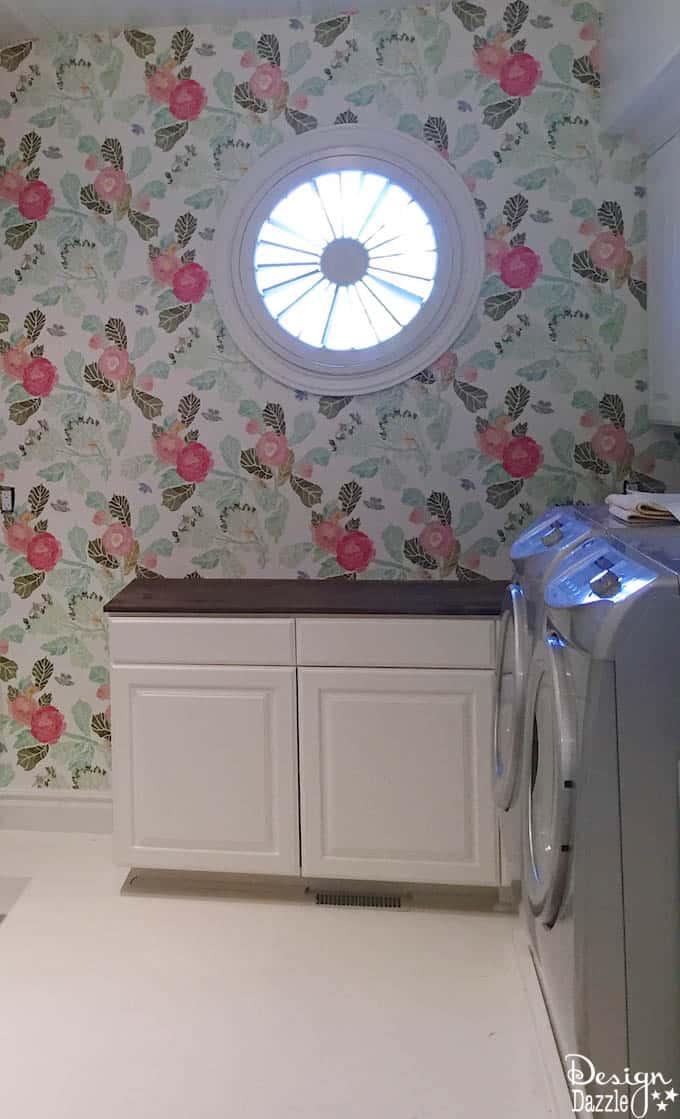
We also painted the floors and the cabinets white. You can see just how drastically different the room is already looking with those changes. I hired someone to install this beautiful wallpaper for me. I got the wallpaper from Anthropologie. You can shop for similar wallpaper here.
I knew that I wanted this room to be used for tons of storage for my serving pieces – cake stands, glassware, apothecary jars, beverage dispensers, etc. So I had to have a lot of cabinets!
I found this whole set of oak cabinets in the classified ads for $500 and they were in fantastic condition! I couldn’t believe what a steal they were.
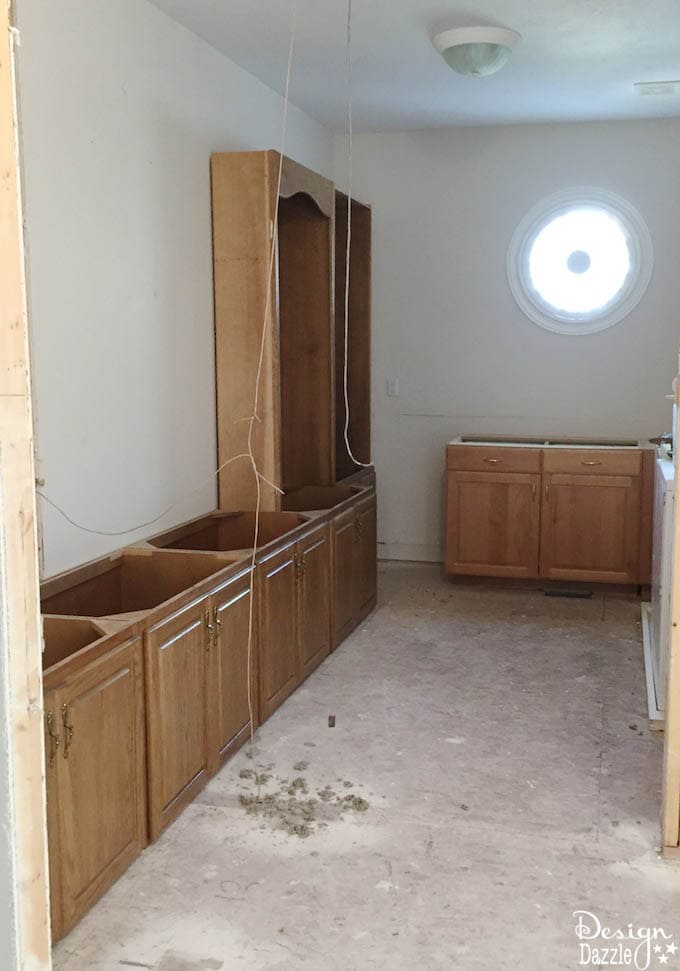
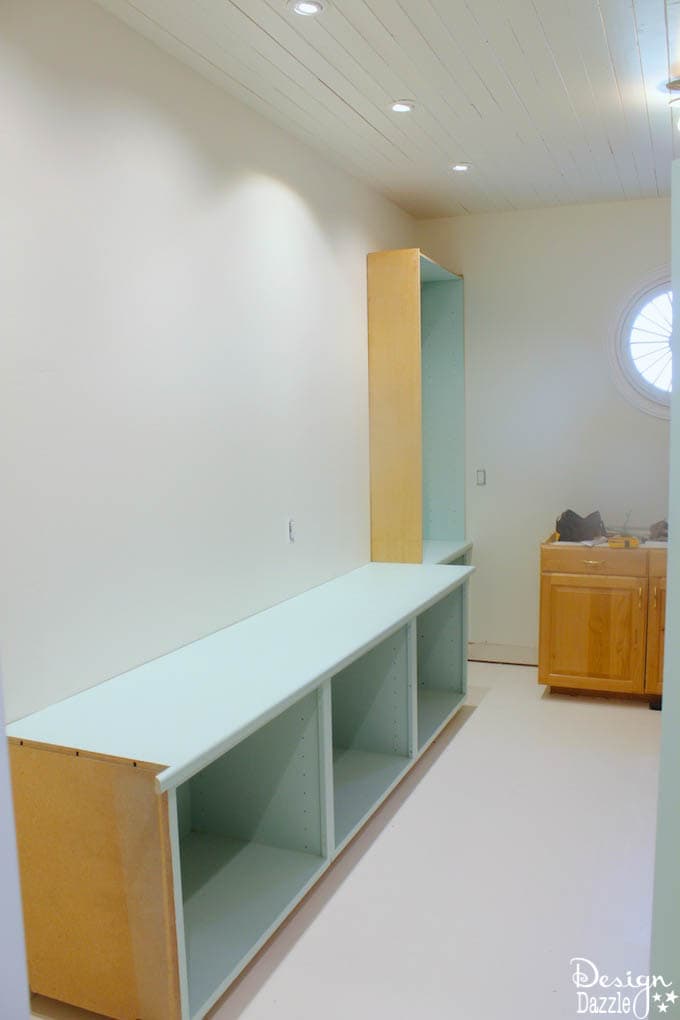
As you can see in the picture above, I stuck the cabinets together and placed them in the laundry room just to get an idea about sizing and see how it would look.
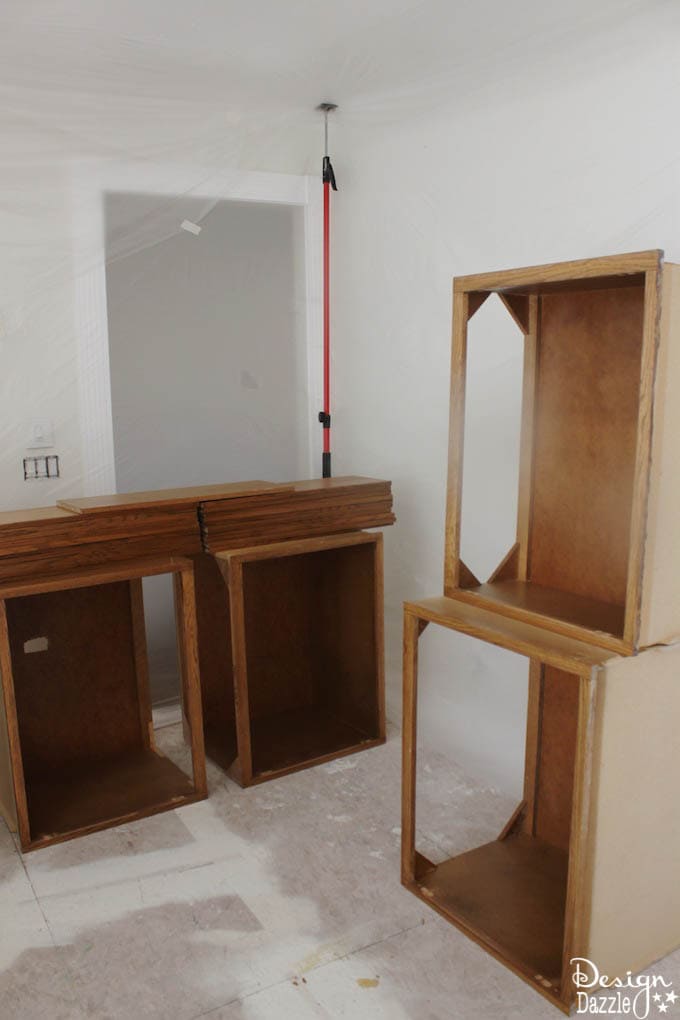
Then we set up a spray room so we could get these cabinets painted to perfection. We set up the spray room by lining it with plastic and a large pole was holding up the plastic near the doorway. We didn’t cover the floor because we knew it was going to be ripped out and painted anyways.
How We Painted and Assembled The Cabinets:
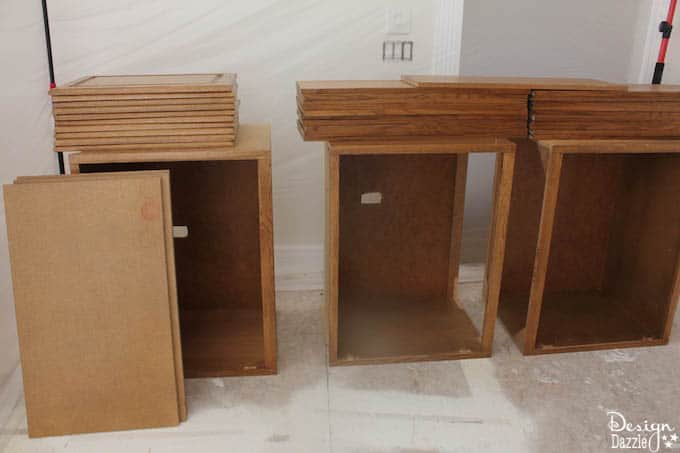
- First we un-assembled the cabinets. Took off the doors, shelving, and the bases.
- Then we used a wet sander and wiped the wood down with a damp cloth.
- Next, we painted the wood with one coat of woodgrain filler– it helps fill in the wood grain as it can be really texturized.
- Paint the wood with two coats of primer.
- Use two coats of lacquer paint in color Valspar “tranquility” to coat the cabinets. Lacquer is known to be really shiny but it doesn’t have to be. We purchased a satin finish and it turned out beautifully. Laquer also holds up really well on these cabinets. One important tip is to lightly sand the paint in between coats. Also, make sure to wipe down the wood with a damp cloth after each sanding session.
- Attach the base cabinet to the wall.
- Add wood countertops to the top of the base cabinets.
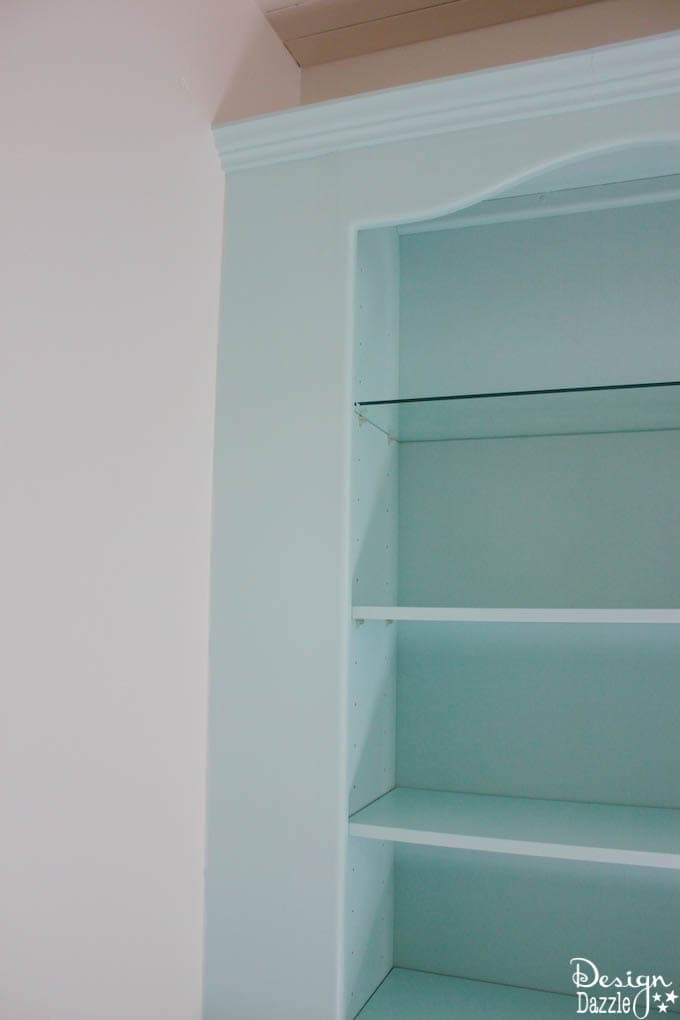
- Add molding to the top of the cabinets- we used MDF molding to get this cute scalloped look!
A common question that I get asked is “how did you get the cabinets to fit into your laundry room so perfectly? The answer is, I didn’t!
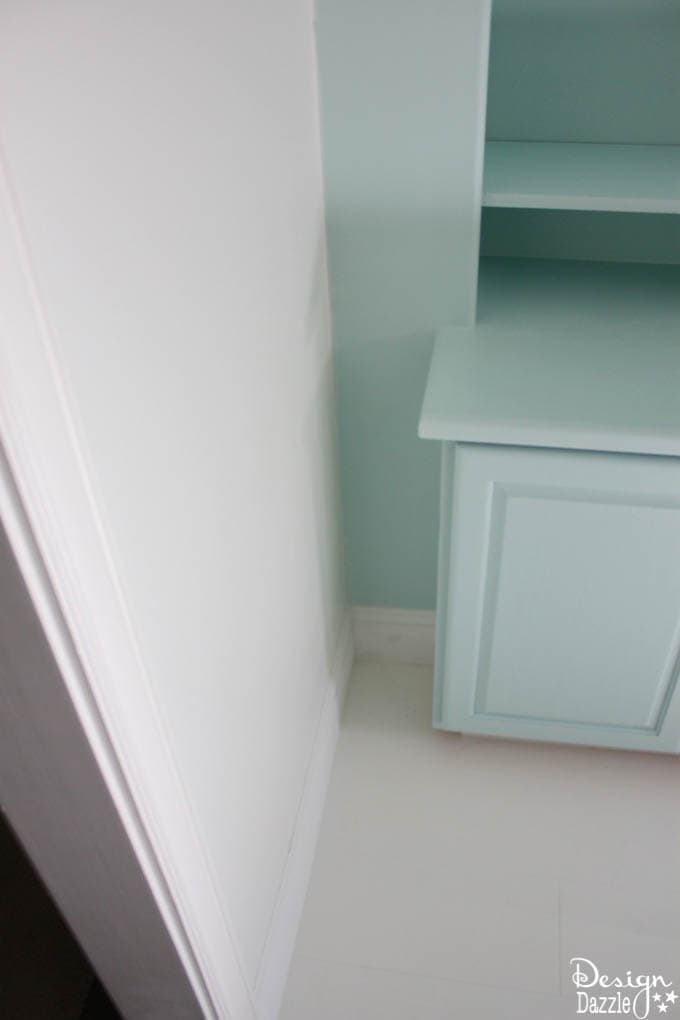
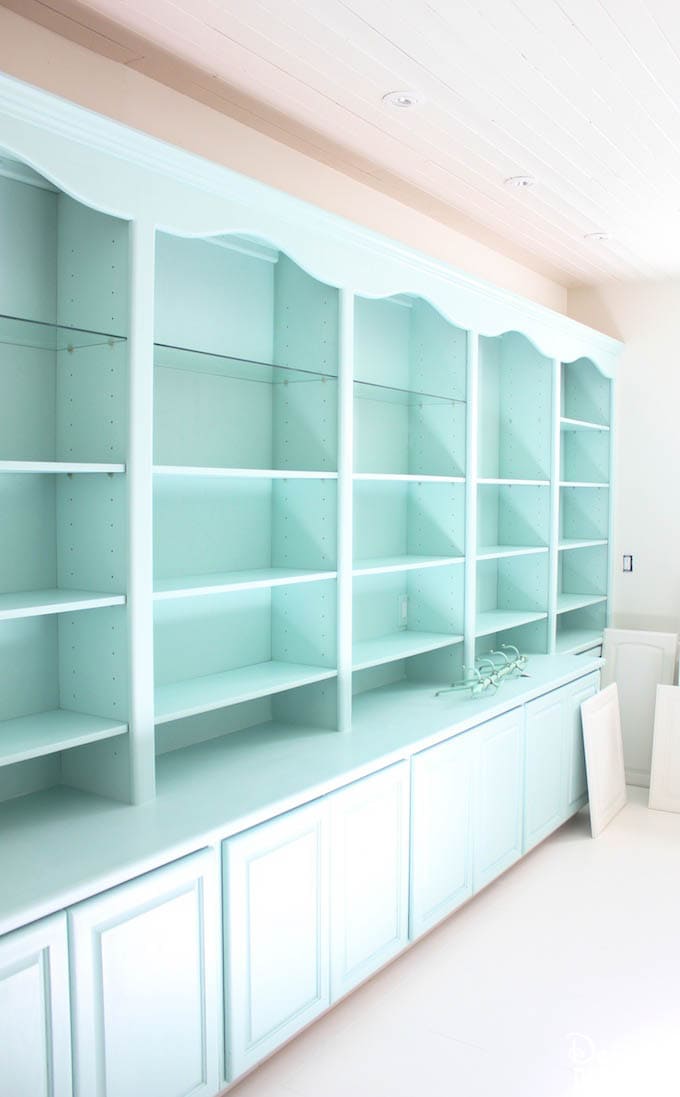
The set came with 6 cabinets but I only fit in 5. Also, we added a 6-inch wide piece of wood to the left of the cabinets so that it would look like they went all the way to the wall. You can see the 6-inch section in the picture below. It really helped the cabinets to look like a real built-in!
As you can see, the base cabinet was more shallow which ended up working perfectly for my laundry room! The base cabinets fit perfectly where it meets with the other cabinets so the door can still open. Also, we didn’t paint the sides of the cabinets because they were going to be covered in the end.
Viola! This is what the cabinets look like all assembled and painted. I am beyond thrilled about how it turned out!
Laundry Room Cabinet Paint Color
As I mentioned earlier, the paint color is Valspar Tranquility. You can have a perfect color match with Valspar Tranquility here.
I have received so many compliments on this paint color, It’s a bright, stunning color.
LAUNDRY ROOM POSTS REMODEL
LAUNDRY ROOM REMODEL – LAUNDRY AND PANTRY REMODEL
LAUNDRY ROOM REMODEL – PLANS, TEAR OUT, AND WALL ADDITION
LAUNDRY ROOM REMODEL – WOOD COUNTER AND PLANK CEILINGS
LAUNDRY ROOM REMODEL – AMAZING SECOND-HAND CABINETS ASSEMBLED AND PAINTED (you are currently reading this post)
LAUNDRY ROOM REMODEL – ANTIQUE DOOR MADE INTO A SWING DOOR
LAUNDRY ROOM FINAL REVEAL
My goals for creating a Laundry Pantry Room Combo – PANDRY:
- Create a happy room!
Add tons of storage for my serving pieces – cakes stands, glassware, apothecary jars, beverage dispensers, etc.
- Incorporate different textures into the design
Add lightingand a cute chandelier (this is partially done!)Wallpaper the focus wall- Creative way to use the ironing board
Tongue and groove ceiling- Add a swing door
- Make sure all the essentials of a laundry room is included
Organization is a must- Create a spot for our extra refrigerator
Painted floorWood counters- Style and decorate the room
Be sure to come back next week to see what was accomplished next!




Jennifer Gainer says
Oh I am loving your space!!!! That cabinet color is so divine I would never leave the pantry!!!
Toni - Design Dazzle says
Thank you, Jennifer! It’s a pretty fun space!