So, let’s roll up our sleeves and dive into the world of baking organization!
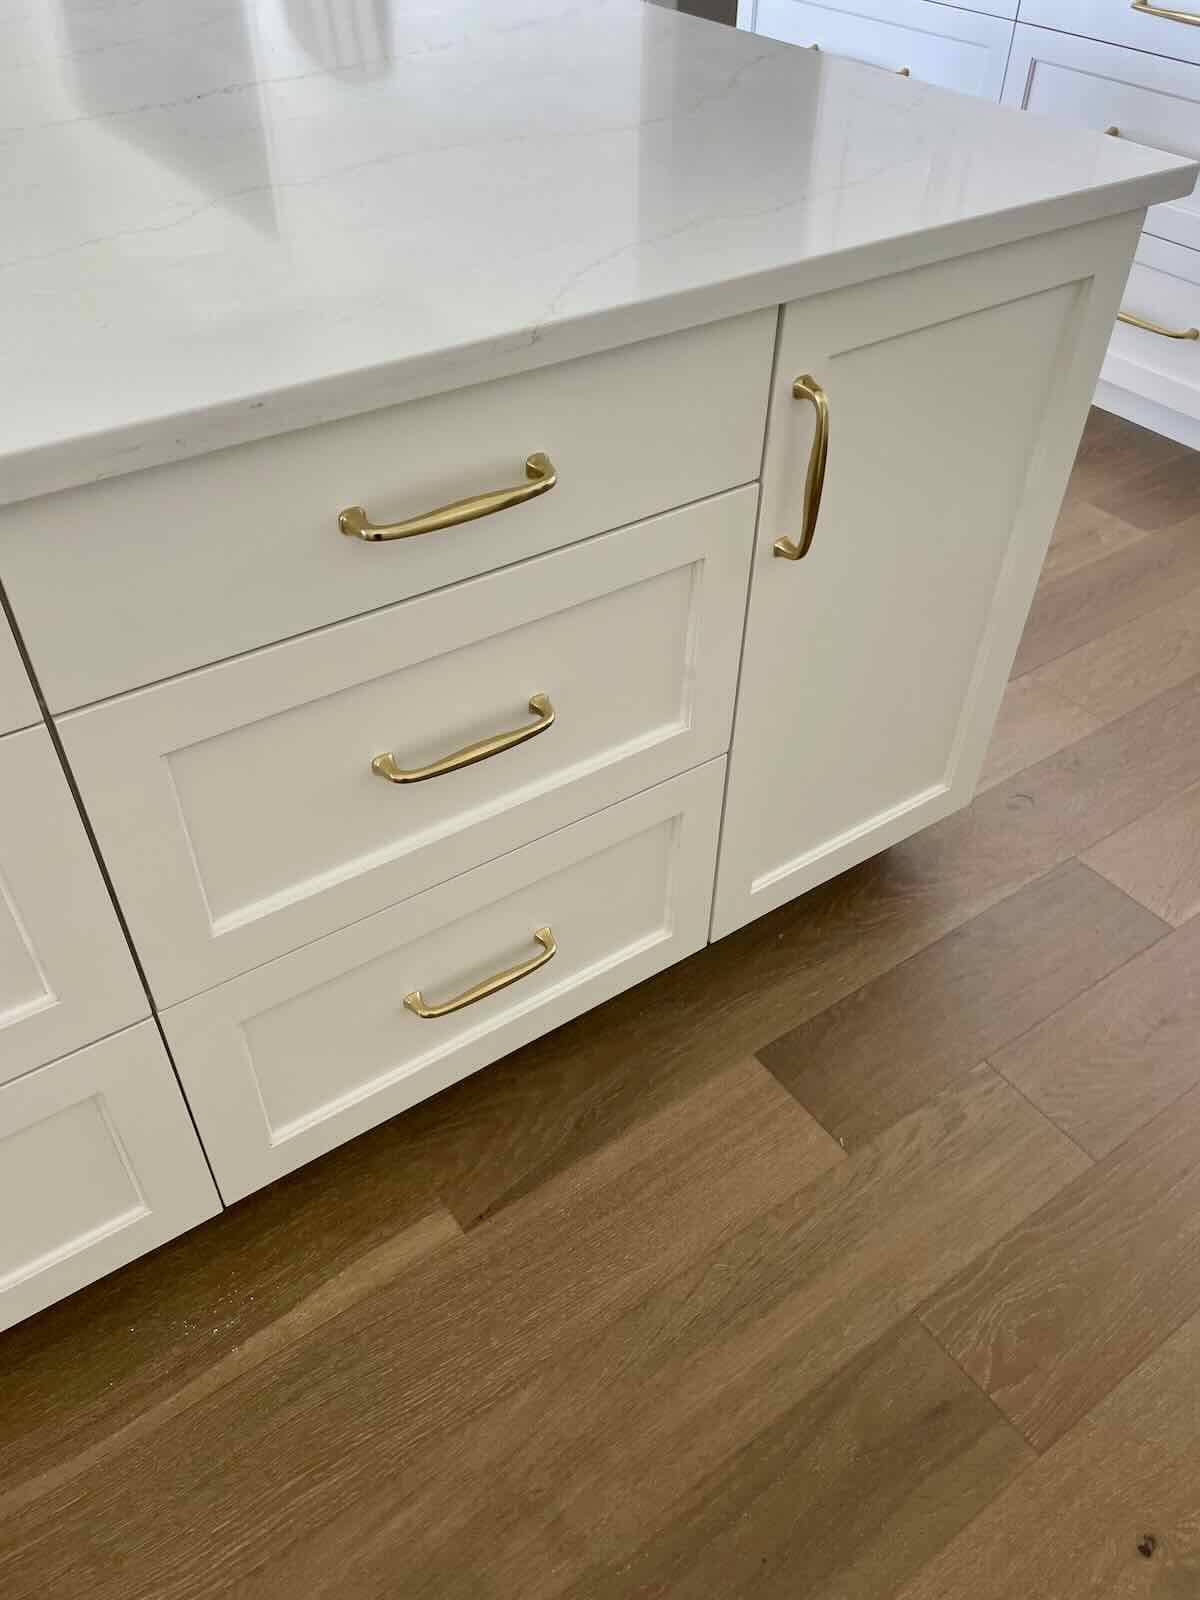
Baking Zone
Are you tired of rummaging through cluttered cabinets and shelves every time you want to bake? It might be time to create a baking zone for organization and supplies storage in your kitchen. I have many zones in my kitchen and will be sharing more tips on kitchen organization soon. But let’s start with the baking zone. I’ve designated and organized this area with baking staples and ingredients with most tools at your fingertips.
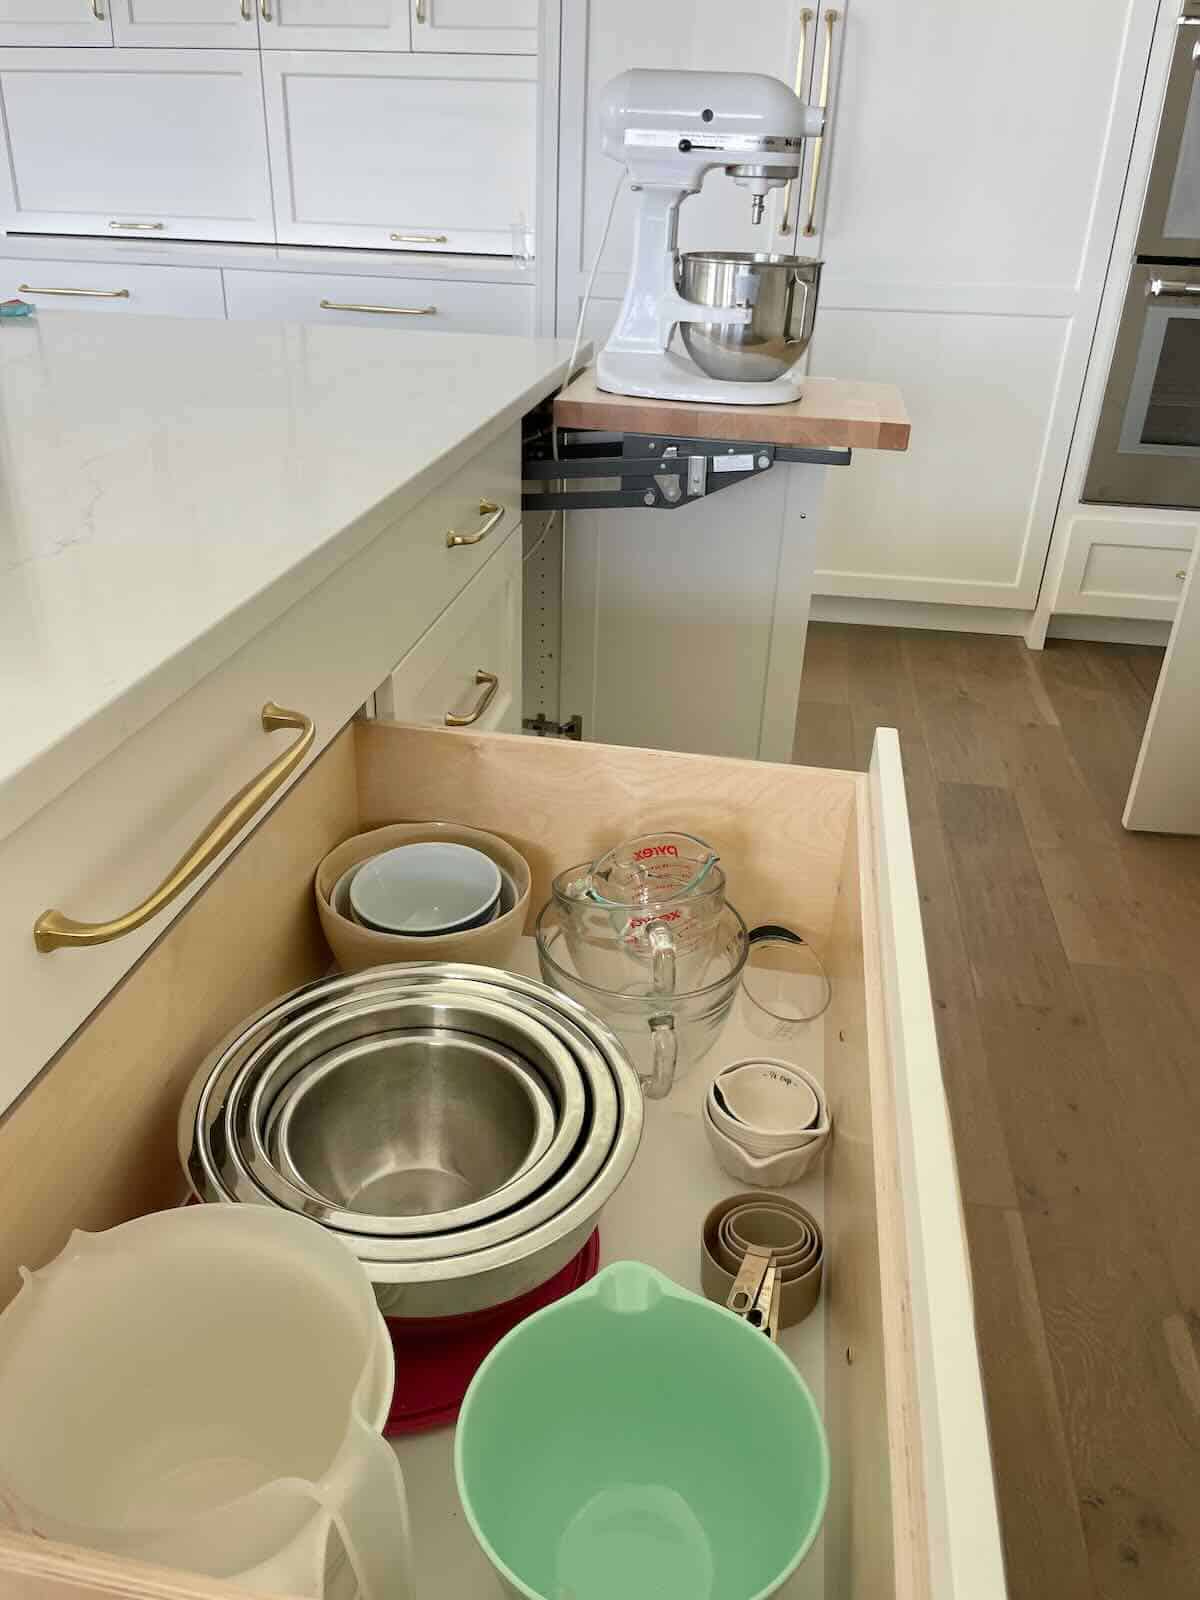
Not only does a baking zone streamline your baking process, but it also brings a sense of calm and order to your kitchen space. For me, effortlessly finding the perfect flour or sugar for your recipe makes me happy!! I am not an avid baker because I would eat everything I make. But, I will start a journey soon on making the best chocolate chip cookies!
Baking Pan Storage
The best way I’ve found to store muffin tins, cake pans, cookie sheets, etc is vertically above the oven. It’s a great spot for those items. I used these inexpensive vertical hangers.
Storing bulky items like cookie sheets vertically can save a significant amount of space in your kitchen. This method allows for easier access, reducing the need to shuffle through a stack of items to find what you need. Vertical storage also helps keep your kitchen organized, preventing items from getting scratched or damaged. Additionally, it can improve visibility, making it simpler to locate specific sheets or pans quickly. Overall, this storage technique promotes a more efficient and streamlined kitchen environment

Favorite Kitchen Hardware
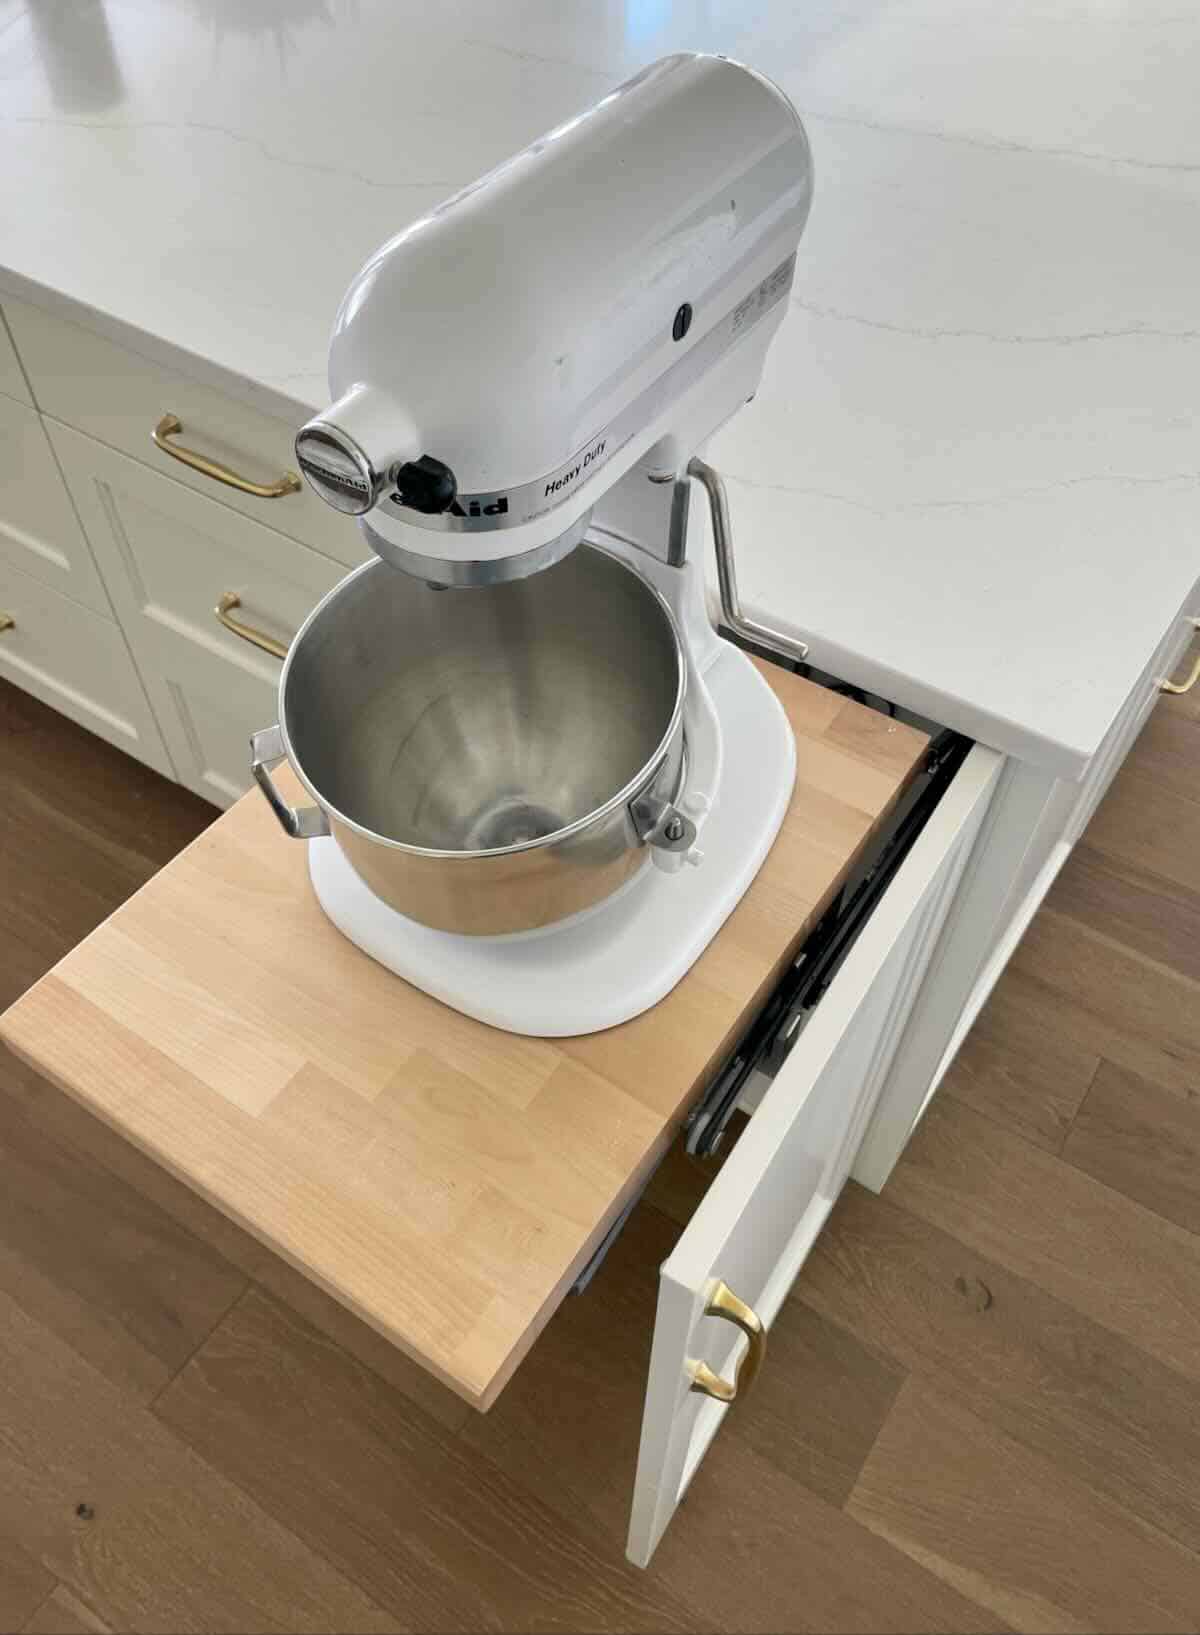
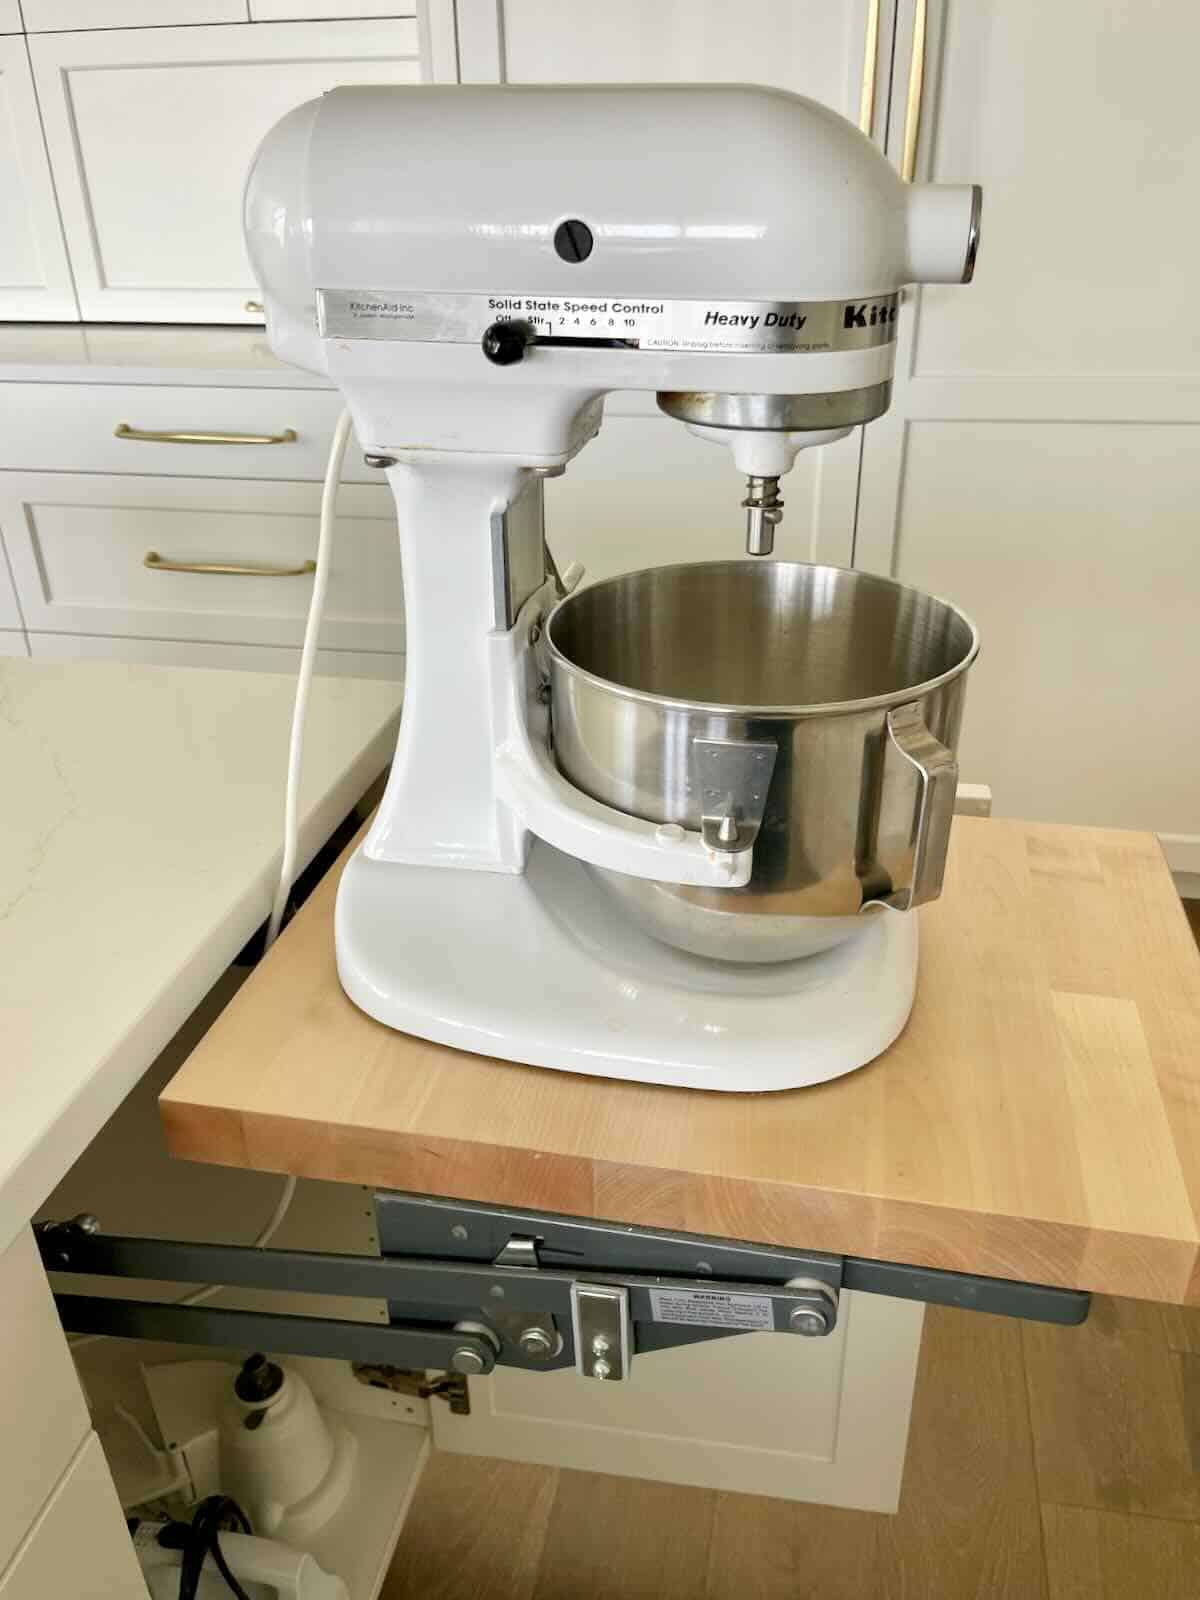
My favorite kitchen hardware is this appliance mixer lift. Out of several kitchen remodels I have added this 3 times to my kitchens. I love how easy it is to move and not drag across the counter or try to lift out of a cabinet.
This heavy-duty appliance lift by Rev-A-Shelf makes it easy with the lift assist mechanism to lift the heavy, bulky mixer out of the cabinet.
Designing Your Baking Zone
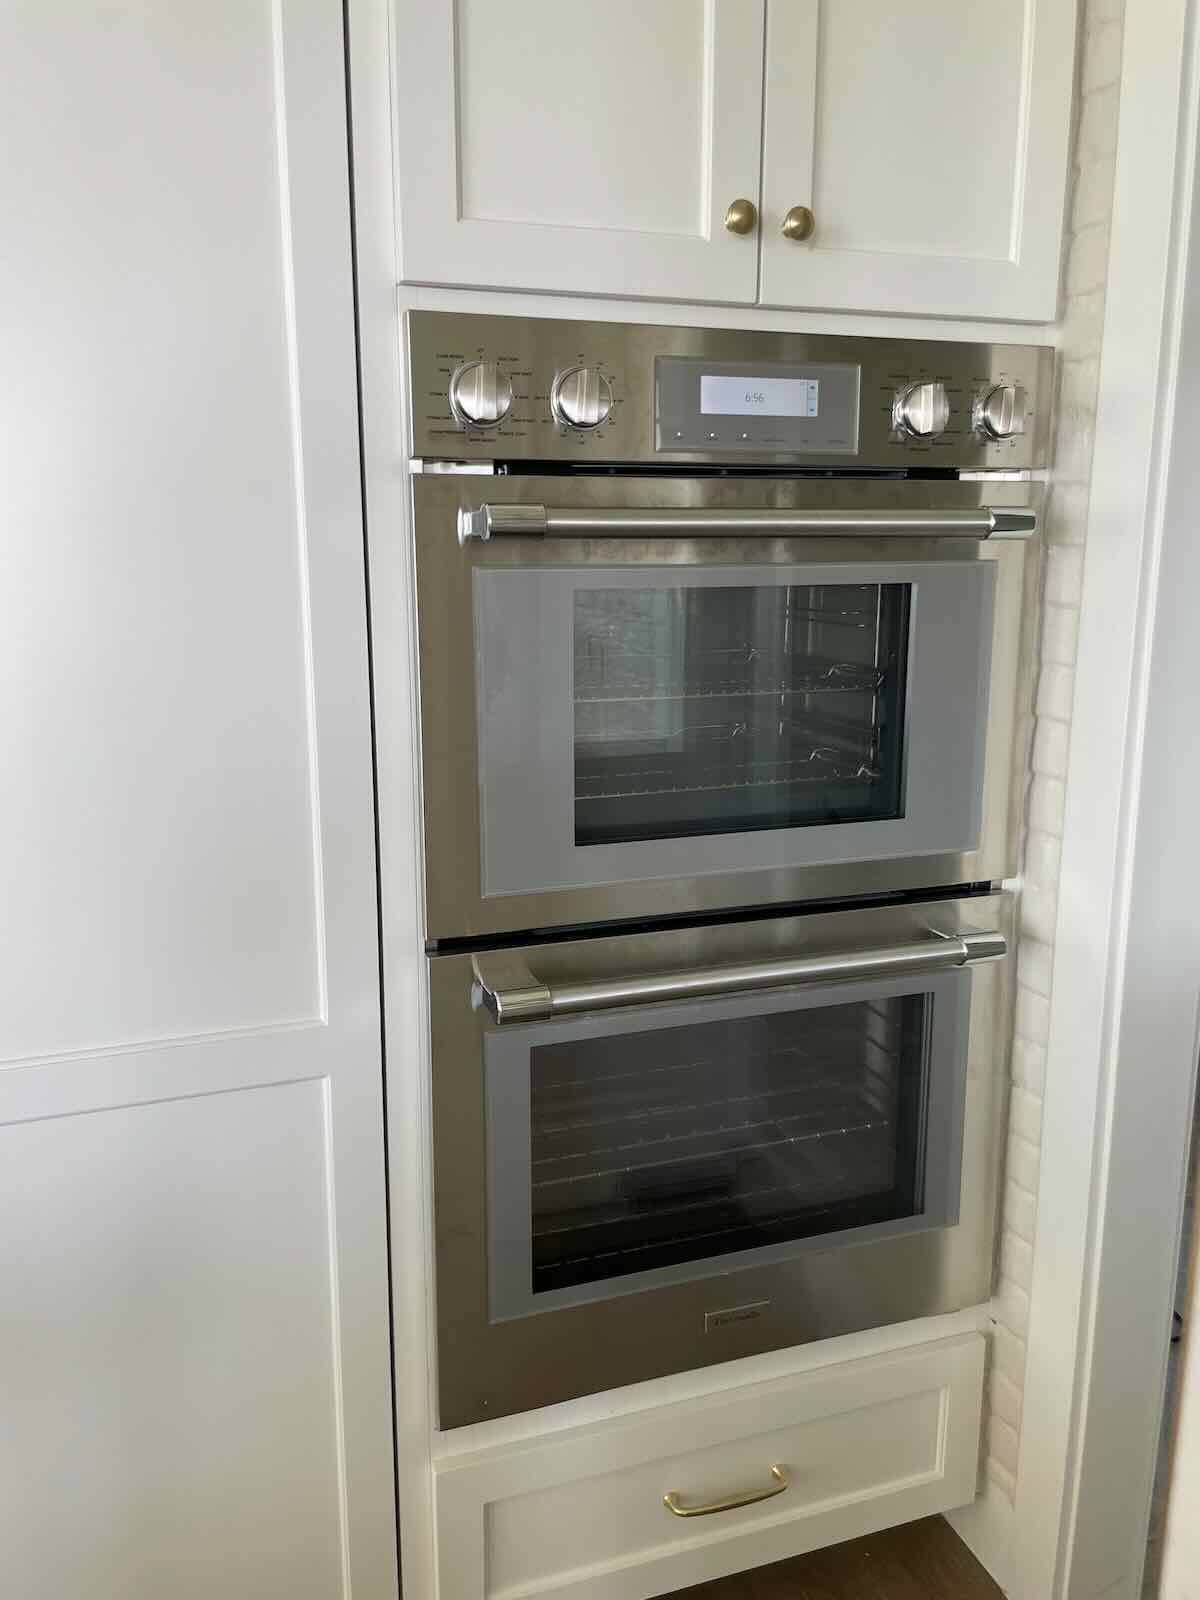
Designing your baking zone is all about optimizing both space and functionality to create a fun, organized baking experience. Start by selecting a location in your kitchen that is convenient and easily accessible, ideally with a countertop with ample workspace. For me, I like my baking zone to be at the kitchen island. I make sure I have enough counter space and room to mix, knead, roll out, decorate, etc.Consider how you cook and bake, this will help determine where to place your baking zone. My oven is within 5 feet of my baking zone. This might be something to consider in your baking center and the best way for easy access to what you will be mostly using in your organized kitchen.
Double ovens are also great if you enjoy baking and cooking for larger crowds. In my last home, I had a double oven with one being a microwave/convection oven combo.
Essentials for Baking Organization
Creating a well-organized baking zone requires the right tools and supplies to keep everything in its place.
Shelving units can be great for maximizing vertical space and providing ample storage for mixing bowls, baking pans, and other essentials. However, my area is at the kitchen island so I have no upper cabinets, everything is in drawers except my mixer lift cabinet.
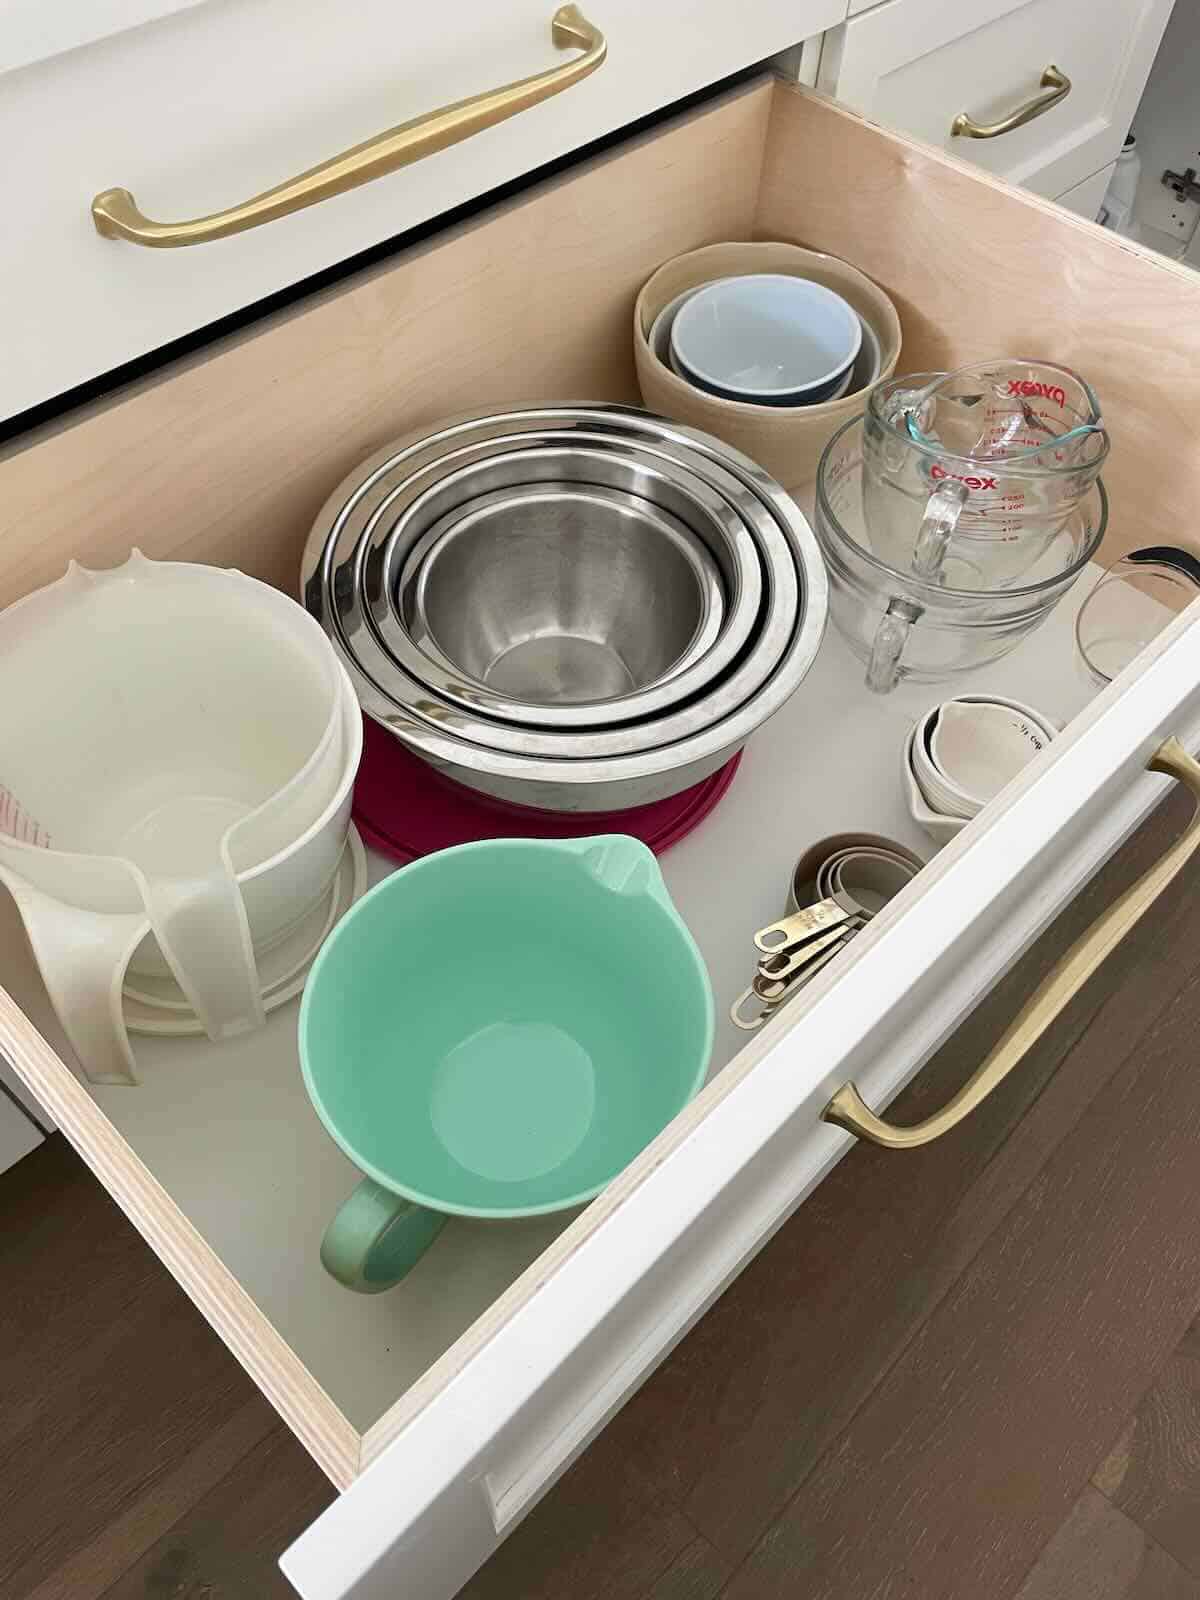
You have easier access to baking items in drawers versus cabinet doors. With drawers, it’s one motion to pull out and see most everything organized in its own storage space including smaller items e.g. measuring cups, measuring spoons, small appliance, etc. With lower cabinets, you need to open the door and then try to see everything on the shelf and typically have to reach back in the far corner to find everything. Sound familiar? An open shelf is another way for baking organization. The downside is if you have a lot of dust/grease.
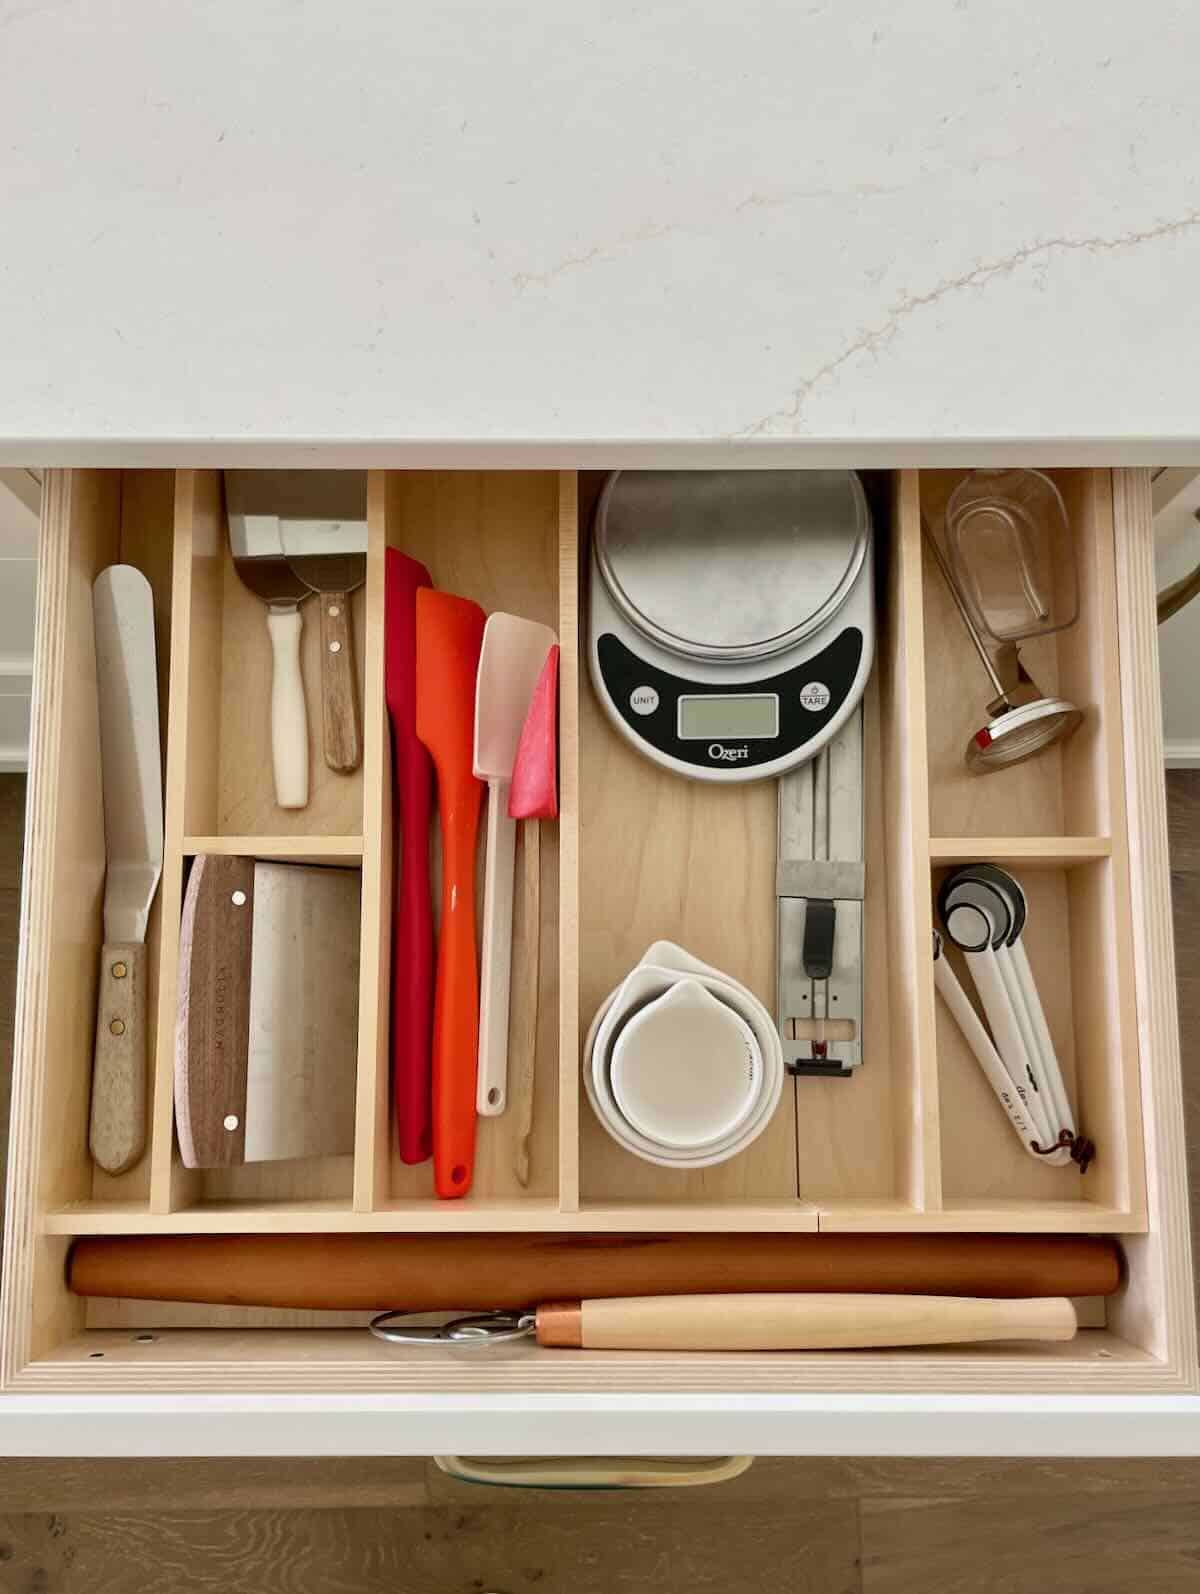
A lazy susan or turntable can be very beneficial for finding your favorite baking spices, and most-used items such as spatulas, rolling pins, pastry brushes, etc. stored in large containers.
Organizing Your Ingredients
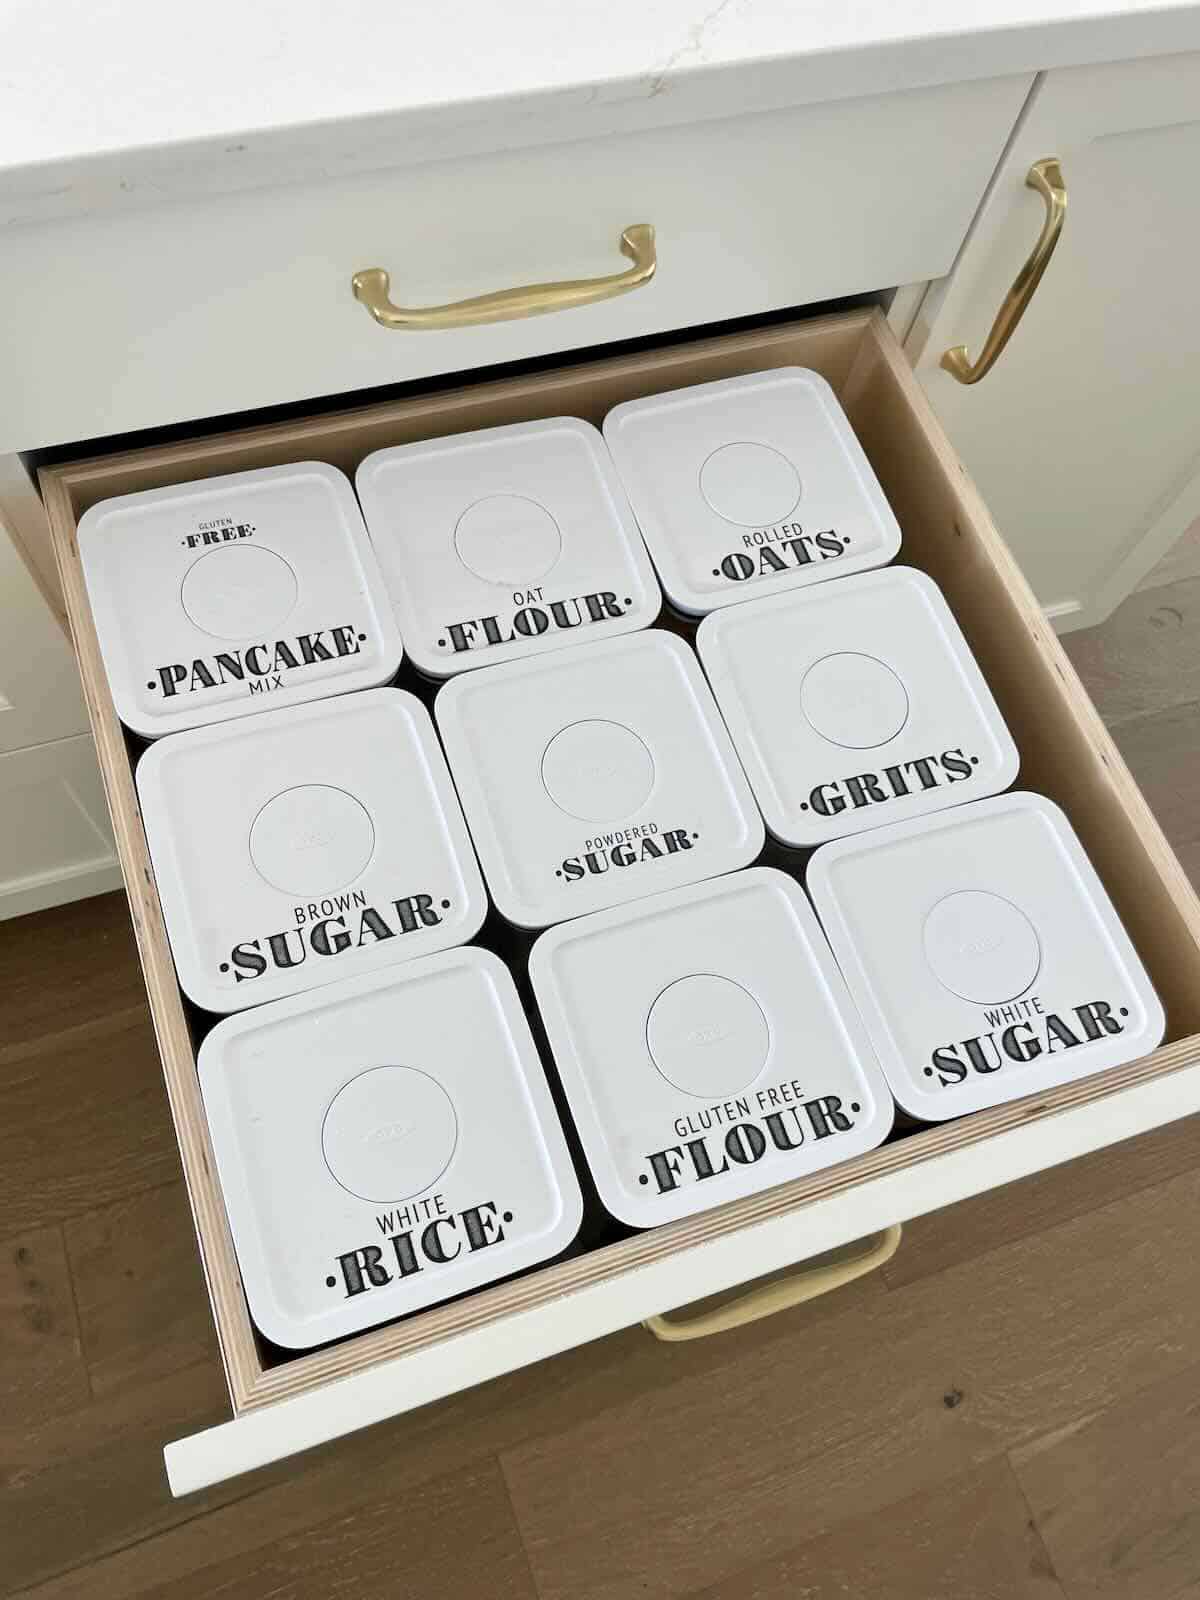
Organizing common baking ingredients like sugar, flour, and grains in a deep drawer using OXO containers is a game-changer for any baker. My favorite high-quality storage containers are OXO. They are clear and perfect for storing dry goods like flour, sugar, and grains. The lids are airtight and help keep items fresh.
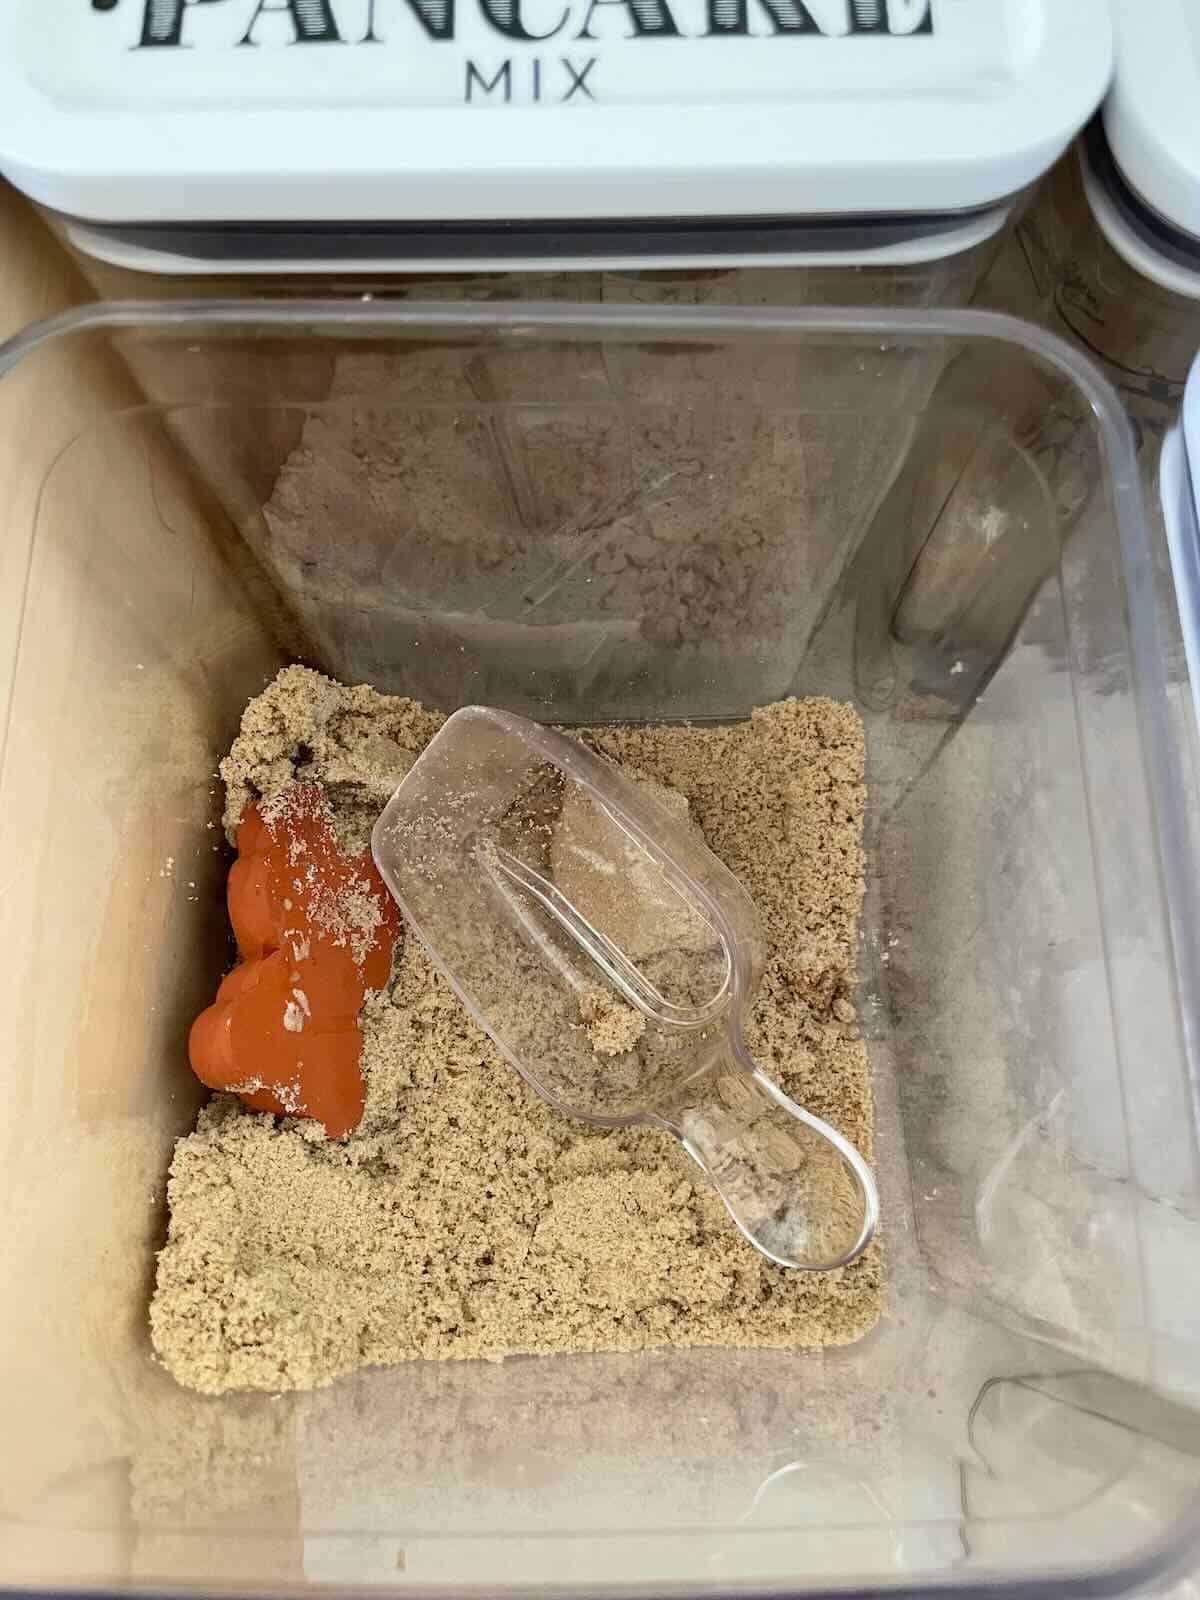
Even my brown sugar container keeps reasonably soft with the brown sugar saver and softener. Once a month I place this brown sugar saver in a bowl of water and let sit for several minutes. Place back in the brown sugar container to help keep brown sugar soft.
Start by arranging the containers in a deep drawer, ensuring they fit snugly and are easily accessible. Transfer your dry goods into the airtight containers. The containers I use hold 5-pound bags of sugar or all purpose flour. Next, affix labels (I purchased these inexpensive labels) to the top of each container, clearly indicating the contents inside. This not only adds a stylish touch but also makes it effortless to find what you need at a glance. With your baking ingredients neatly organized in OXO containers and labeled for easy identification, you’ll transform your baking zone into a streamlined and efficient workspace that simplifies the baking process.
Baking Drawer OrganizationThis was my baking drawer in my past kitchen. I opted against installing the wood insert in my new kitchen drawer. I made sure the drawer was large and deep enough to accommodate the size of these OXO containers which have been my favorite over the years.
Favorite Organization Tip:
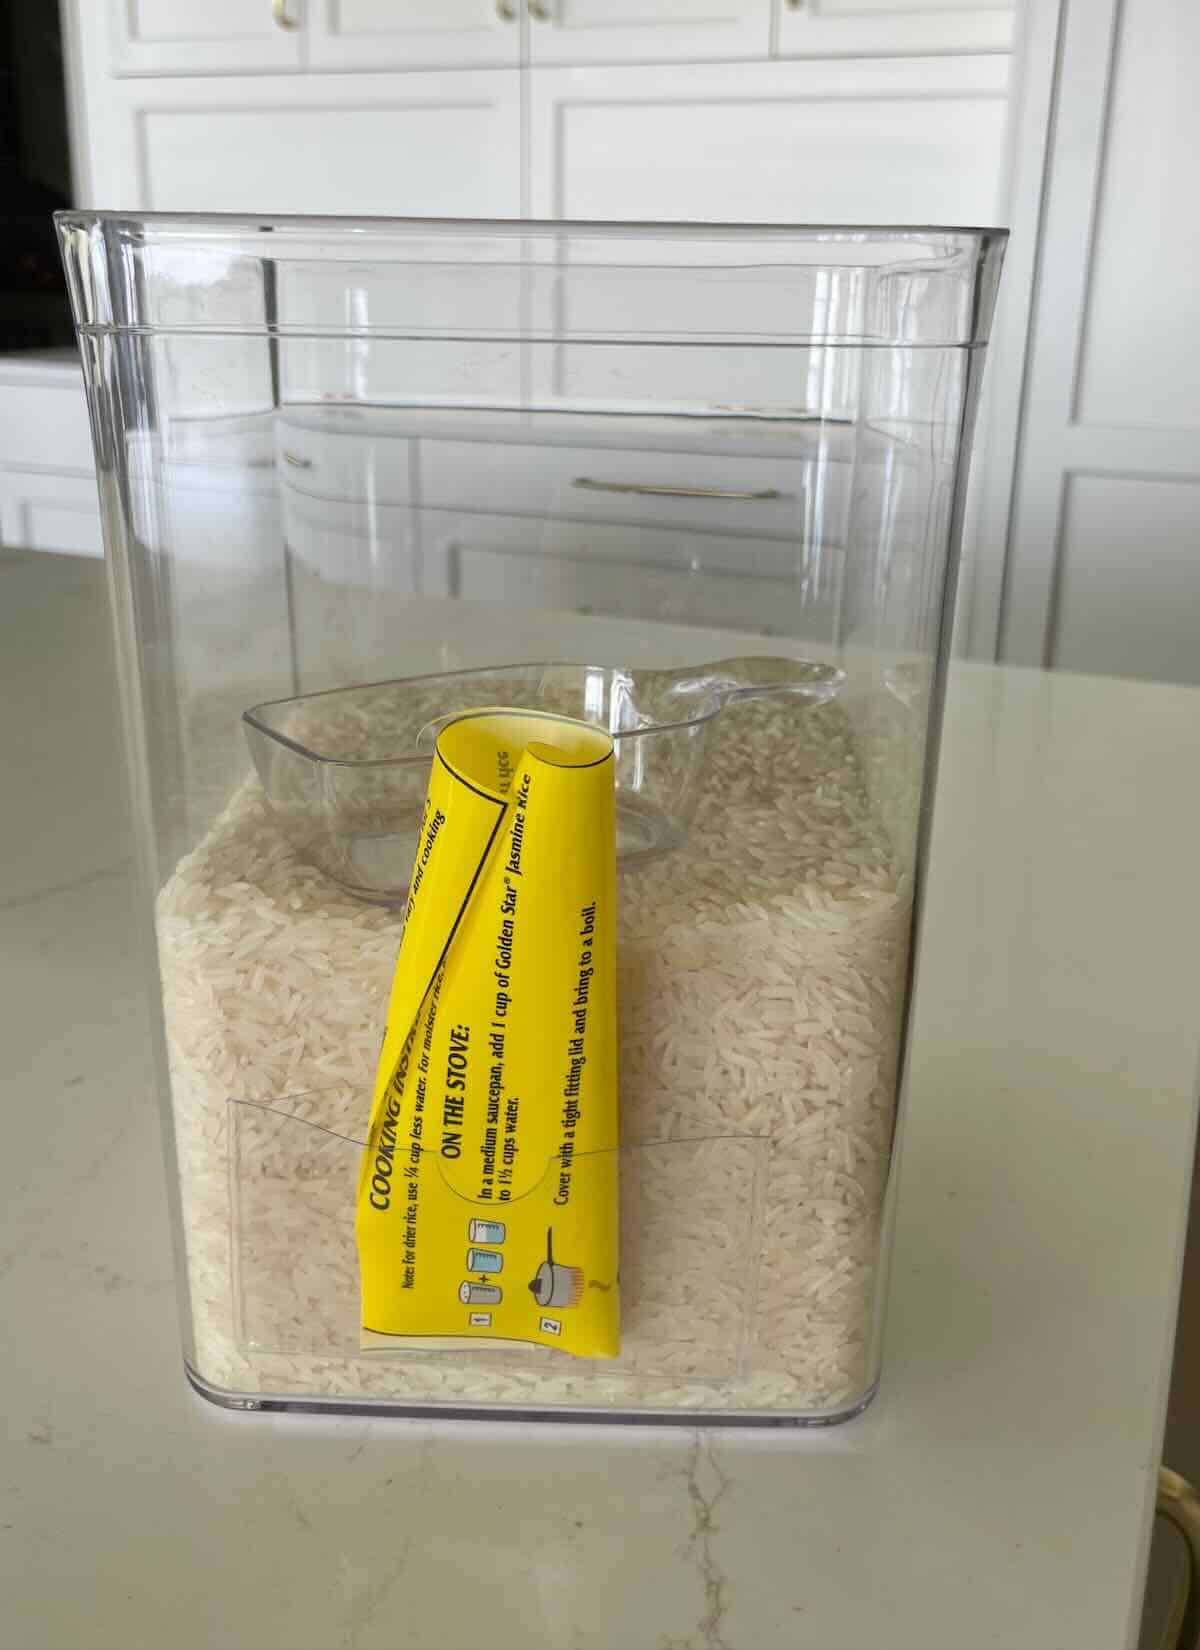
One extra tip is to use transparent business card holders that adhere to the OXO containers, allowing me to insert cooking instructions. In cases where packaging is absent, I opt to cut out the relevant instructions from the original packaging and insert them into the holders. This helps with important cooking guidelines that are readily accessible, even for products lacking their original packaging.
There are different sizes of plastic clear card holders. See what size works best for you.If you don’t have a drawer space, create a baking cabinet area. Keep all like items that are needed for baking – hand mixer, stand mixer, baking tools all items that might be used on a daily basis (if you’re a serious baker).
For items in smaller quantities or that I don’t use as often such as baking powder, baking soda, almond flour, chocolate chips, etc I keep those in the pantry. A caddy is perfect to keep those in when needed. I just bring it to the kitchen island when baking to keep everything within easy reach.
My spice cabinet is a drawer behind my kitchen island making a great way to store things such as cinnamon, cream of tartar and all of my cooking spices too.
Maintain Your Baking Zone
Maintaining your baking zone ensures an enjoyable baking experience. Start by decluttering regularly, disposing of expired ingredients, and organizing baking tools. Keep frequently used items within arm’s reach, while storing less-used items in easily accessible cabinets or drawers. Implement a “clean as you go” approach, wiping down countertops and surfaces after each baking session to prevent clutter buildup. Develop a system for arranging baking pans, trays, and utensils to optimize space and efficiency. In the past, I would have several of the same items because I wasn’t organized and didn’t have everything in its place.
Finally, make it a habit to inventory supplies periodically, noting items that need replenishing to avoid last-minute trips to the store. By following these practical tips, you’ll maintain an organized baking zone ready for your next culinary creation.
A favorite recipe, that I make a couple of times a month is Big Daddy’s which is a Dutch/German Oven Pancake. It is a family favorite. Try it and let me know how much you love it!!
Please share your organization tips and experiences in the comments section. I love learning about other ways to have an organized kitchen and working in kitchen zones.


Leave a Reply