When I started this room my main goal was to make a happy room, a room that put a smile on my face the second I walked in, whether I was doing laundry or not! This Laundry Pantry Final Reveal is amazing!
I am so happy with how the room turned out because I truly feel like I have accomplished my goal! I absolutely love how everything turned out and I can’t wait to show you the final reveal today!
In case you don’t know what I’m talking about (that’s okay! I’ll catch you up!), five weeks ago in my Laundry Pantry Room Combo post I announced that I will be participating in the One Room Challenge hosted by Calling It Home.
For this challenge, I decided to show you how I remodeled my Laundry Pantry room, aka “Pandry”. This week I will be focusing on adding in pull-out hampers, laundry room organization, and finishing touches with the final reveal
This is the sixth and final week of the One Room Challenge so if you want to catch up on what you’ve missed here are the links to my previous five posts by scrolling to the bottom of the post.
Just to refresh your memory, here’s what the laundry room looked like before we started! I can’t believe what a transformation this room went through!
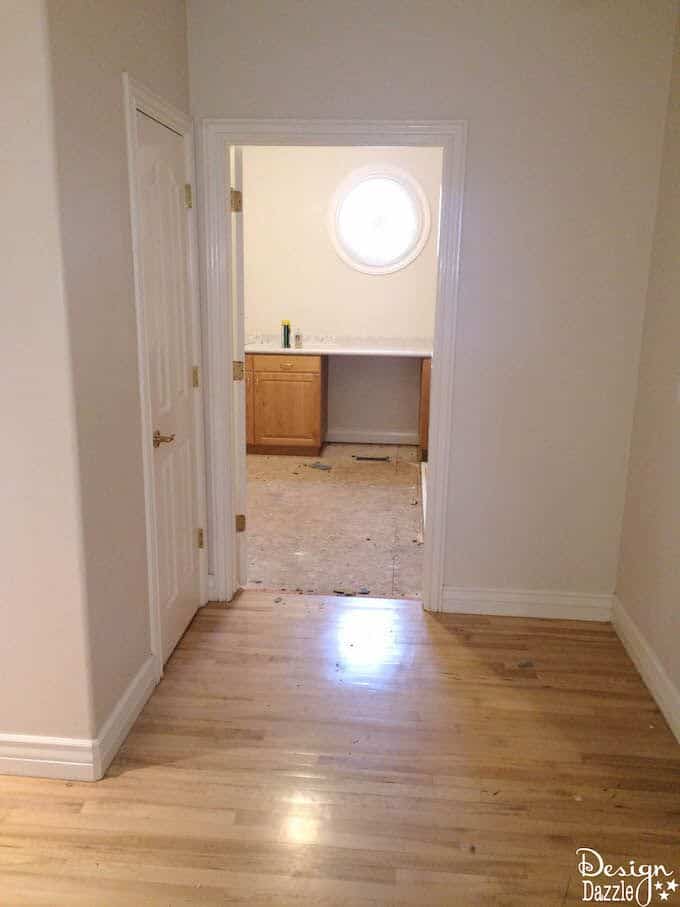
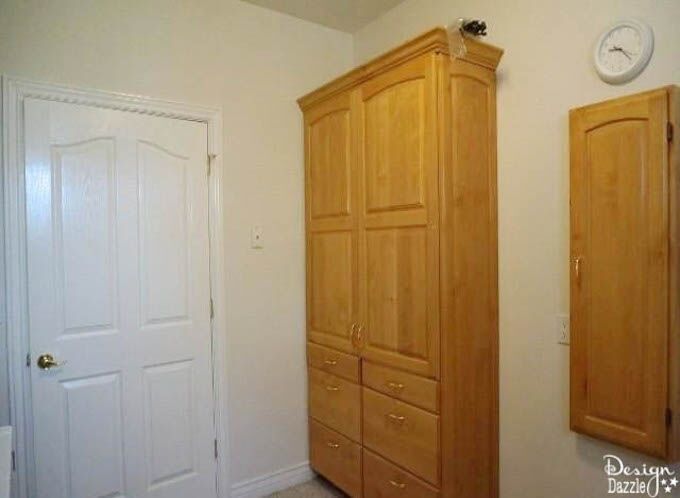
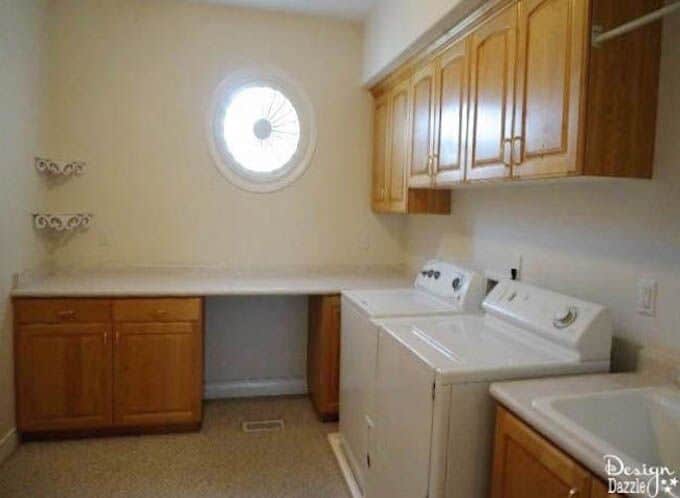
At the bottom of every post I listed all of my goals for each week of the challenge! You can see that I have crossed them off as the weeks have gone by. This week we crossed off the rest of the items which are listed below:
- Make sure all the essentials of a laundry room are included
- Organization is a must
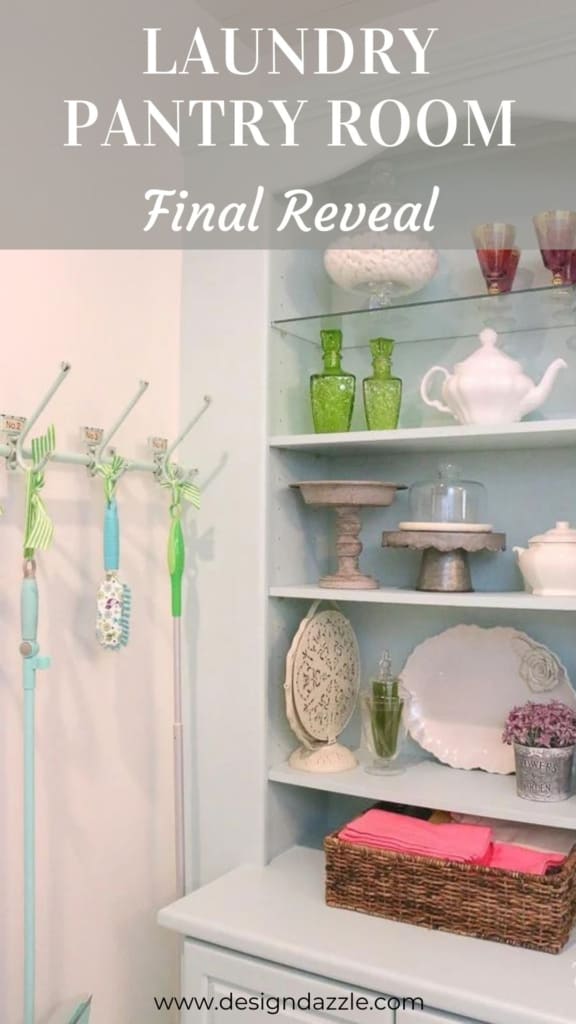
- Add tons of storage for my serving pieces – cake stands, glassware, apothecary jars, beverage dispensers, etc.
- Style and decorate the room
- Incorporate different textures into the design
In this post, I will be going into more detail on how I accomplished these five things.
How I Created an Organized and Functional Laundry Room
1. One part of my laundry room that I absolutely love is my laundry hampers pullouts! I love that I don’t have hampers just sitting around. It helps keeps things organized.
The bottom cabinets house two different hampers that pull right out, no full, no muss! For one of the hampers I put my nice towels in and in the other hamper I put my grimy, gross, cleaning towels in! It’s a perfect way to keep them separated and organized. 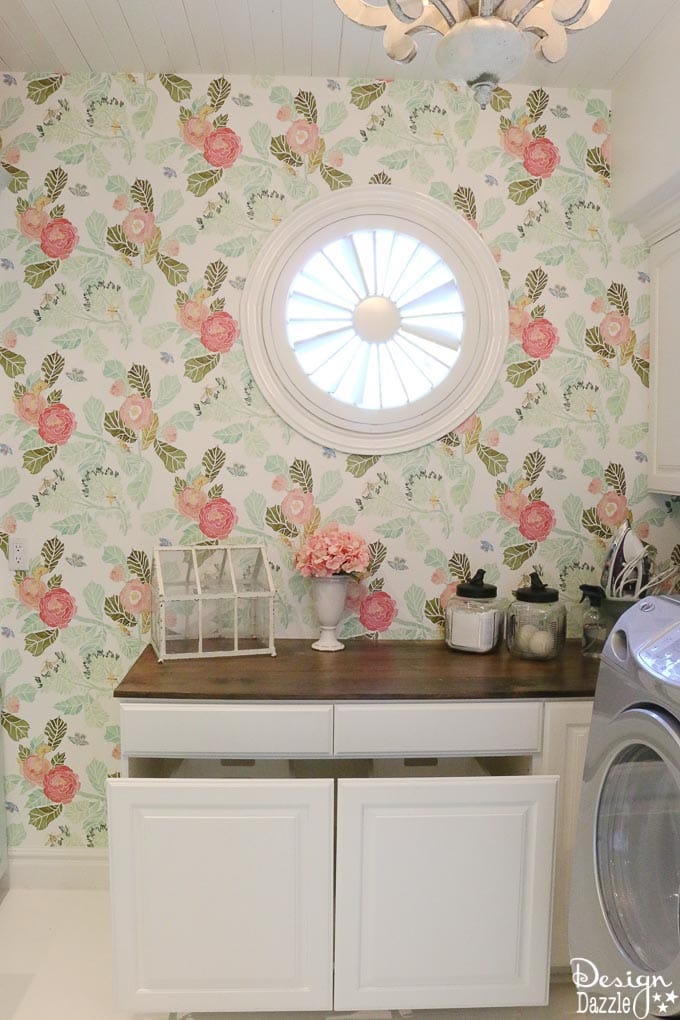
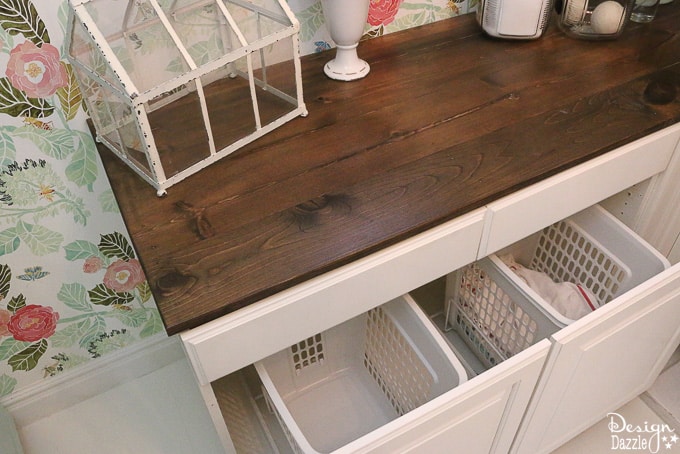
- Installing these pull-outs was fairly simple, it is a two-step process that includes two different sets of hardware. The first step is to install the hamper pull-out hardware. You can purchase the one I used here.
- Then you will need to install the pull-out shelf door mount. You can purchase that here. This door mount makes it so the pull-out is attached to the door and you don’t have to open the cupboard every time you want to access the hamper, it will just slide open!
2. I do have a fridge in my kitchen already so the fridge in my “pandry” is an extra fridge. I have actually always had an extra fridge! It’s amazing how much it comes in handy. If you are throwing a party and need extra room or if you go to Costco and need to freeze some extra food.
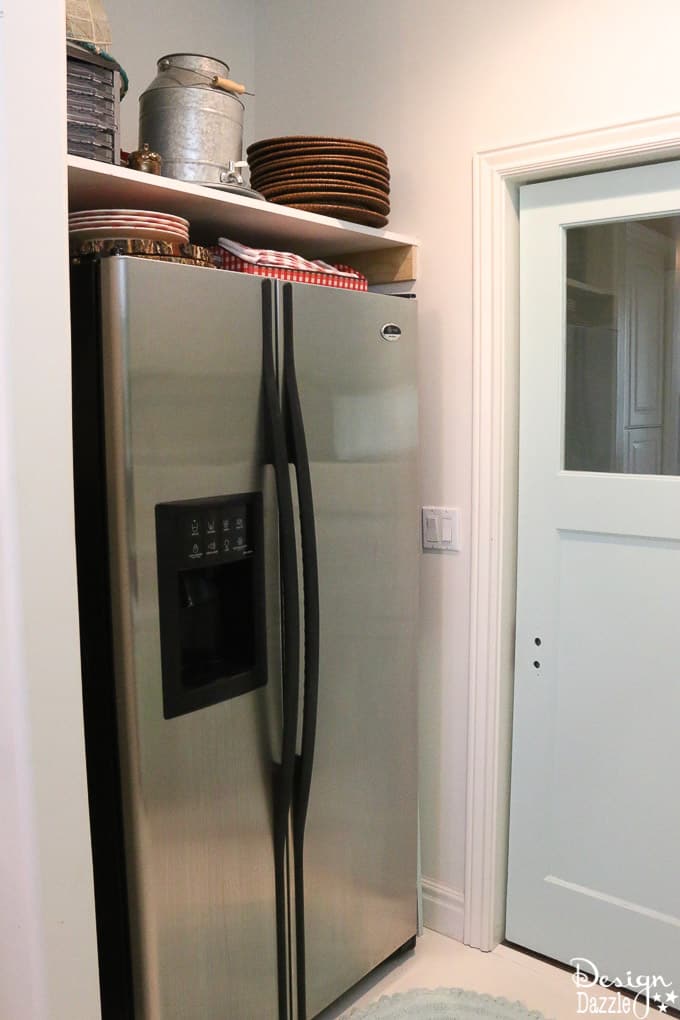
I built a shelf above my fridge for extra storage and organization. I know it doesn’t look very pretty but it’s definitely practical! I love putting seasonal items up there because I don’t pull them out but once a year.
I’m thinking about putting a curtain above the fridge to hide those items, so we’ll see I get to it!
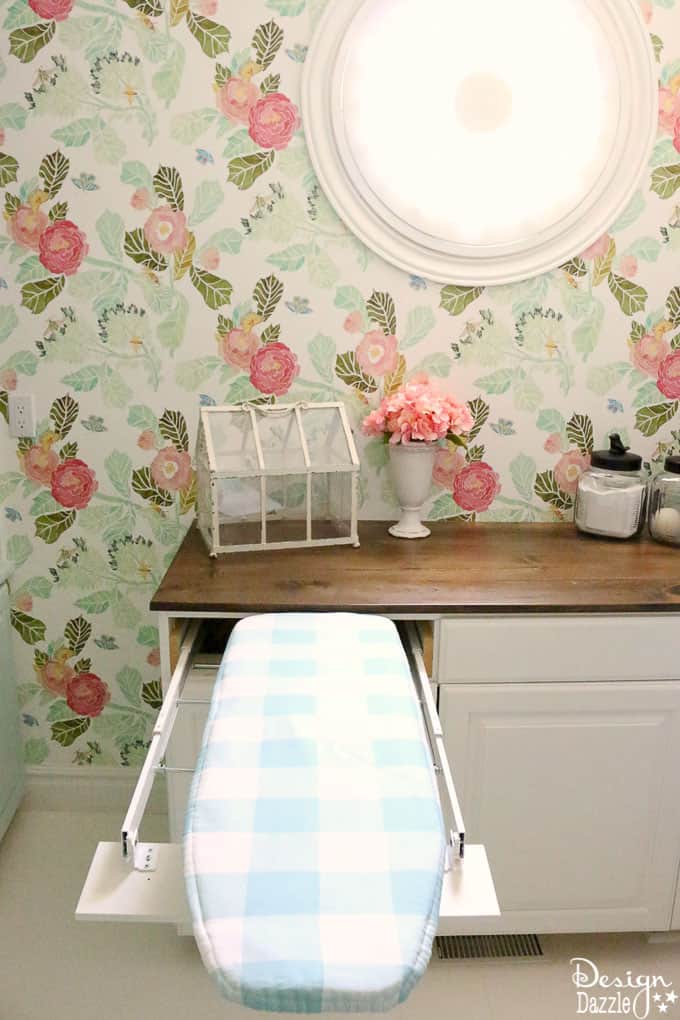
3. I created a pull-out door for my ironing board. You can read more about how I did that here. I don’t like my ironing board set up all the time, it don’t think it looks nice. Having it in a drawer makes it so easy to just pull out and start ironing! The fabric for the custom-made ironing board cover came from here.
How I Incorporated Functionality and Practicality Into My Laundry Room Decor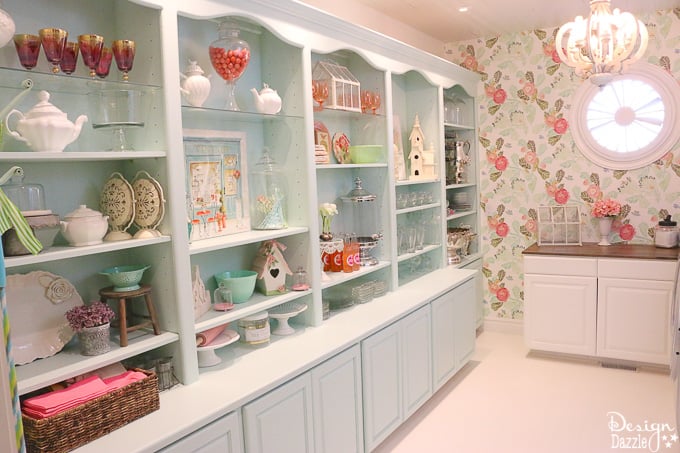
1. As you can see, I like things to be pretty but practical. I wanted my cabinets to look nice but I also have to use them for storage so all of my mismatched stuff is stored down below.
It’s easy to start accumulating things as time goes on, so you have to come back in and rearrange your things every so often. 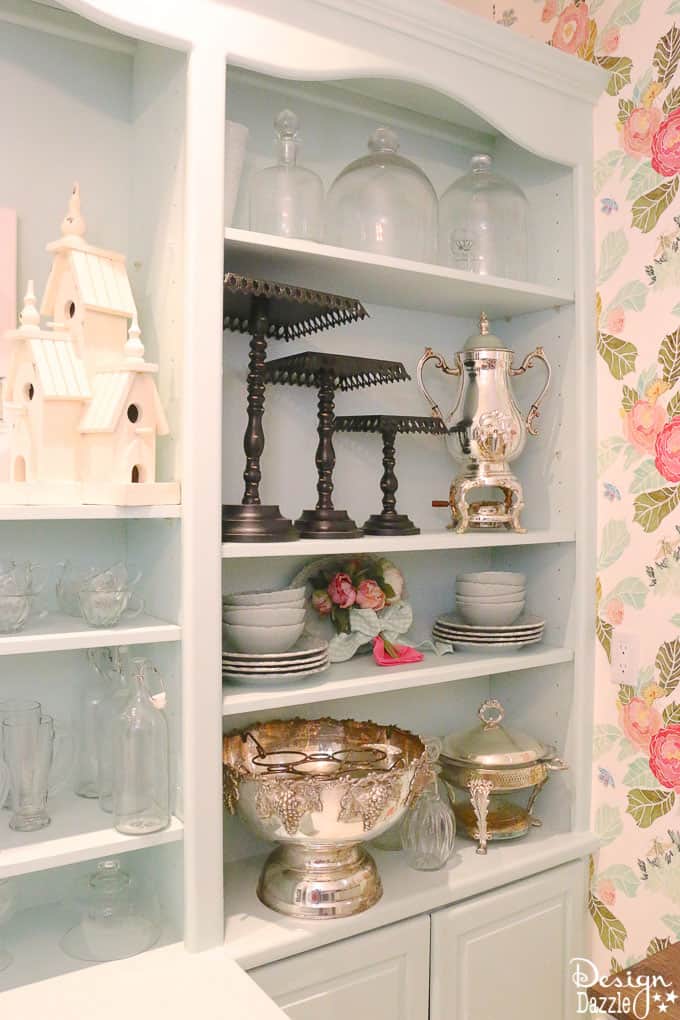
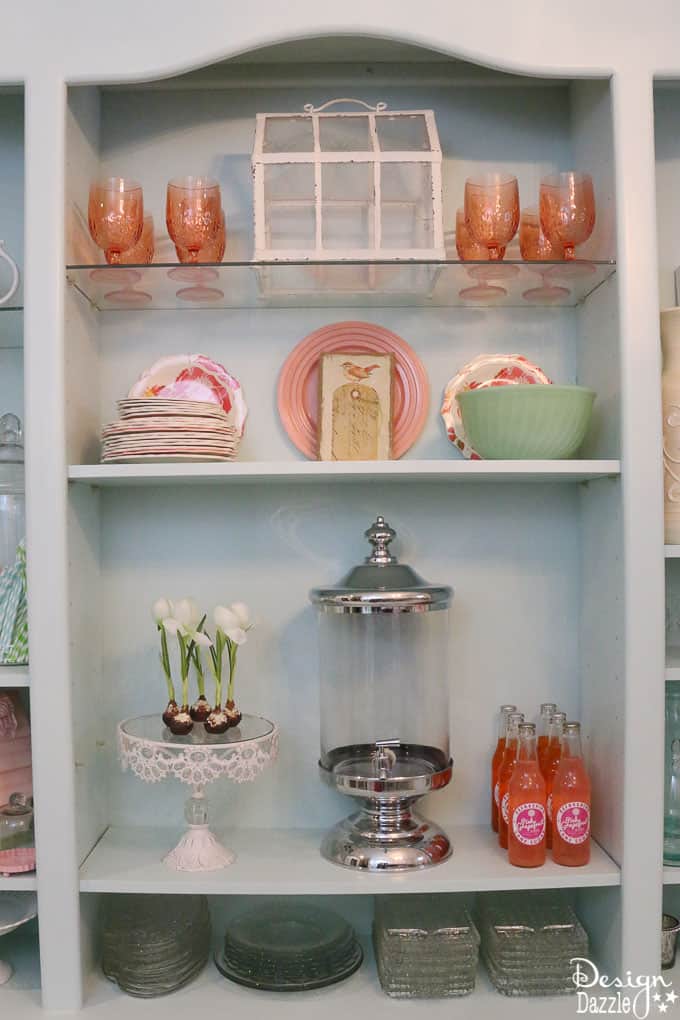
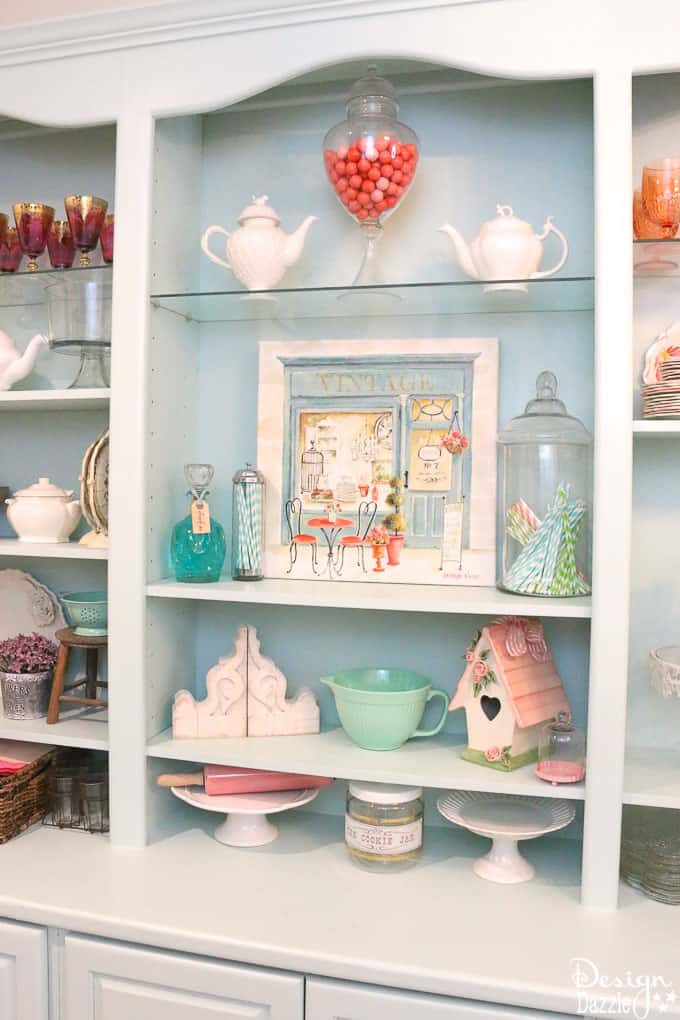
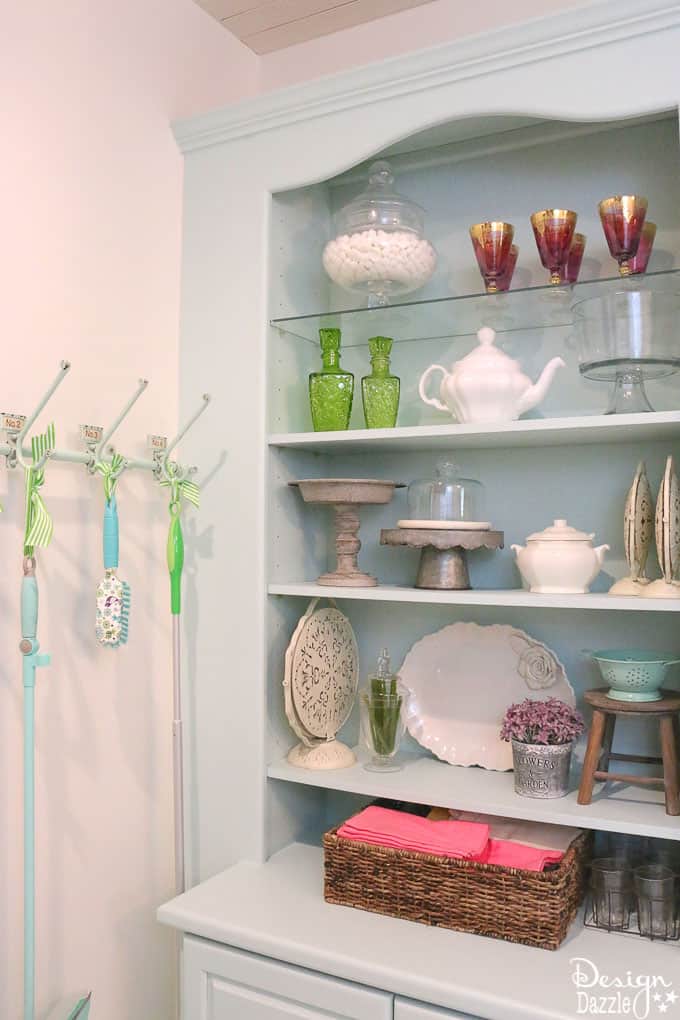
2. I used a mirror to decorate, it really does come in handy to have a big mirror in the laundry room! I purchased it at thrift store for about $3, then I painted it to match the swing door and the cabinets. 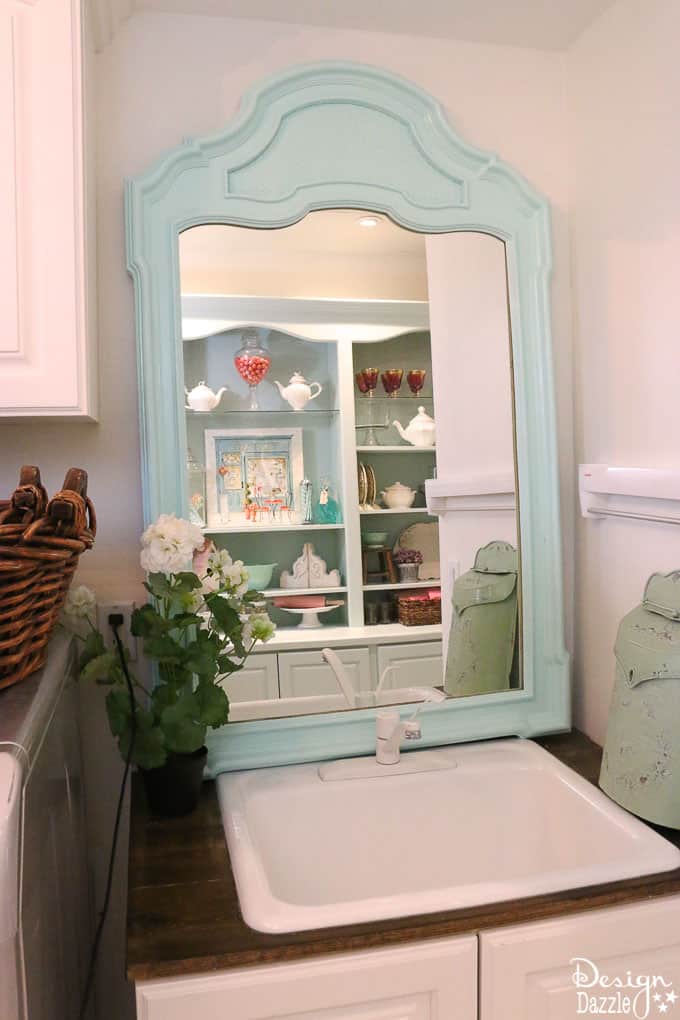
3. I use a cute letter box to collect my lint! It’s a cute way to store your lint but is also very practical. You can purchase the letterbox here.
4. I had a handyman install a list of items in my home. this fantastic wall dryer was one of them. This is perfect to hang workout clothes on because they are smaller, you can buy the exact one I bought here. In case you are looking for something different or bigger, there are other fantastic wall dryers here.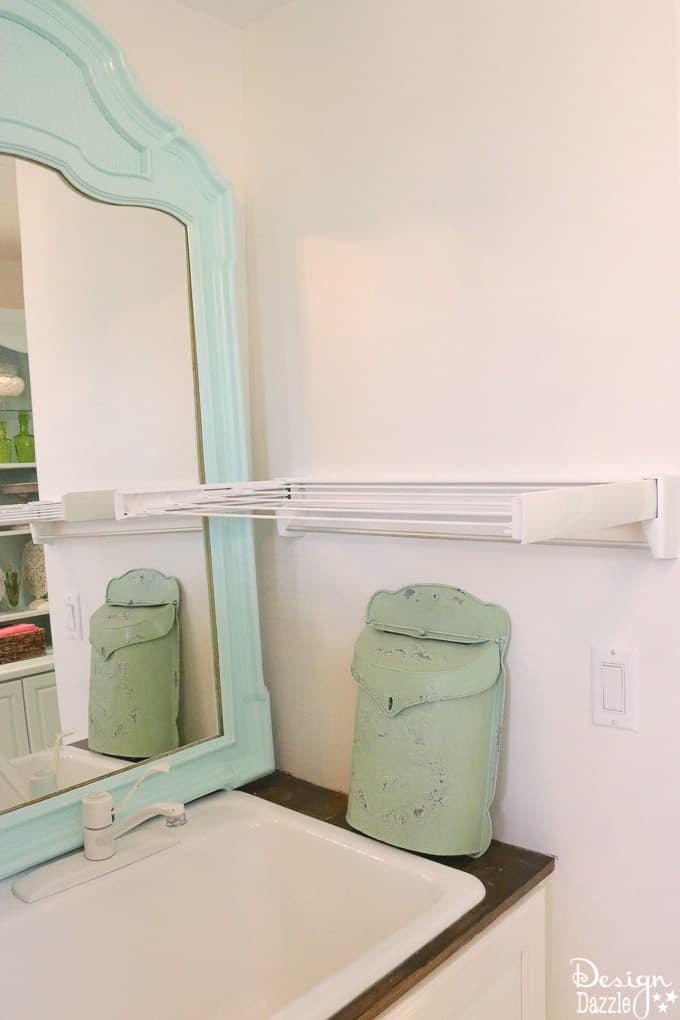
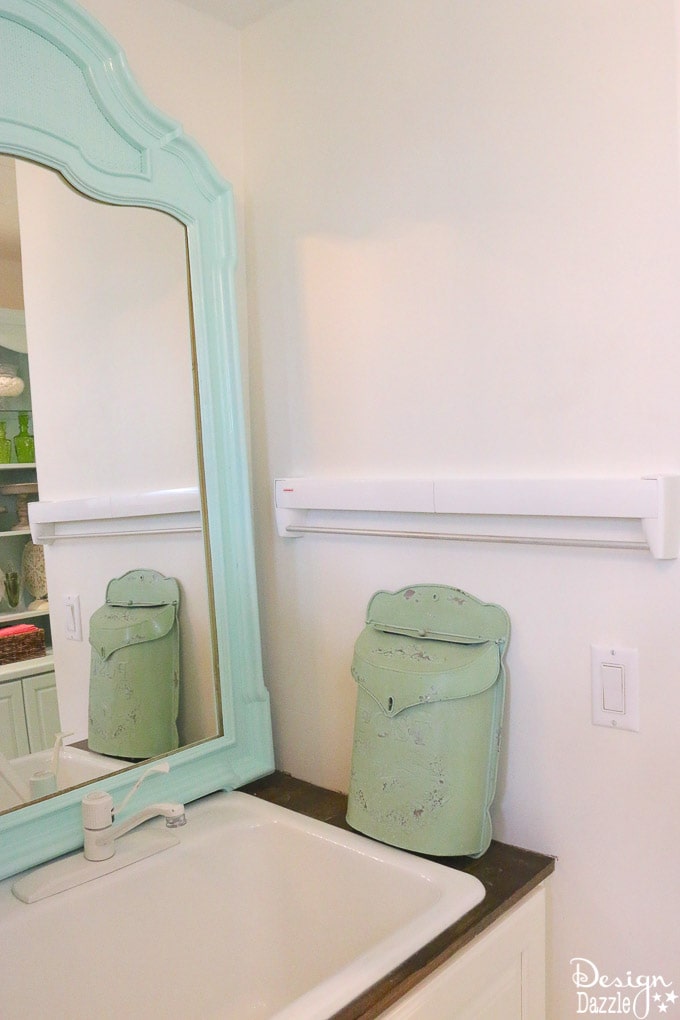
This clothes drying rack is nice because you can keep it out, to hang clothes on, or push it back in so it’s out of the way! It was an inexpensive purchase and is one of the most used items in the laundry room.
Perfect for drying workout clothes or items you don’t want to put in the clothes dryer. Below you can see what it looks like closed up.
5. I keep pretty wicker baskets on top of my dryer and they are so nice to have! When I take clothes out of the dryer I put them into one of these baskets to take into my bedroom. You can find similar wicker baskets to the ones I have here.
6. I keep my lint rollers and ironing sheets organized in these boxes, which is cute and saves me room! 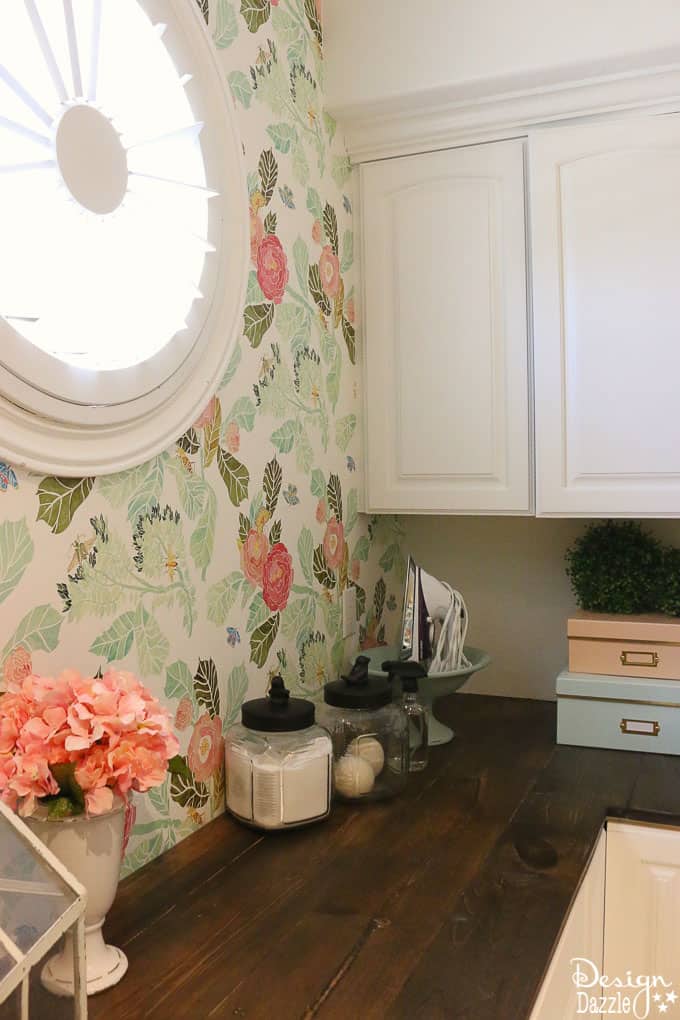
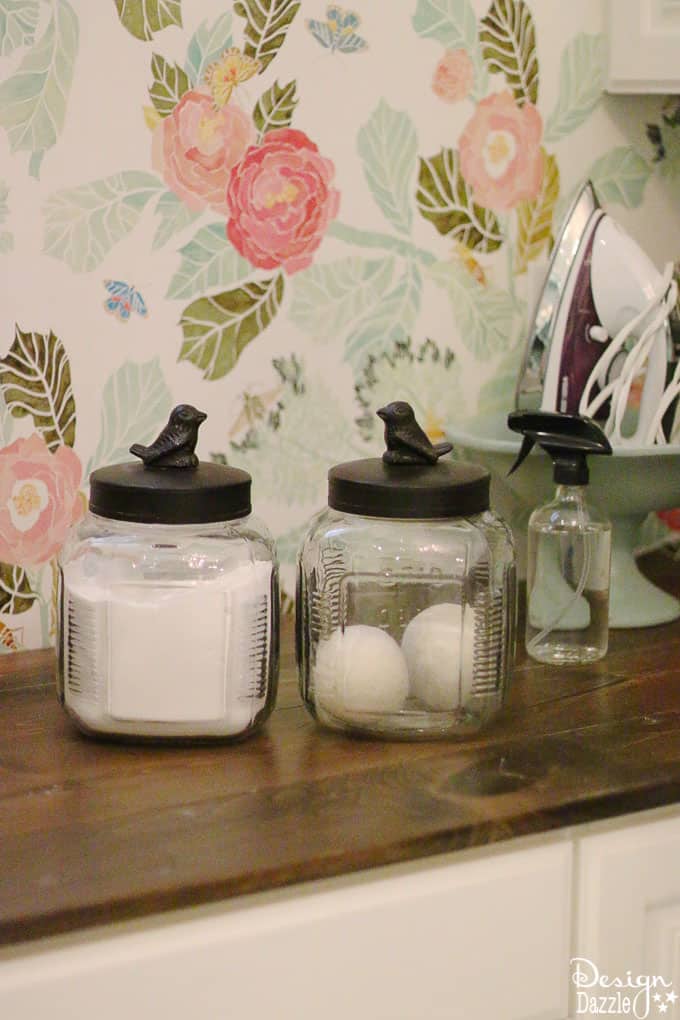
7. Keep detergent and dryer balls in cute glass storage jars rather than the ugly containers that you buy them in.
How I Incorporated Different Textures Into My Design
1. I created a planked ceiling, you can read about that here. 
2. Smooth white floors, you can read about those here. 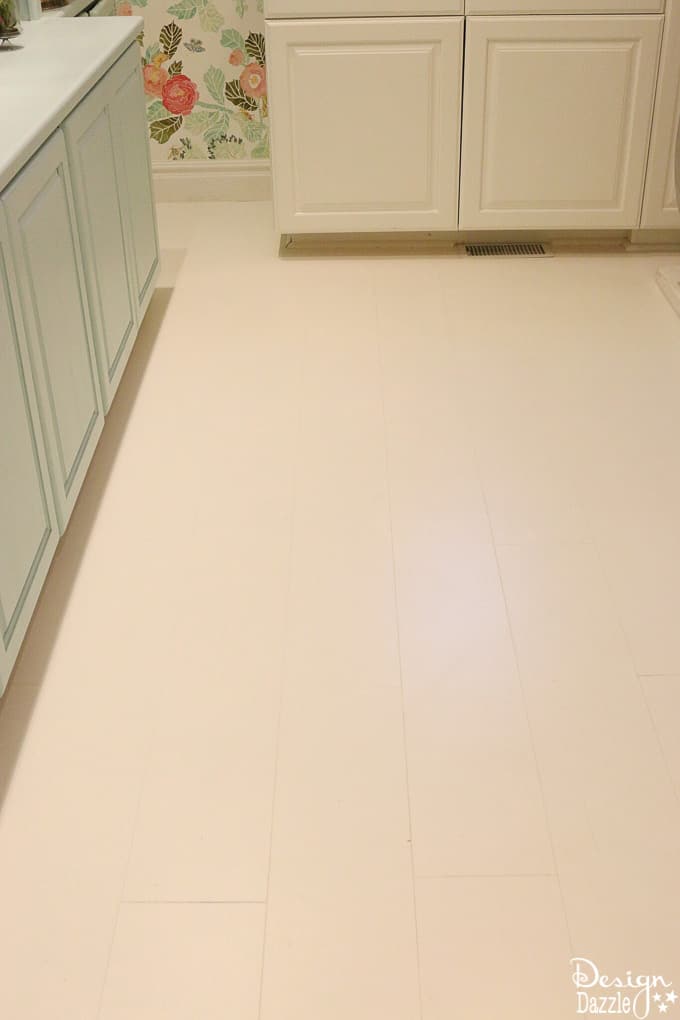
3. I have pine brown counter tops which you can learn how I did that here.
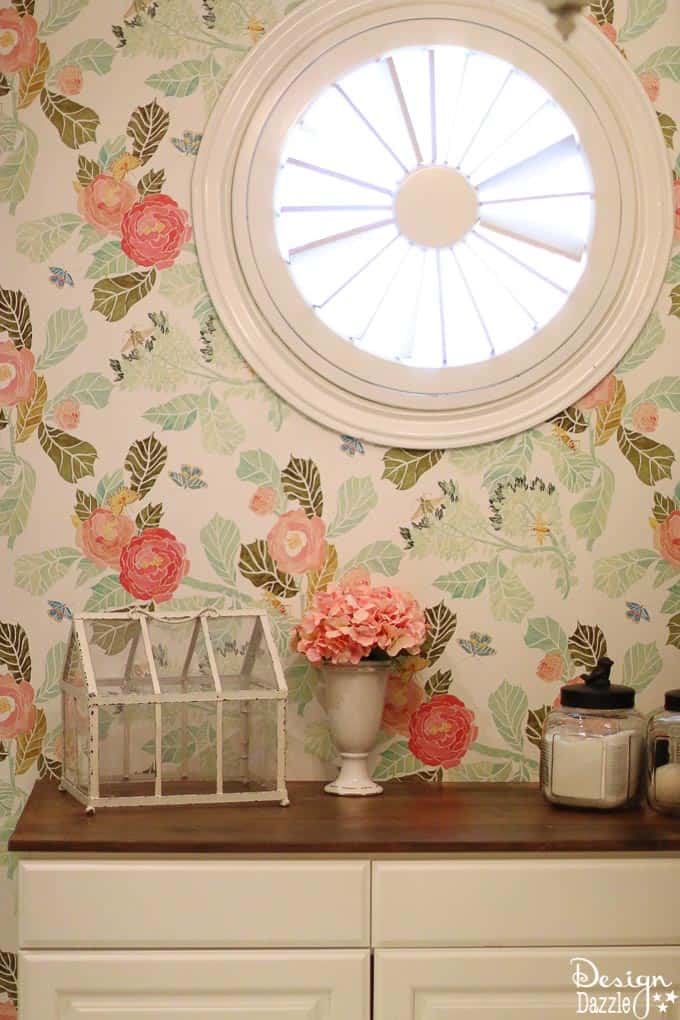
4. I absolutely adore this wall paper! It adds such a gorgeous design element into the room. I got it from Anthropologie. Click here for the direct link.
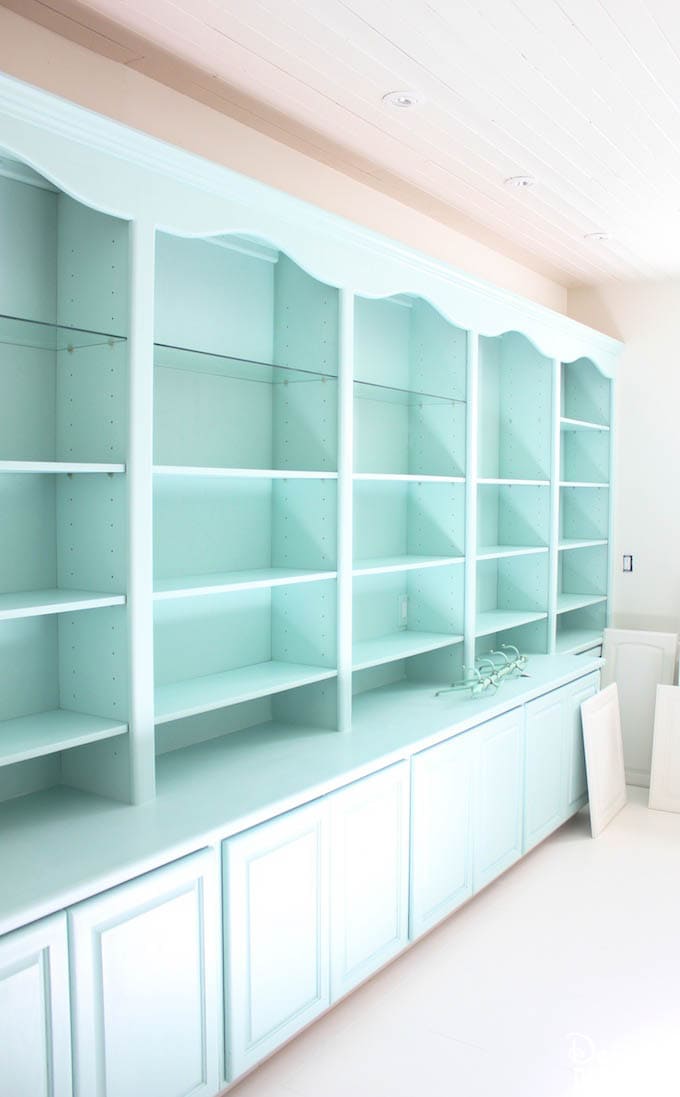
5. The color of the cabinets also creates a different and fun pop of color! You can read about how I created these gorgeous built in cabinets here.
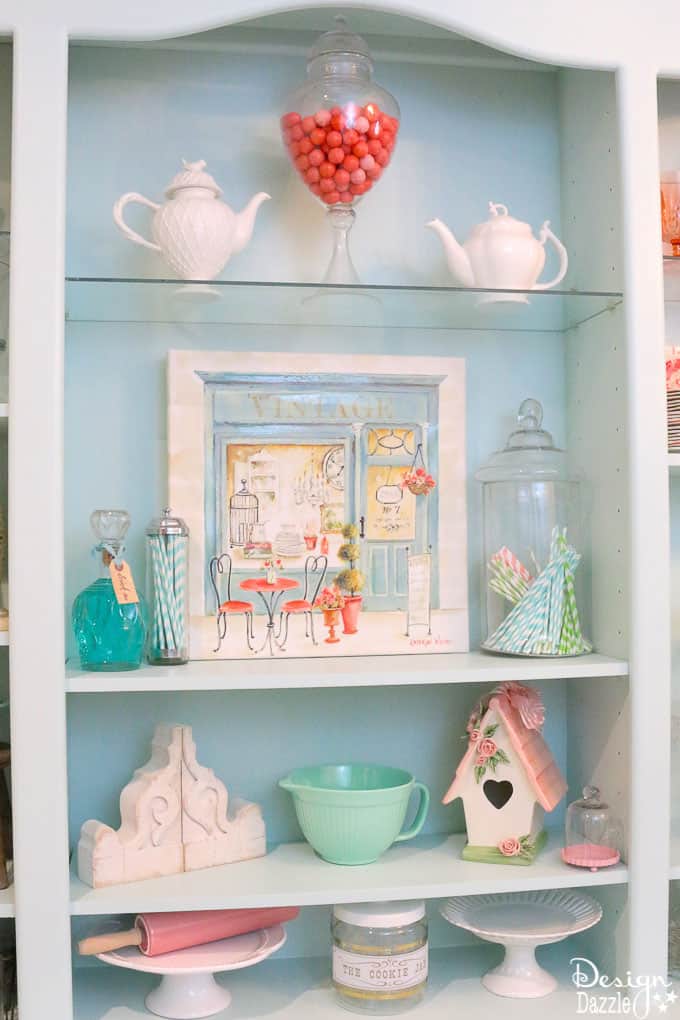
The exact artwork in my laundry room is from Kathryn White, sold at Home Goods. Here is some similar art you can buy!
LAUNDRY ROOM POSTS REMODEL
LAUNDRY ROOM REMODEL – LAUNDRY AND PANTRY REMODEL
LAUNDRY ROOM REMODEL – PLANS, TEAR OUT, AND WALL ADDITION
LAUNDRY ROOM REMODEL – WOOD COUNTER AND PLANK CEILINGS
LAUNDRY ROOM REMODEL – AMAZING SECOND-HAND CABINETS ASSEMBLED AND PAINTED
LAUNDRY ROOM REMODEL – ANTIQUE DOOR MADE INTO A SWING DOOR
LAUNDRY ROOM FINAL REVEAL (YOU ARE CURRENTLY READING THIS POST)
My goals for creating a Laundry Pantry Room Combo – PANDRY:
Create a happy room!Add tons of storage for my serving pieces – cakes stands, glassware, apothecary jars, beverage dispensers, etc.Incorporate different textures into the designAdd lighting and a cute chandelierWallpaper the focus wallCreative way to use the ironing boardTongue and groove ceilingAdd a swing doorMake sure all the essentials of a laundry room is includedOrganization is a mustCreate a spot for our extra refrigeratorPainted floorWood countersStyle and decorate the room
I reached all my laundry/pantry room goals! I am so happy with how it turned out! What do you think?



Ola says
Whoa! Talk about luxury! This is amazing. I could eat, sleep and dream in this room with no problem. Bravo! Take a bow !
Toni - Design Dazzle says
You are so kind! It’s a fun room. Thank you.
Cassie Bustamante says
what a great happy space! i love the paper, the ceiling, and that colored cabinet! lovely!
Nicole Q-Schmitz says
Love how it turned out – such a fun and functional room 🙂
Lindsay says
I am planning the exact same wallpaper in my laundry room! Love the wood countertop to breakup the lighter colors! gives me inspiration!
Toni - Design Dazzle says
I would love to see a picture when done! You’ll have so much fun getting your laundry room finished!
Emme says
This is stunning!! I love everything especially the hidden ironing board. How much of this were you able to do yourself? My budget doesn’t allow me to hire many professionals .
Toni - Design Dazzle says
Hi Emme!
I was redoing a lot of my home at the same time. So I had to hire help. But if you take it slow and have some skills you can do it! The ironing board comes with detailed instructions so this can be installed if someone knows a bit about DIY.
Good luck!