My laundry room is a place where I spend a lot of time! Because of that, I want to make sure that my laundry room is beautiful and also makes me happy!
Two weeks ago in my Laundry Pantry Room Combo post I announced that I will be participating in the One Room Challenge hosted by Calling It Home. For this challenge, I decided to show you how I re-did my Laundry Pantry room, aka “Pandry”.
This week I will be focusing on how I added the wood countertops and flooring! This is the third week of the One Room Challenge so if you want to catch up on what you’ve missed here scroll to the bottom to see all links to my previous posts and the final reveal!

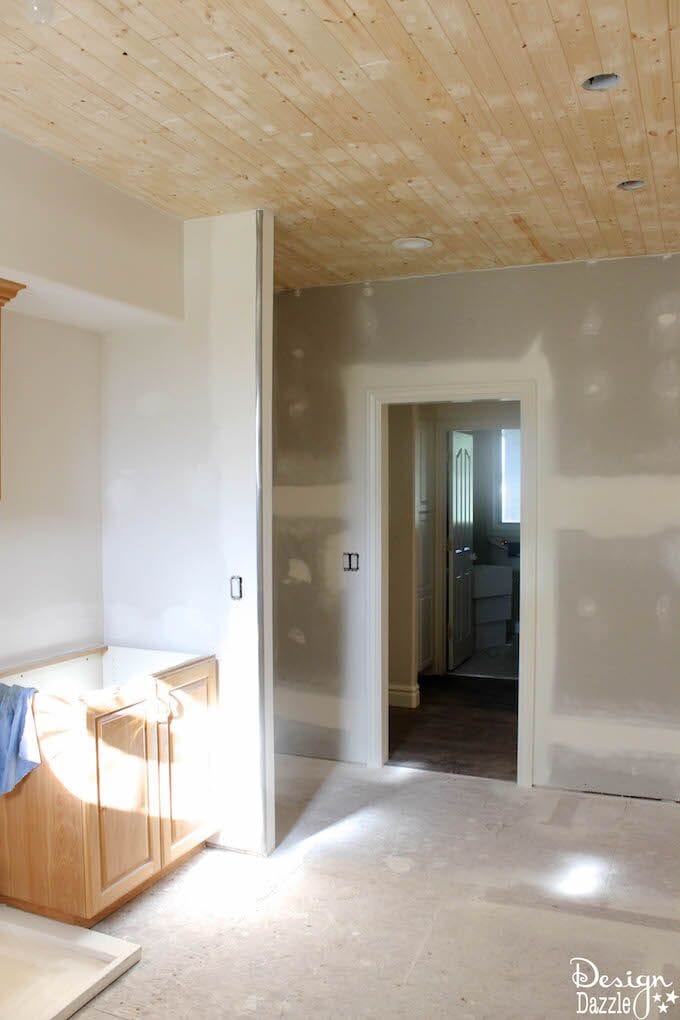
The original laminate counter tops were in good condition but they weren’t really my style. I wanted something that fit better with the flow of the room so I decided to create a wood countertop!
How to create a gorgeous wood laundry room countertop:
- We bought pine boards ½ inch x 7 ¼ inch wide from Home Depot.
- Measure and cut the wood to the correct size of the counter top.
- Use Liquid Nails to glue the boards together.
- Clamp the boards together and let it dry.
- Then you will attach the boards to the top of the cabinet.
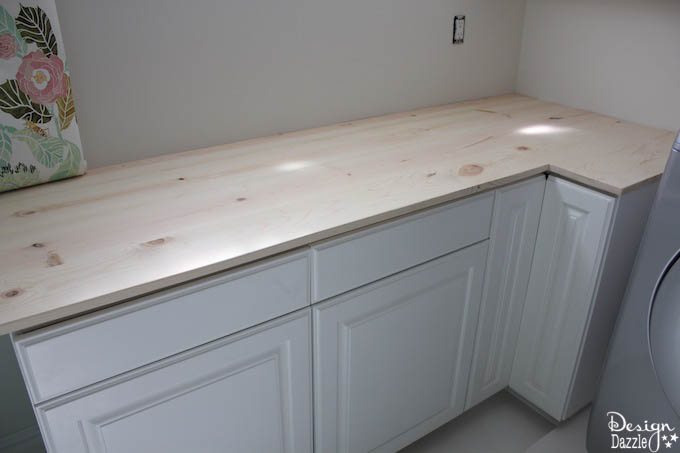
- Now sand the boards really well. Wipe off the sawdust with a damp cloth.
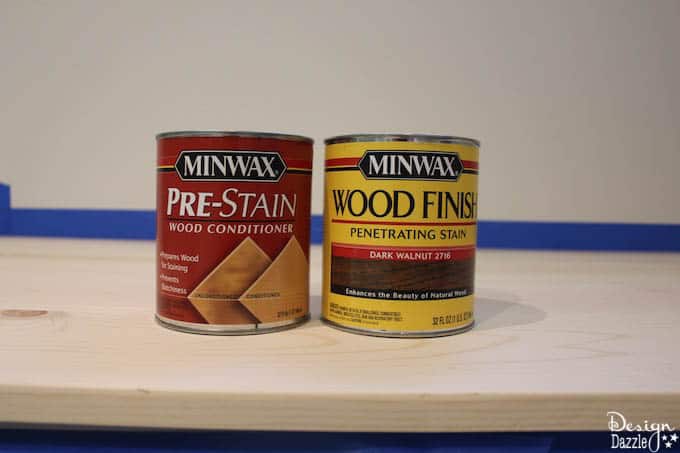
- Use pre stain on the wood. Be sure to follow the directions on the can! Here is what my pre stain and wood stain looks like:
- Seal the boards with wood sealer– let dry.
- Now it would be smart to line the room with painters tape so you don’t get any stain on the wall or other furniture.
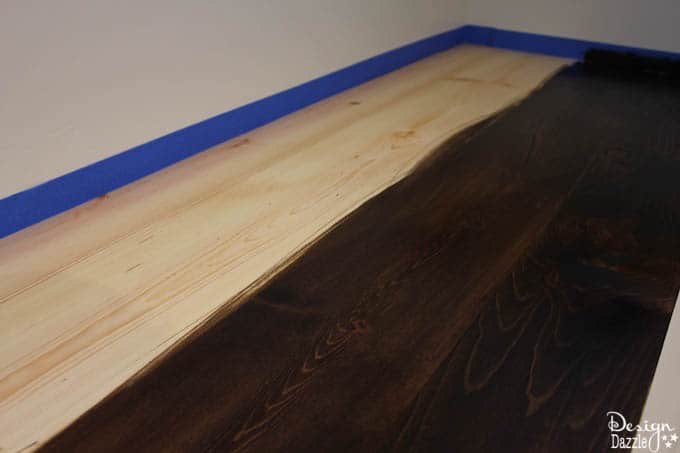
- Stain them- I only used one coat of Dark Walnut Wood Stain to achieve this look.
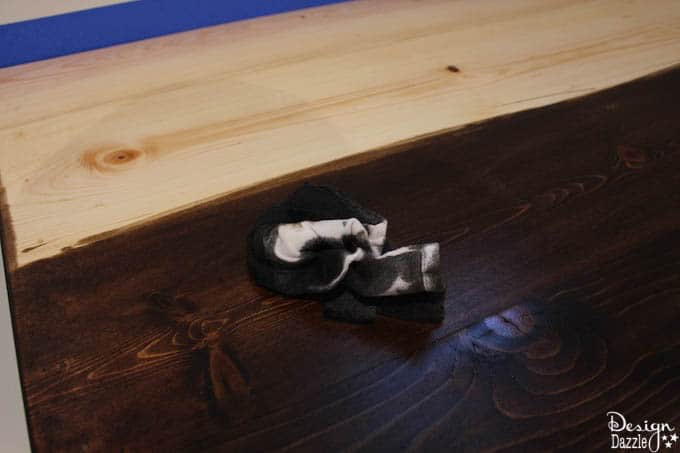
Here’s what the gorgeous wood counter top looks like when it’s done! 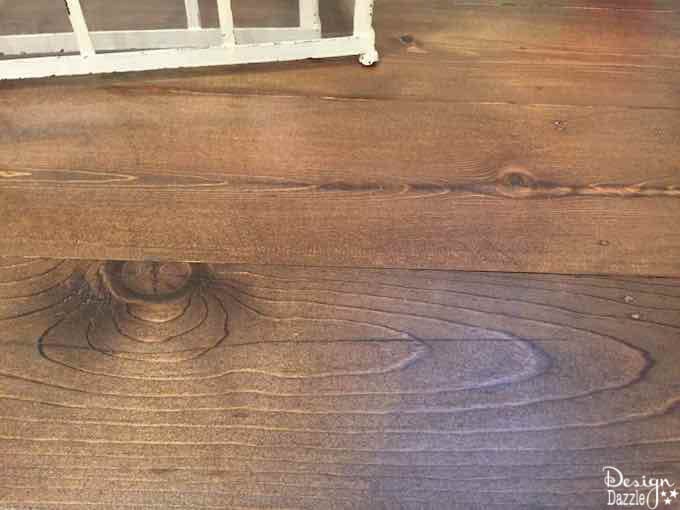
How we made an old sink look like new and installed a new countertop around the sink:
Here is the before picture of the sink. You can really see the stains!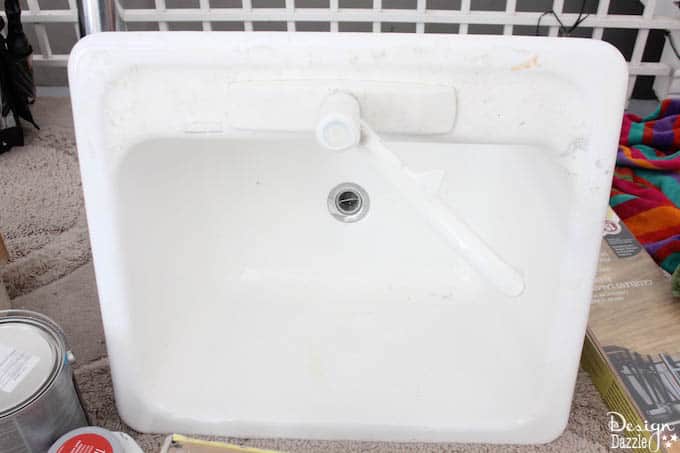
- Pull the sink out of it’s original cabinet.
- Use scouring brushes and SOS chemicals to get rid of the stains. Really use your muscles to scrub and spend some time on this. All of the stains will eventually come out!
- Trace the sink onto paper to use as a template when making the hole for the sink to go into.
- Use a Jigsaw to cut the hole for the sink into the pine counter top.
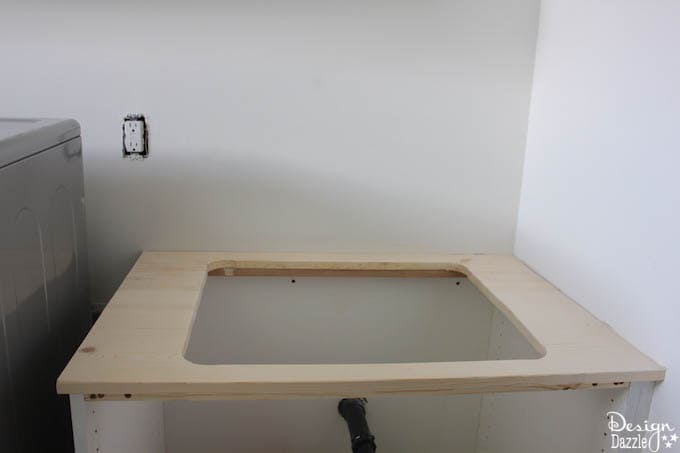
- Attach the counter top to the cabinets.
- Before the sink is put into the counter top- pre stain and stain the wood.
- Now seal the wood with polyurethane. Use several coats so the water from using the sink will not break through and ruin the countertop. Make sure the polyurethane is dry before you move on.
- Place clear silicone all around the edges of the sink to prevent water from getting to the wood. Then around the edges of the sink where it will enter into the countertop, pipe some more silicone.
- Place the sink into the countertop and wipe away any excess silicone.
Here’s what the sink looks like after! I’m so happy with how it turned out. Eventually, I will replace the faucet but for now it works!
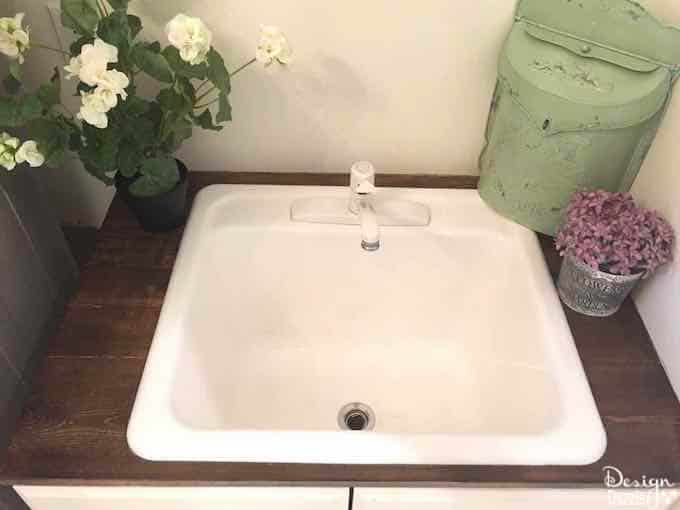
The sink before it was cleaned (image above).
The sink after it was cleaned (image below).
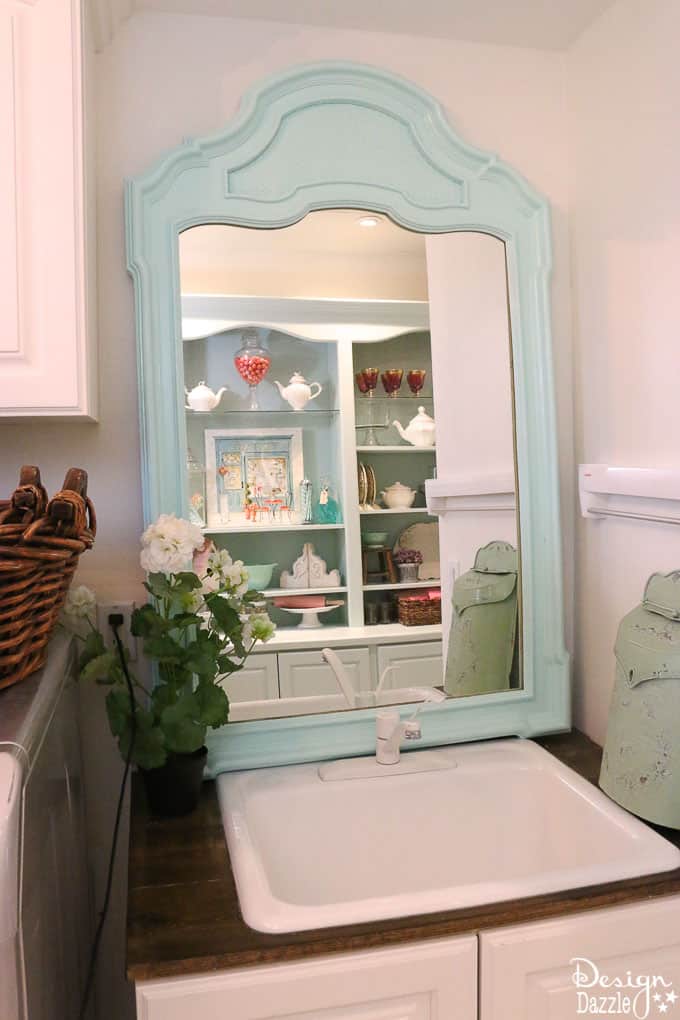
How to paint white flooring in the laundry:
Here’s what my floors looked like before:
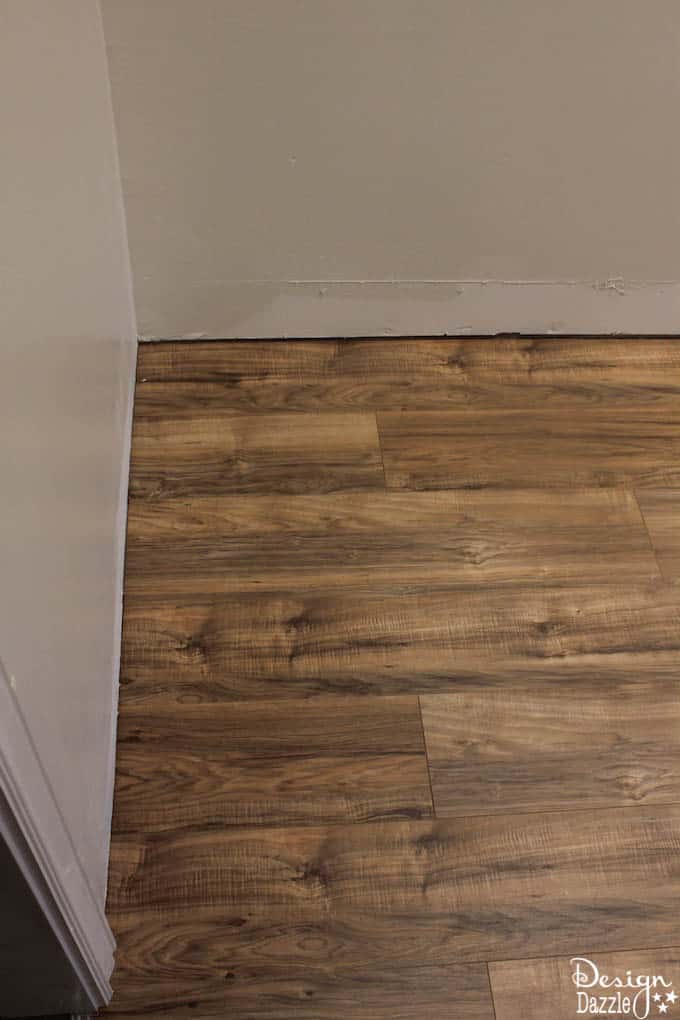
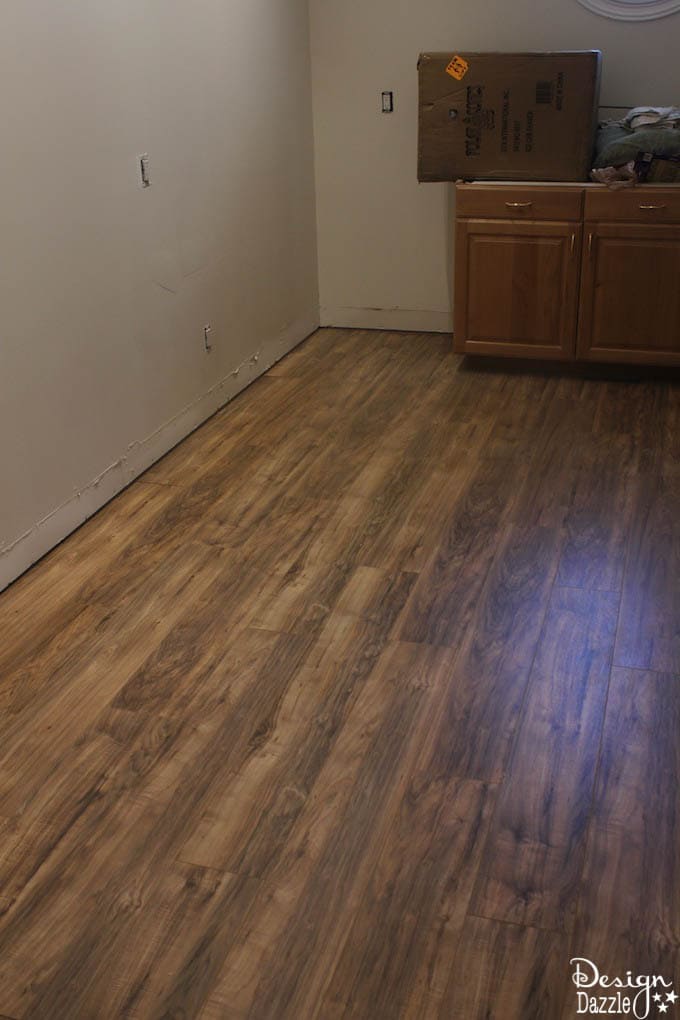
- I bought inexpensive laminate flooring at Home Depot. It was less than a dollar per square foot. I knew I was just going to turn around and paint it white so I wasn’t too concerned with specifics.
- Lay the flooring.
- Prime it.
- After it dries paint it with flooring paint. Use a good quality floor paint. I really wanted a white floor so we chose to paint it white!
- Seal the floor really well with sealant.
Here’s what they look like after:
I know what you’re thinking… “White floors? Why would she do white floors? Those will never last!” Well let me tell you, the floor has been done for just shy of two years and it still looks absolutely amazing! I love it! It isn’t worn down one tiny bit and it still looks like new.
EDITED TO ADD:
HOW DID THE PAINTED FLOOR HOLD UP?
I lived in this home for 6 years after painting the floor. It held up beautifully. Having the correct FLOOR paint and prepping it is crucial to a floor that looks good years later. This is a working room – with lots of traffic, a washer dryer, a pantry, and a fridge/freezer. This room was used all the time. I occasionally had a house cleaner come twice a year. She loved this floor and commented how much she loved it. Because it cleaned up so well. Even though it was white it worked fabulously. I will do a painted floor again if I get the chance.
We did have a leak with our fridge water dispenser so after 6 years the flooring/partial drywall was removed due to mold. We had a mold company come out and take care of it.
LAUNDRY ROOM POSTS REMODEL
LAUNDRY ROOM REMODEL – LAUNDRY AND PANTRY REMODEL
LAUNDRY ROOM REMODEL – PLANS, TEAR OUT, AND WALL ADDITION
LAUNDRY ROOM REMODEL – WOOD COUNTER AND PLANK CEILINGS (This post you are currently reading)
LAUNDRY ROOM REMODEL – AMAZING SECOND-HAND CABINETS ASSEMBLED AND PAINTED
LAUNDRY ROOM REMODEL – ANTIQUE DOOR MADE INTO A SWING DOOR
LAUNDRY ROOM FINAL REVEAL
My goals for creating a Laundry Pantry Room Combo – PANDRY:
- Create a happy room!
- Add tons of storage for my serving pieces – cakes stands, glassware, apothecary jars, beverage dispensers, etc.
- Incorporate different textures into the design
Add lightingand a cute chandelier (this is partially done!)- Wallpaper the focus wall
- Creative way to use the ironing board
Tongue and groove ceiling- Add a swing door
- Make sure all the essentials of a laundry room is included
- Organization is a must
- Create a spot for our extra refrigerator
Painted floorWood counters- Style and decorate the room
Be sure to come back next week to see what was accomplished next!


Leave a Reply