If you saw my earlier post on my Bedroom Makeover, you will know that I am redoing my guest bedroom. It’s coming along but I’ve had a few situations come up in the last couple of weeks since my last post – a funeral out of state and a relative hospitalized for a few days. Then I went to a blog conference for three days – so I’m trying to catch up with this room! I’m participating in the One Room Challenge, where lots of us are re-doing rooms. You can check it out here.
My pandry (pantry/laundry) room was shared also on the ORC. It’s a fun room you can see the first post here.
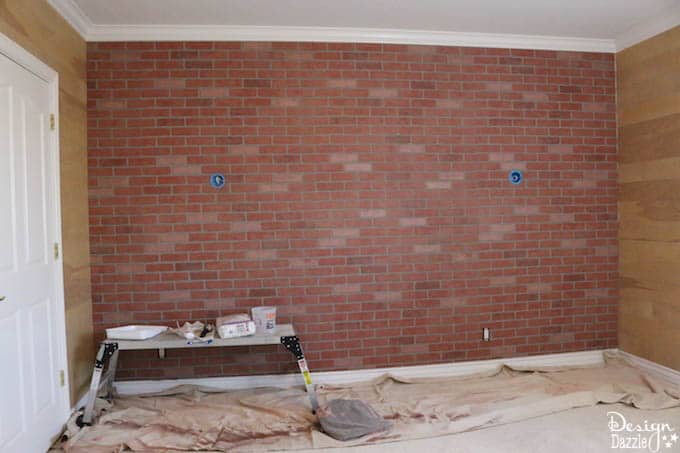
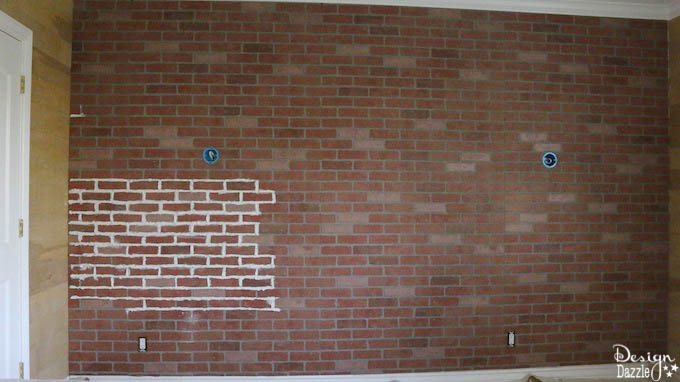
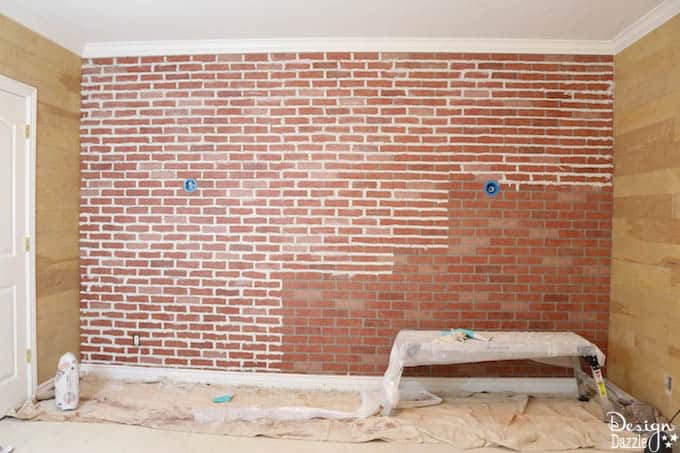
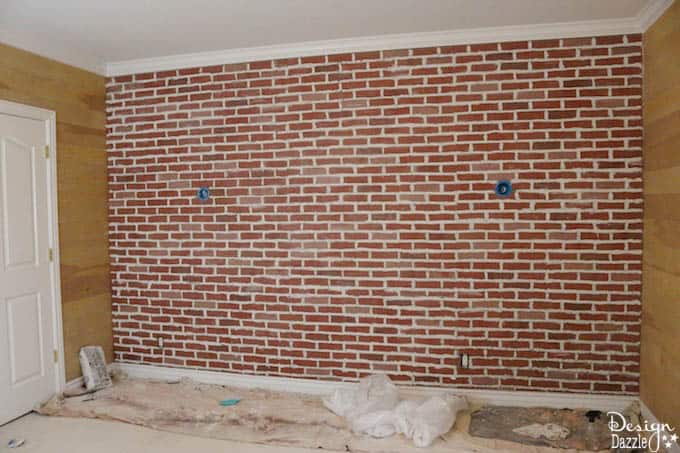
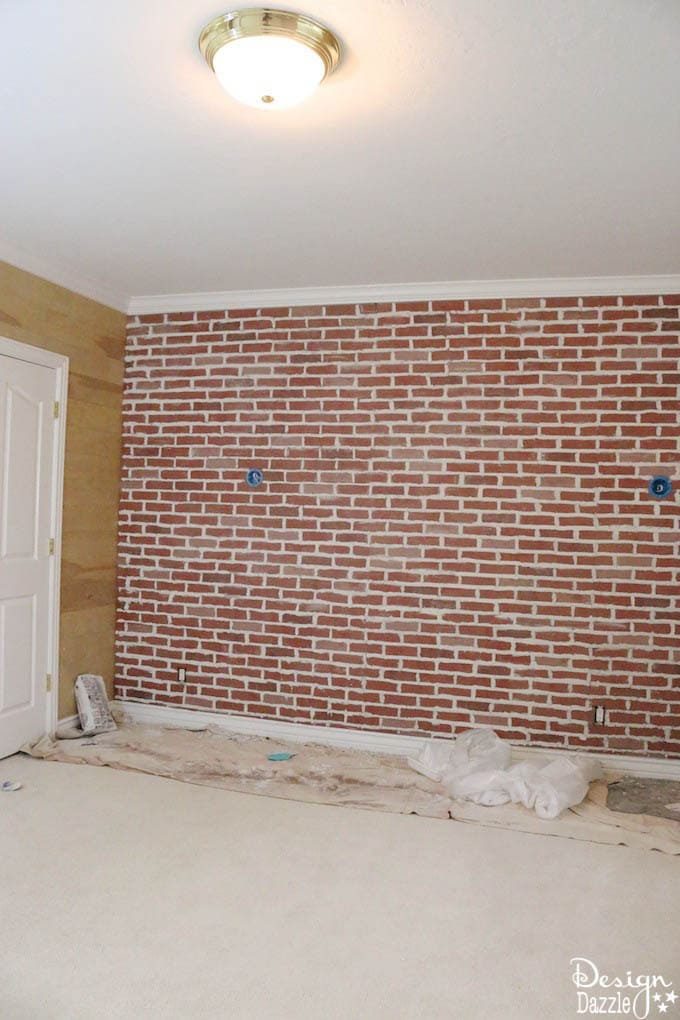
On to our guest bedroom. Majority of the products for this post were purchased at Home Depot. The fake 4′ x 8′ brick paneling was installed. It does looks pretty cheesy – fake brick paneling isn’t my thing. But, just wait til you see what I added to it to make it look really impressive – grout! Yes, we added grout “between” the fake bricks. It’s looking pretty good! But I ain’t gonna lie – it was not fun to grout. Grouting is just not my thing. When you look closely at it you can tell we are total beginners. That’s okay because I will be painting over the brick wall. I wanted the brick wall to add dimension and texture but I didn’t want the “reddish” color. Chantilly Lace Benjamin Moore paint color (watered down) will be the color I will use to do a wash over the brick. Next week we will showcase the painted brick wall. The two blue circles shown on the brick paneling are electrical boxes for where the wall sconces will be added.
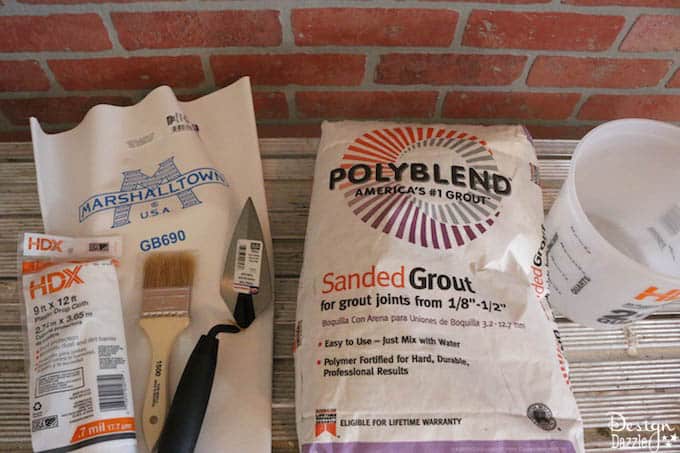
Materials:
- sheets of fake brick paneling (the amount of 4′ x 8′ sheets depends on the size of your wall)
- 2 – 25 lb bags of sanded grout
- inexpensive trowel
- small throw away bucket
- plastic drop cloth
- canvas drop cloth
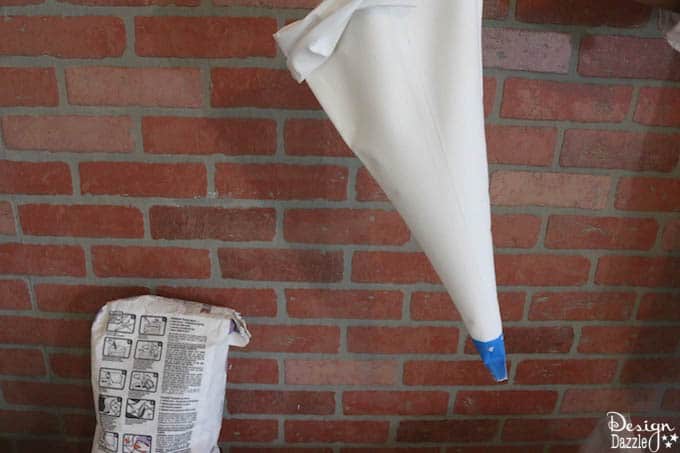
- grout bag
- folding work bench ladder
- rubber gloves – you’ll definitely need these
All of the above items were purchased at Home Depot with the exception of the bench ladder. But you can certainly find those at Home Depot
So how did we grout the wall?
Get organized and lay down a canvas drop cloth to cover the flooring. Trust me – this is super messy! I borrowed a folding work bench ladder. Guess what I’m purchasing soon? The work bench is around $35 and the ease of going up and down and working sideways was made super easy with this. A ladder would have been a pain in the butt. I placed the plastic drop cloth over the ladder to prevent the grout from sticking to the bench ladder. Messy is an understatement with this stuff.
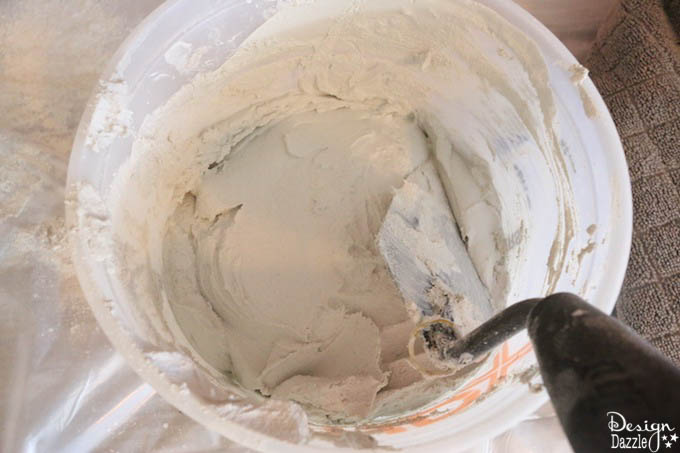
Mix the grout according to the directions. Using a small plastic bucket I poured in a cup or two of water then added the sanded grout. The trowel makes a great mixing tool. Mix it until it looks like peanut butter or frosting. If you are a beginner like me, this is just an experimentation process. Just make a small batch at first and see how it works.
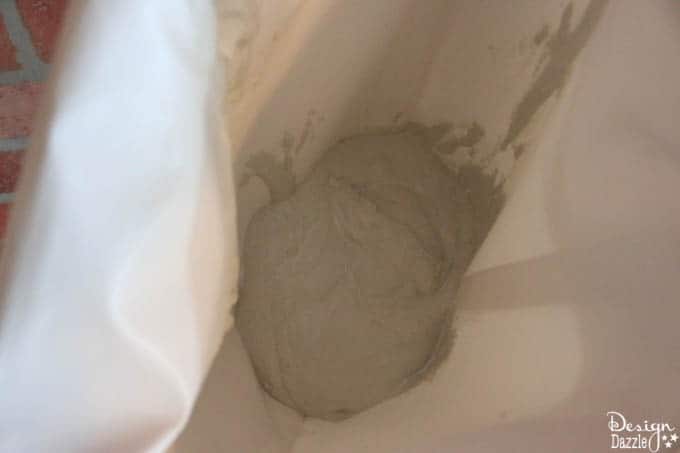
Have you had any experience frosting a cake? Add the grout to the grout bag as if it was icing. Shake the grout down in the bag and twist at the top. Place pressure on the bag while applying the grout to the wall. If the grout is sliding off the wall, it’s too runny. Empty bag into a clean container and see if you can add a bit more sanded grout. If it won’t come out of the bag, then the grout is too thick. Mixing small batches in a small bucket was the way I did mine. Also, the grout color didn’t matter too much – since I will be painting over the brick. With the one wall we did, there was approximately ½ a bag of powdered grout left out of the two 25 lb bags. When mixing new batches of grout always use a CLEAN bucket. Dried bits of old grout will clog up the grout bag. Also, don’t pour this stuff down the drain. That is one way to get a clogged drain. I would empty most of the grout into a trash bag and then rinse out the residue in the laundry room sink. I ran the water for quite a while to make sure none would get stuck in the pipes.
You can the close-up of the wall behind the grout bag. There isn’t much dimension with the fake brick paneling.
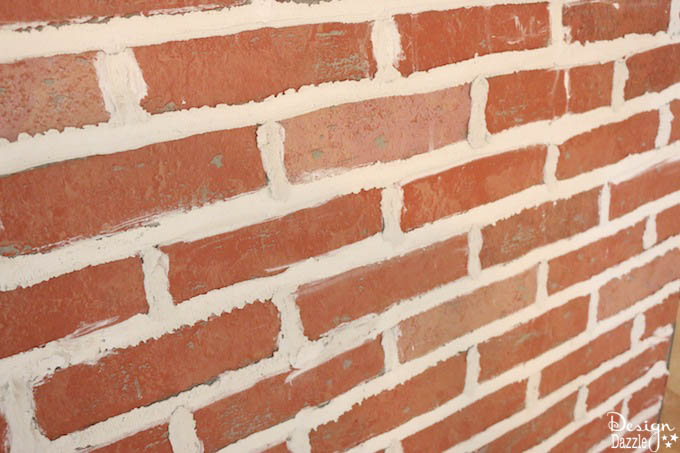
Check out the grout between the “fake bricks”. The grout really makes it pop. After applying the grout, I would take a damp rag and wipe any extra grout and smooth it out. This was a great way to make it look like I knew what I was doing grouting. Since I am a beginner at this – wiping away any extra grout made it look more professional. I’m sure the pro’s don’t need to do this step ; )
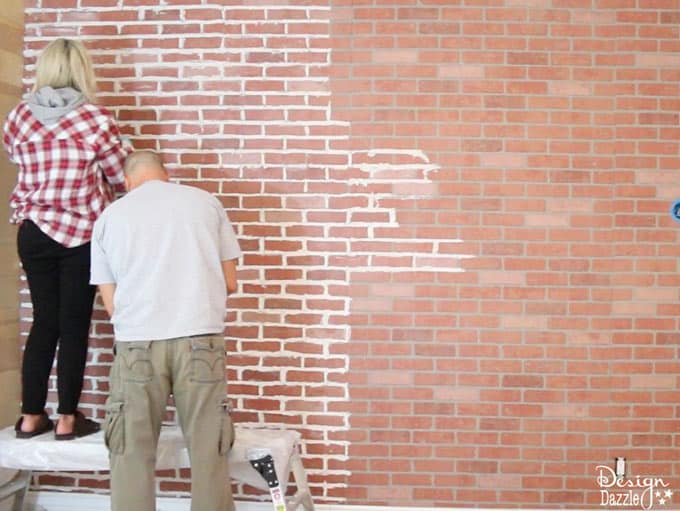
My husband and I working late trying to get all the grout done.
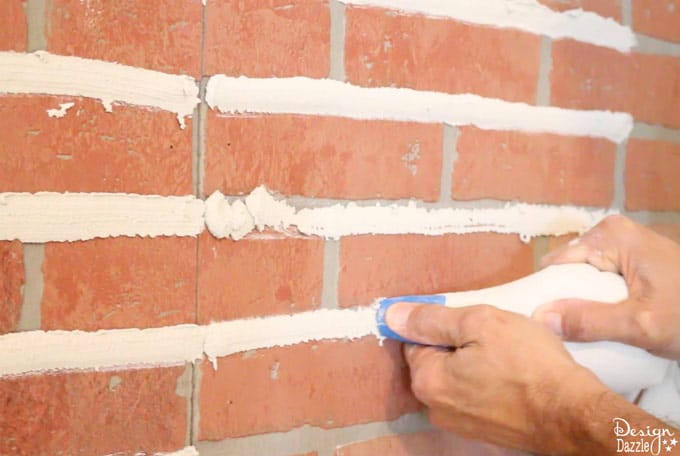
As you can see, the grout isn’t perfect. It is harder to grout “brick” when there is no space between the “brick”. Since this is fake brick paneling it
has a bit of space to grout but not much.
This was taken in better lighting. We’re about 60% done and my back is hurting. The horizontal lines were filled in first and then we went back and filled in the vertical lines.
All told it took me about 8 hours to do this wall. Three of those hours my hubby helped out. I texted him while he was at work saying he had a project to help me with that night. He mentioned he had city council that night (which I knew he didn’t). I teased him that how often and boring those meetings are he would rather go to the meeting than help me??? He was a trooper and worked late into the night to help me finish my goal.
A close-up of our grout work. I told my husband if this was a task on the Amazing Race we would have lost! At least we tried and did it. I think it looks pretty cool.
See the other posts on this room:
Part 1- where you can see the before pictures!
Part 2- the post you are currently reading
Part 3 (edited to add)
Part 4 (edited to add)
Part 5 (edited to add)
Final Reveal (edited to add)
My goals for creating a modern farmhouse guest bedroom:
- Purchase the majority of the decor/products/furnishings from Amazon- currently in the works
Add fake brick panelingGrout the brick paneling- Paint the brick
- Paint the planked walls
Add planked wallsAdd electrical boxes for wall sconces- Incorporate different textures into the design
- Purchase some furniture off of Amazon- I’ll let you know what I think about the quality 🙂
- Add sconces and various lighting throughout the room
- Possibly paint the ceiling a bold color??
- Style and decorate the room – rug, pillows, accessories, etc.
- Create a peaceful, beautiful bedroom for my guests on a budget
Check back here or on the One Room Challenge page to see next weeks progress.




Leave a Reply