Are you ready for part 3 of our Bedroom Decorating posts? I love how my guest room is turning out! But, I’m trudging along with the guest bedroom – mainly because I have lots going on and I’m tired. This is part 3 of the ORC series. The challenge is to get a room done in 6 weeks – but I will need 7 weeks to get this done. Mainly because I’ve been gone so much – almost every week I’ve been out of town. I’ll be gone 4 days this week and next week I’m flying to California for my sons’ graduation from college. So, yes I’ll need an extra week to get this room finished.
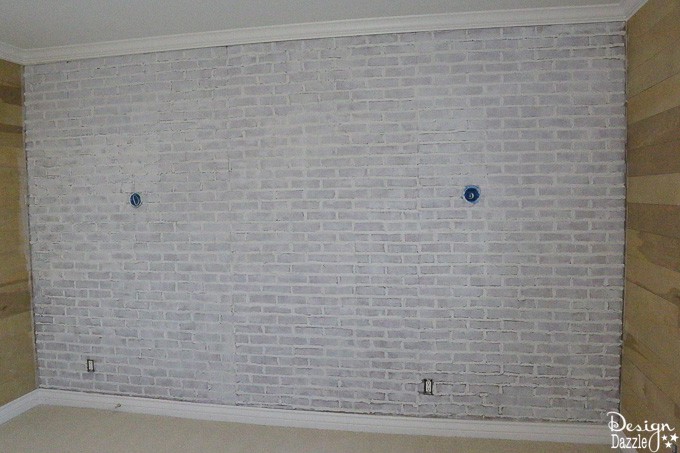
What did I do this week? I white washed the fake brick wall. It took about 3 hours total. Several hours were spent this week ordering furniture, a rug, lighting, art and more from Amazon. I’m excited to start receiving all the guest bedroom finds. Majority of the Amazon items include free two-day shipping – due to Amazon Prime. It’s the best ever! I receive a lot of shipments and Amazon Prime is the way to go.
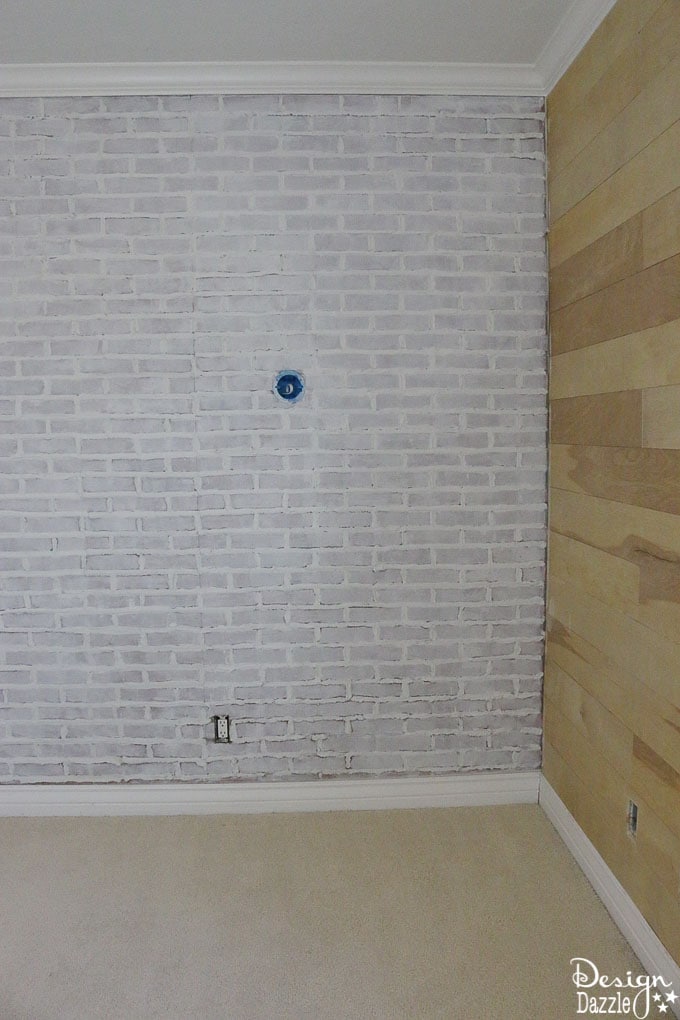
Red fake brick is not my favorite look. I knew I wanted to lighten the room and the red would have been too dark. I would either paint the brick wall or whitewash it. Whitewashing will soften the look of the brick wall. I liked the whitewash look and went with it. There are different ways to whitewash, the term can mean using lime (limestone) mixed with water. It can also mean to paint with white paint that has been watered down. That is what I did.
How to whitewash
Pour equal parts latex paint and water in a container and mix. Next up is how to apply the whitewash. I used a small foam roller because I was whitewashing over grout. So the small foam roller helped to get into most of the grooves. A large paint roller would not be as forgiving over the grout. The small foam roller worked great! It actually went pretty fast. I dipped the foam roller into the paint/water mix and rolled it on the wall. Make sure you get prepared by laying down a drop cloth – this is messy. Tape up with painters tape the areas you don’t want paint on. A little whitewash got on the planked walls. Which is fine because the planks will be painted next week. I went over the brick areas a couple of times to make sure the entire wall was covered in whitewash. Loving the look! A few spots need a little attention. When I get back I’ll spend a few minutes going over a few spots.
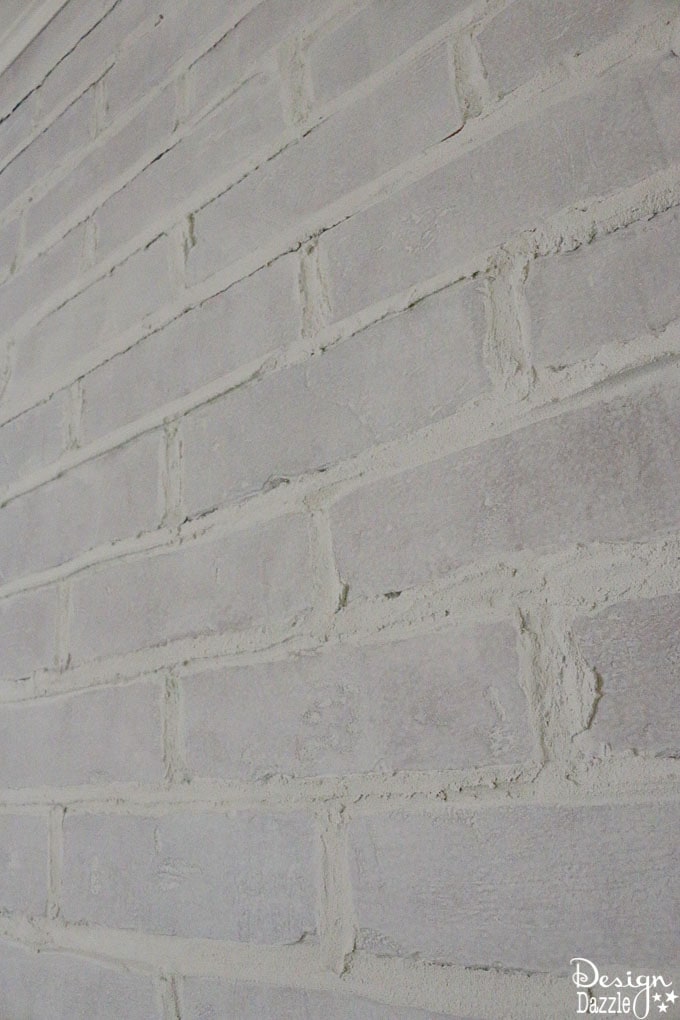
It’s hard to believe that is fake brick paneling with grout! Doesn’t the whitewash transform it? This is really working out to be what I wanted without doing REAL brick. My goal for next week is to get the planked walls painted and to get some of the electrical done. Don, the handyman will do both for me. My hubby will help assemble a lot of the furniture that is arriving in the next few days.
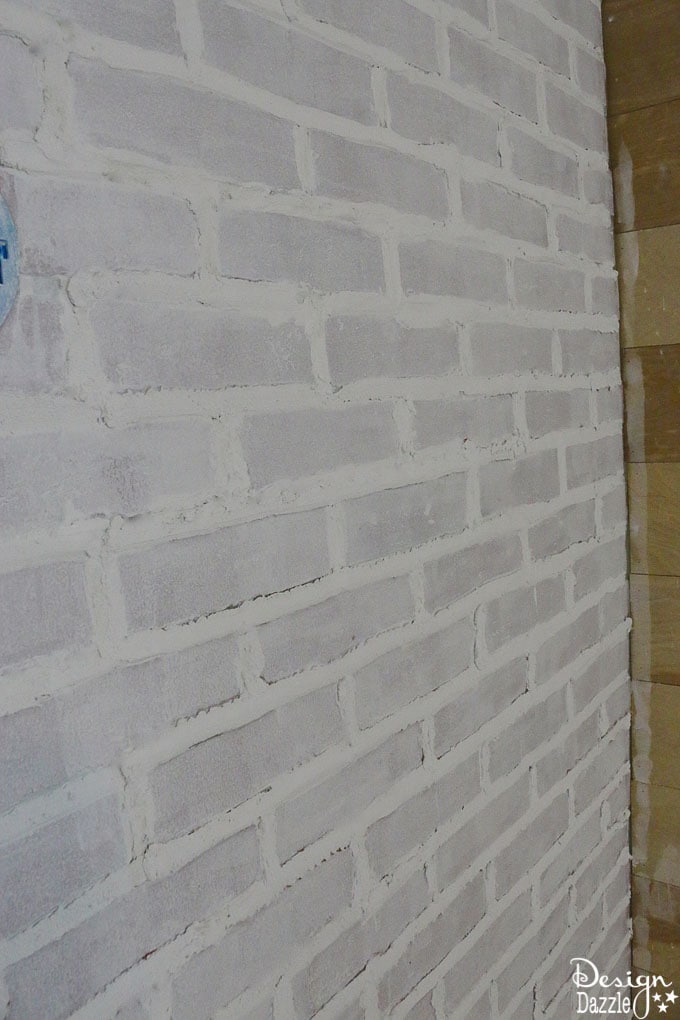
What do you think?
See the other posts on this room:
Part 1- where you can see the before pictures!
Part 2
Part 3- the post you are currently reading
Part 4 (edited to add)
Part 5 (edited to add)
Final Reveal (edited to add)
My goals for bedroom decorating with a modern farmhouse feel:
- Purchase the majority of the decor/products/furnishings from Amazon- currently in the works
Add fake brick panelingGrout the brick panelingPaint the brick- Paint the planked walls
Add planked wallsAdd electrical boxes for wall sconces- Incorporate different textures into the design
- Purchase some furniture off of Amazon- I’ll let you know what I think about the quality ????
- Add sconces and various lighting throughout the room
- Possibly paint the ceiling a bold color??
- Style and decorate the room – rug, pillows, accessories, etc.
- Create a peaceful, beautiful bedroom for my guests on a budget
Check back here to see next weeks progress. How do you like the whitewash look?




Leave a Reply