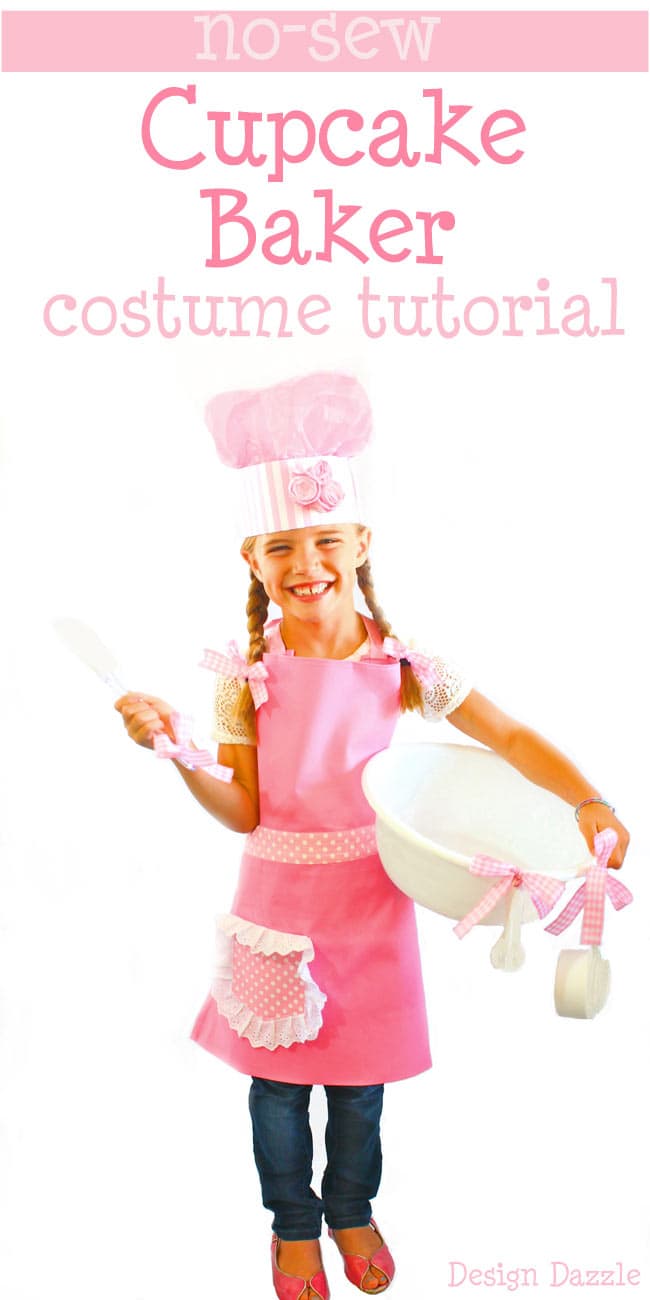
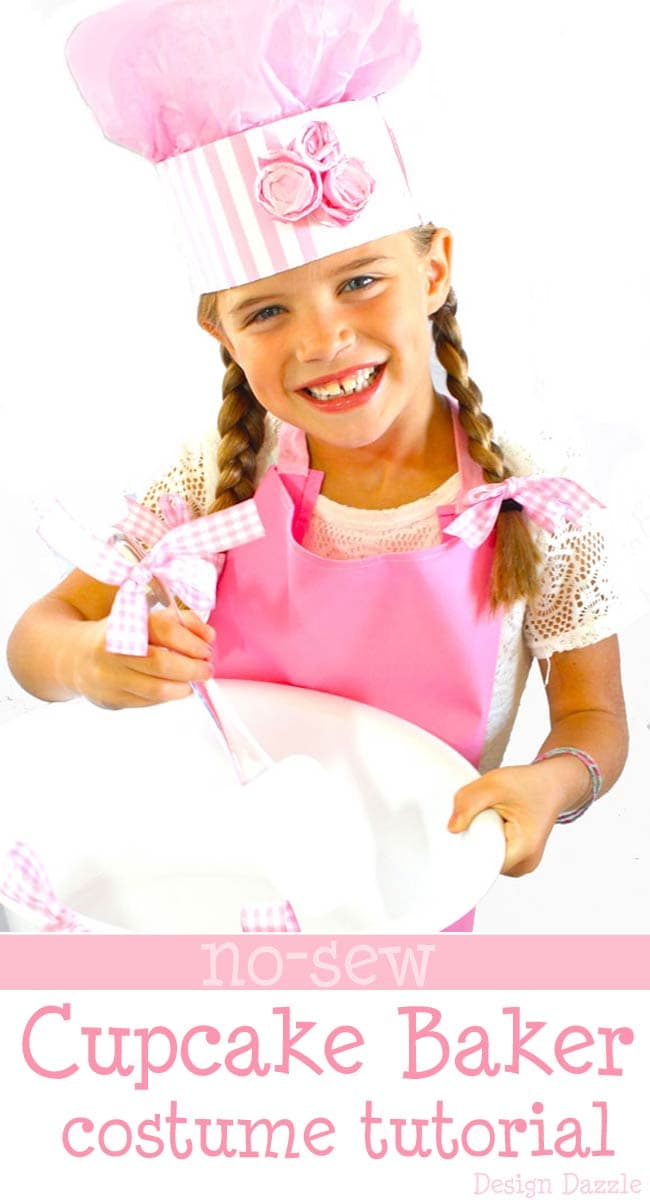
This no sew cupcake baker costume is so easy to create. Every item can be purchased but it also can be a handmade baker costume. I added a bit more detail to make it super cute. This would be a perfect sidekick to a cupcake costume or an adult baker costume for Halloween.
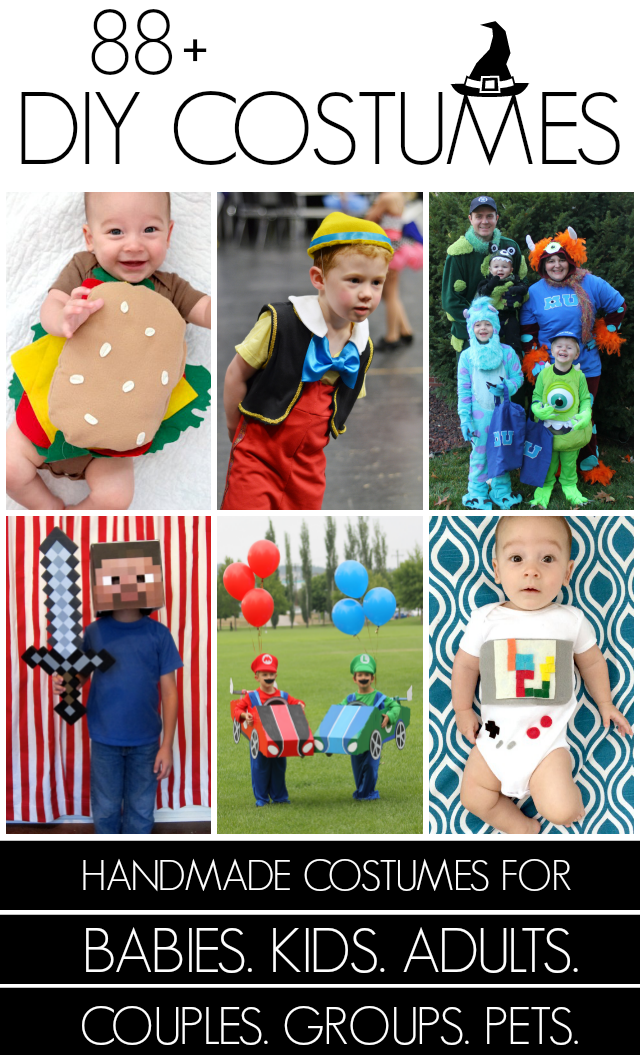
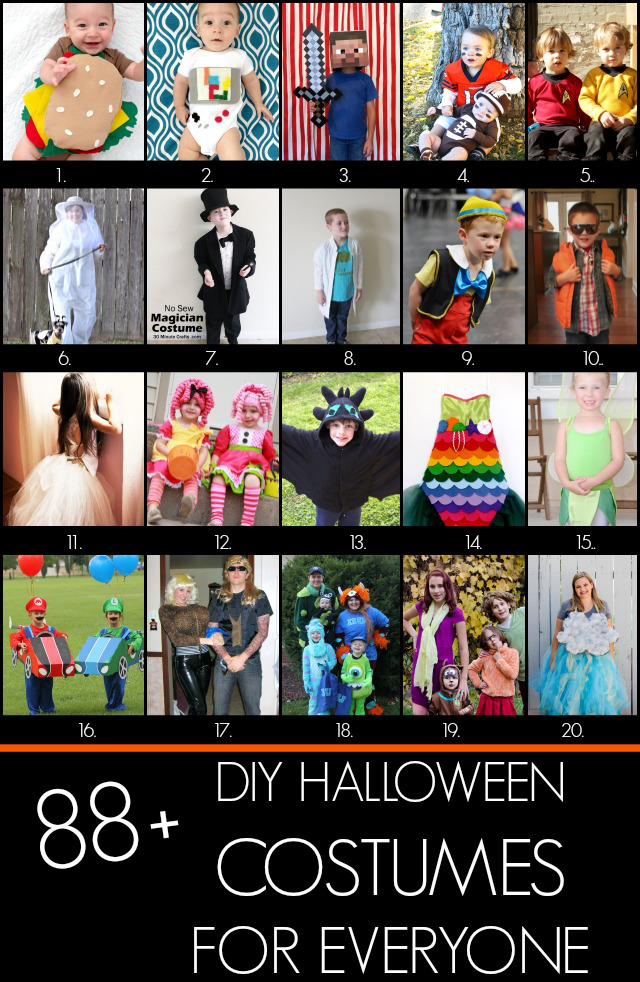
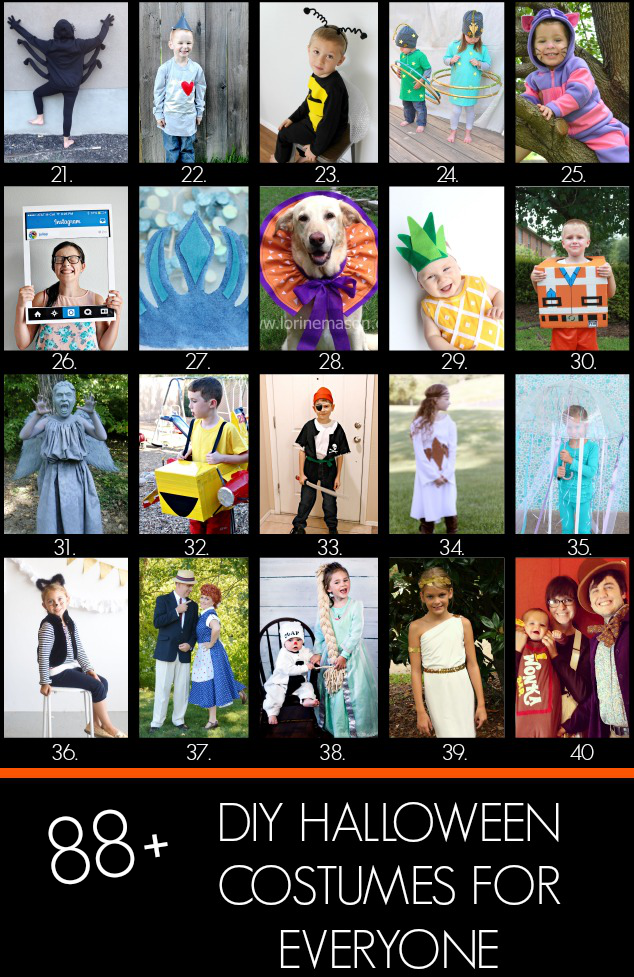
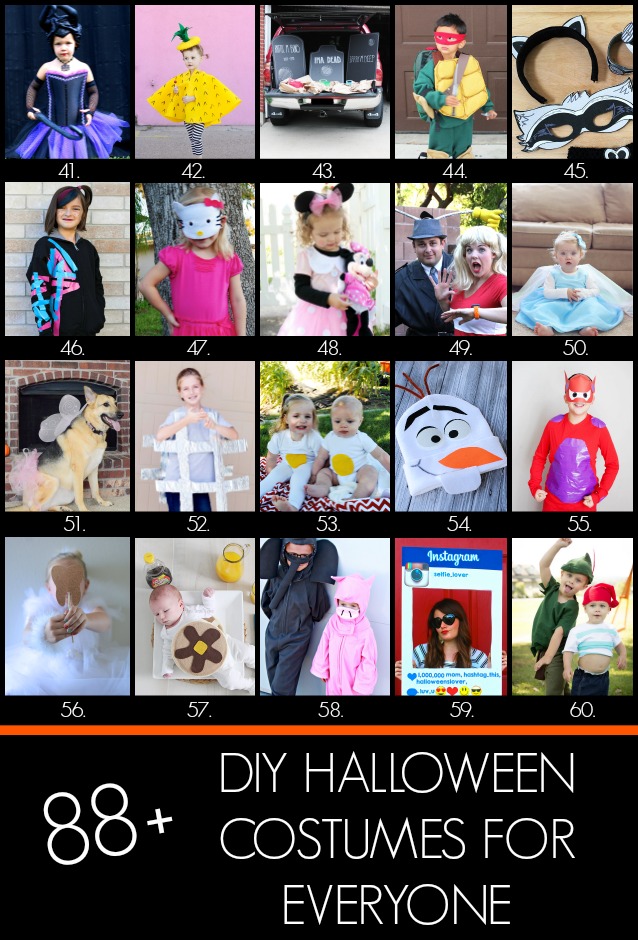
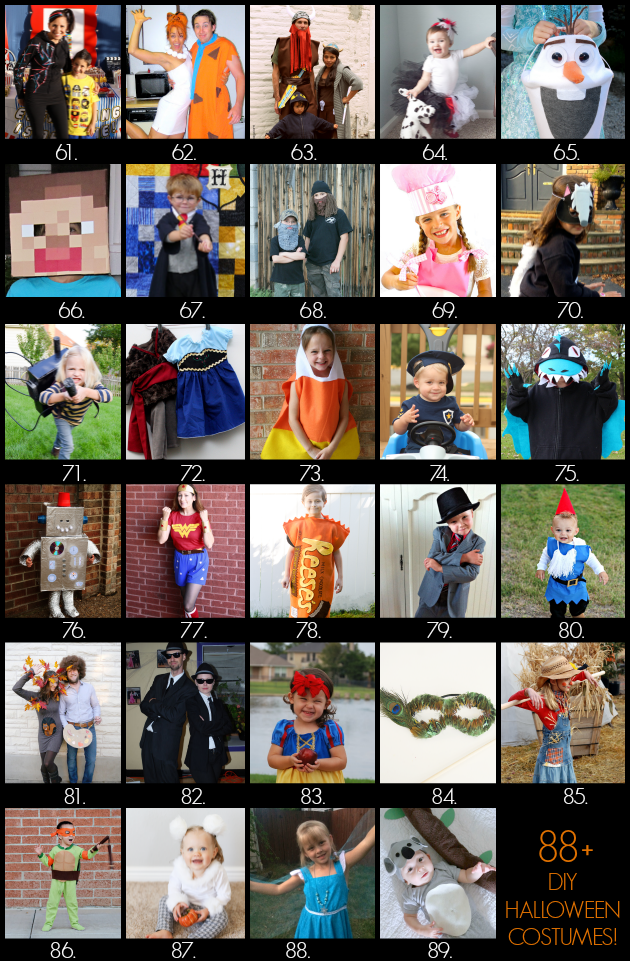
Along with my NO-SEW CUPCAKE BAKER COSTUME, I’m sharing 88+ more really awesome handmade costume ideas from talented bloggers everywhere!
This darling costume is perfect for your little sous chef. You know her- she is the helper, the one that knows exactly where all of the aprons are kept, the expert on mixing cupcake batter, and the one that always gets to lick the bowl. This costume is no-sew, has very little assembly required, and will end up looking simply scrumptious! You will love what you and your little cupcake baker will be able to mix up together. Be warned; she may never want to take off her new pink chef hat!
This cupcake baker costume can be cooked up very quickly! Since the apron is pre-made, I will be focusing on how to make the accessories, since it really is the accessories that make this costume. What is a cupcake baker without her iconic hat? She’s just a kitchen helper! Transform your baking partner into a cupcake baker in no time- with a one-of-a-kind, fun, girly twist!
Supplies for your cute cupcake baker costume:
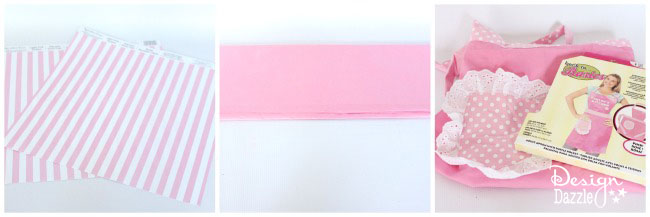
- one sheet of pink tissue paper
- two 12×12 sheets of scrapbook paper purchased at Michaels
- pink ruffled apron from Michaels
- dollar store plastic mixing bowl
- dollar store rubber scraper
- dollar store measuring cups
- dollar store measuring spoons
- ribbon purchased at Michaels
- dyed coffee filters
- scissors, double sided tape roller, hot glue gun
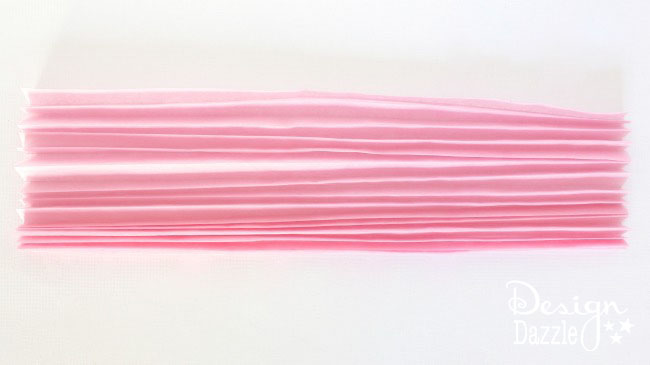
Step 1: Fold tissue paper.
Pleat your tissue paper into a fan. My folds ranged from about ½ inch to 1 inch wide- the pleats do not have to be even nor anywhere near perfect!
Step Two: Make the headband.
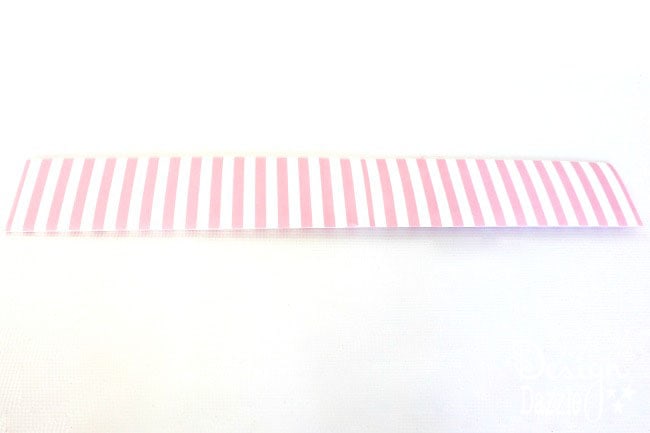
Pick out a fun pattern of scrapbook paper, whatever your heart desires! My pink and white striped paper turned out very cute, but unfortunately was not very sturdy. I decided that I would fold it over and use my hot glue gun to keep the seams together. First, fold both your papers into fourths to make sure it will be nice and sturdy. Since my papers were 12×12, the headband ended up being 3 inches thick. Next, measure your little cupcake baker’s head. I measured my baker’s head at 21 inches, and since both papers were 12×12, I had about one and a half inches of overlap to do the hot gluing in the center. (Save the other one and a half inches left over to connect the headband at the end!) Hot glue your papers together in the middle. Do NOT glue the other ends together yet!
Step 3: Tape the pleated tissue paper to the headband.
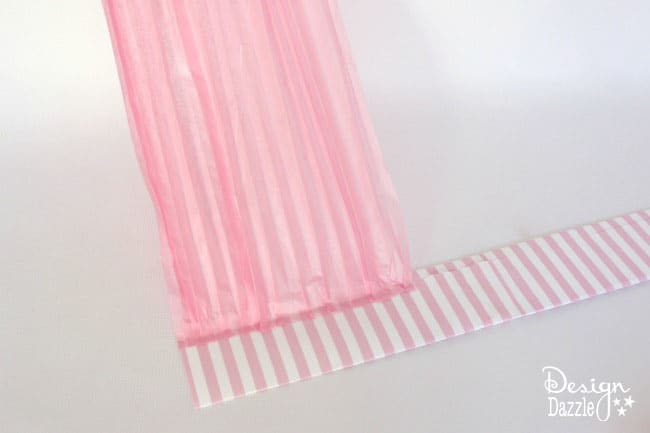
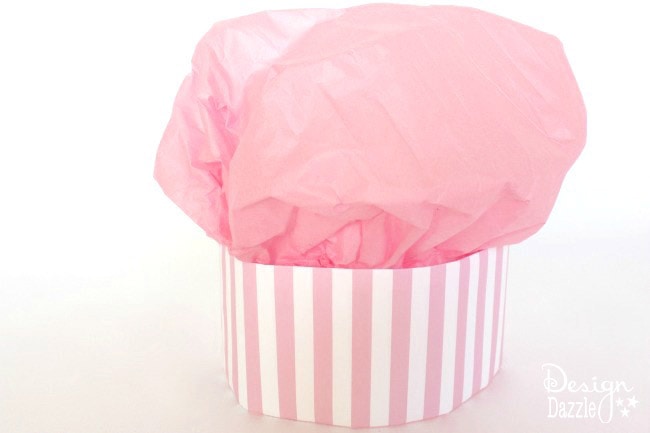
Using a double sided tape roller, secure the pleated tissue paper to the back side (the side with the seam) of your headband. It will reach about halfway across your headband. Do not worry about keeping the pleats too tight. For this hat, the pouffier, the better. Make sure the tissue is attached strongly.
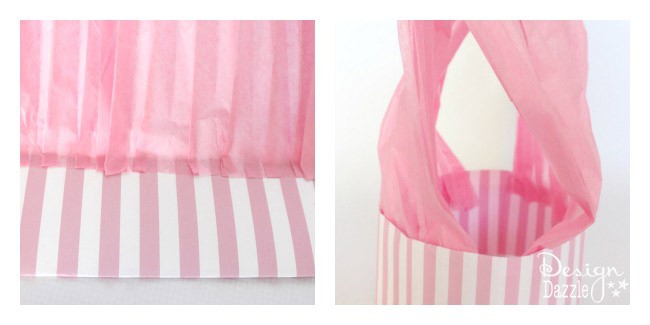
If you are using striped paper, it is very important to match up your stripes so your seam will not be too noticeable. Make sure you have the correct measurements and that your paper is matched up evenly. Hot glue the ends together.
Step Five: Fold the “pouf” over.
After the headband is secure, fold the pouf over. It can be tricky to get the double sided tape on the inside. If you lay the headband on its side on your workspace, it is much easier to roll the tape out. Once the tape is down, connect the tissue paper just like you did before on the other side. It will look like the photo above, you will be able to see through it.
Step 6: Secure the ends.
This step is very similar to the way that you attached the tissue paper before. The only difference is that now you do not have your pleats. First, roll out some double sided tape. Then, fold and gather the tissue paper, shaping the pouf as you get closer to the headband. Once you have the shape of the pouf just how you like it, secure the ends to the double sided tape. Repeat the folding and tucking of the tissue paper and tape the other side. You can also fluff and improve your pouf after the sides are all taped down. It is finally starting to look like a proper cupcake baker hat!
Step 7: Make coffee filter roses.
All you need to create these whimsical roses:
- dyed coffee filters (I used three for each rose)
- construction paper
- hot glue gun and scissors
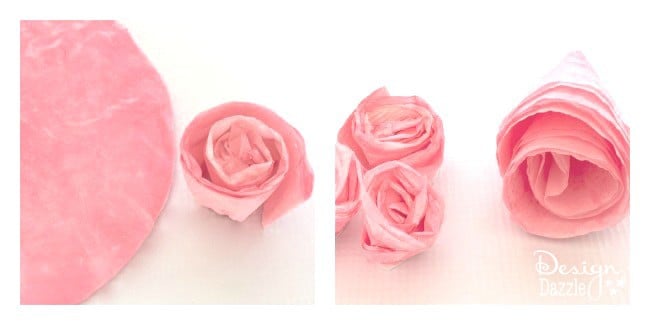
First, stack and roll the coffee filters together as pictured above. Once they are rolled together, hold the tight end and smash the opening of the flower on the table. This creates a tighter, more flower-like look. Use scissors to cut them how tall you would like your finished flowers to be.
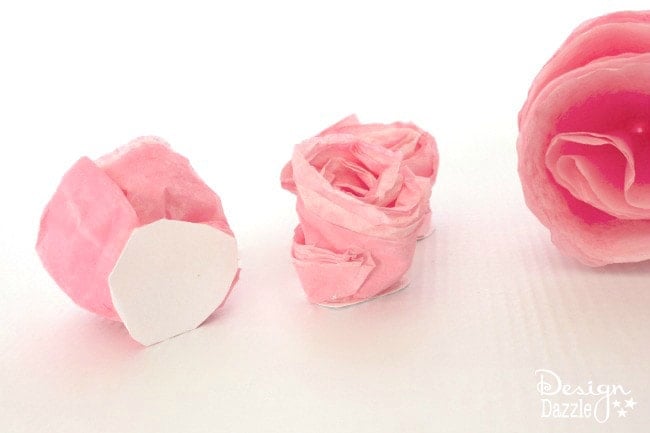
After you have cut the flowers, also cut out little circles of construction paper. Use your hot glue gun to attach the base of the flower to the little circle of construction paper. This will add some stability to the flowers and make it easier to attach them to the cupcake baker’s hat. These little roses are the perfect accessory to give your cupcake baker’s hat a little touch of girly fun.
Step 8: Attach paper roses to headband.
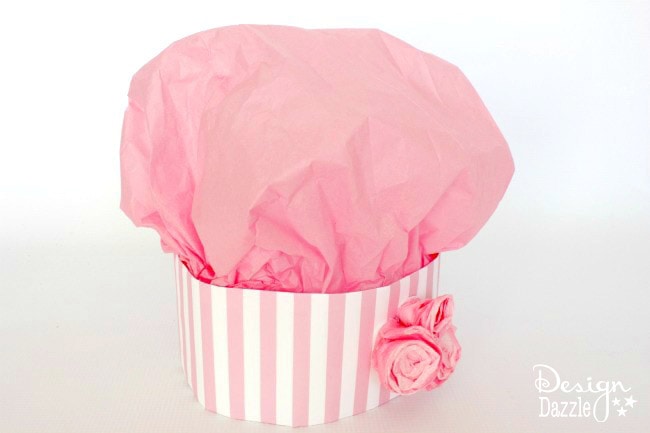
Position the roses how you like on the headband of the hat. Using your hot glue gun, attach the roses. Now that’s a cupcake baker hat!
Cupcake baker’s trick-or-treat bowl:
Of course, the cupcake baker needs to showcase all of her handy tools while trick-or-treating. First, heat a metal skewer on the stove. Use the heated metal skewer to punch a hole in the rim of the plastic bowl. Tie the dollar store measuring cups and measuring spoons onto the mixing bowl with a cute pink ribbon. This makes for the perfect-sized and perfectly adorable trick-or-treat mixing bowl!
This darling costume is easy peasy. You can purchase items to make this baker’s costume or use store-bought items and add a couple of details to make it super cute! Cupcake Baker is such a fun costume! Leave me a comment on if you made this no-sew cupcake baker Halloween costume!
Your cutest cupcake baker costume is sure to take the cake! And don’t you love the idea of using the mixing bowl as the trick or treat container to hold all the candy?
Me and 80+ blog buddies got together to bring you 80+ DIY Halloween costumes, including my NO-SEW CUPCAKE BAKER HALLOWEEN COSTUME! I’m teaming up with Jamie Dorobek and her handmade Halloween costume site, Really Awesome Costumes to bring y’all tons of easy ideas to craft up DIY Halloween costumes for everyone including your pets, family costumes, and even a trunk or treat idea!
And now it’s time for tons more DIY Halloween costume inspiration! Join in on the BLOG HOP! Click on the links below each collage to get detailed instructions about how to make the costume pictured, just like mine above. Don’t forget to follow the Handamde Halloween Costumes Pinterest Board for even more DIY costume greatness!
1. Handmade Baby Hamburger Costume
3. DIY Minecraft Steve Costume
4. Football Brothers Halloween Costumes with DIY Pads and Onesie
5. Star Trek Halloween Costume for Kids
9. Pinocchio
10. Marty McFly
11. Princess Wedding Dress Costume
12. Handmade Lalaloopsy Doll Costume
13. Homemade Toothless Costume
14. DIY Mermaid For Less Than $20 (No-Sew Option)
16. Mario and Luigi Go Kart Costumes
17. Dog The Bounty Hunter and Beth
18. Family Monsters University Costumes
19. Scooby Doo family costumes
21. Cheap and Easy DIY Spider Costume
27. Elsa crown
29. DIY Pineapple Baby Costume
32. Disney Planes Costume: Dipper
34. Easy Costume Idea – Renaissance Girl
35. 10 Minute Homemade Jellyfish Costume
36. DIY Cat Costume
39. Easy Greek Goddess Costume
40. DIY Family Willy Wonka Costumes
41. DIY No Sew Maleficent Costume
42. No Sew Pineapple Halloween Costume
43. Graveyard Bean Bag Toss: Trunk or Treat Car Costume
44. DIY Teenage Mutant Ninja Turtles Costumes
45. DIY Raccoon Costume with Printable Mask
46. Easy WildStyle Lego Movie Costume
47. Simple Hello Kitty Costume
48. No Sew Minnie Mouse Costume
49. DIY Inspector Gadget and Penny Costumes
50. DIY Frozen Elsa Dress Baby Edition
51. Fairy Princess Dog Costume
52. DIY Hashtag Halloween Costume
53. Toddler or Baby Egg Costume
57. Baby Short Stack Pancake Costume
58. Elephant and Piggie Halloween Costumes
59. Instagram Halloween Costume
60. Peter Pan & Mr. Smee Halloween Costume
61. Wildstyle Costume from the Lego Movie
62. Fred and Wilma Couples Costume
64. DIY Cruella de Vil Costume for a child
65. Disney Frozen Olaf Halloween Treat Bucket
66. How to Make a Minecraft Steve Head
69. No Sew Cupcake Baker Halloween Costume
70. DIY Skunk Mask
71. Ghostbusters Proton Pack DIY
72. Frozen Anna Costume Tutorial
74. Paw Patrol Halloween Costume
75. No Sew Toothless Dragon Costume
78. Reese’s Peanut Butter Cup Costume
79. Thrifted Gentleman Spy DIY Halloween Costume
80. DIY Boy Garden Gnome Costume
81. Group Costume: Bob Ross, Happy Tree, & Squirrel
82. DIY Blues Brothers Costumes
86. Easy Teenage Mutant Ninja Turtle
Costume
87. Handmade Teddy Bear Costume
88. Princess Elsa and the Spy Kid
What handmade costume ideas did you love the most?! Be sure to click over to get the costume instructions, pin the costume, and let them know you love it! Also, follow the Handmade Halloween Costume board on Pinterest!
If you’re looking for other ideas for kids’ costumes, be sure to check these out!
No Sew Fairy Costume
Football Field No Sew Costume
Scuba Diver Easy Costume





Sarah Nenni Daher says
Such a wonderfully creative (and easy) costume! Stopping by from the hop (#14 mermaid). Pinned this to share!
photo cake says
Lovely cake baker costume! 🙂
Toni - Design Dazzle says
It is a sweet costume ; )
Scarlet | Family Focus Blog says
That is an adorable baker costume. My favorite part is that super cute DIY chef’s hat!
Toni - Design Dazzle says
Thank you! xo
Judy says
Wonderful Blog…. Thanks for sharing with us…
board and train austin says
This No-Sew Cupcake Baker Halloween Costume is a delightful treat for DIY enthusiasts and tiny bakers alike! My daughter wore something similar last year, and not only did she win “Best Costume” at our neighborhood contest, but she also felt empowered to actually help me bake cupcakes afterward. An easy, inexpensive, and adorable way to celebrate Halloween—this idea really takes the cake!
Toni - Design Dazzle says
So glad to hear she won the best costume! What a fun memory!