Summer is the time for fun kids crafts, and making molds with sand is a as easy as making a sand castle! A fun craft tutorial to keep both you and the kids busy on a sunny day.
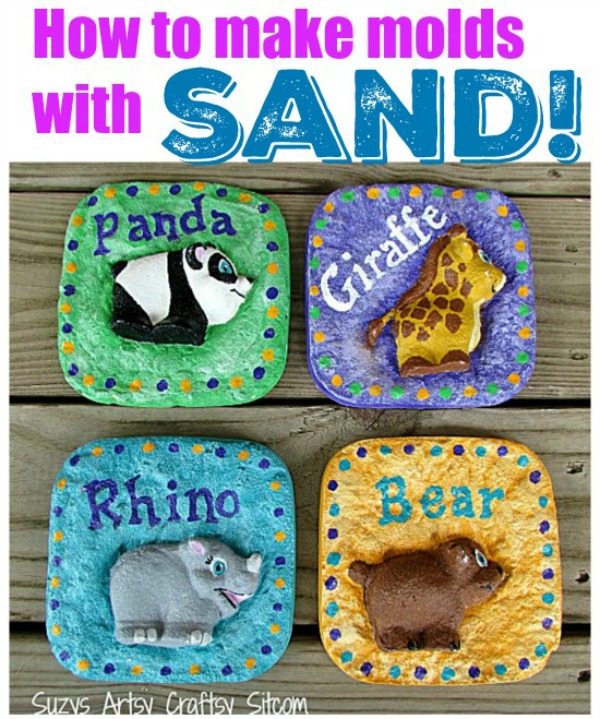
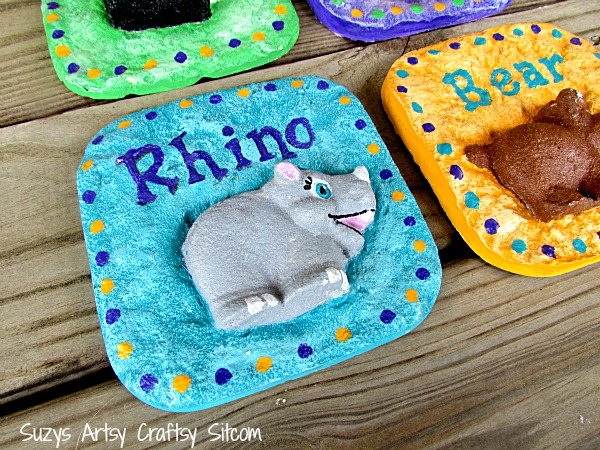
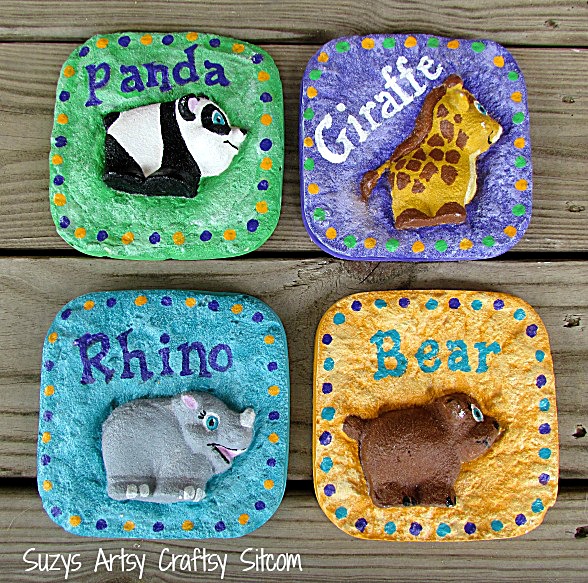
I’ve been playing around with the idea of creating my own molds and it occurred to me that one of the most versatile ways of creating a mold would be to use sand. So with that in mind, I located an object that I wanted to mold and created some sweet wall hangings using bath toy animals to mold for a cute piece of nursery art. This goes to show you that there are tons of possibilities with this concept.
For this project I used:
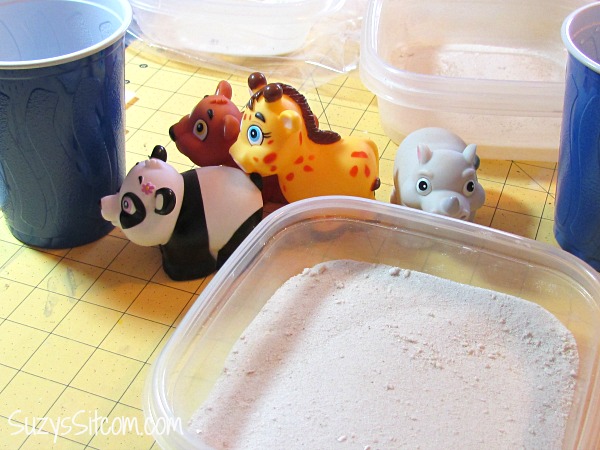
Plastic animal bath toys (you can use anything here- a knick knack, a toy, a seashell)
About 2 cups of fine decorative sand
A plastic container
Plaster of Paris
Acrylic paint
Water
Safety pins
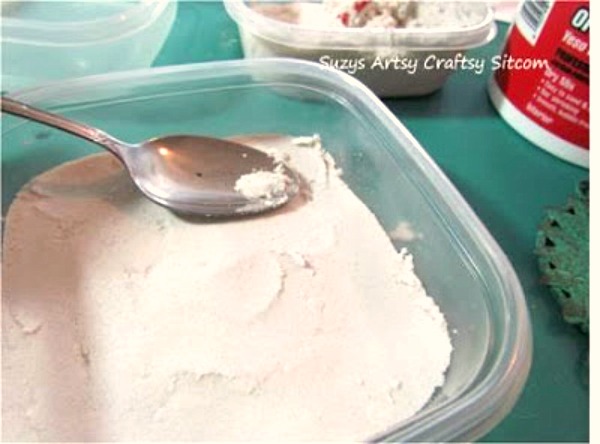
Pour the sand into a plastic container. The container that you choose will determine the size and shape of your casted pieces, so you can create a bunch of variety here.
I chose a relatively square container, as I had in mind a set of four wall pieces. The sand is a decorative sand that you can purchase at your local craft store. It is a fine sand and will show your details when casting.
Add enough water to the sand so that is can be compacted and hold its shape. Smooth off the top with a spoon to create a smooth, even layer.
For this project I used plastic animal bath toys, but any small toy will work!
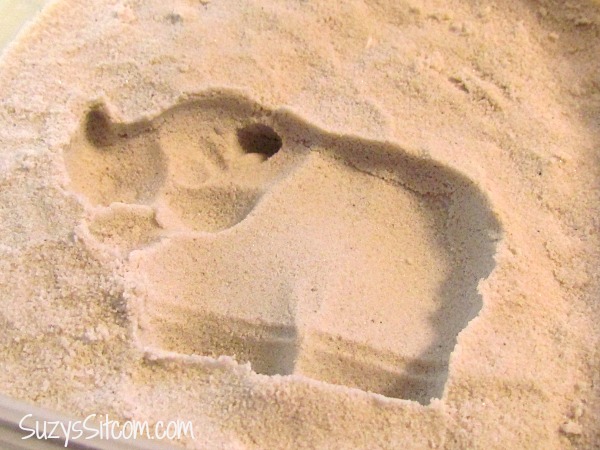
Press the toy firmly into the sand, creating an image in the sand.
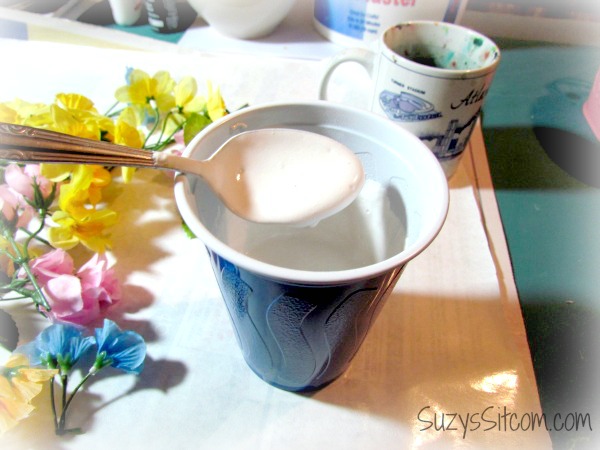
Mix your plaster in a separate container. I used a large plastic disposable cup. Basically, add the plaster powder to the cup and then enough water to make it the consistency of thin yogurt.
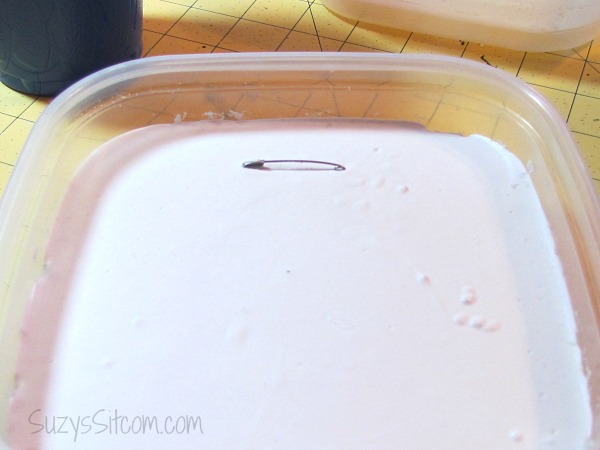
Pour this gently over your sand mold and before it begins to harden, press a safety pin at the top of the mold (for hanging). Allow it to dry for about an hour.
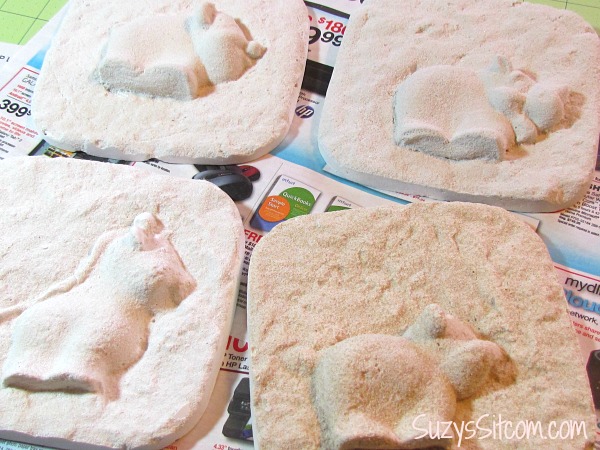
Then remove the hardened plaster and use a large brush to brush of the majority of the loose sand. Dip the finished piece briefly into a bucket of water to clean off any leftover sand out of crevices. (Do not put sand down your sink!)
Pretty cool, huh?
I made three more using the same process, and the same batch of sand. I did have to remold the sand after each cast, but it was a simple process of pressing the sand back into the container, pressing the toy into the sand and repeating the process.
Allow them all to dry thoroughly before painting them.
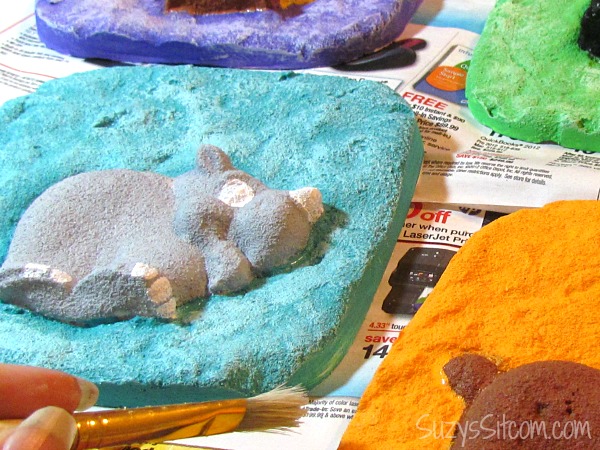
Paint them any way you like. I chose bright colors made for a fun nursery wall design.
This actually was a very simple process and with a little help, the kids will love casting in sand too!
Suzy from Suzy’s Sitcom has a background in fine art, graphic design and photography, and created the Sitcom as a way to document new and original art and craft ideas.
The Sitcom features arts, crafts and humor, with a specialty in vintage and recycled crafts; and currently hosts over 200 detailed original DIY and craft tutorials.
Suzy’s Sitcom * Suzy on Facebook * Suzy on Twitter * Suzy on Pinterest

Such a fun summertime idea! Thanks for sharing, Suzy!
Stay tuned for more summertime fun ideas! Our Kids’ Summer Camp Season will last until mid-July. Want to see more? Check out the full collection (including the archives!) of Summer Camp ideas.




Sharon says
This looks like a fun craft for the kids to do this summer. Thank you
Toni - Design Dazzle says
Kids enjoy making molds!
Thanks for you comment.
Toni