This is Paula from over at Frog Prince Paperie serving up a few ideas to keep the kiddos busy while school is out!
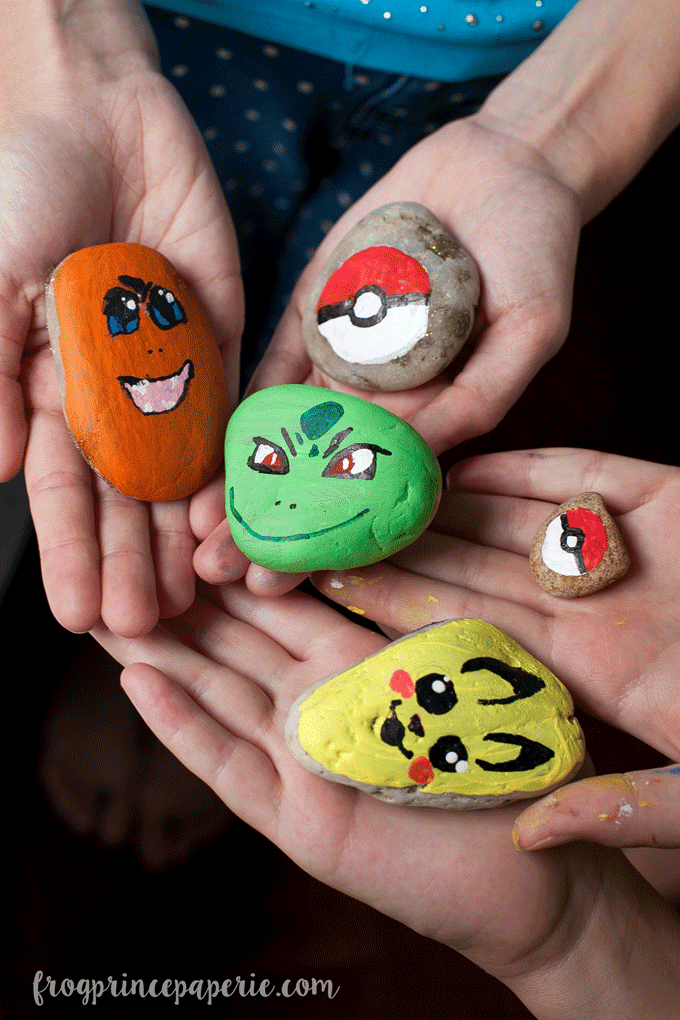
Last summer, the rage was the new Pokemon Go game. It was awesome to see everyone outside in the fresh air doing a ton of walking. This year’s trend is even more exciting. If you have kids and have not looked up The Kindness Rocks Project, you totally should. It’s the perfect summer camp project for this year.
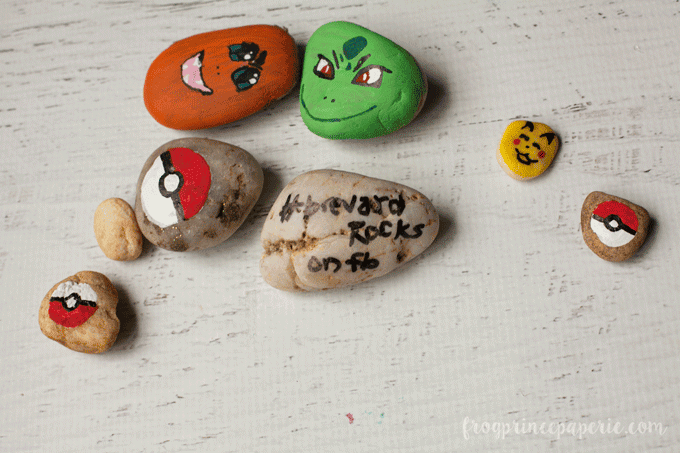
In short, people are painting some really beautiful pieces of art on the very small canvas of a rock then hiding them in their local areas. People of all ages hunt (or just stumble on) these rocks and it’s meant to spread a little happiness. Part of the fun is re-hiding the rocks so others can enjoy them as well. All are marked with their locale’s hashtag on the back so they can see where they came from.
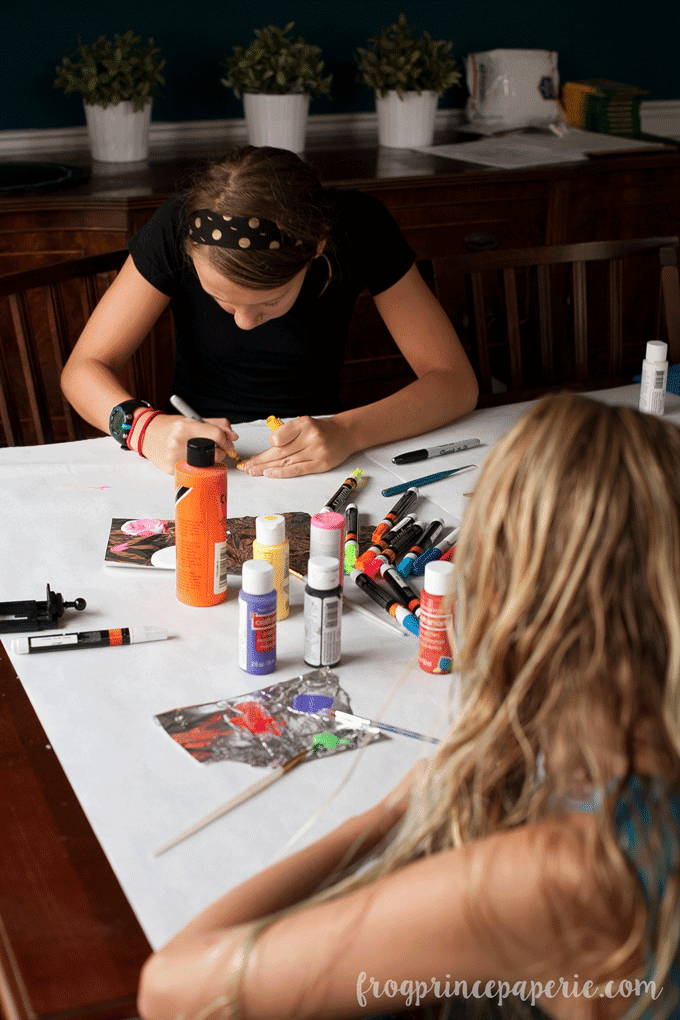
Much like with Pokemon Go, people are getting out to their public spaces in large numbers looking for these rocks and enjoying the outside. Kids are looking for these little masterpieces without being glued to a screen. Add to that, there is family time spent at home creating their own little painted rock treasures — it’s an incredible activity to participate in this summer and a lesson in giving and kindness.
Making Pokemon Painted Rocks
While much of the world’s interest in Pokemon has waned, I can report that the Pikachu love is still strong in my home. And judging by the visits to my Pokemon Birthday Party and Pokemon Party Games, I am really really not the only one still dealing with a mess of Pokemon cards.
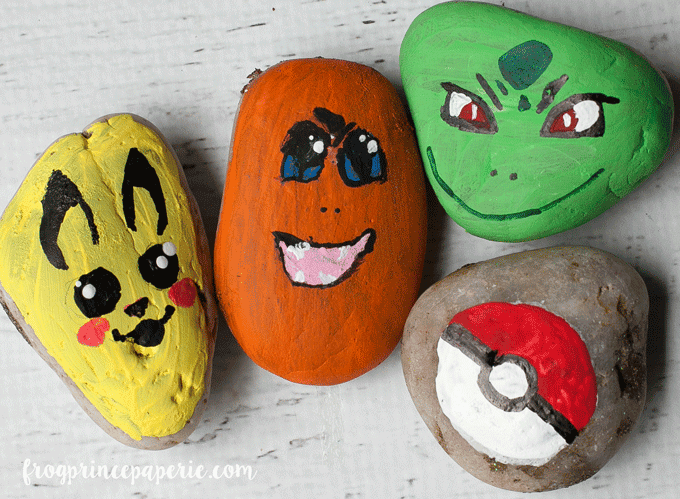
If you want to paint a few Pokemon-themed rocks, I’ve got some advice on how to to do that in a way the kids can pull off. In fact, the kids painted everything you see in these photos! Here’s what you’ll need…
Materials:
- Rocks with a flat side
- Paint
- Sharpies
- Sealant
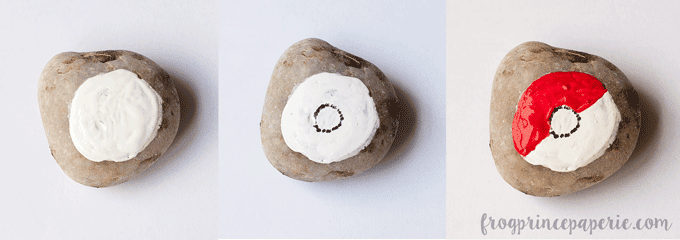
Pokemon Ball Rock
You’ll need to put a good solid white circle on this one first!
Take your Sharpie and draw on a circle in the middle of the rock.
Now take care to paint half the rock red around your circle as shown above. You can also use a red sharpie to color in!
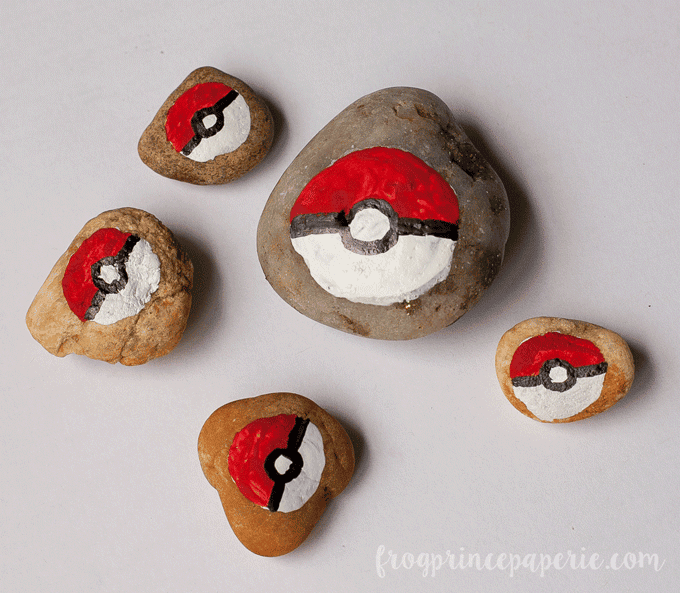
After the paint or sharpie dried, draw in a black band across the middle (but not through the white circle!) and outline the inner white circle.
You’ll want to seal up the rocks so they weather well after being placed outside. Don’t want all that hard work to wash off too quickly!
Pikachu Rock
Paint solid yellow and let dry completely before you go on.
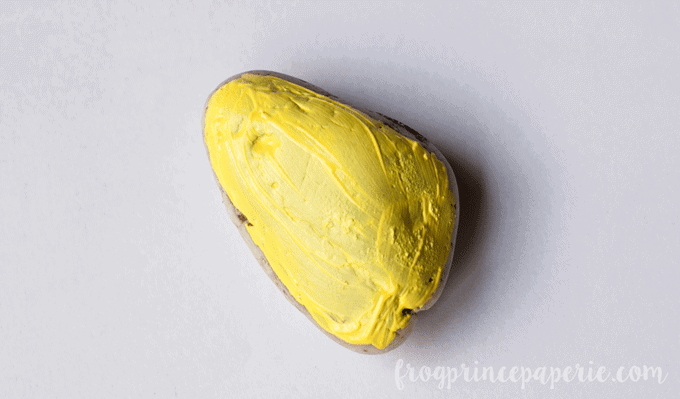
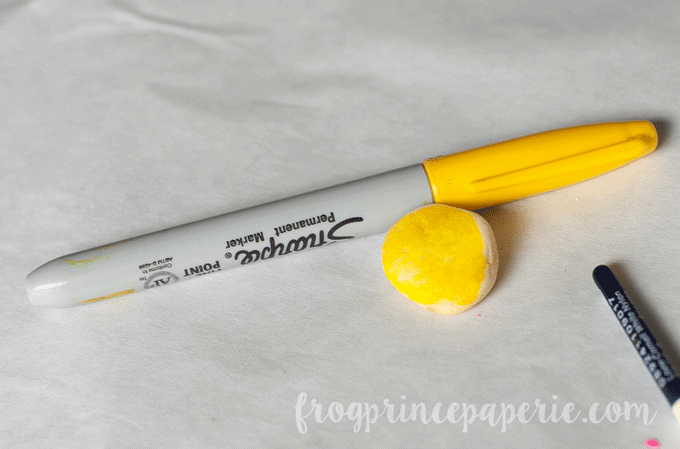
Depending on the color of your rock, you may need to put a white undercoat on first. If you have a light colored rock, you can absolutely use a Sharpie marker to “paint” your rock yellow. This doesn’t work so well on darker colored rocks.
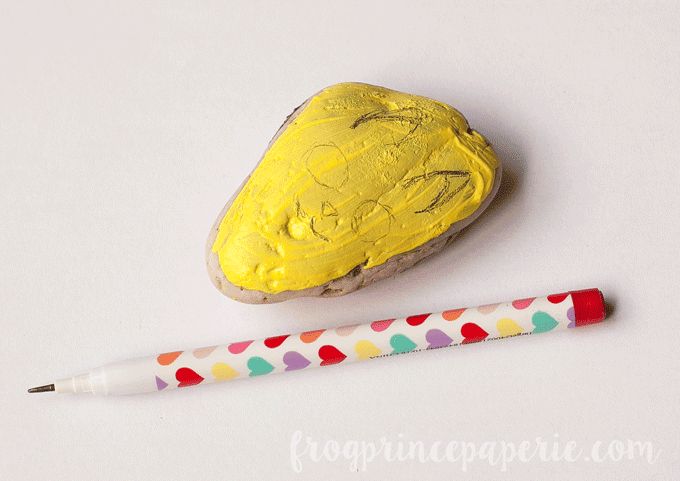
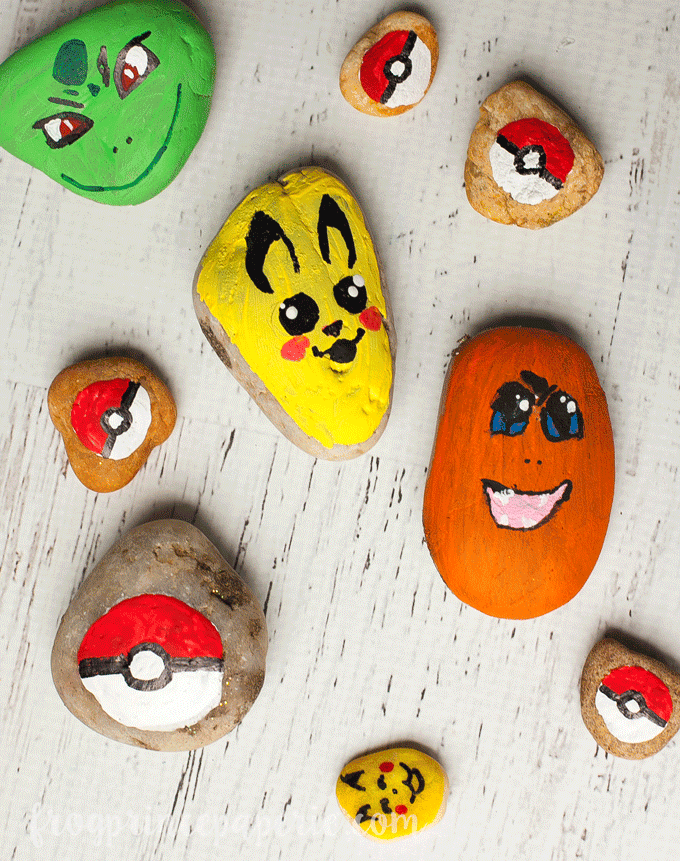
Next, you’ll pencil on Pikachu’s face. We’re doing an impression of Pikachu, so the artwork is a lot more forgiving. Draw on pointy ears, two large dot eyes, a tiny triangle nose and a little mouth.
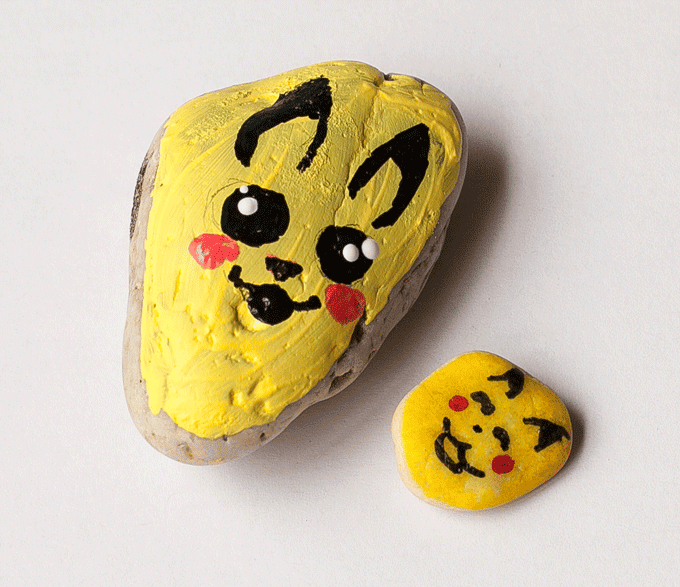
Take a black Sharpie marker and fill in the ears, eyes, nose and mouth. Paint or sharpie on little reddish cheeks for Pikachu. A couple of dots of white on the eyes finishes off Pikichu with a cute little detail. Or you can make half moons like our other little friend did and skip the detailed eye part. We’re all for free wheeling creativity.
Bulbasaurus Pokemon Rocks
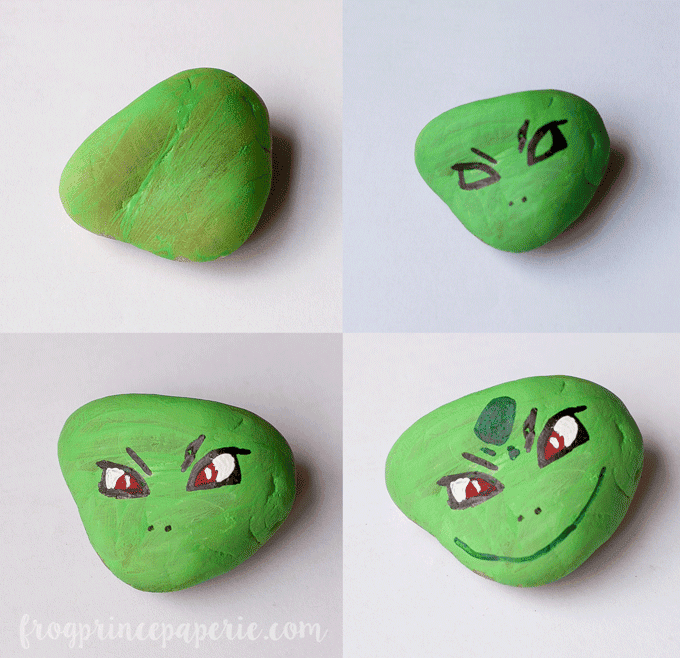
My little friend made the DIY for this one all by herself! First, she painted a rock green. After it was dry, she used a black Sharpie marker for the eye outlines and nose. A little red, then white paint filled in the eyes. To finish it off, she used a green Sharpie to draw in the darker spots and wide bulbasaur smile.
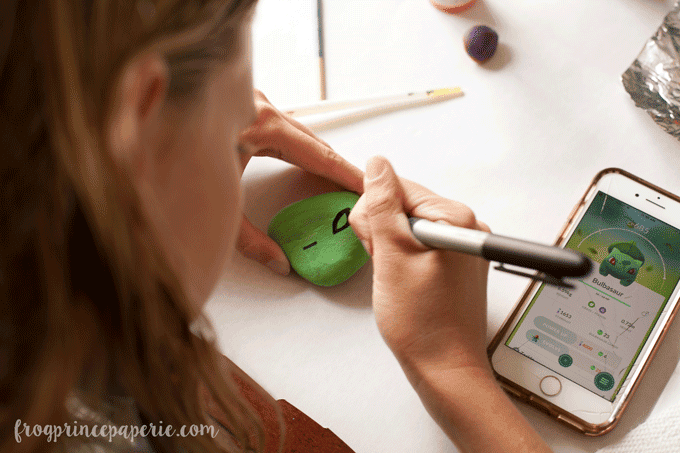
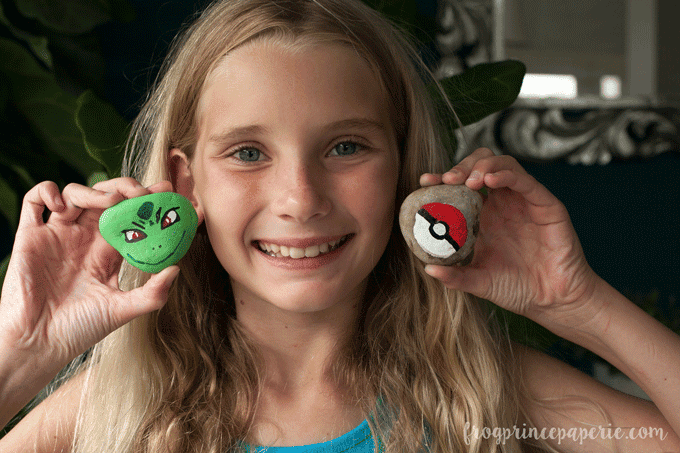
If you keep the design of the rocks simple, you can use this same idea to make any Pokemon you want. There were a few Embryons, Charizards and Jigglybuffs on our table by the time the kids were done painting.
Rock painting and hiding is a wonderful way to spend some family time this summer!
Find more summer free printables and party ideas at
Frog Prince Paperie!


________________________________________________________________
Make sure to check out all of our fabulous past summer camp posts!



Leave a Reply