

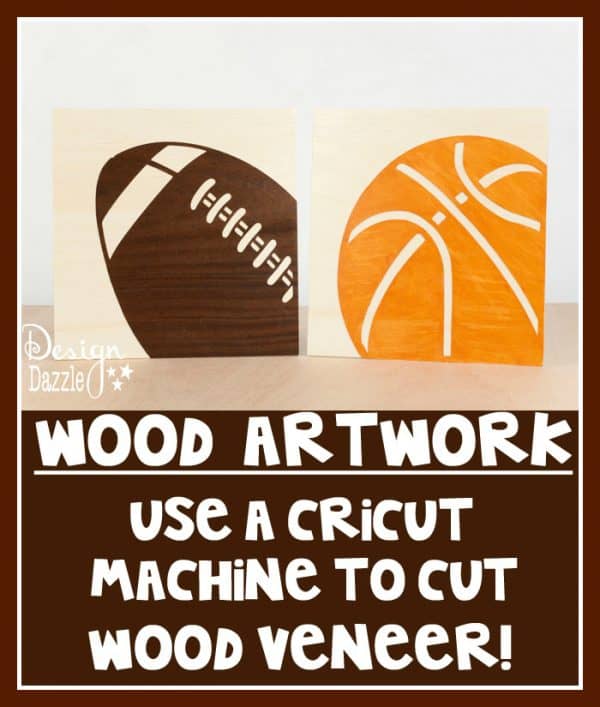
The Cricut machine is a great tool for us crafters. There are many mediums it can cut! Did you know it cuts wood? Well, a certain type of wood! Real wood veneer sheets come with a paper backing and are sold in 12” x 12” sizes (and various other sizes). They’re available in thick and thin sheets. The sheets are flexible and look like medium-weight card stock. I’ve seen Birch, Walnut and Cherry veneers. The veneers can be stained and painted just like real wood. These art pieces just might be my favorite and they’re so easy to make. Create wood art using the Cricut machine.
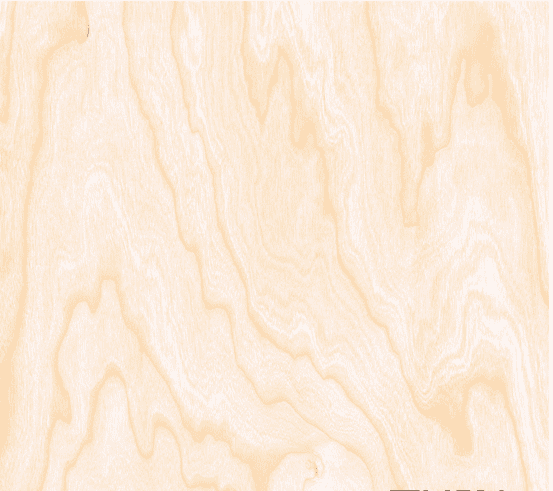
This is what the 12 x 12 birch veneer paper looks like.
Materials to make sports art:
- Birch Veneer Paper 12 x 12. You can purchase Real Wood 12 in. x 12 in. thin birch
online.
- Walnut Veneer Paper 12 x 12
Water Based Wood Stain - Water Based Polyurethane
- Spray Adhesive
- Birch Wood – “Handy Panels” are 2’x4’ and come in ¼″, ½″ or ¾″ thicknesses.
*I purchased a 2’ x 4’ sheet (¼ inch thick) of Birch or Maple wood at the local Home Depot. The store employee cut the wood into 12 x 12 size squares for me.
Instructions:
Choose the images for your project. The Cricut Craft room has an amazing assortment of choices for artwork.
Cut the image and size needed on the wood veneer paper.
The football image was cut using Walnut veneer. The Walnut wood veneer is already the dark color (no staining needed).
The basketball image was cut and then stained using an orange colored water based stain. Wipe the stain on the wood veneer paper with a rag and wipe-off excess. Apply two coats. Let dry between coats. Since the wood veneer paper is a paper product it will curl up somewhat after applying liquids.
Lightly sand the “wood frame” with sand paper. Work in the same direction as the grain or you’ll get scratches. Remove any dust.
Spray adhesive on the back of the wood veneer paper cut outs. Place the wood veneer cutouts on the wood. Place a heavy object on top to help “set” the pieces in place. Let dry. Brush on clear satin polyurethane with a foam brush cover the entire board including the veneer cut outs. Let dry.
Hang your artwork and wait for the oohs and aahs!

Real Wood 12 in. x 12 in. thin birch

Cricut Machine: Expression 2 Electronic Cutting Machine
Font Cartridge: Sports Mania
Images: Basketball Corner and Football Corner
Art designed by: Toni Roberts, Design Dazzle
Want your own Cricut Machine? We are giving away TWO – one for you and one for a teacher. Check it out here.


Nany says
Would love to win a updated machine. Love to cut out. Wood.
Been. Painting. On wood for. Years
James says
Cricut seems like an ideal machine for cutting veneers for making jewelry boxes. I am anticipating trying to do so in the future.
Toni - Design Dazzle says
You will love the Cricut!
Taressa says
What pressure did you set your cricut too?
Toni - Design Dazzle says
I am sorry I cannot remember. I would just experiment with scraps to figure it out.
veronica Middleton says
Looking forward to working with wood Thanks
Toni - Design Dazzle says
It will be a fun time!!
Rutchelle Pido says
I really love to have that cricut machine but it seems the promo has ended 2 years ago.. i really wish someone would donate their old cricut machso i can start a snaĺl business in cricutting arts. I would be really a big help fir my family… tnx..
Henry Merryweather says
you say
I purchased a 2’ x 4’ sheet (¼ inch thick) of Birch or Maple wood
Were you really able to cut 0.25 inch thick wood?
If not, how thick wood veneer have you been able to cut?
Toni - Design Dazzle says
The veneer that was cut with the Cricut machine was paper backed wood. It is like card stock. The 1/4 inch thick wood was what the veneer was placed on. It was the wood backing. That part of the wood was already cut. You cannot cut thick wood with the Cricut. Thanks for asking.