I’m using these beautiful basswood rounds to create this fun Christmas craft! These signs are perfect for hanging on the front door, propping up on the mantle, or putting just about anywhere you can think of! Plus, they are so simple to make and only require a few supplies! Make sure you get the free template at the end of this post to make them yourself!
The paint is from DecoArt and the beautiful slices of gorgeous wood is from Walnut Hollow.The wood slice makes the perfect base for any craft. With the holiday season upon us, I decided to show you how I created these cute, versatile little signs!
A little bit about the companies I worked with on this project. DecoArt ships their products around the world! If you need a great quality paint for crafting and home decor, this is it! Their paints can be used on furniture, glass, paper, wood, metal and more. Just find the correct medium for your surface.
Walnut Hollow offers an amazing variety of wood pieces that can be used for crafts like this, but also make beautiful decor all on their own. They have everything from making your own clock to kid friendly projects!
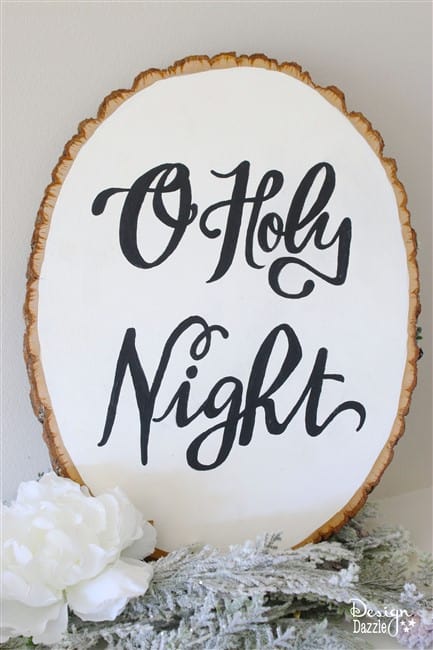
The paint used on this one was the DecoArt craft paint in Warm White.
After painting the wood I let it dry for about 30-45 minutes in order to have a smooth finish without any bubbles. In the meantime, I printed out the template for the next step. This Merry Christmas sign below was painted with the DecoArt chalkboard paint.
For the black background: I took the template and flipped it over. On the backside I rubbed chalk all over the paper. Then, I flipped it around and positioned the letters where I wanted them. Using a pencil, I traced the letters. The chalk acted as a transfer and stenciled the letters right onto the paint.
Then all I had to do was take a paintbrush and fill it in!
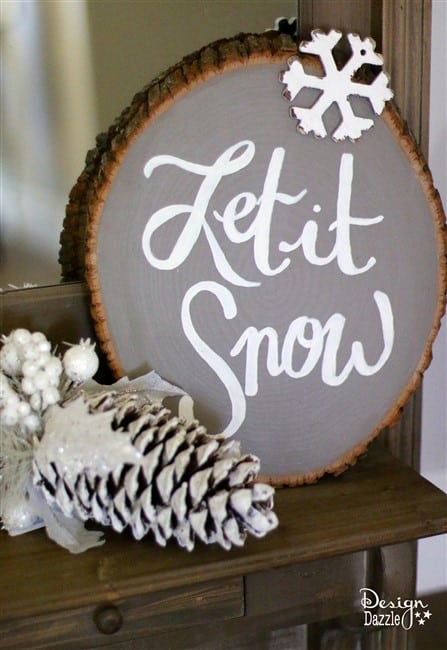
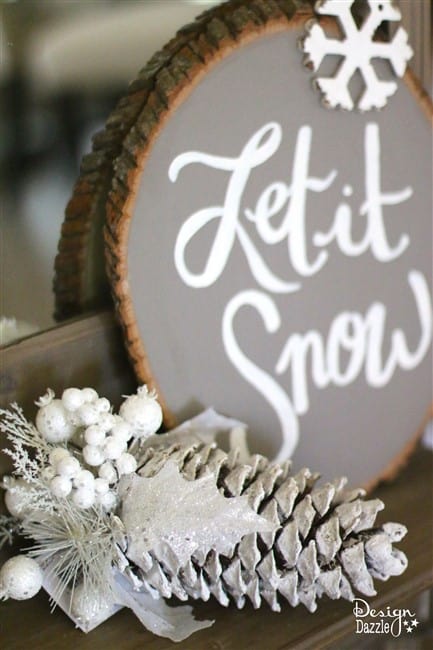
The DecoArt paint used on this “Let it Snow” sign is Ash Grey Color stain with just a bit of the Chocolate Color Stain added for a bit of warmth. If a color isn’t working for my taste I usually end up mixing colors. This was the paint that was used for the background. The wording was painted with the Warm White acrylic craft paint.
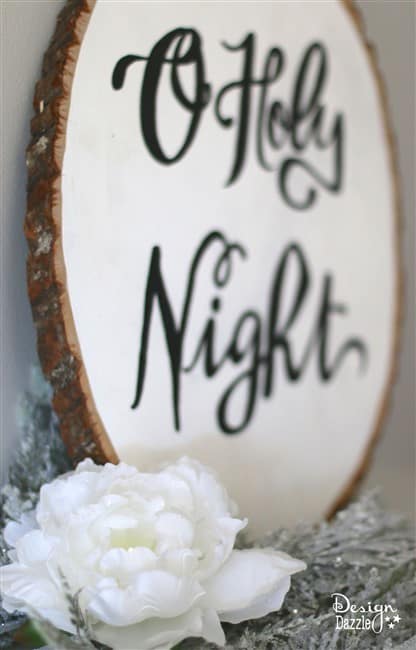
For the lighter background: The chalk doesn’t work well for this white paint. Tracing it on a light background won’t work. Instead, use tracing paper and a pencil! Place the template down with the tracing paper behind it and directly on top of the wood. Trace the outline of the words with a pencil or pen. Warm White was used on the background with the chalk paint used for the wording.
Once I let all the final paint dry, I added the little embellishments to give them that extra pop.
I was lucky enough to be able to teach this craft at the Enlighten Retreat a little while ago and had such a blast doing so! I love how the finished product turned out! They are the perfect way to add a little rustic vibe to your Christmas decor while still staying modern.
Thank you DecoArt and Walnut Hollow for your amazing products.
All projects and opinions on this post are mine.
The “O Holy Night, Let It Snow and Merry Christmas” printables are FREE and available for immediate download by subscribing to Design Dazzle!
To receive this free printable – enter your email address in the box below and click submit. Make sure to check your inbox for an email from Design Dazzle. You will have access to all of our FREE printables and also will receive an email newsletter filled with lots of great information. Don’t worry your email address will never be sold.
Printable files are for personal use only. They are not for commercial use.





Aspen Clark says
Oh my goodness, I absolutely love these! I love the idea of using chalk to help trace words and such. That is so ingenious! What a beautiful craft. Thank you for sharing!
Toni - Design Dazzle says
Thank you, Aspen. It’s a fun one to craft!
barb y says
As we are already signed up for your newsletter, how do we access the printable for the wood signs templates? thanks for all the great ideas.
Toni - Design Dazzle says
Hi Barb,
Every week we send out an email/newsletter – look at the very bottom of the email and you will see a link to all of our free printables. We just sent out a newsletter this morning.
Thank you!
Amy Lyon says
These are lovely. I remember my Grandpa cutting rounds like this back in the day for my aunt (a professional artist) to paint landscapes on. I wish I still had some of her works to display in my own house. I also wish that I would have paid more attention to how she prepped the slices before she painted them. *Sigh* Hindsight. I thank you for the link to where to purchase the wood slices. I can’t wait to get some and make my own.
*Hugs*
Toni - Design Dazzle says
Thank you for sharing your story. I loved reading about it! I would love to see what you create with the wood slices!
Toni
Savannah says
These are perfect for Christmas! I love the rustic look and the way it would look around a tree or fireplace! Those wood rounds are perfect! So cute!
Toni - Design Dazzle says
Thanks, Savannah! These are sure fun to decorate with!
Ela says
Now I know what to do with the old wood slice cutting board we have! Thanks for sharing.
Toni - Design Dazzle says
It’s always nice to repurpose and make such a fun craft!
Erica says
Toni,
This is my first time to your page! I was looking for Advent/Christmas ideas for my 3 teenagers, 11 year old and two toddlers….this website is amazing! Thank you so much! I can’t even describe how excited I am. I also teach 1st grade. This page just woke me up and motivated me for Christmas!
Toni - Design Dazzle says
Erica,
So happy you found my blog! Yes, there are some fun things to do here. I’m glad to help motivate for Christmas!
Wynn Barnett says
Fantastic
Toni - Design Dazzle says
So glad you like it!
Diane. D says
Thank you!
Toni - Design Dazzle says
You are very welcome!!
Christy Clarey says
This is beautiful! Merry Christmas
Toni - Design Dazzle says
Christy,
Thank you. So glad you liked it!
Toni
Suzie Riggin says
thank you.
Toni - Design Dazzle says
You are so welcome!
Toni
Jeri Burcham says
TY! Love these!
Toni - Design Dazzle says
I’m so glad!!
Thanks, Toni
Adree | The Keele Deal says
Such a cute holiday decor idea. I love how simple it is to make, yet it looks awesome. It’s the perfect rustic christmas decoration.
Toni - Design Dazzle says
The template makes it easy for those who don’t have the best handwriting. Tracing is easy!
Kelly Shepard says
You can use the same method of rubbing chalk on the back and tracing for dark paints as for light paint. You just rub with pencil and trace over. In case tracing paper isn’t on hand!
Toni - Design Dazzle says
Yes, very true. Thank you for sharing.
Technical Bagle says
Thank you soo much
Frances says
First time to try this gonna give it a shot wish me luck
Toni - Design Dazzle says
Oh good! It’s a pretty simple craft. Take your time and enjoy! Letting me know how it goes.