

Chic on a Shoestring Decorating. I am super-excited and honored to be
part of the Christmas Wonderful at one of my favorite blogs, Design Dazzle… thanks so much, Toni! Over at my place you can check out my
budget-friendly decorating and DIY ideas and I’d love for you to join me at my weekly link up party, Flaunt it Friday.
 |
| Blog / Facebook / Pinterest / Twitter |

I wanted to make this a very inexpensive craft because budgets are tight around this time of the year. I happen to have a stash of craft paint and brushes. I already had the canvas, it came in a pack of two and I only used one in a previous project. You can get them relatively cheap at craft stores with a coupon and they are often on sale for 50% off. Of course you could let each child do their own tree but I decided to let them share since I have so many Christmas decorations already I’m not sure if I could find space for two!
What you need:
- Craft paint (you choose the colors but surely you’ll need green!)
- Foam paint brush (or a regular paint brush is fine too)
- Canvas (I used 11 x 14)
- Silver or Gold Sharpie marker (optional)
Cover your work space in case of accidental paint messiness or if it’s nice out, go outside. We have been having unseasonably warm weather here in the Midwest so the kiddies and I took advantage and headed out on the back patio.
Since both boys were going to use the same canvas we did one at a time to avoid painted hand print high-fives and other potential messes.
I started with my youngest, rolled up his sleeve and took him gently by the wrist. I then got a pretty good slathering of paint on his hand. He thought this was awesome. 🙂
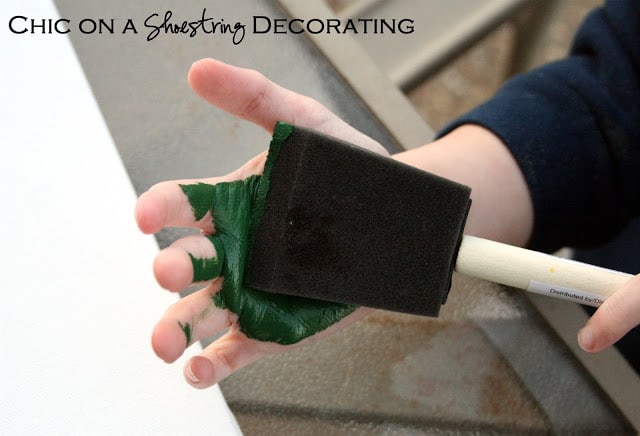
This is where things can go very bad very fast!
Make sure to give age-appropriate instructions warning them to not touch anything with their paint hand. My guy is still little enough that I did not let go of his wrist as he can not be trusted with a hand full of paint.
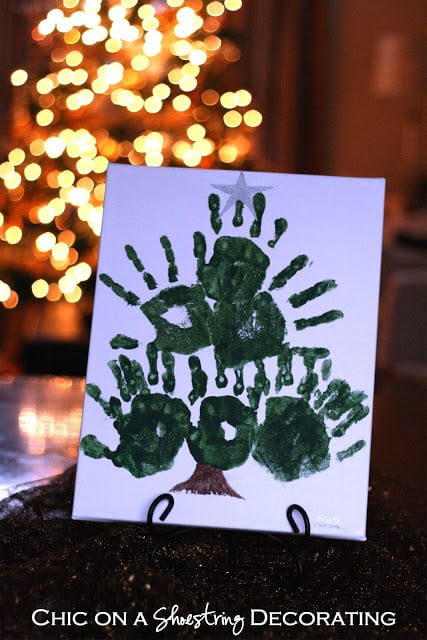
Since we were using two boys for one canvas I helped my little one make 3 prints across the bottom to be the base of the tree. I then had him make a print at the very top. After successful hand prints and still not letting go of their little wrist we went straight to the sink to wash off the paint.
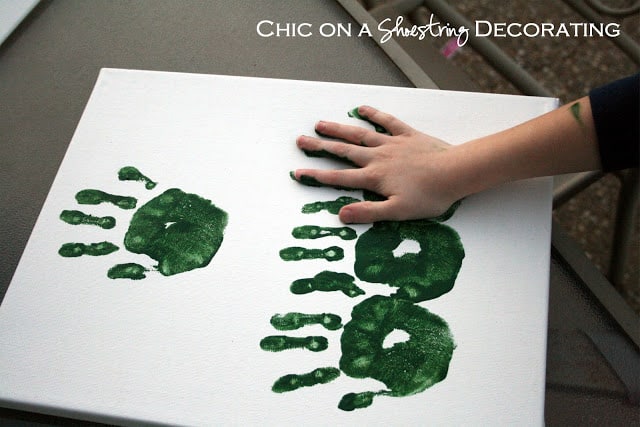
My older boy is much more trustworthy (most of the time) so we painted his hand and I told him where to stamp it. He has the middle row two hand prints.
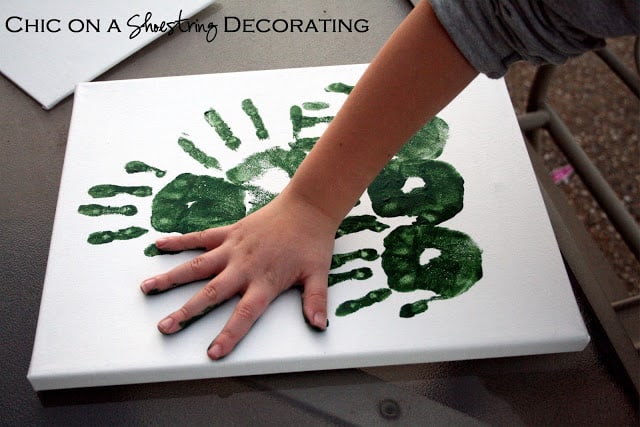
It ended up being wider than the bottom so I brought my little one back and repeated the process adding two extra hand prints facing outward on both sides of the bottom row. This made it look a little messier than I had hoped but it gives it homemade charm. 🙂
In hindsight I would’ve had my little guy face his fingers facing more outward toward the edge of each side of the canvas on the bottom row. This would’ve filled the space better instead of the doubling up of the prints on each end.
I then painted a little brown tree trunk at the bottom after I realized that I probably couldn’t paint a bunch of presents that actually resembled presents. This was going to be an outdoor Christmas tree. If you can handle painting the presents I say go for it!
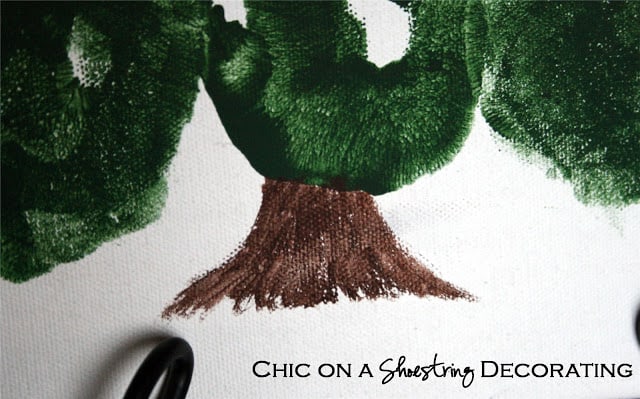
Even a person who is totally lacking in artistic painting abilities could pull of the tree stump.

I ended up using a silver Sharpie to make the star on top. I can draw much better than I paint and the silver ink has a painted on appearance when dry. The silver marker worked awesome and covered up the green paint completely where it needed to.
I decided to display it on a plate stand but it can easily be hung on the wall if I switch up my decor next year. The boys are so proud to show off their hand-made (pun intended) art work to all of our guests who graciously act very impressed.
I hope you and your kiddos can make some of these fun hand print Christmas trees. Please come and visit me over at my blog, Chic on a Shoestring Decorating, I’d love to meet you!


____ _______ __ says
Greetings! Very helpful advice in this particular post!
It’s the little changes which will make the most important changes.
Thanks for sharing!
Essie says
I really like reading through a post that can make people think.
Also, thanks for sharing.
Paige says
Hi there! This post couldn’t be written any better!
Looking at this article reminds me of my previous roommate!
He constantly kept preaching about this. I will send this post to him.
Fairly certain he will have a great read. I appreciate you for sharing!