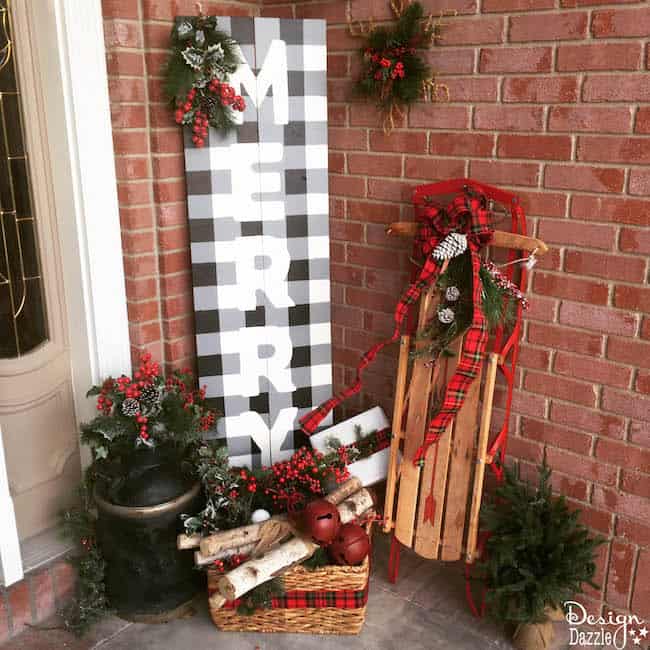
Today I am sharing one of my favorite Christmas decorations ever! I have always been a big fan of buffalo check pattern. I love it on clothes, ribbon, pillows, blankets, etc. I saw a table online that was painted with buffalo check and I absolutely fell in love! I decided to take my own spin on it and make the perfect buffalo check sign to share my love of this most “Merry” season!
Supplies:
- 3 inch painters tape (I used two strips of 1.25 inch and left some space in between, but 3 inch tape would be easier)
- contact paper
- exacto knife
- wide foam paintbrush
- black paint
- cream paint
- light grey paint
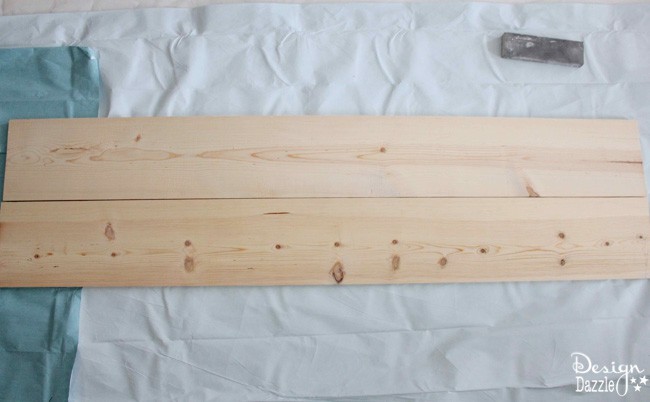
Step 1: Prep the wood. Sand your board to be sure they are nice and smooth. Line them up next to each other to make sure they fit together nicely (most boards from the lumber yard are not totally straight!). Then, nail brackets into the back to secure the boards side-by-side.
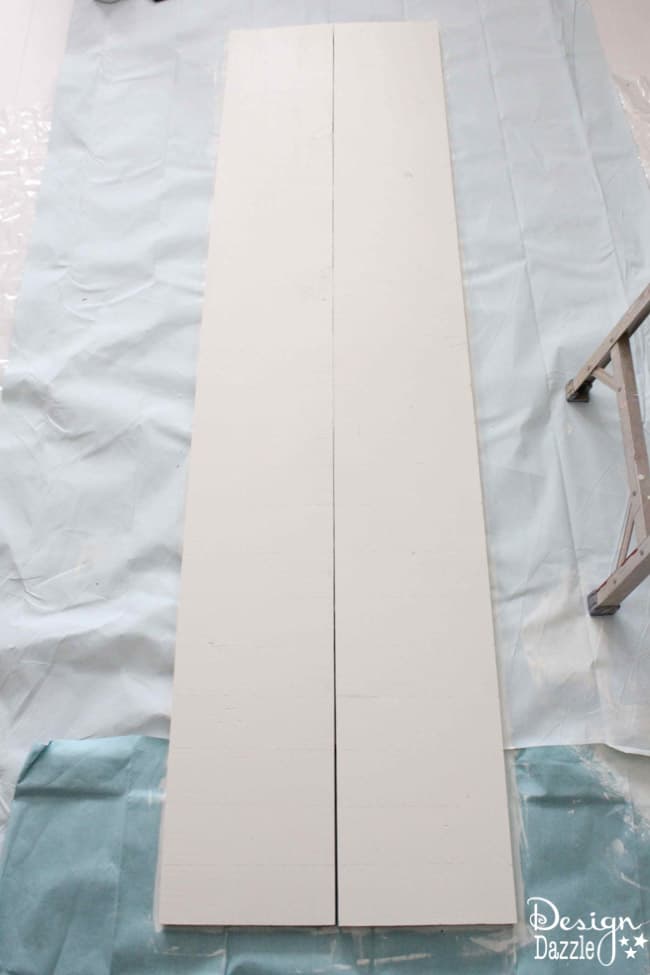
Step 2: Paint the first primer coat with cream colored paint. Let it dry- paint another coat if necessary. Then, using a yardstick and ruler, measure out where the horizontal stripes will go. It’s nice to measure this out so you can tape straight stripes. (If you look closely, you can see my pencil marks outlining where to tape!)
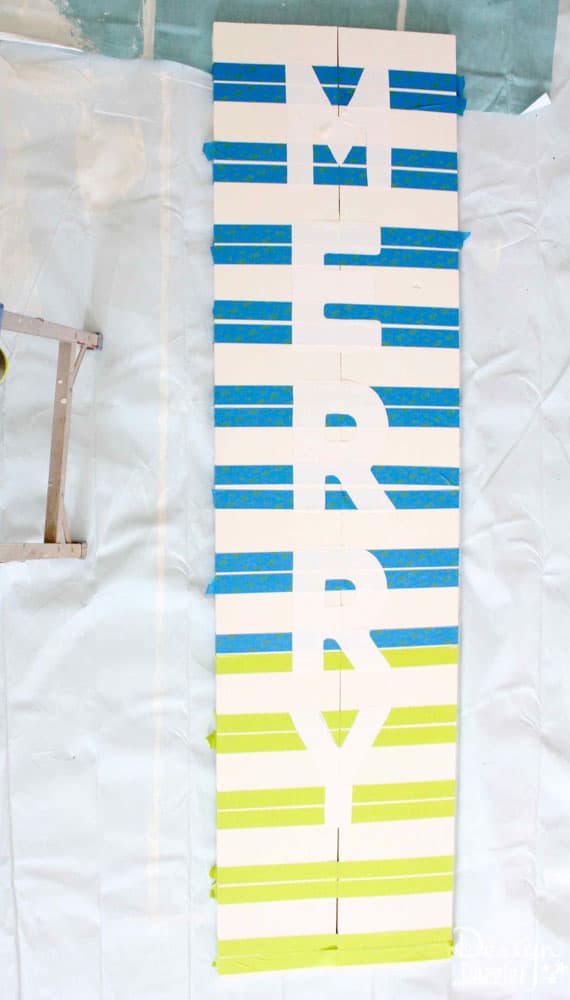
Step 3: Place 3-inch tape to cover every other stripe. (I didn’t have 3-inch tape, so I used two strips of 1.25-inch tape with a space in between). Print off the letters you want to use as big as you can on regular paper. Then, trace the letters onto contact paper. Cut the letters out and place them in the center of the board. Now, you are ready to paint!
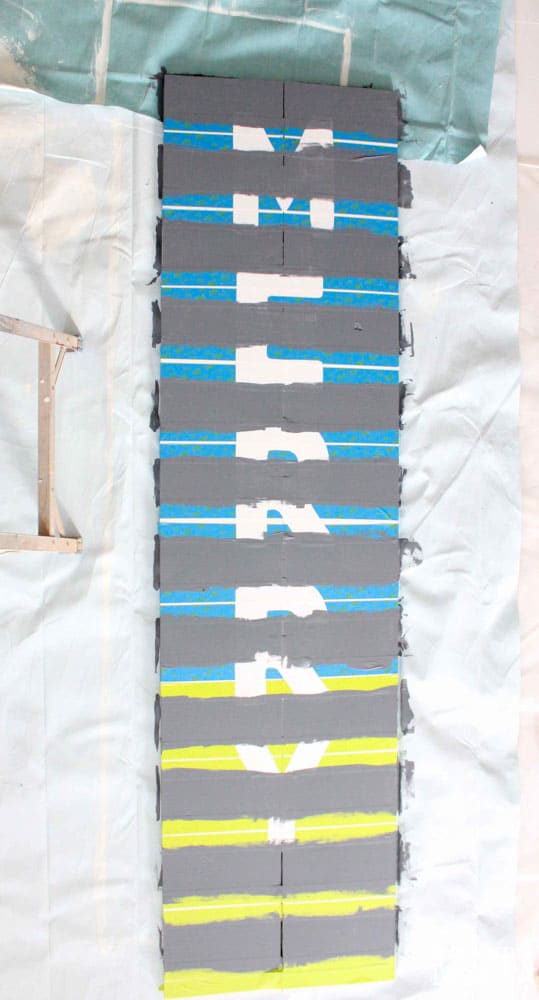
Step 4: Paint the stripes in between the tape. Let it dry completely. Then, remove this layer of tape. Use the exacto knife to cut the tape around the letters. You want to leave the letters on throughout the whole process so you don’t have to paint over them at the end.
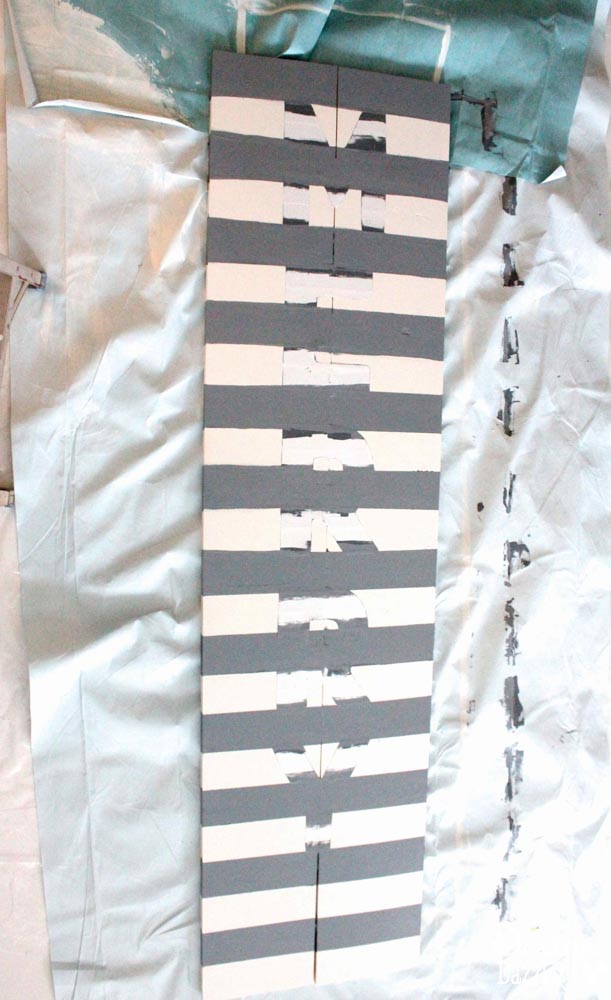
Your board should look similar to the photo above after removing the first layer of tape.
Repeat Step 4 but with tape going vertically, so you create a plaid pattern by painting the other way. Rather than taking the tape off after you paint, leave it on for the next step. Let it dry completely.
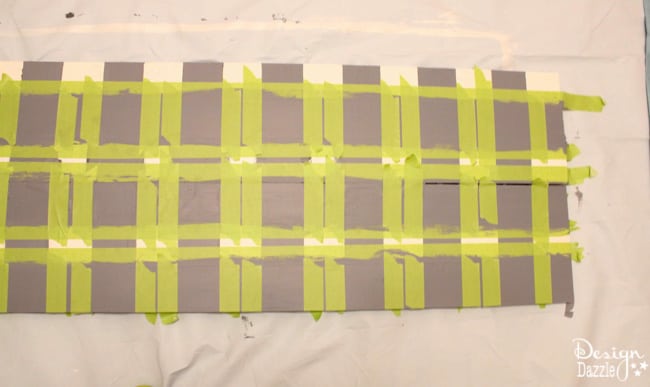
Step 5: Tape over the section you just painted. This will create small squares over the stripes you just painted. All the white squares should be showing. Then, paint in these squares with black paint. Let this paint dry completely before removing the tape.
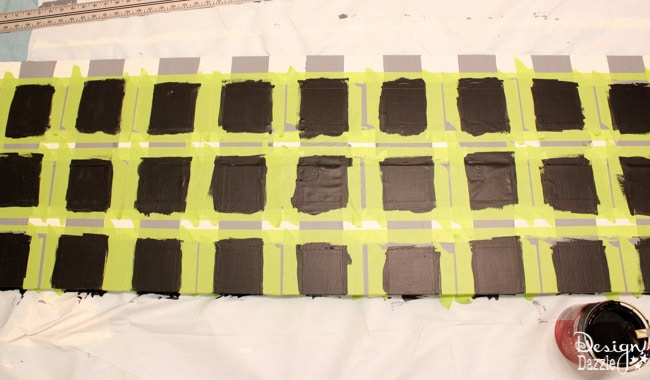
Once you paint the squares, your board should look like the photo above.
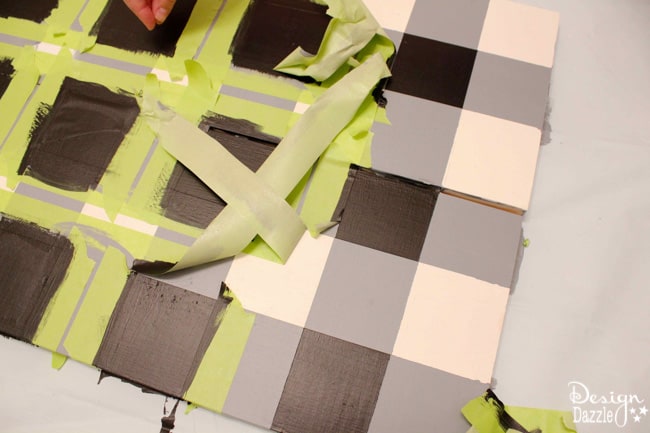
It is so fun to see the pattern come together as you remove the tape! You can also remove the contact paper letters. You may need to touch up a few of the edges around the letters with paint. I also painted over the letters with cream paint again to give it a clean, brighter look.
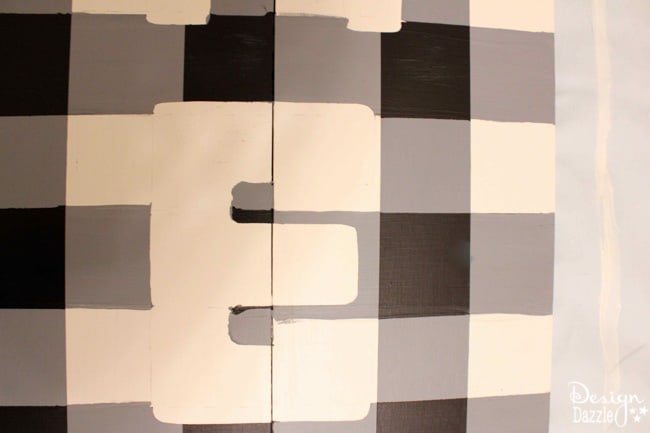
Here is a close-up of how my letters looked before I touched them up. I painted the squares around the edges of the “E” grey so it would pop more. If you choose to paint the letters another color, you don’t need to worry about this. Either way, it’s not hard to make the letters pop!
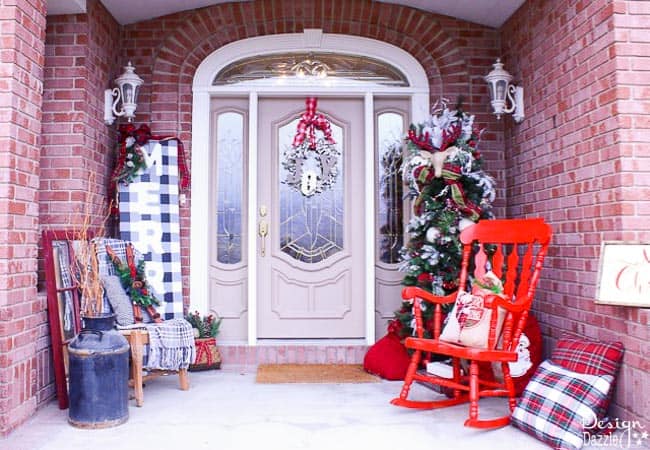
Buffalo check is such a fun pattern that really pops and will make your front door look festive and cozy! The best part about this project is that it’s a big statement and doesn’t require too much work. I hope you love it as much as I do!







Patti says
This is WAY cute! What a great idea. I love Buffalo Check and I will definitely be making this for Christmas next year, but in the red check. Even though Christmas is only 3 days away I have already planned and started working on next year, which will be in red Buffalo Check. This sign will be the cutest of all! Thanks for sharing! And Merry Christmas!
Toni - Design Dazzle says
Patti,
I would love to see your sign!! I also love red buffalo check. My entry way bench has the red buffalo check fabric.
Toni
Rose says
Love your front entrance decor so classy.
Kathy says
So cute
Toni - Design Dazzle says
I love how it turned out!