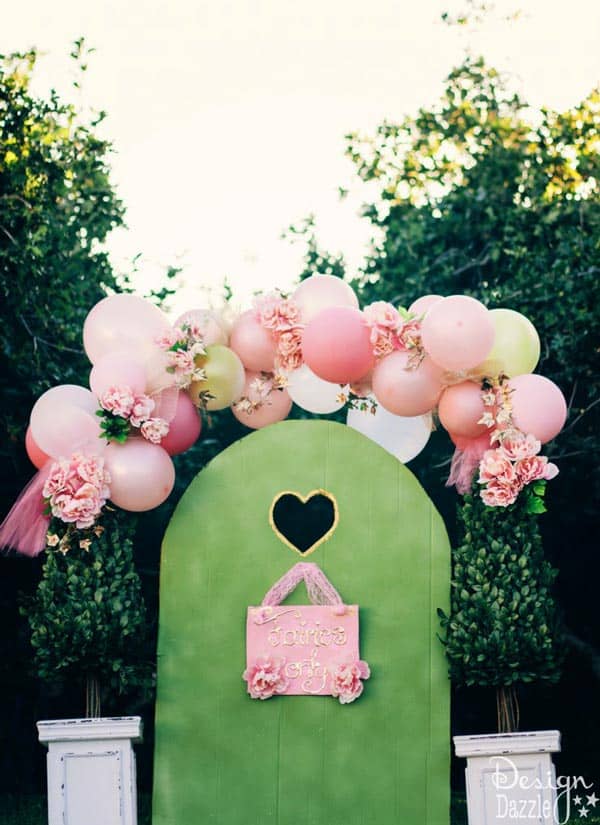
I love how the fairy arch turned out. The balloons and flowers make a beautiful fairy arch. Can you guess what the fairy door and fairy sign are made of? To give you a hint – I created this fairy party for under $100 and so with an extremely small budget I had to be creative. The fairy door and sign are made out of cardboard that was painted. To see more details check the Fairy Party on a Budget. At the bottom of the Fairy Party on a Budget post, I have links to tutorials on how the fairy party was designed for such an affordable price. I will be sharing the tutorial on how to make the fairy door and sign too!
I was asked by Balloon Time to create a party for $100 for a party challenge and this fairy party is what I came up with. If my party gets enough votes, Operation Shower the charity I chose will receive $5000. Their mission is to provide joyful baby showers for military families to ease the stresses of deployment. I appreciate the sacrifices made on our behalf by the nations military and their families (especially expectant wives!).
You can vote here for my party.
Balloons and Flowers Make a Beautiful Fairy Arch
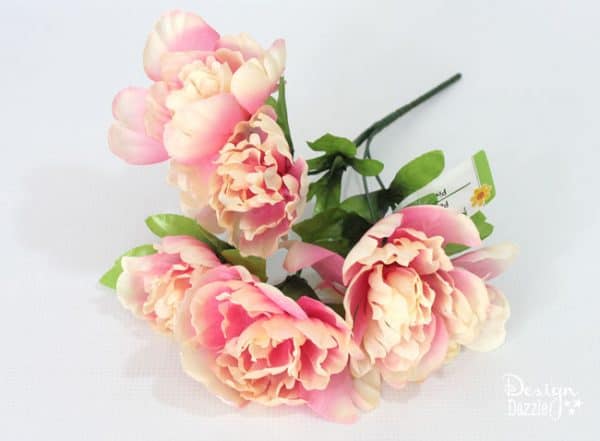
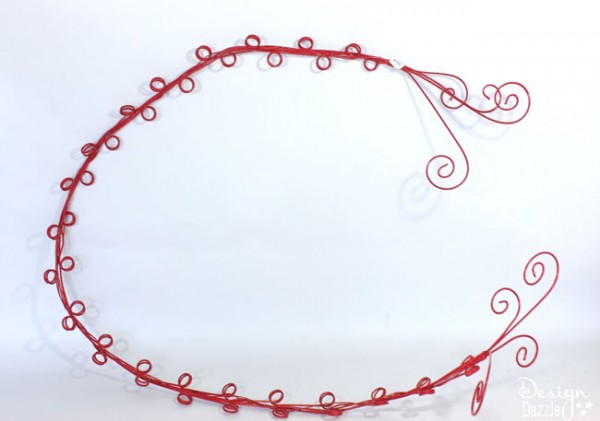
Supplies for Balloon and Flower Arch:
- Peony flower bushes from the dollar store – I used about 5
- wire- I found the red heavy-duty 6 foot long doodad at the thrift store. I have no idea what it is but I thought it would be perfect to support the balloon arch. Heavy duty wire you can shape would work. You can also purchase a Balloon Arch Kit
as well.
- assorted colored balloons to match your party
- tulle, string
- zipties
- ½ inch clear glue dots
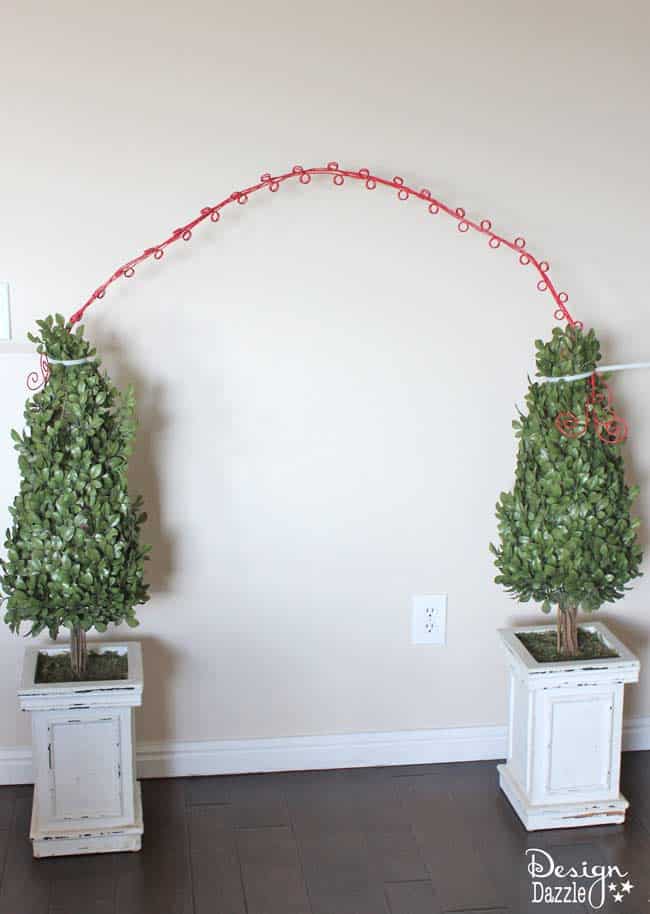
- 2 topiary tree/bushes. I’ve had these for years. You probably don’t have anything similar. If not, use the balloon arch kit (link shared above) and have the balloons start at the base/floor of the arch. You could also attach this to an entryway or gateway to a side yard, etc. Be creative where you can build this fun arch
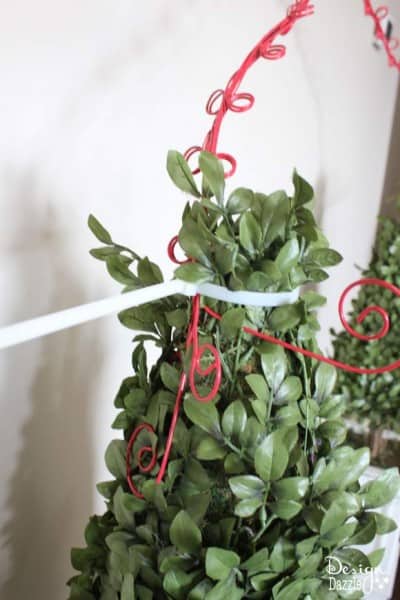
Step 1:
Use zip ties to attach a heavy-duty wire or balloon arch kit to the trees. Once the arch is moved into position trim the zipties so the tail can’t be seen.
Step 2:
Inflate your balloons with air and keep them small sizes. I inflated the balloons at several different sizes. There is no helium used for this arch. A few days before the party, I inflated the balloons and kept them in large lawn-sized trash bags. Do not keep the balloons in the garage or hot environment. They will deflate more readily then a normal room environment and not look the best. Heat and balloons do not mix.

Step 3:
Place the topiaries at the correct distance apart. Since I added the gate with my balloon structure, I wanted to make sure that it was the proper width.
Step 4:
Wrap tulle around the wire. It’s basically to hide the wire.
Step 5:
I tied the balloons together at the knots in sets of 3 with string and then tied them to the arch as a set. Tie them tight so the balloons will sit well together. Remember to inflate the balloons much smaller then you would normally inflate them.
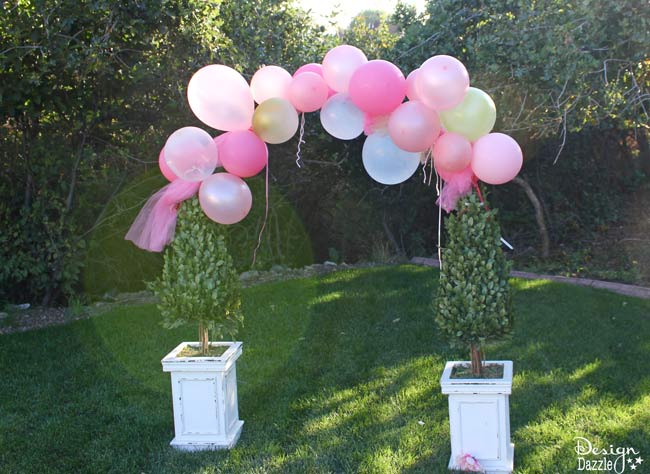
Light pink, dark pink, pearlized pink, clear and a couple of greens were used to create this look. Mix up the colors so there is variety.
Step 6:
The glue dots are imperative to make this balloon arch look good. Once I tied the balloons to the wire arch and got them somewhat in place, I put glue dots on the balloons to adhere them together. So basically it was two balloons that were touching and a glue dot was put in place to create a more professional and tighter look.
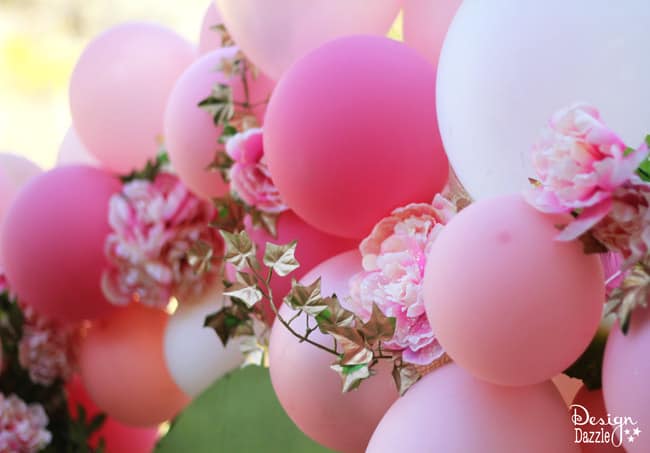
Step 7:
Add the flower bushes and gold ivy (in my case I sprayed some silk green ivy leaves gold) to the spots that need a little something. The glue dots kept the ivy in place. The flowers were tucked into the empty spaces between the balloons.
You will notice the balloons appear to be different colors in the photographs. The images that look a little more vintage/faded were taken in the evening. The brighter color photos were taken during the daytime.
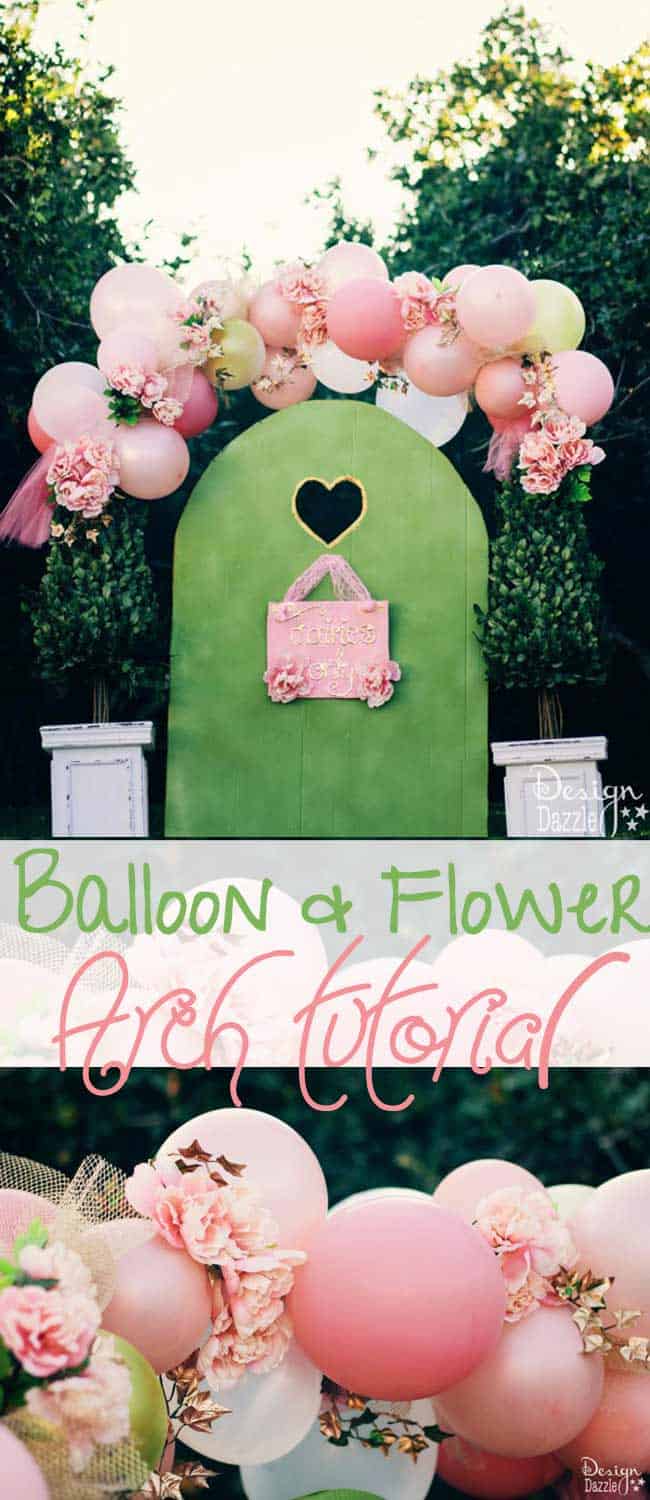
If you make a balloon arch with flowers, I would love to see it.
The first image in the post and the collage image was taken by Jenisse Forbes of Jenisse Photography
Instagram: https://instagram.com/
Facebook: https://www.facebook.com/
Website: https://jenisse.com/
Blog: https://jenisse.com/blog.php
Affiliate links are included in this post.




Erica says
So cute! I might have to try this. thank you
Toni - Design Dazzle says
I would love to see what you create!
Katy Gibbs says
I want you to know that I think you are an incredible person! Not only are you talented but the charity that you picked is so dear to my heart! My husband was deployed and I was pregnant. He missed the whole pregnancy and delivery and first two months of our son’s life. It was such a hard thing to do and I can only imagine how amazing the women involved in Operation Shower feel getting a shower. I know it would probably take away some of the pain and longing for your significant other during such a precious time. I applaud you for picking the charity you picked and I wish I could reach through my computer and hug you so tight! You are making a beautiful difference to families that sacrifice so much. Thank you for what you are doing and I hope I can help spread the word enough so that you win! PS if you want to see our story (birth video and homecoming video included) you can here: https://www.earningourstripes.org/category/birth-stories/
Toni - Design Dazzle says
Oh I loved watching the video. Super sweet and a tearjerker.
Thank you for your sweet comments. Also, much love to you and your family for all of your service to our country. I so appreciate what you’ve done with your husband deployed. By the way, we are neighbors!!
Hugs,
Toni
thanuja says
so pretty! where did you get your balloons from?
Toni - Design Dazzle says
Thanuja,
I had the balloons for many, many years. I was concerned they would pop when inflating because they were so old. Most of them didn’t pop. I did purchase a few clear ones at the party store. But most of them I had already.
Toni
Udinbadut says
Thanks for sharing a cute tutorial Its so coooool 🙂
Toni - Design Dazzle says
Thank you very much! It was a fun project to do.
Bec says
I love this! Great idea to spray the flowers. Did this last long? Or just the day? Would love to create for my sons birthday but I would like it to last the weekend 🙂
Toni - Design Dazzle says
Hi Bec!
If you bring the entire fairy arch indoors (not the garage). It should last several days. There is no helium in the balloons so they don’t shrink as quickly. If kept inside in a mild temperate they will be fine. I kept some balloons inside the garage and those shriveled quickly. Of course, the flowers last forever since they are fake. It’s the balloons you need to worry about.
Balon dekorasi says
Thanks for sharing.. sharing ia caring. I like balloon arange too , but in my country ( Indonesia ) just have some colors that sold at shop.
Toni - Design Dazzle says
Balloons are so fun to create with!