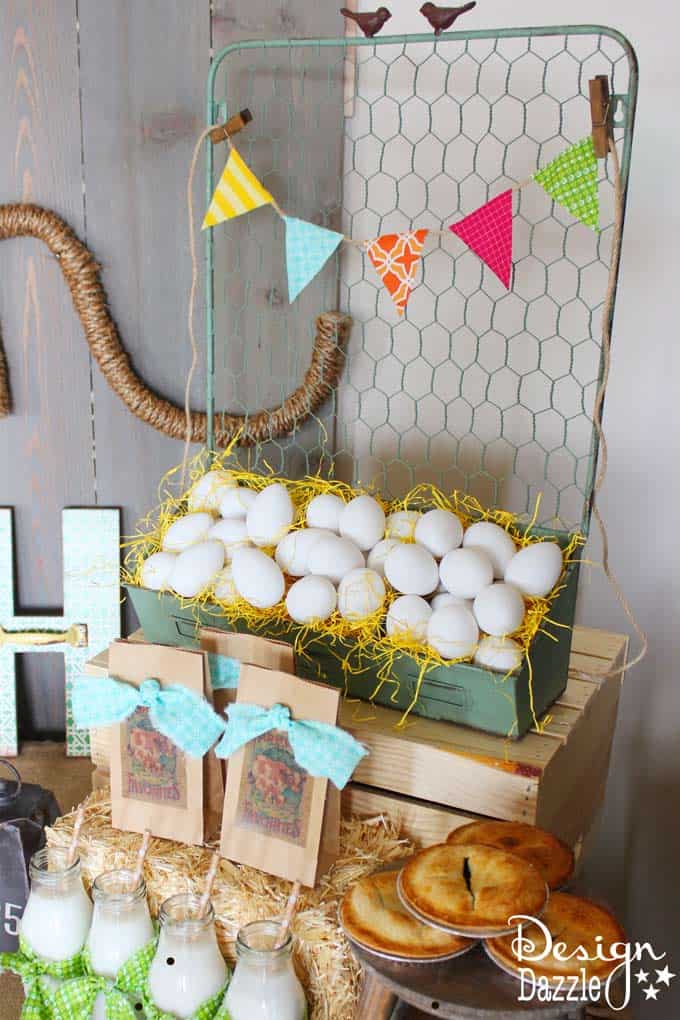
A cute little banner is such an easy way to add just the right touch to your next party! For my Farm Chic Bash, I made a denim pocket banner and a mini fabric banner. They both turned out so cute and were so simple to make! In a few of minutes, you can have two cute, quick easy banners to add a pop to your party!
Denim Pocket Banner
A while back, I created an Indoor Picnic Tablescape with all fun denim crafts. Well, I just couldn’t resist making another easy, denim craft! This would be a great way to use up those old jean pockets you don’t know what to do with. This is a super simple craft that could be done in about 20 minutes!
Denim Pocket Banner Supplies
- denim pockets
- depending on how long the banner is – 6-12 stems of flowers from Michaels
- straight pins
- burlap ribbon
- scissors
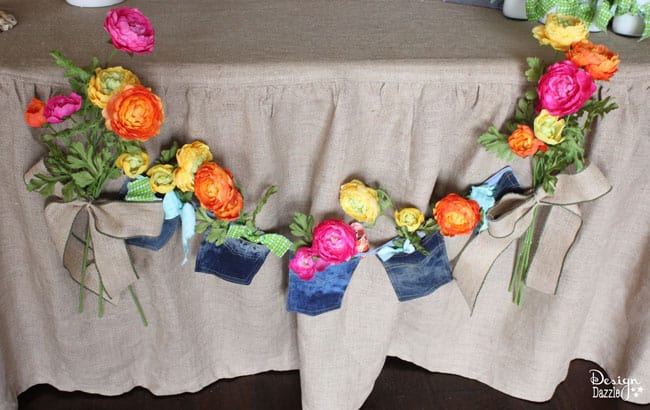
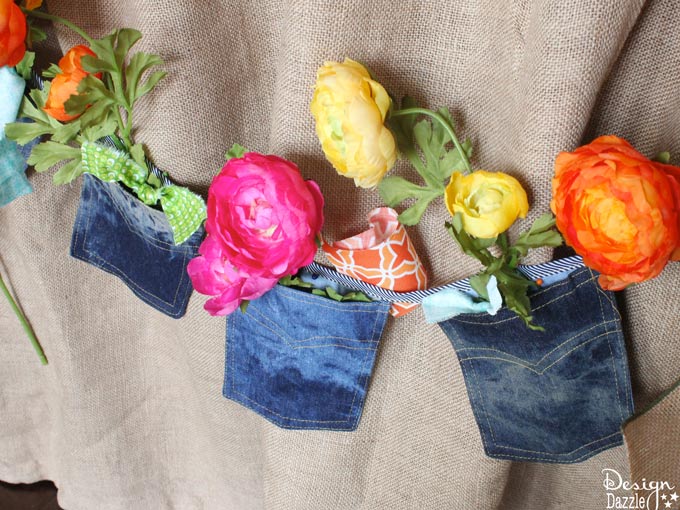
Step 1: Pin your denim pocket banner onto your background- the wall, burlap, whatever. I pinned mine to the front of a burlap tablecloth. If you are using your own denim pockets, you can either hot glue them onto ribbon to create a banner or you can simply pin them onto a burlap background. I purchased this denim pocket banner from Michaels a while back. You can easily cut out denim pockets from old jeans to create this banner.
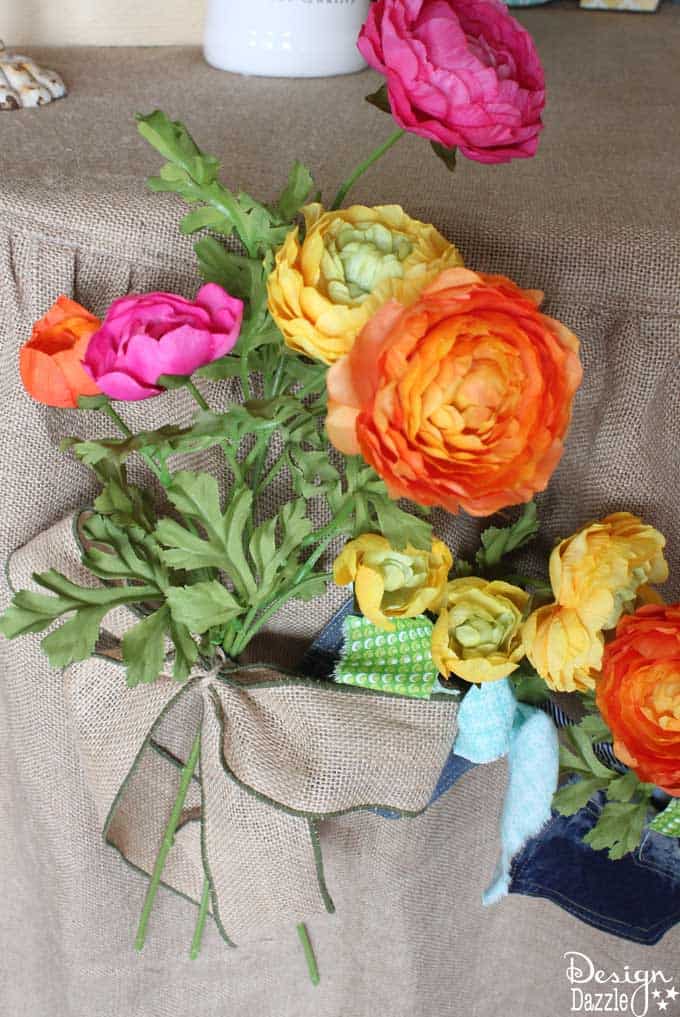
Step 2: Cut your stems down to various heights. I used one stem of flowers per pocket, with little bouquets of 3 stems on either end of the banner. I left the stems long for the bouquets on the ends.
Step 3: Arrange your flowers in the pockets. To keep my flowers upright, I used a straight pin to pin them to the back of the pocket.
Step 4: Arrange your bouquet. Tie them together either with the burlap ribbon you’re using for the bow or with a small piece of twine. I tied them together with twine and fabric scraps. Use my favorite easy bow tutorial to create the perfect bows in no time! Pin these bouquets on either side of the banner.
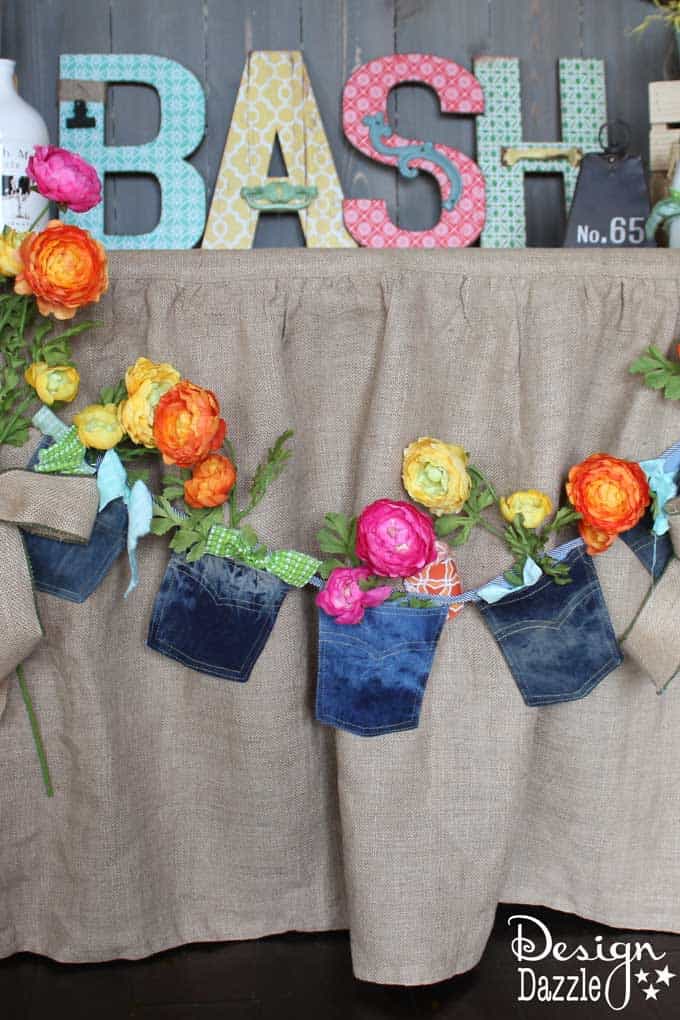
It’s that simple! There’s really not much to this tutorial, but you will love the finished product! This sweet banner will add such a pop of color and fun to your next party!
Mini Fabric Banner
Creating a sweet little banner is so simple! There really isn’t much to it. This is a great way to use up random scraps of fabric that you’ve been saving for a future project. I love mixing patterns and colors, and this is a great way to add a pop of color to your party! This is such a sweet, little detail that can really add to your decor!

Mini Fabric Banner Supplies
- various fabrics and scraps (the more patterns and colors the better!)
- twine
- hot glue gun
- scissors
- cardstock
- pen

Step 1: Create a triangle template with cardstock to use to cut out your scraps. Make sure the lines are straight and it is evenly proportionate. Then, trace this triangle on the back side of your fabric, for as many triangles as you want on your banner.

Step 2: Cut out all the triangles. Also, cut your twine for how long you want your banner to be. Make sure to leave a bit of extra twine on the ends so you can hang your banner with ease!
Step 3: Using small dabs, hot glue your fabric triangles to the twine. Glue the back of the fabric on top of the twine. Make sure the twine is straight and not twisted so the banner is even. Repeat this for each triangle of fabric. All that’s left to do is to hang and enjoy!



Melanie - Bellenza Parties says
Lovely banner for a rustic summer BBQ party!
Toni - Design Dazzle says
That’s a great idea Melanie! Thanks.