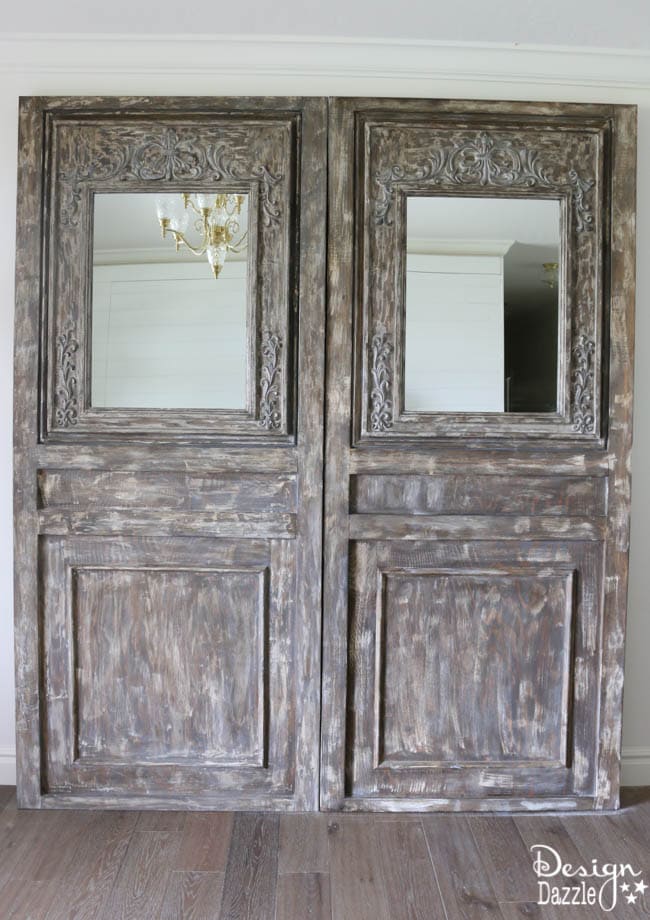
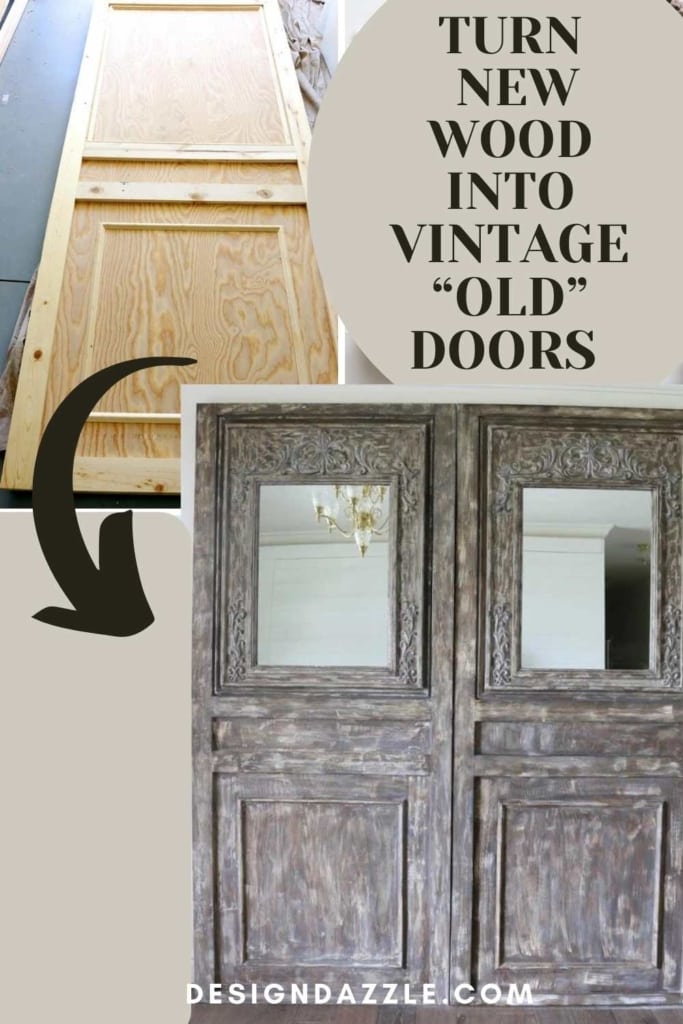
I’m really excited to tell you all about these fabulous and fun vintage doors, but before I do that I will give you a little bit of the back story! There is a wall in the entryway of my house that has a big opening straight into my craft room (which use to be the dining room), the the only problem with that is that the opening is blocked by cabinets that are put in place in the new craft room. Seeing as I didn’t want to look at the back side of my cupboards every time I came home, I decided that I wanted to cover the opening with oversized vintage doors that could lean up against that wall for non-permanent, stylish and unique coverage. These “doors” are not hinged and used as doors. I’m sharing How To Make Vintage Old Doors From New Wood.
This post is part of the One Room Challenge. Check all the amazingness going on with the participants.
If you want to see my journey for re-doing my entryway, start…
Introduction To My Entryway And The Secret Room (part 1)
The Secret Room And The Sliding Wall (part 2)
How To Build a Sliding Wall (part 3)
How To Make Vintage “Old” Doors From New Wood (part 4) – Your here right now : )
I started my search for the perfect large vintage wooden doors and found that, unfortunately, they were all way out of my price range by several thousand dollars – yikes! That’s when the idea came to me to make these doors myself with the help of our handyman. One day, at Hobby Lobby, I came across these beautiful wooden framed mirrors that I thought would be a great piece to base my doors around. I just wasn’t sure if I should purchase them. Every time I went to HL I would go check them out and spend a few minutes thinking about the. I eventually went back to buy them. I got them both for 50% off and am SO happy with my purchase!
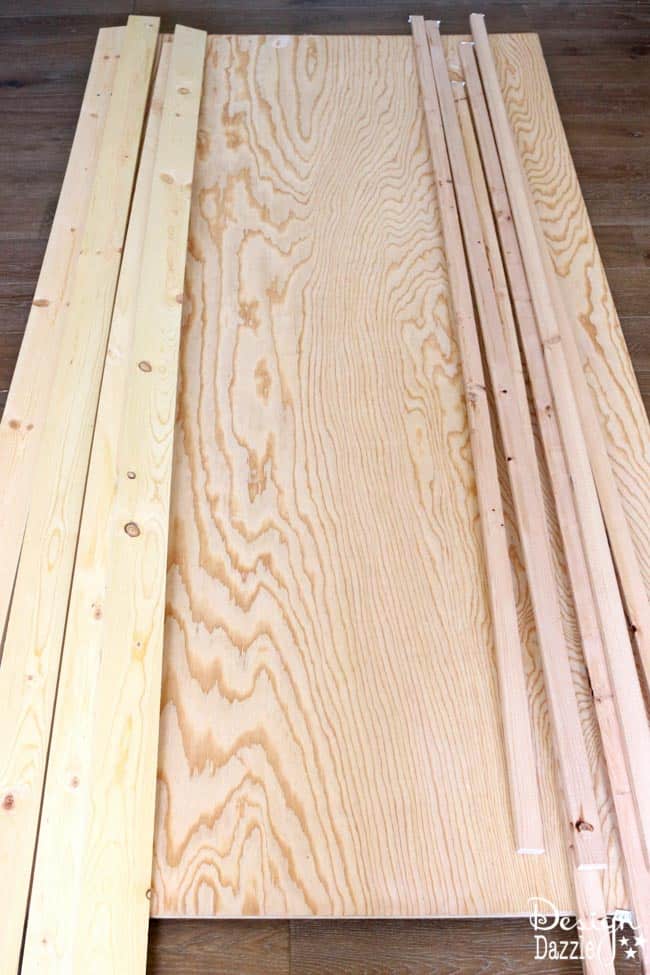
Now for the process of making the doors!! This is what the pile of wood looked like before I started on the doors.
This post contains affiliate links at no additional cost to you. For further information, please see our disclosure policy.
Tools needed:
- Ryobi Brad Nailer
- Ryobi Sander -P401
- Ryobi Multi-Tool – P340
- Circular saw
- Drill
- Clamps
- Speed square
- Chop saw/Compound miter saw/Backbone saw
- We used a compound saw, but if you don’t have one of those than you can purchase a miter box at the hardware store that will be a good price and still help you cut those perfect angles.
- Blow Dryer (used to blow sawdust out off of door and out of the cracks after sanding and before staining/painting or of course, you can use an air compressor.)
- Aluminum cutting guide
Supplies needed to make doors:
- Two paint grade 4′ x 8′ pine plywood sheets
- 1″ x 4″ pine boards
- 2o feet of decorative wood trim
- 1″ x 2″ x 8′ pine board
- Wood glue
- Stain
- Valspar antiquing wax. Dark satin acrylic – 87003 or you can purchase antiquing wax online.
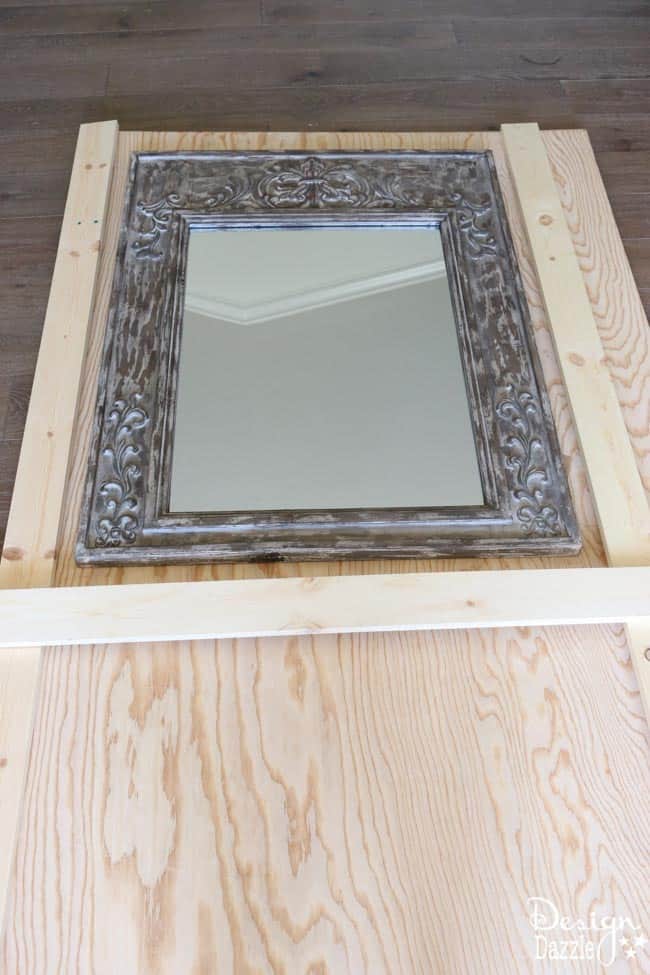
Before officially starting the process, I laid out some of the elements to see how they would be working together and started to plan some of it out in my head.
STEP 1
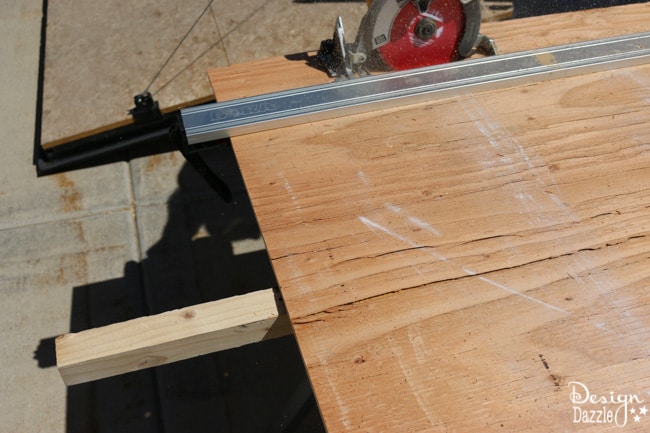
First The 4×8 pine plywood sheets were cut down to the desired size of doors. I wanted the doors to be oversized compared to any normal door.
STEP 2
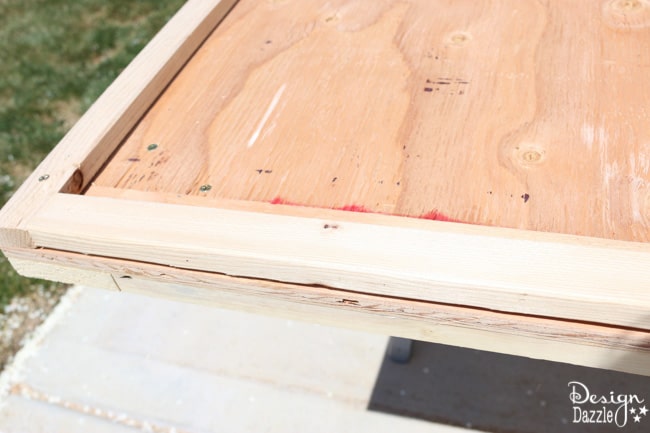
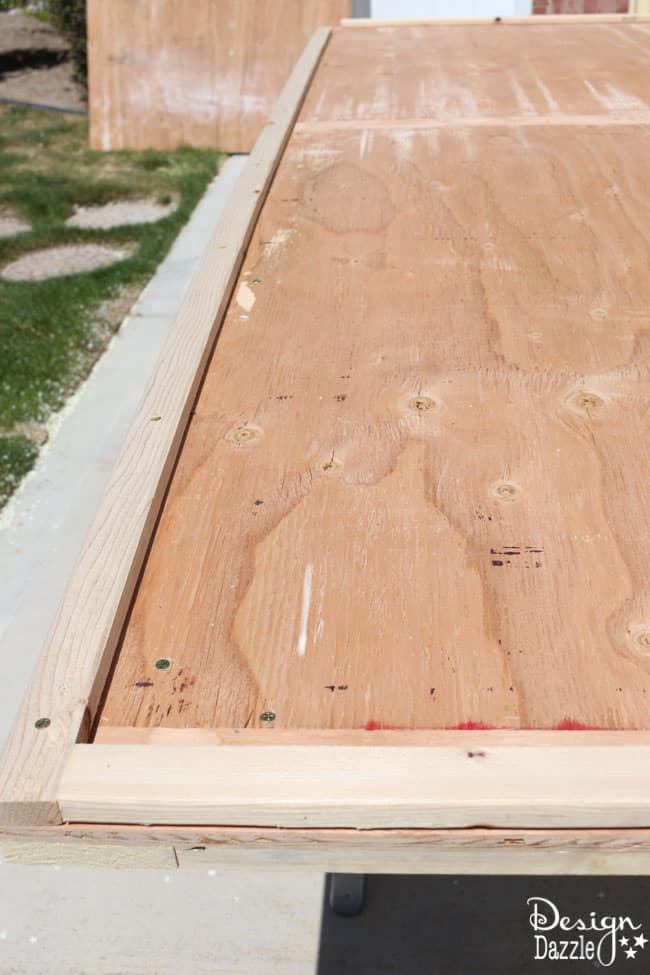
The 1 x 4 pine boards were then cut and used to make the border of the door and the center style pieces. Those pieces were attached using screws and glue from the back side of the door to keep the attachments hidden. These images are off the BACK of the door and not showing the 1 x 4 pine boards.
STEP 3
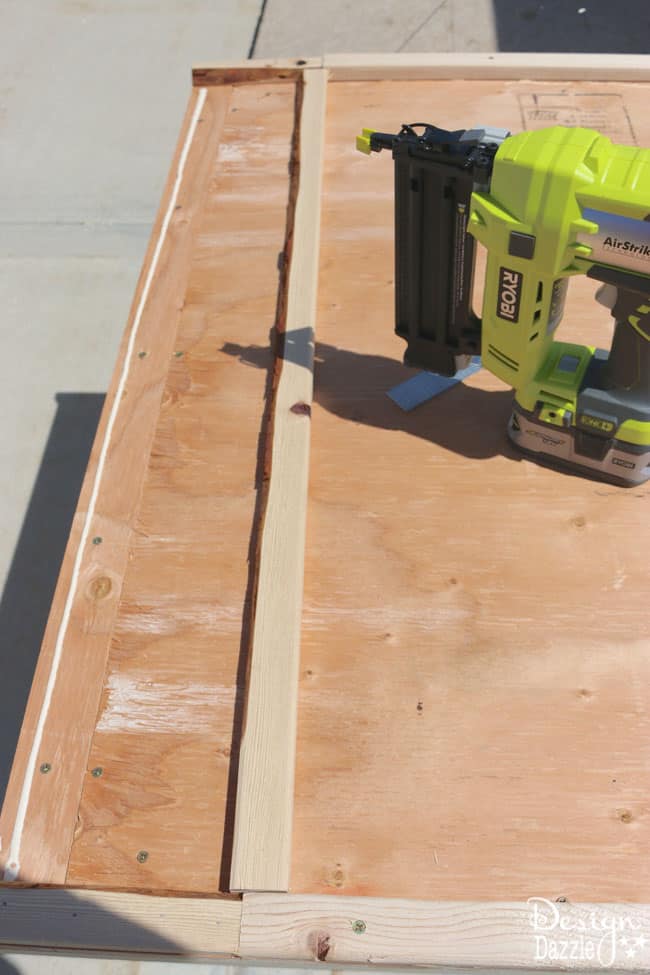
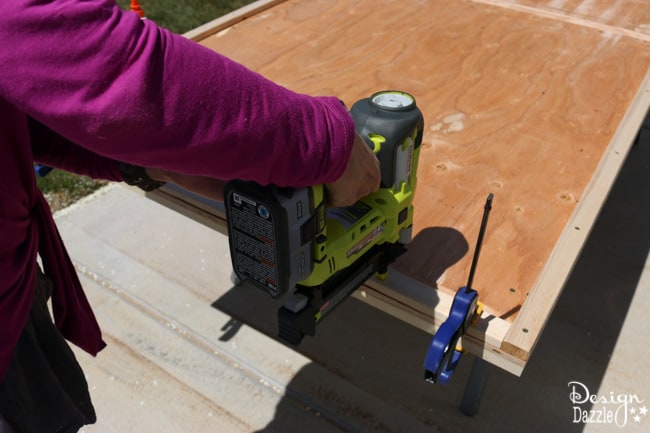
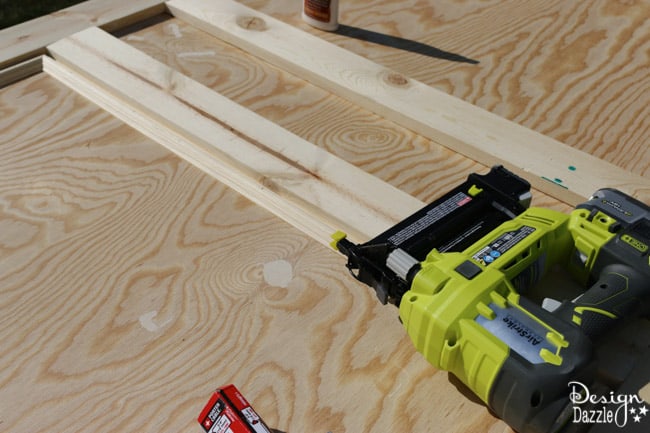
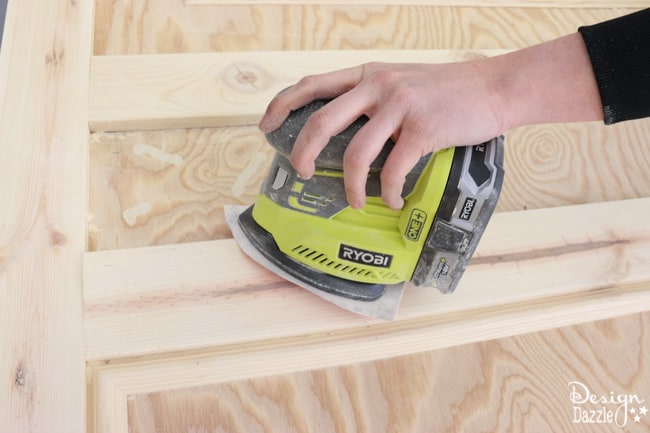
Next, 1 x 2 pine boards were added around the edge of the door on the back to add support and to take away the slight bow of the door. I have never owned a brad nailer before and let me tell you how much I loved this!!! How in the world did we ever do things 60+ years ago without these kind of amazing tools. I also used the Ryobi sanders and fell in love.
STEP 4
The door was then flipped over so the front side was facing up and the decorative trim could be added. It was added in the center on the bottom half and then also right around where the mirrors would be mounted on the upper half of the door. This was done using wood glue and the brad nailer.
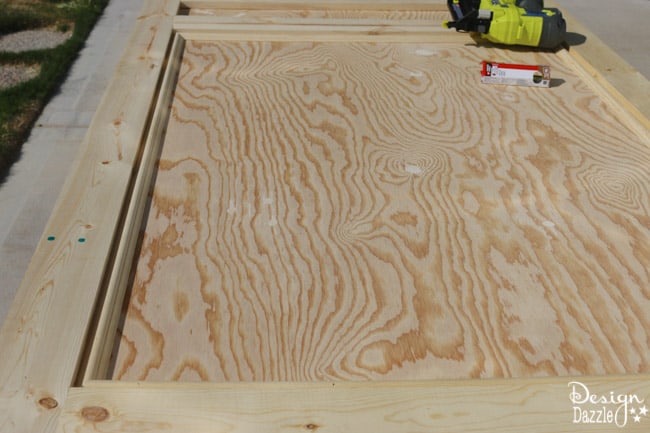
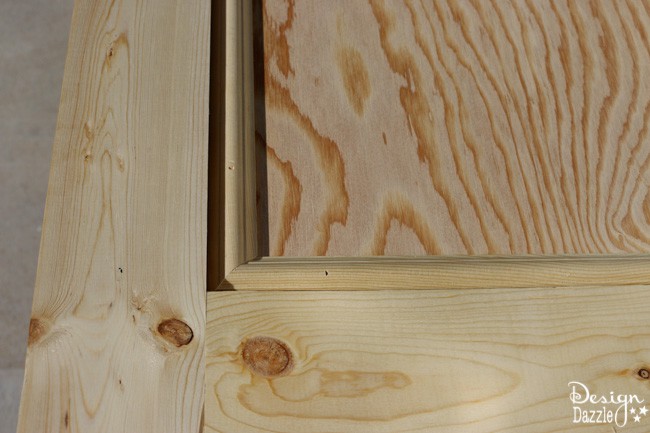
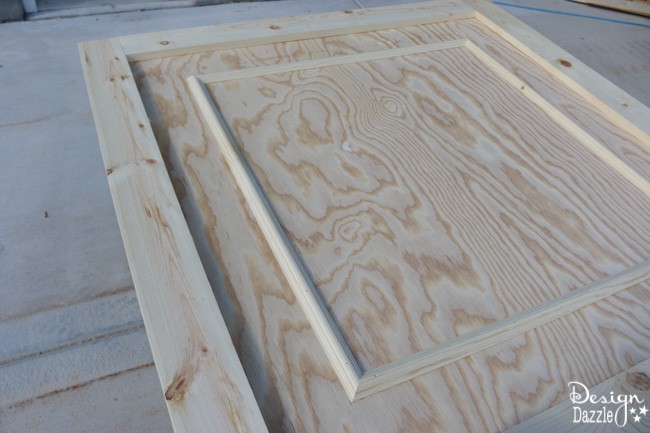
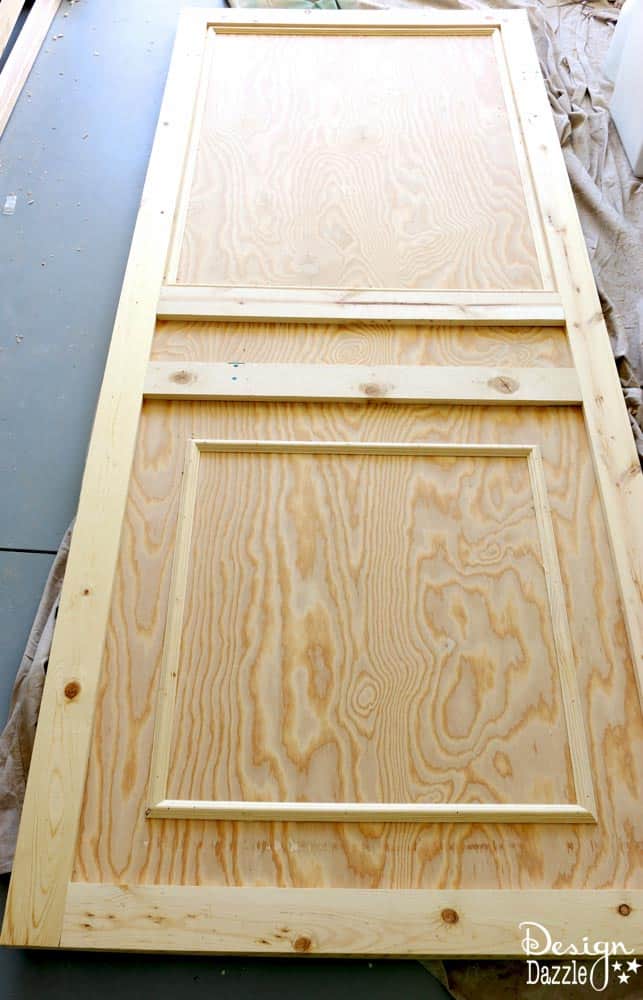
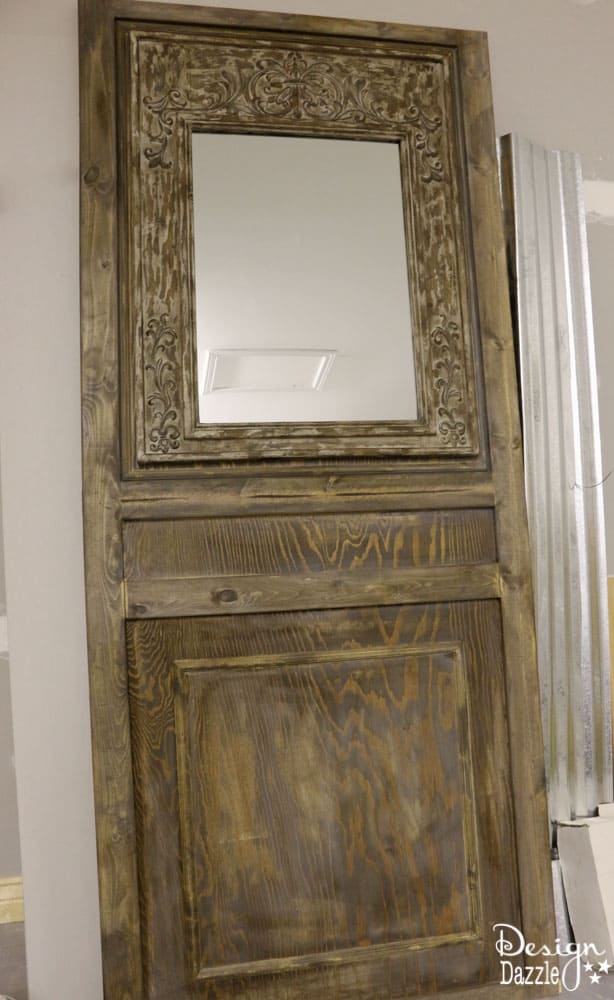
This is the door before I started staining it. Looks pretty good but can’t wait to make it look old!
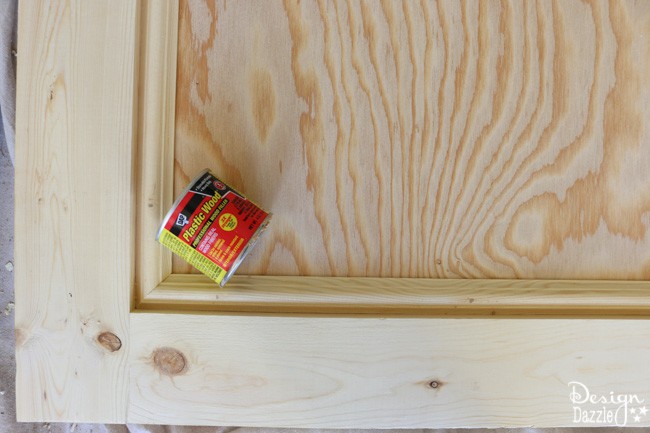
STEP 5
Once the construction of the doors was finished, it was time for the finishing. This was actually the trickiest part because I wanted the stain of the door to match that of the mirror I purchases as closely as possible without having to change the mirror. I used plastic wood filler to fill in any holes and gaps. This stuff works pretty great and can be stained! That is the most important part is if you’re staining the wood get wood filler that can be stained.
Thoroughly sand the surface to prepare it for staining. You will want to be sure to get all of the saw dust off of the door before staining. I used my blow dryer to make the job a little easier. 🙂
STEP 6
Once the door was sanded and cleaned it was time to stain. I started by adding a layer of pre-stain so that the wood would absorb the stain colors well. Check directions for application instructions.
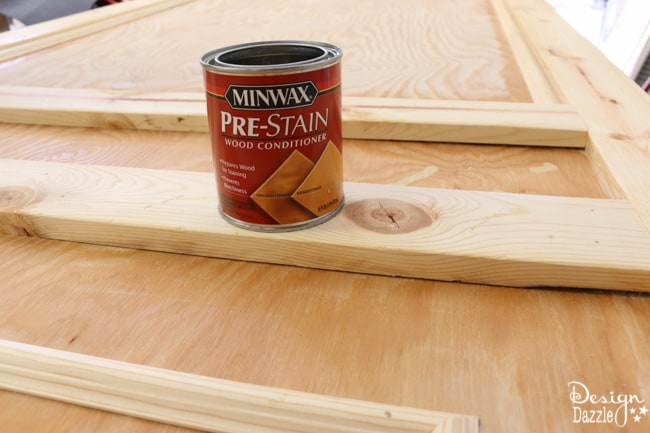
STEP 7
The colors of stain were then layered on the doors in this order: “Classic Gray” then “Maple” then “Dark Walnut”. I started by applying the gray in a very “streaky” and unfinished way leaving some of the raw wood showing through. Then I very lightly added streaks with the maple wipes to add a little warmth to the color. Finally I added the dark walnut stain lightly to the top. Be careful not to add too much of this stain. I added it in blotches, rubbed it in and then wiped it off with a clean cloth to make sure the wood didn’t take too much of the dark color. I didn’t wait til the stain dried. I just gave it a couple of minutes and started on the next stain.
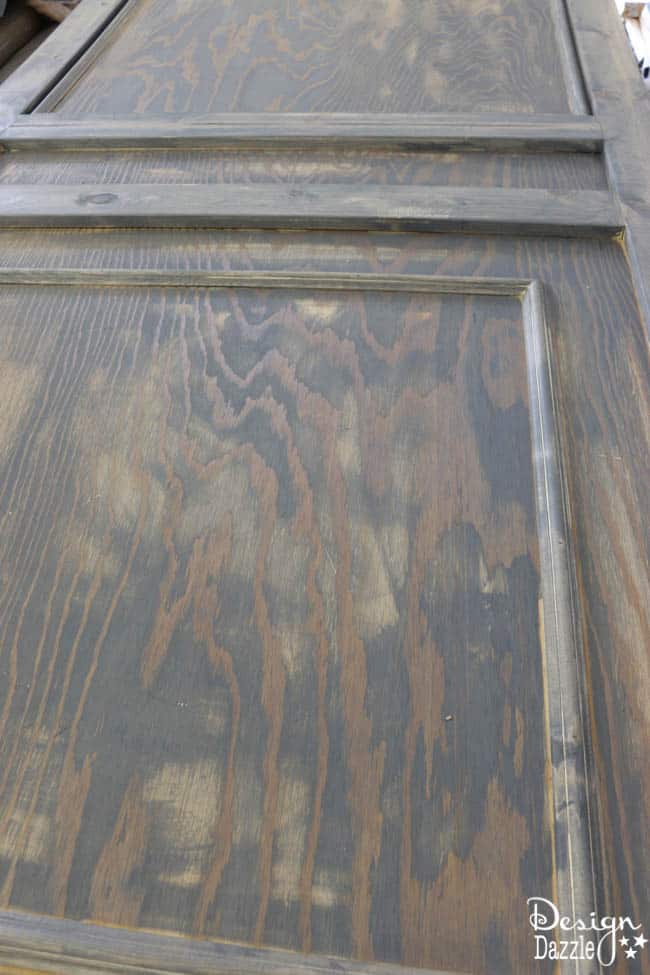
STEP 8
Once the base color was down, I centered the mirror on the upper half of the door and screwed it on front the back side using 1.25 inch grabber screws. With the mirror mounted, it was even easier to add the last minute details to perfectly match the door to the mirror.
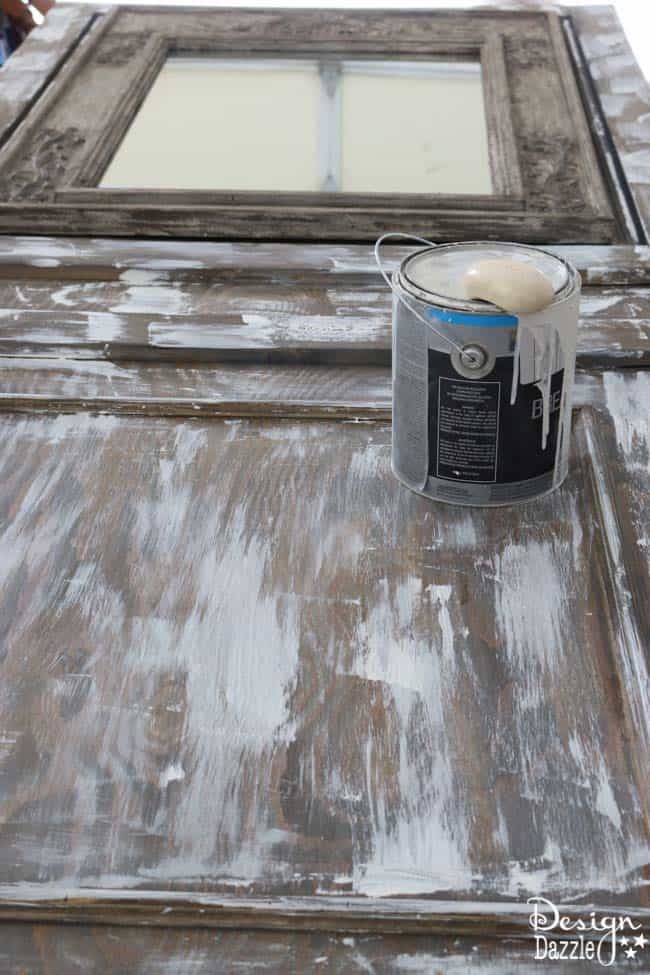
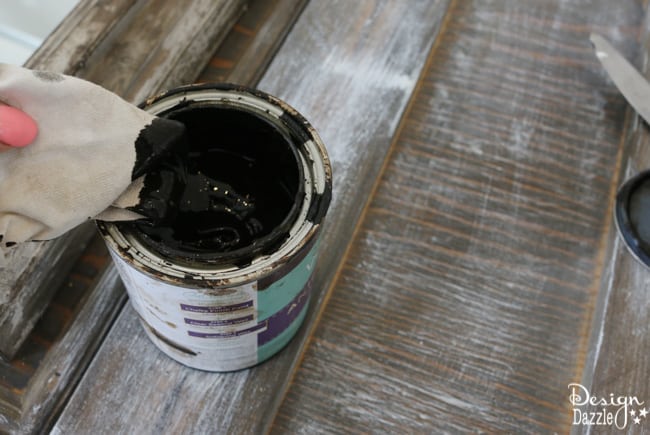
For the finishing touches I rubbed the door down with a bar of soap and then distressed it with white paint. I just used a rag dipped in the paint and wiped it on fairly lightly. Having the layer of soap on underneath the paint makes it easier to sand down the paint to create a naturally distressed look without the paint looking to stark or out of place. Check the images to see how much paint I used. Once the paint is dry – sand again to get rid of a lot of the paint. Wipe off or blow dry off the dust. This is an image of the paint wiped on.
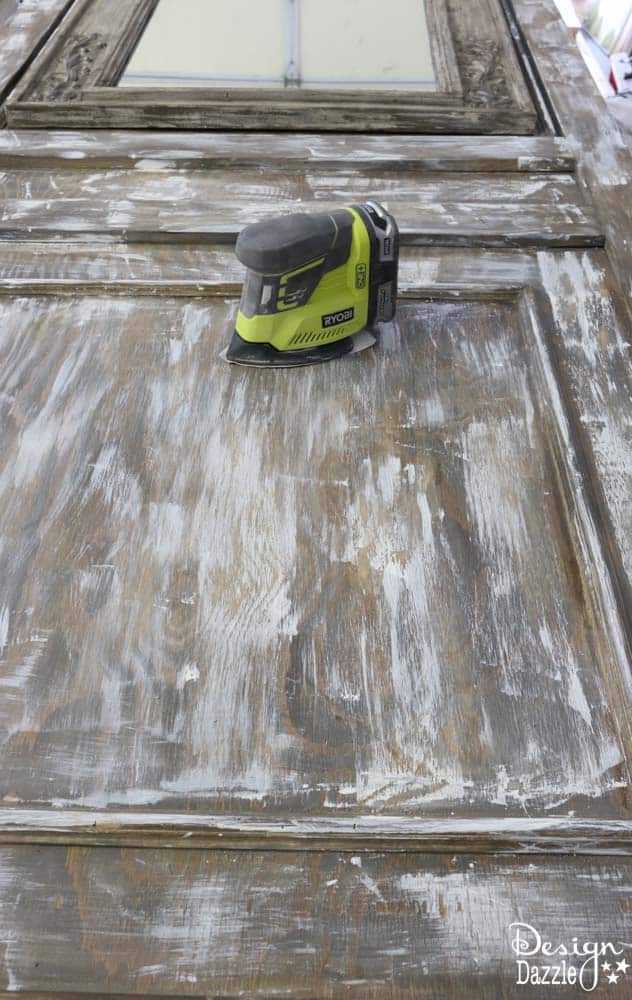
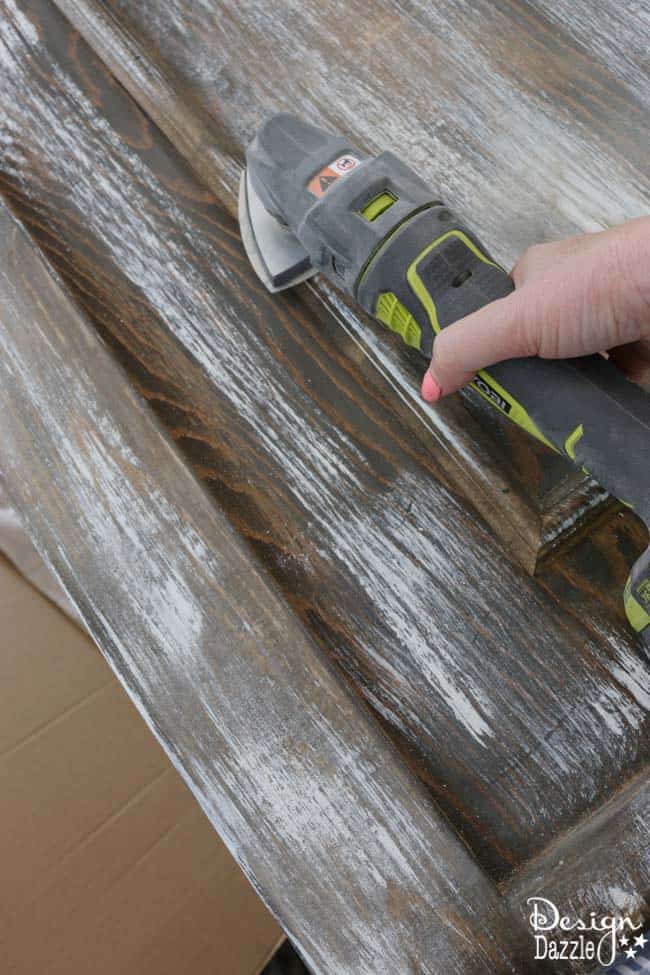
I then added dark brown antiquing wax to continue the vintage look. Now, this is the process that I used to match the colors, but you will need to look at the color you want to match while staining and be sure to pay attention to the details!
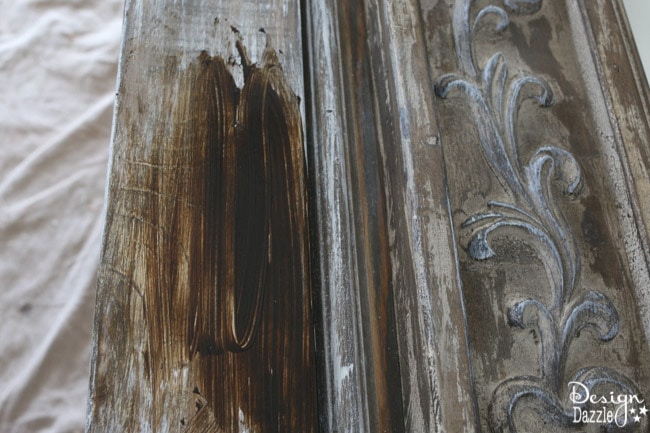
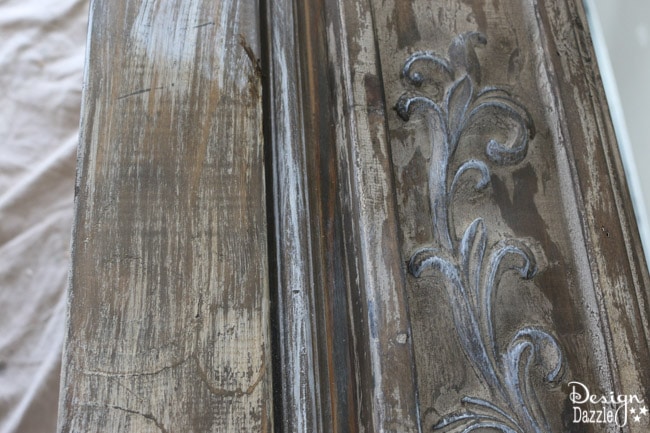
Can you see the difference in the image above with the wax on the top left side of the wood. I left a bit to show in this image what the paint look like with the wax on (bottom portion) and no-wax (top left portion)
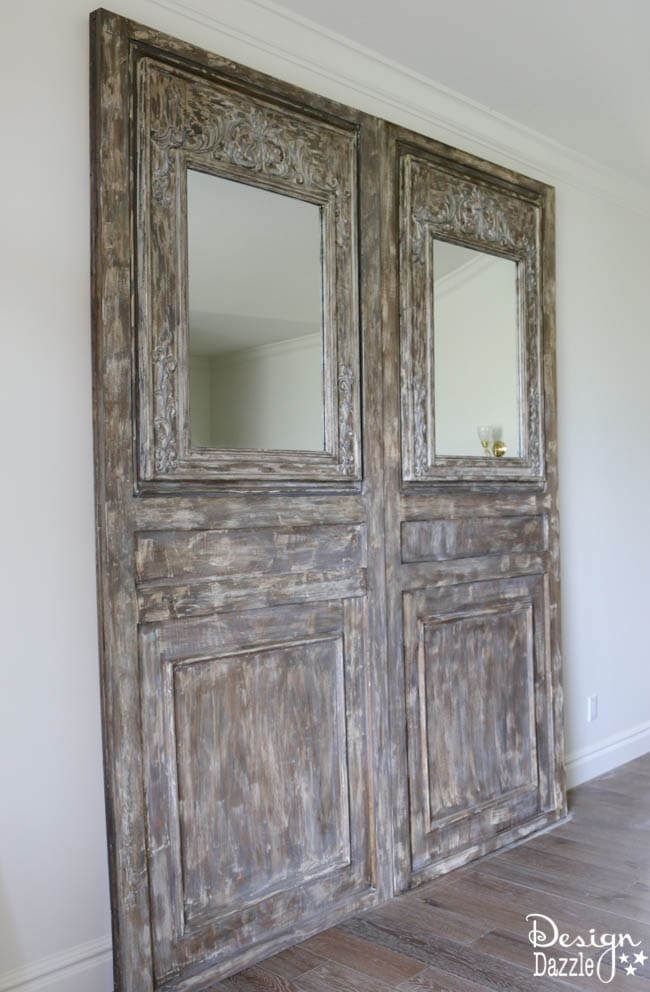
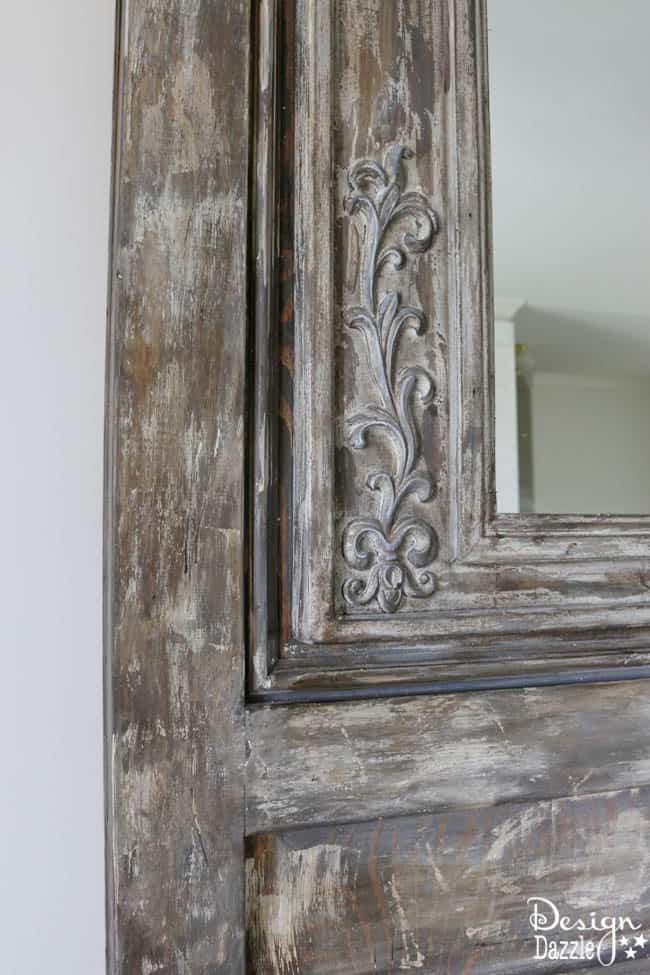
There you have it! The oversized vintage doors are done and looking fabulous! I could not be happier with how beautiful these doors turned out.
My goals for the One Room challenge -The Sliding Wall and The Secret Room:
Create a secret room (the result of the sliding wall).
Paint the planked sliding wall-
Make some type of vintage old looking “doors” to the dining room. -
Create a gallery wall on my sliding wall.
-
Build a bench from a headboard.
-
Possibly get a new chandelier. It definitely needs one.
-
Style and decorate the room – rug, pillows, accessories, etc. Not sure if I’ll get to this part – it depends on the budget.
So I’ve been able to get a few of the big things checked off. Check back next week for more details.



Steph says
Can you hang these like a regular hinged door? or do they need to be similar to a barn door with sliders on top? They are just beautiful.
Toni - Design Dazzle says
They are screwed into place. We made our dining room into a craft room. There were two entrances to the room so we closed this one off. But you could make this into barn doors very easily. I would not suggest a regular hinged door. It would need to be perfectly accurate to close the door inside door trim.
Sophia Rhea says
Hi Toni, These are absolutely beautiful! Looking at them, I would never know they are new. Thanks for the awesome post!
Toni - Design Dazzle says
Thank you! I loved how they turned out too!