

This shop has been compensated by Collective Bias, Inc. and its advertiser. All opinions are mine alone. #CompleteWithGlade #CollectiveBias
Today I’m excited to share my fun DIY Mini Mudroom Nook!

This has been the view walking into our home from the garage for longer than I care to admit! When we remodeled our laundry room we took out a hall closet nearby to make the laundry space bigger. The laundry room is right across from this spot. Unfortunately, we ended up using this little nook to collect the random clutter that I would normally tuck away. I love when my home looks and smells good and this area did not have a warm, clean, inviting feeling at all!

My husband and I are not big DIYers together – but we managed to transform this DIY mini mudroom nook together, and I just love how it turned out! It took us one evening to do most of the project and we finished painting it the next day.
The cabinet was there when we purchased the home and is the perfect height to sit down and put shoes on or take them off. We decided to add a nice shelf and some wood details to give this nook a finished, custom feel with a mini mudroom look. This project started with some very careful measuring and remeasuring to make sure we got all our wood cuts right the first time then we headed to Home Depot to pick up our supplies.
Materials:
- ¼” sanded plywood (4’ x 8’ sheet) – cut to size at Home Depot
- 2 ½” x 8’ primed MDF board – cut to size at Home Depot
- Wood Screws
- Primer
- Paint – leftover from another project
- Wood Shelf – already had
Tools:
- Stud Finder
- Cordless Drill/Driver or Screwdriver
- Brad Nailer (optional)
- Measuring Tape
- Level
- Paint Brush
- Paint Tray
Here’s a look at the plywood and MDF we used:
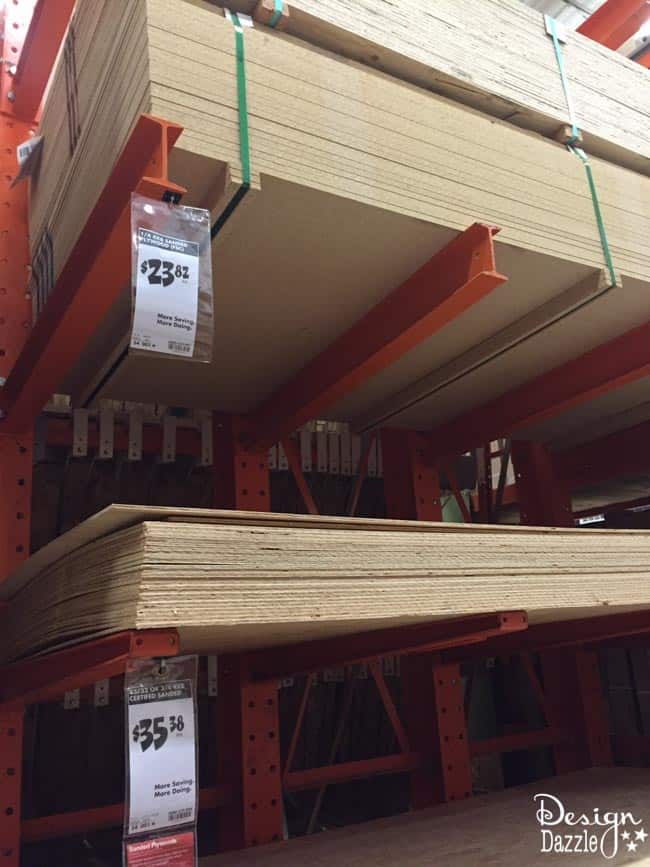
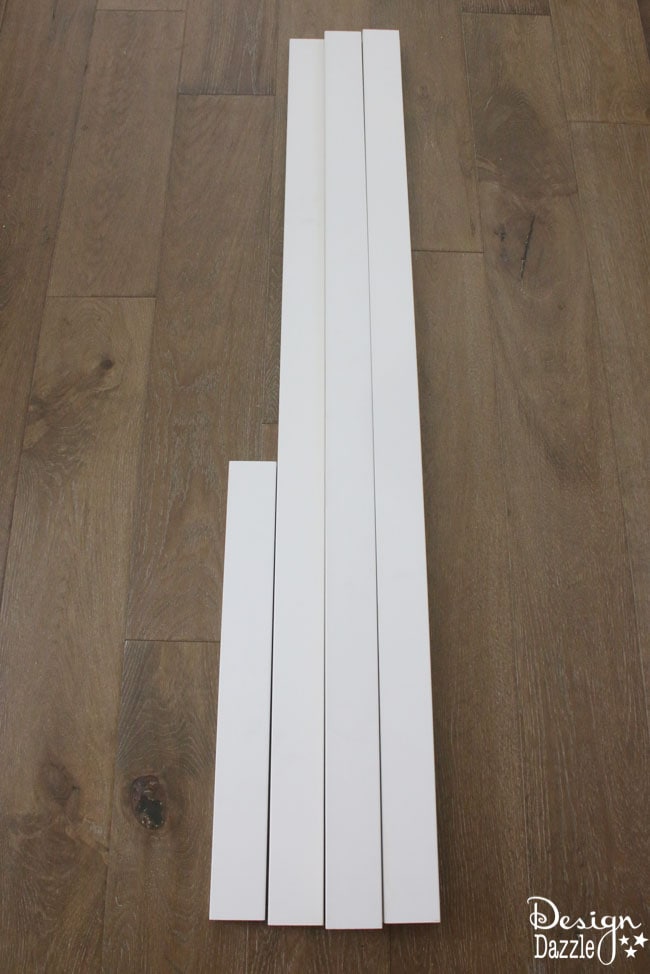
The wood and MDF boards were cut to size at Home Depot.
After purchasing all our materials, the first thing we did was find and mark the studs along the back wall then we screwed the plywood into the studs using a cordless drill. You can use a screwdriver to manually screw the wood screws in but a rechargeable cordless drill/driver makes it super easy. We put the plywood up to give the large shelf some additional support so we weren’t just screwing it into our drywall. The stud finder is easy to use and certainly helps find the studs.

Next, we used a shelf we already had as a guide for placing the MDF slats on top of the plywood. We attached them using more wood screws and wood nails.

We couldn’t find our level so we used the old fashioned method – We measured everything very carefully. Then, we marked where each board was supposed to be placed with a pencil. We used duct tape to hold the boards firmly in place. When screwing the wood screws in place I held the board while my husband drilled them in. We used wood screws at the top of each slat then used a nail gun to secure the rest of each slat to the plywood.

After all the slats were attached we put putty over the screw and nail holes and sanded them.

At this point our project was ready to be primed and painted!

Now when I walk in from the garage I have a big smile on my face. Seeing this mini mudroom nook just makes me happy!


I’ve been shopping at Home Depot for a very long time, and it’s always a great experience. It would be odd to go to Home Depot and not be asked if I needed help. Not only did I get all the building materials for mini mudroom nook, but while there I also picked up a Glade® PlugIns® Scented Oil Warmer to give this area a fresh, clean smell when we enter our home. I chose Glade® Clean Linen® because I love how cozy this classic, clean scent makes our home feel. The hints of citrus really help make this little nook feel warm, inviting and comfortable. When I walk into this nook from our garage it is so nice to have a clean, yummy smell!

I love Glade® PlugIns® because they are so simple to use. You just plug them in and they do all the work! Another bonus is they are adjustable so you can fill rooms large or small with your favorite long lasting fragrances. Be sure to connect with Glade® online at:

Twitter: https://twitter.com/Glade
Facebook: https://www.facebook.com/Glade/
Instagram: https://www.instagram.com/glade/
Pinterest: https://www.pinterest.com/glade/
YouTube: https://www.youtube.com/user/glade
I hope you’ve enjoyed my DIY project. Do you have any spots in your home you have wanted to fix or makeover?


Krafty Fix says
Looks great, a vast improvement on how it looked before. Just shows what you can achieve quickly when you throw everything at it!
Toni - Design Dazzle says
So true Krafty Fix! We decided to get it done in an evening and finish painting the next day. Yes, certainly a vast improvement! : )
Thank you!
Toni
Renee says
First of all, I am so impressed with your handiwork! Secondly, I love the colors. So bright and cheery.
Toni - Design Dazzle says
Thank you, Renee! It was a first DIY for my hubby and I together – so we are quite pleased we could pull it off together. I love walking in from the garage and going ahhhh!!!
Toni
Dinesh - ToolsReview says
looks awesome! I also like the wordings on the wall hanger “Always look on the bright side of the life”. How long did it take? Do I have have your permission to share the image in my pinterest board?
Toni - Design Dazzle says
I didn’t paint it. But it is sure cute! Yes, please pin away.