This post is sponsored by Tic Tac Tiles. All the opinions and ideas are my own.
Do you want to put tile in your home to spice up a room but feel overwhelmed with the idea of installing tile?
I know exactly how you feel!
The thought of renting special tools, then measuring, cutting, and grouting my own tile is not something I feel very comfortable doing.
But we have been wanting to remodel our bathroom ever since we moved in, so I found a solution to my tile problem!
As part of my bathroom remodel I’m showing you how I used Tic Tac Tiles to make my tiling process easy peasy!
It’s a self-adhesive stick on tile sheet.
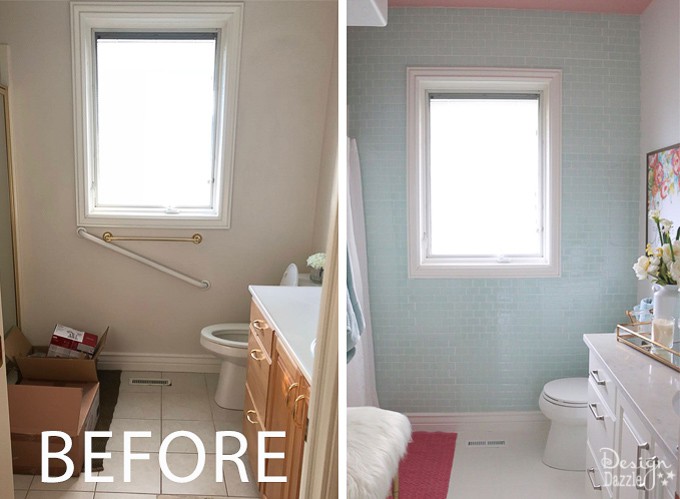
Here’s the before picture of my bathroom:
Isn’t it a pretty blah dated bathroom with some old tile flooring? Well, check out below for the reveal…
Isn’t the tile gorgeous?
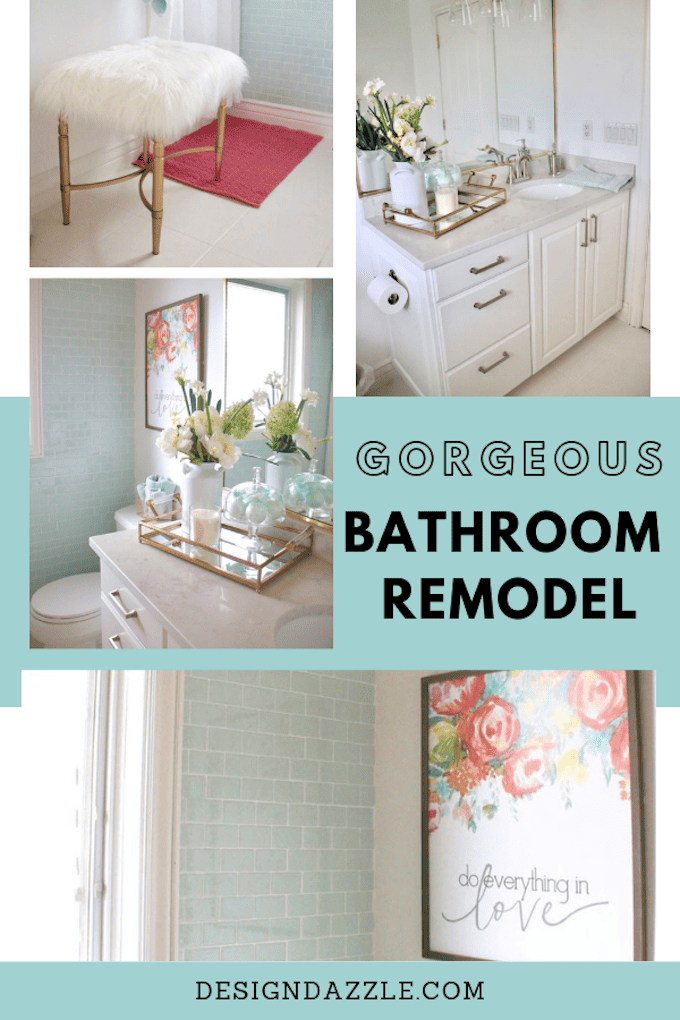
I’m so excited to share this really cool product with you!
These are self-adhesive 3-D tiles from Tic Tac Tiles.
For my bathroom remodel, I chose to use their Subway tile in the color “Mist“
I just loved this color!
The tile comes in a large selection of other styles and colors.
They offer white subway tile for a more simple, modern look.
They also have some other cool shaped tiles and an octagon shape for a more unique look.

What makes these self-adhesive tiles so special is that you don’t need any grout or special tools or skills to use these tiles and they look just like real, normal tiles.
Make sure to read the instructions that come with the tiles.
But for a quick rundown you can apply the tiles to a wall in 4 simple steps:
1. Take your pencil and mark where you need to cut the tile to fit on your wall.
2. Grab your paper cutter (you could use scissors or a box cutter but this is my tool of choice and it was my husband’s idea!) and cut your Tic Tac Tiles.
3. Pull off the backing of the Tic Tac Tiles so the sticky part is exposed.
4. Line up the tile and apply it to the wall.
The tile was easy to work with.
Tiling floors would not work with this tile.
But it’s perfect for a kitchen backsplash, laundry room walls and the bathroom.
It’s not a tile for showers. It’s a great way to have a tile look for much cheaper than real tile.
In the video, I share more information and I actually cut the tile (to show how easy it is) and attach tile sheets to the wall.
Watch the video below for more info and
step-by-step instructions!
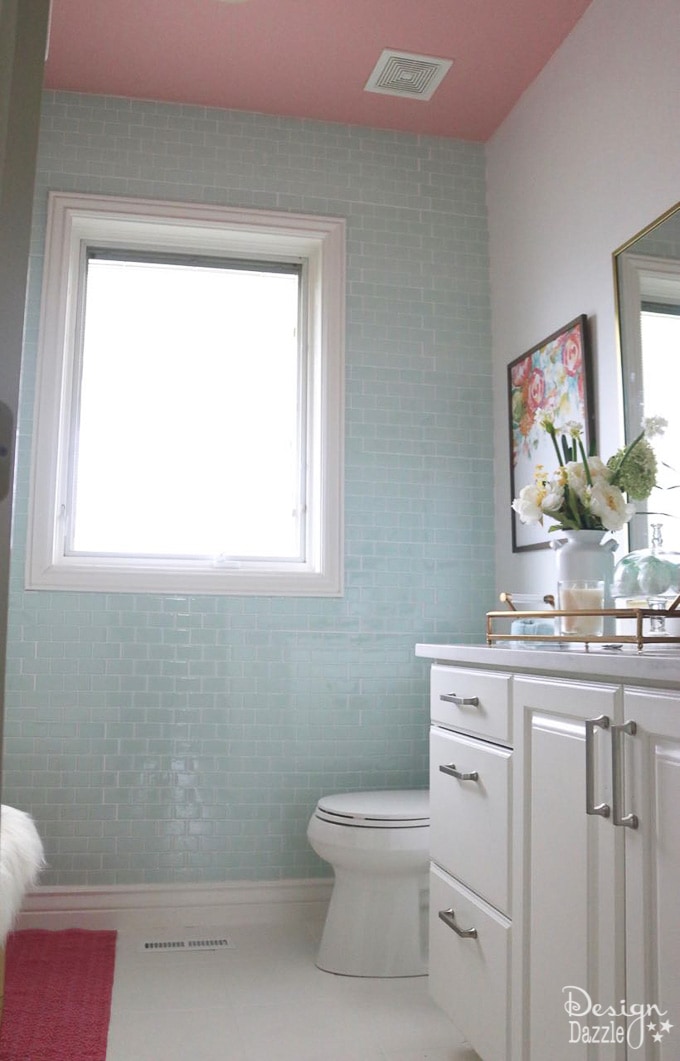
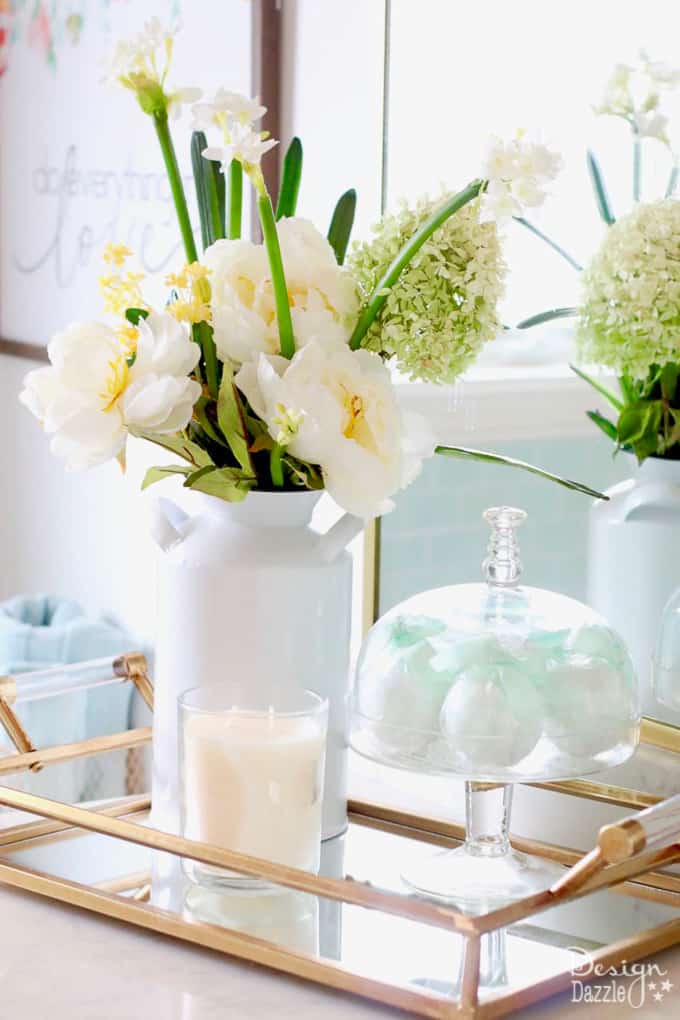
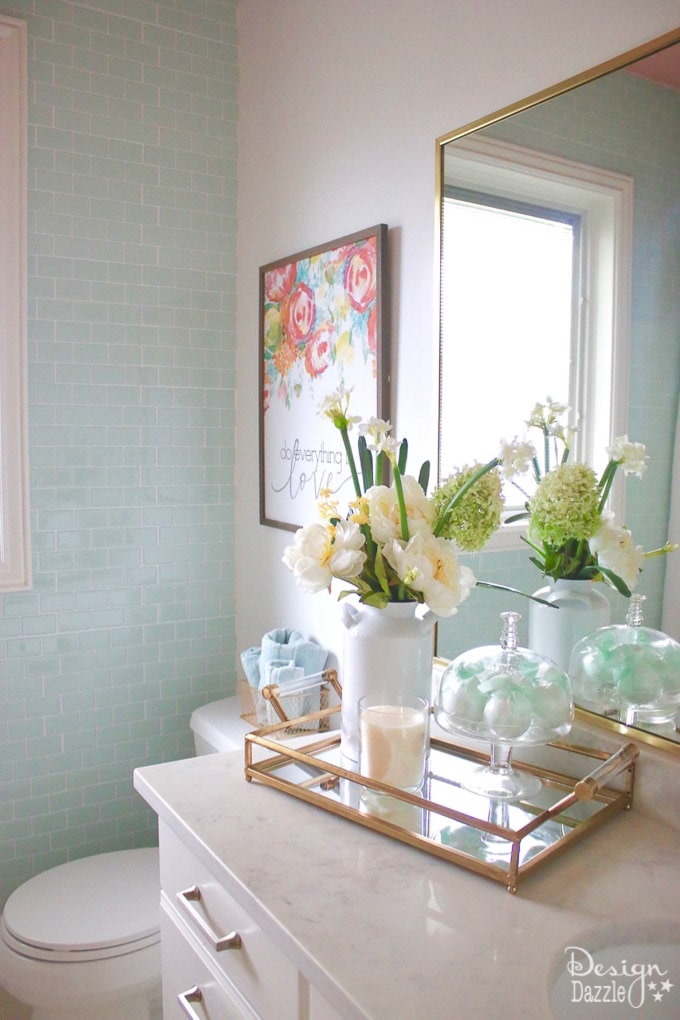
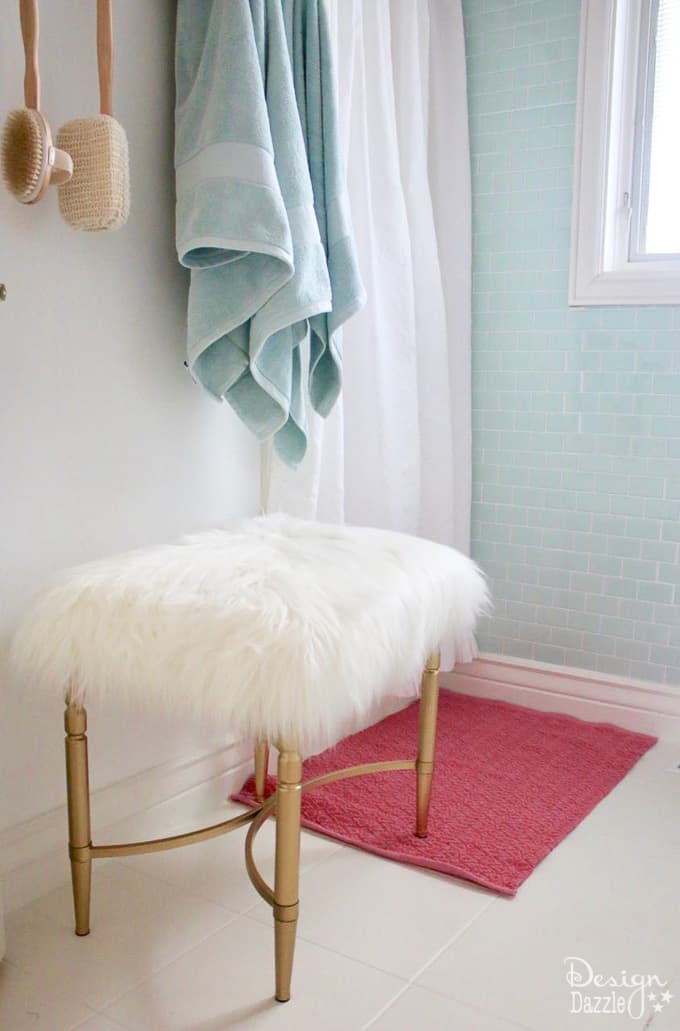
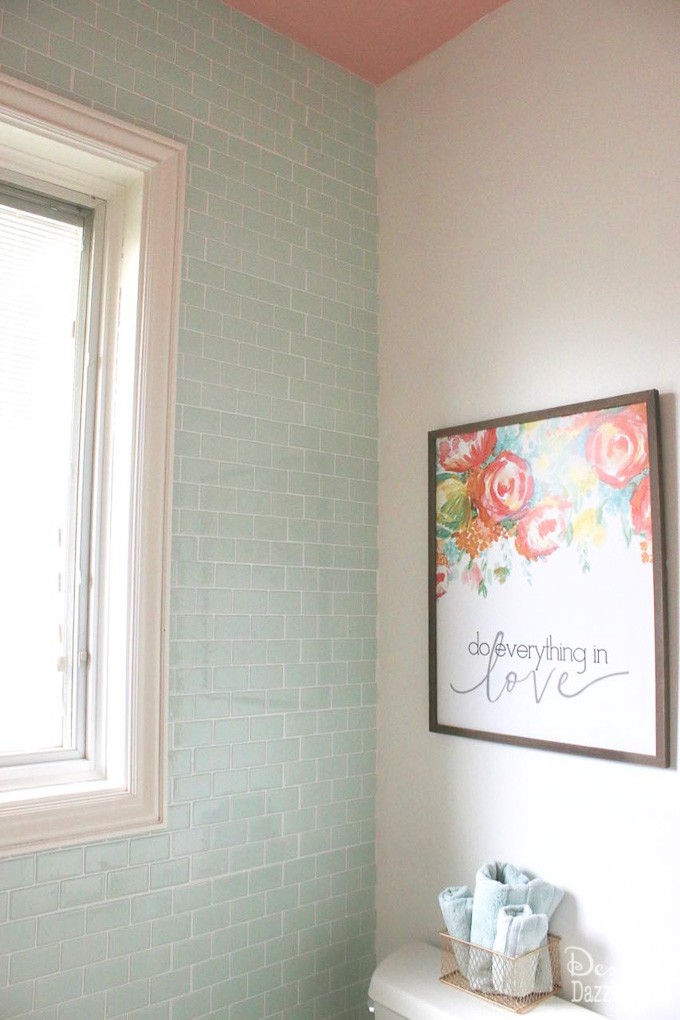
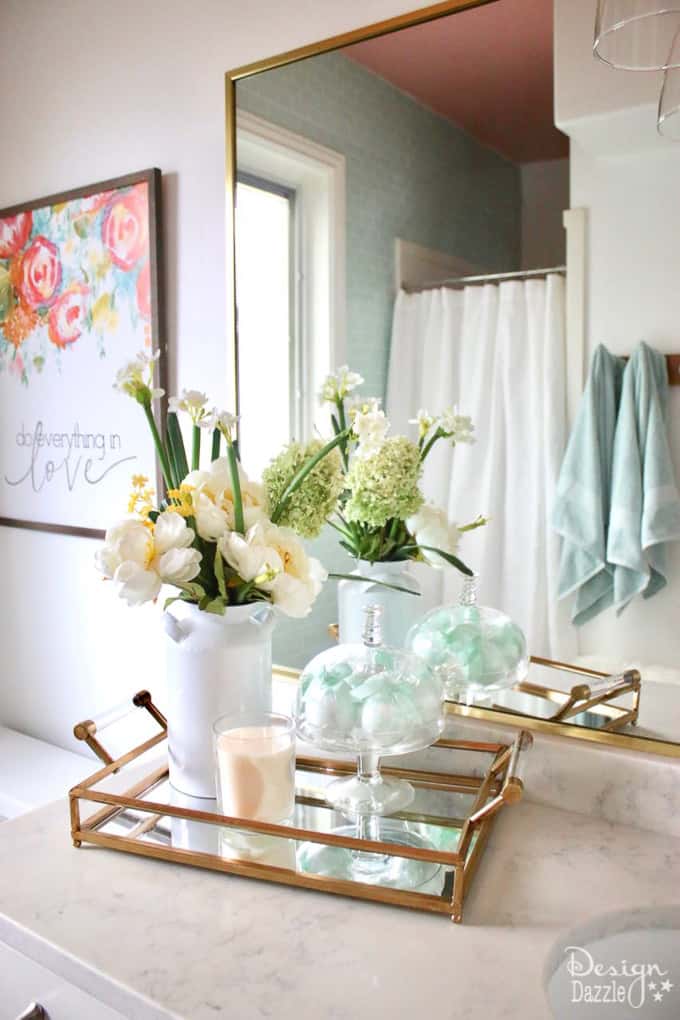
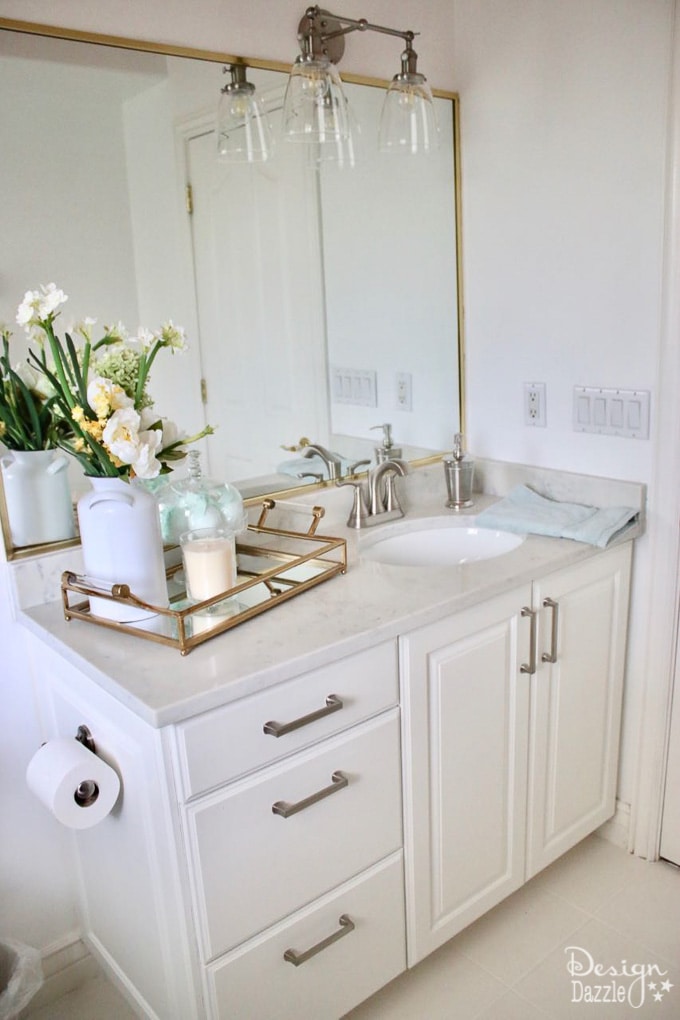
I now love walking into my bathroom. Before – no not at all!
Another detail I worked on with this bathroom remodel is painted floors.
My hubby painted the tile.
I love it and will share more details on how to do this soon.
The maple cabinets were painted and a new granite counter top was installed.
We received the small granite piece for free and paid a counter fabricator to cut and install it.
I used different metal finishes in this room – brushed chrome cabinet handles, chrome light fixture and chrome faucet.
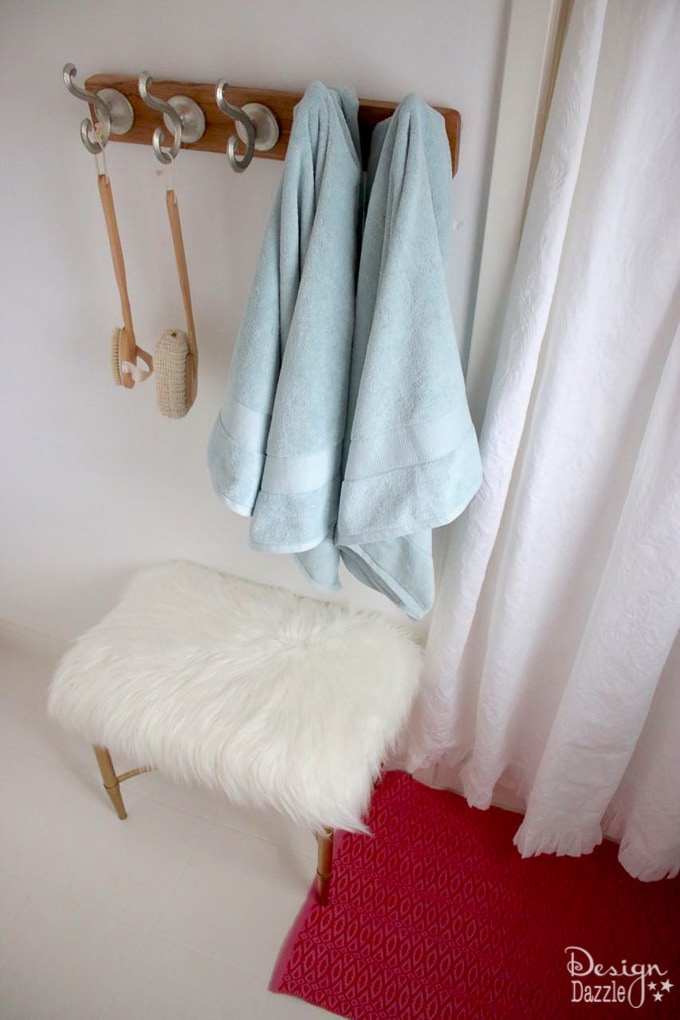
I used a gold mirrored tray to display items and a white fake fur vanity seat with gold legs.
The bathroom mirror brass frame is the original – I was going to change it but decided to keep it.
Last but not least the ceiling was painted with an eggshell enamel.
The paint is from Behr called Bridal Bouquet. It’s the perfect coral color. I love the pop of color it gives to this bathroom.
My laundry room is right across from this bathroom.
Both rooms color coordinate together. I love them both!!
Have you used a color tile to make a statement?


Bree says
That looks stunning!!!
Amy says
Hello
My name is Amy. I read your article top to end it was beneficial. Love how all this turned out.
Holly says
Beautiful bathroom! Love the colors! Where did you find the “Do everything with love” print?
Toni - Design Dazzle says
Thank you. It was either Home Goods or Hobby Lobby. I just can’t remember.
Lusso Tivoli dale says
I could not resist commenting. Well written!