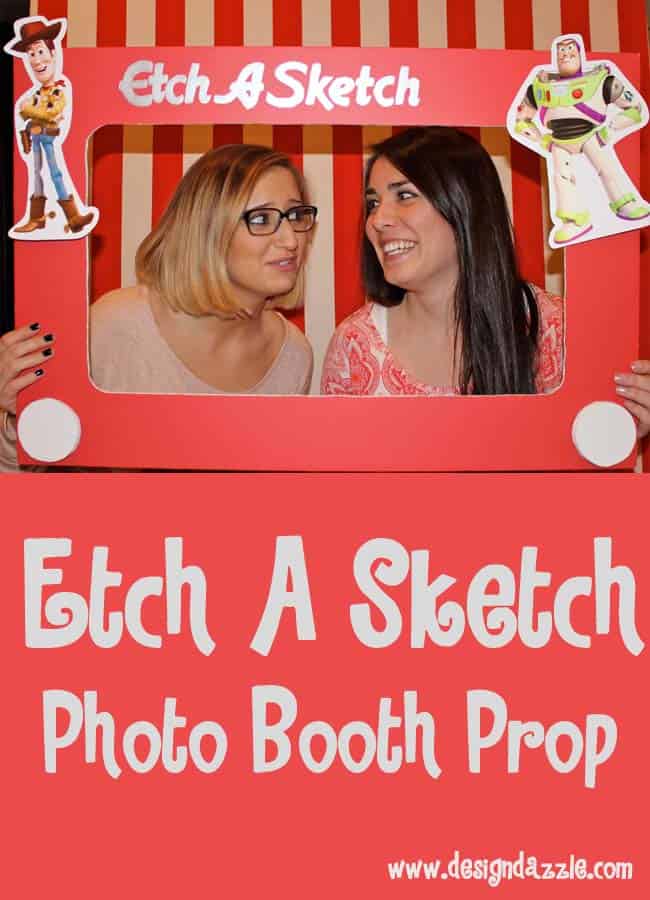
Pictures at a party are a MUST. What’s even better is having a photobooth at your party with silly and fun props. We decided to make an Etch A Sketch Toy Story photo booth prop for a party and it is so easy to make. It only takes a few seconds for my darling daughter and her sweet friend to be goofy together. Isn’t this a cute frame? And it only took 30 minutes to make. An Etch A Sketch is a classic toy that makes the perfect photo prop frame. We also share how to get the free Toy Story characters to add to your photo booth prop!
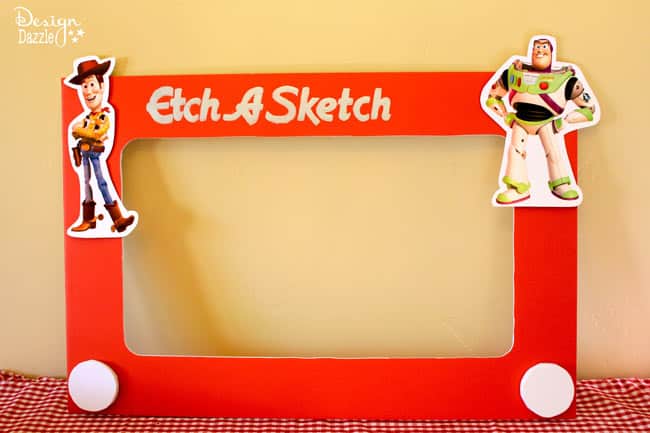
Materials:
-Red foam board (hobby/craft store)
-White craft foam sheet (Michaels)
-Metallic Platinum Craft Paint (Michaels)
-Hot Glue Gun
-Paint brush
-Long Ruler
-Pencil
Steps:
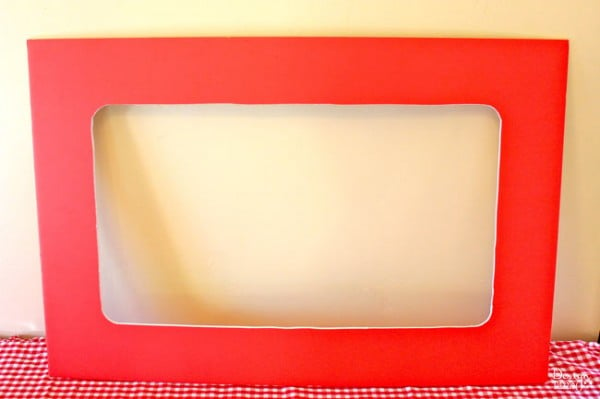
1. I started on the back of the board and used the ruler to trace straight lines where I wanted to cut. To make the corners curved I used the bottom of a cup to trace a curve.
2. Use an Xacto knife, CAREFULLY, and cut through along the lines. Take it slowly to be as accurate as possible.
3. Pop out the middle.
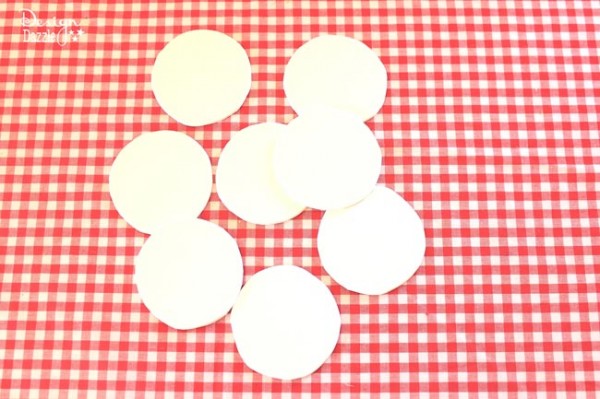
4. Trace the wide part of a cup on the white foam. I traced it eight times so that I could add height to the white knobs by gluing four together.
5. Using a hot glue gun, glue 4 circles one on top of the other. The result will be two white Etch A Sketch knobs.
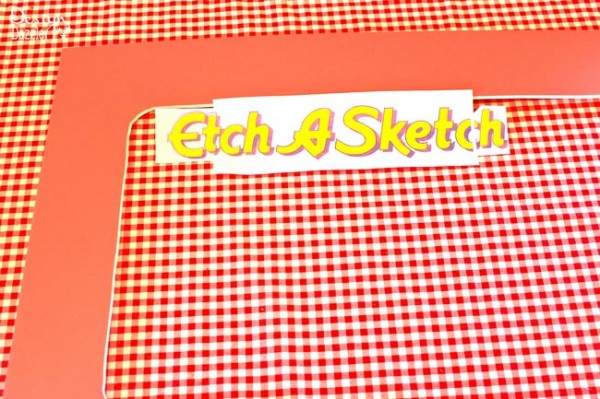
6. We found this Etch A Sketch image online and printed it out large enough to trace. We had to piece it together because it was rather large.
7. Using a ball point pen or dull pencil trace the letters on top of the foam to make an indentation. Push hard enough so that the letters are fully traced. However do not push so hard that you break through the paper and the foam board.
8. Paint the letters with the metallic platinum paint. It will take 3 coats, make sure to give time in between each coat in order for them to dry properly.
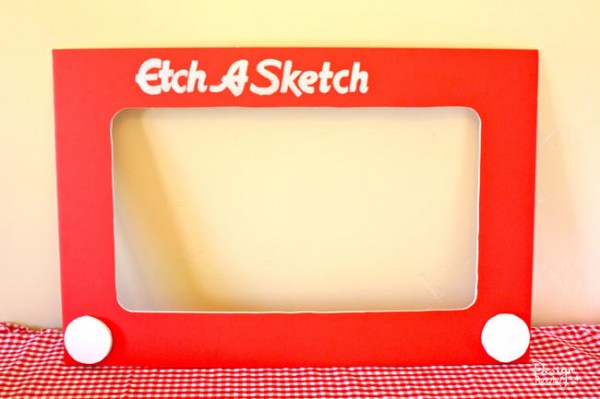
9. Glue the white knobs in place.
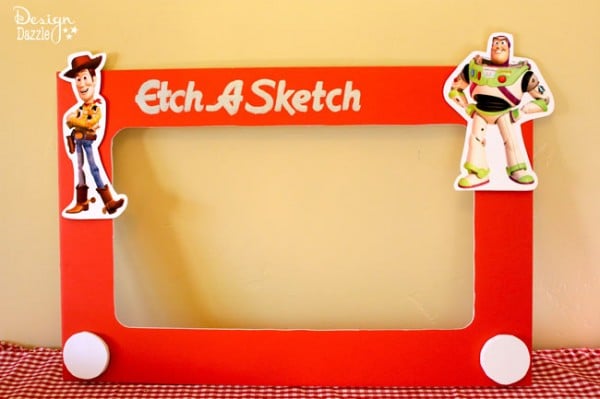
10. Cut out some Toy Story friends to add to the Etch A Sketch. You can find the images at Disney Family and print them out.
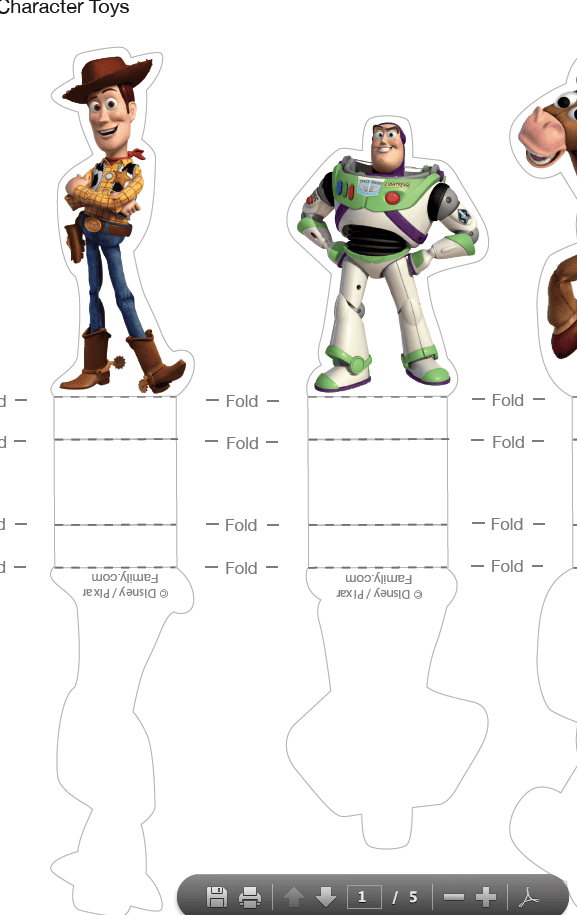
TIP: The Toy Story characters offered for free at Disney Family are small in size. To show you how I enlarged the characters I took a screen shot of what the free printable file looks like. As you can see the images are small. So how did I enlarge them?
Go to the Disney Family Link and click on the Character Toys for Playset link. The PDF will come up showing lots of the Toy Story characters. Roll the mouse over the bottom of the page (so the grey bar will appear). Then click the plus sign a couple of times. Once enlarged I took a screen shot and then printed the png file on cardstock on my home computer.
11. We used painters tape to attach the characters to the Etch A Sketch. This way the characters were easy to peel on and off. So if you would like to use the Etch A Sketch for another theme party you could without ruining it. Wouldn’t this be a clever photo booth prop for a 60’s party when the toy was first introduced?
I hope you love the Etch a Sketch Toy Story Photo Booth Prop!


chungi says
I can’t wait to make one of these.
Toni - Design Dazzle says
So glad to help!
Chirley says
I want this in big what is the price
Toni - Design Dazzle says
I don’t sell products. This is a craft/DIY to make yourself.
Thank you.
Aimee says
What size board did you use?
Toni - Design Dazzle says
It was a standard size poster board/foam core board 22″ x 28″
Ruth says
Hi do you have a copy of these toy story characters as I can’t find them where you said
Toni Roberts says
Unfortunately, the link isn’t there any longer.