DIY washi tape stickers are easy to make, 100% customizable and so fun for personalizing projects!
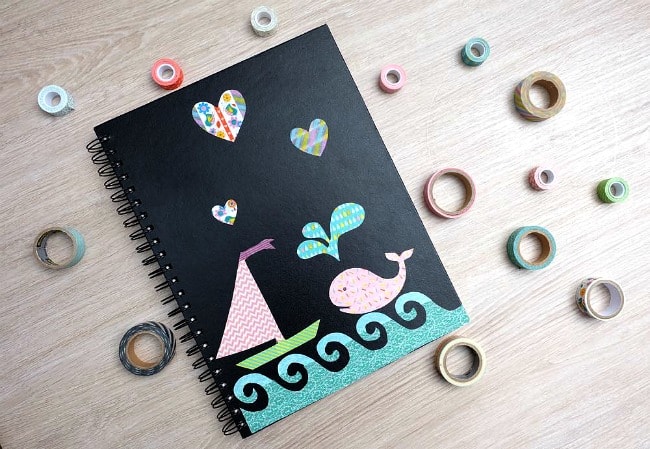
Happy summer campers! I’m Crystal from Hello Creative Family and I’m so excited to be back for this year’s summer camp series at Design Dazzle! At Hello Creative Family we love living the handmade, homemade, heart-made lifestyle which means we try to make as many things from scratch as possible and teach our kiddos to do the same. We also believe that when kids get creative it doesn’t have to look like your stereotypical kids crafts. Kids are brilliant and can do many of the crafts that adults do! Those reasons are why I chose today’s project to share with you all.
I don’t know about you but my kids are obsessed with stickers. They love them and if they have a sheet of stickers they will “decorate” the entire house! Yikes! My kids also love washi tape. If you’ve never heard of washi tape before, you need to head to the craft store and find the washi tape aisle ASAP! Washi tape is one of my very favorite things. Washi tape is decorative Japanese tape made out of rice paper that comes in a variety of colors and patterns. It’s easy to remove and reposition. I have a big jar of washi tape on my office desk that my kids often raid for their art projects.
As I was watching them decorate their drawings with washi tape one day it occurred to me– washi tape would be really cool to make stickers with! I started to play with the idea and it worked even better than how I had imagined!
Today I’m going to share with you how to make easy DIY washi tape stickers!
Easy DIY Washi Tape Stickers
Supplies:
- Washi tape
- Waxed Paper
- Marker
- Scissors
- Optional: Stencils (I made mine using my Cricut Explore. You can also draw your shapes freehand.)
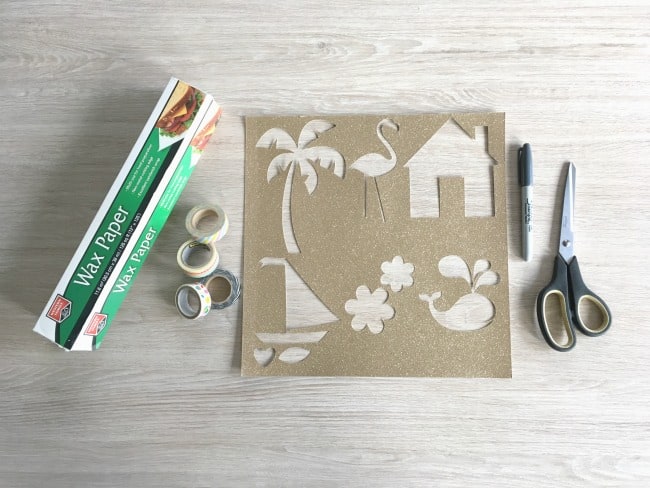
Directions:
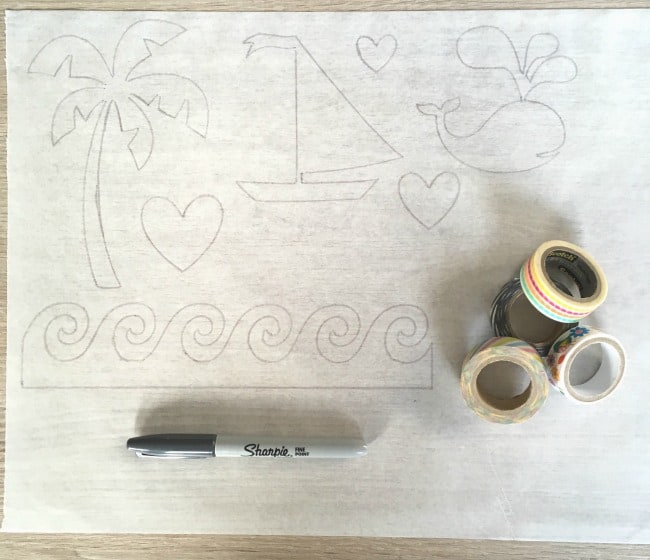
Step 1: Take a piece of waxed paper and your marker. Either use a stencil to trace shapes on the waxed paper or draw your own shapes freehand. Make sure to leave an inch or two between each shape.
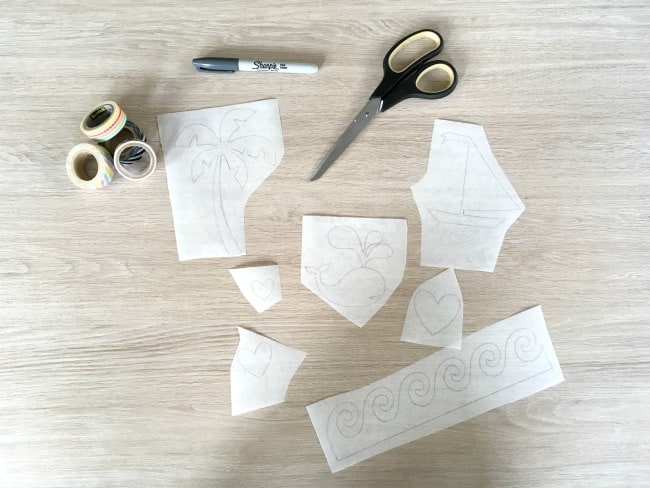
Step 2: Cut each shape out of the waxed paper leaving a border around each design.

Step 3: Select a shape, flip it so that the lines you drew are facing down (you’ll still be able to see your lines, just fainter), and cover the shape with washi tape. You will want to overlap each piece of tape by at least ⅛ inch to avoid the tape from separating when you remove it from the backing.
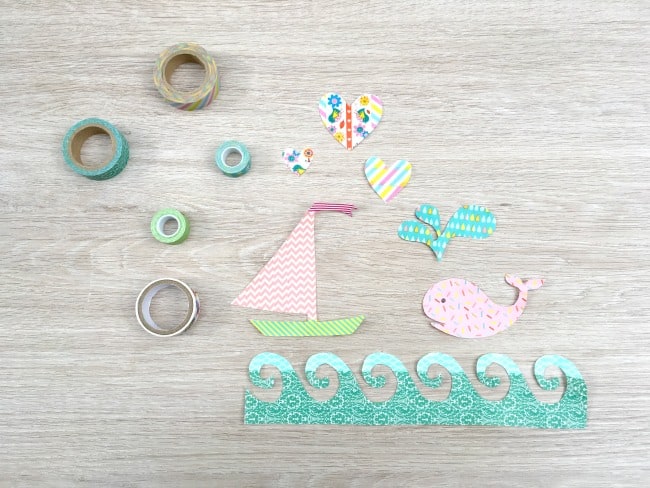
Step 4: Flip the waxed paper back over so that you can see the design that you traced or drew and cut out your shape. Voila! You have a sticker!
Step 5: Peel the backing off of your sticker and start decorating!
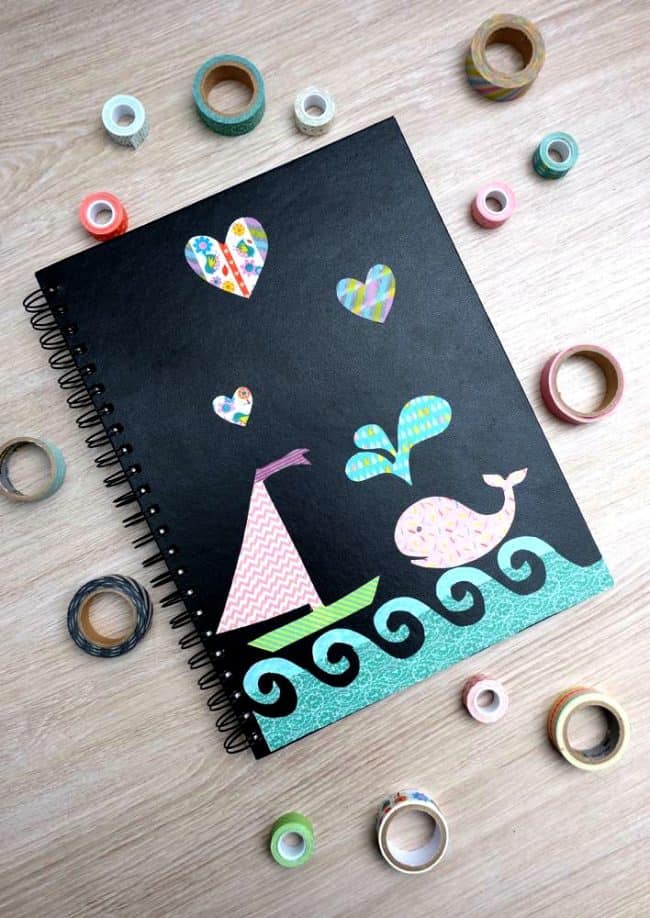
Every summer I buy my kiddos a sketch book from the dollar store. I love that my kids have a place where they can sketch, doodle, journal and record memories from their summer break! DIY washi tape stickers are a great way to decorate the sketchbooks so that it’s easily recognizable whose book is whose, plus it a nice way for them to customize it and let their personality shine through!
Thanks so much for letting me hang out at summer camp with you all and share an idea for how to get creative with your kids this summer! I’d love for you to swing by Hello Creative Family for a ton of other handmade, homemade, heart-made project ideas! We believe that creative parents raise creative kids and we love inspiring you with easy projects that have a huge impact.
We’d love to see you on social media too! You can find us here:
Facebook | Pinterest | Instagram | Twitter

Crystal – that notebook turned out super cute! Great idea!
Stay tuned for more summertime fun ideas! Our Kids’ Summer Camp Season will last until mid-July. Want to see more? Check out the full collection (including the archives!) ofSummer Camp ideas.


Bre @ Average But Inspired says
This is so awesome! My kids are washi tape fanatics, but I never ever would have thought to do this. We will be making these stickers this summer. Thanks!!
Toni - Design Dazzle says
I know so cute, right! Loving Crystal’s idea! Thanks for your comment Bre!
Marion says
What a great idea for washi tape. All ages would enjoy making & using these stickers.
Toni - Design Dazzle says
Thank you! I so agree that all ages would enjoy this.
Toni