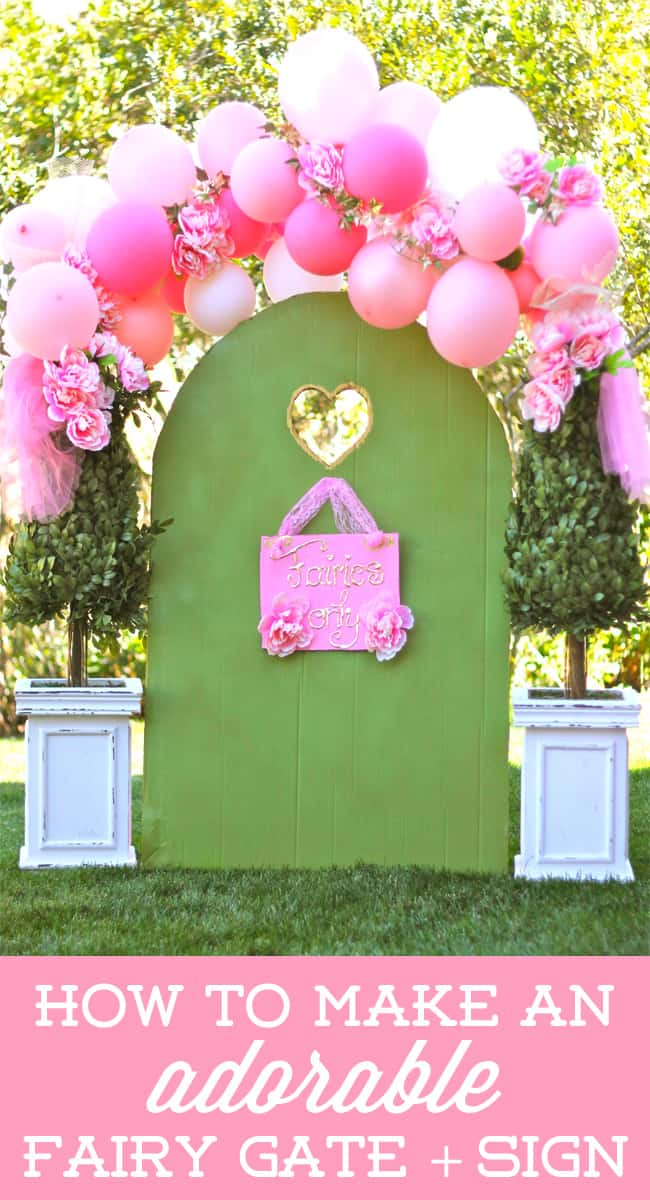
Open the door to enchantment with a magical Fairy Gate that your little fairies will just love! Nothing intrigues the imagination quite like a closed door. What treasures lie within? Add an adorable sign and you have a perfect way to greet little fairies to their fabulous fairy tea party. Both the sign and the gate are easy to make. Can you believe that are both made out of cardboard?
The Fairy Gate that looked so amazing at the party started with a simple cardboard box.
Here’s what else you need to make a fairy gate and a fairy sign:
- Cardboard box tall enough to make a gate (ideally 4′ tall but a smaller box can be charming too!)
- Spray paint
- Piece of cardboard for the sign
- “Fairies Only” Printable
- Glue Gun
- Craft paint (the regular, inexpensive kind you can find at any craft store)
- Adhesive pen
- Metal Leaf (eg. gold leaf — for sparkling details!)
- Ribbon to hang the sign
- And….. any other embellishments you’d like! I used a few silk flowers.
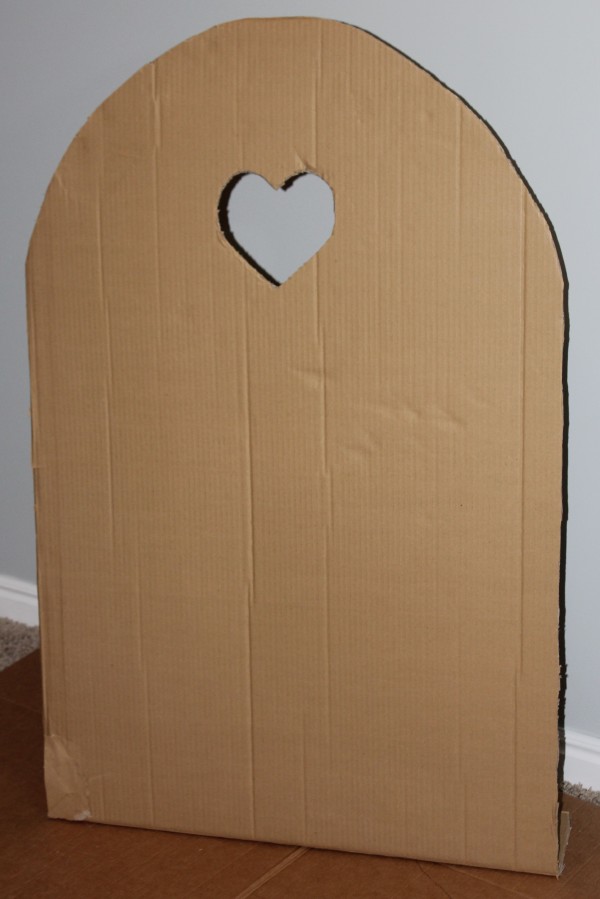
Step One – Use an exacto knife to cut out a nice, tall door shape. Add a heart-shaped window to the curving part of the door using the exacto knife.
Fold about 4″ of the bottom of the gate under to help it stay up. I place the completed gate beneath the balloon arch to make sure it stayed in place. The vertical creases in the cardboard make the gate look as though it were made out of wooden boards. If your piece of card board doesn’t have enough creases to look like wooden planks you can either fold the cardboard to make more crease lines or use a blunt object to scour crease lines onto your door. I was in luck…my cardboard had great crease lines from shipping so it already looked like wooden planks! All I had to do next was to paint the gate using spray paint.

Step Two – To make the sign, find a flat piece of cardboard without any creases that is about 10″ x 14″ — it needs to be at least the size of a standard piece of paper.
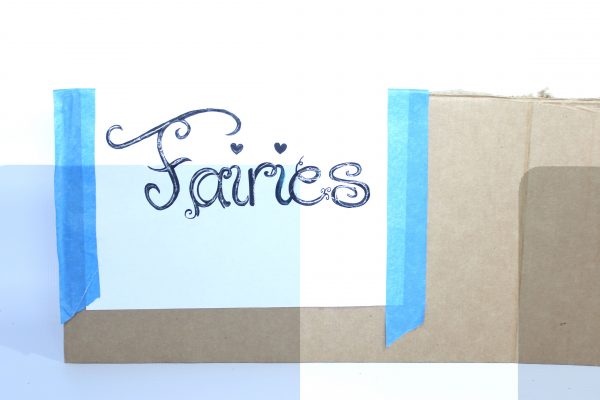
Step Three – Tape the Fairies Only printable to the sign. Then use a pen and a firm grip to trace the printable and create an indentation on the cardboard below. Press nice and hard or your won’t be able to see the words.
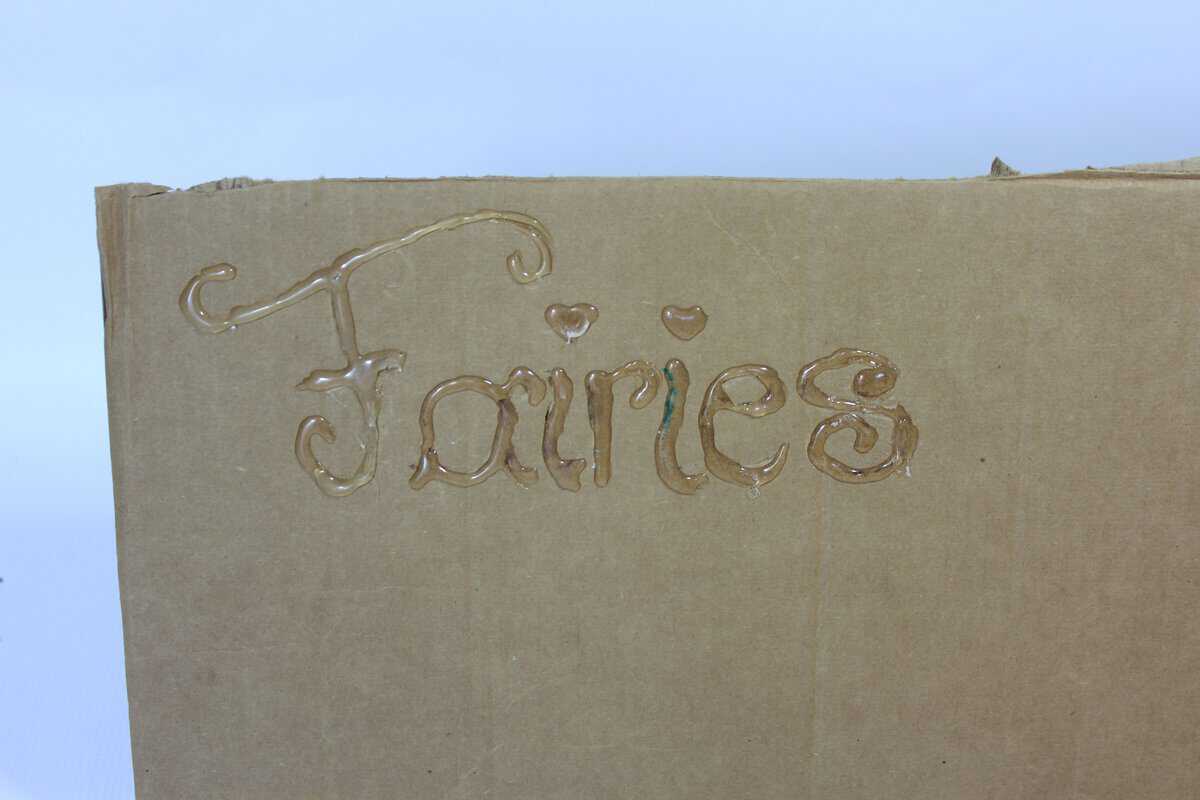
Step Four – Get out your trusty glue gun and go over the indentations that you just made to create a raised look.

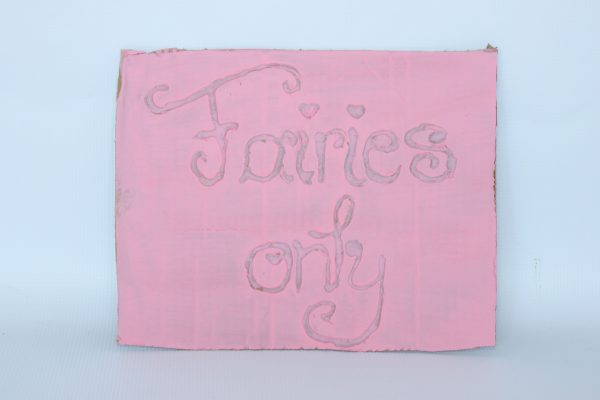
Step Five – when you have the printable completed transferred to the cardboard using the trace, indent and glue gun method, go ahead and paint the cardboard in the color of your choice. I went with pink using standard craft paint.
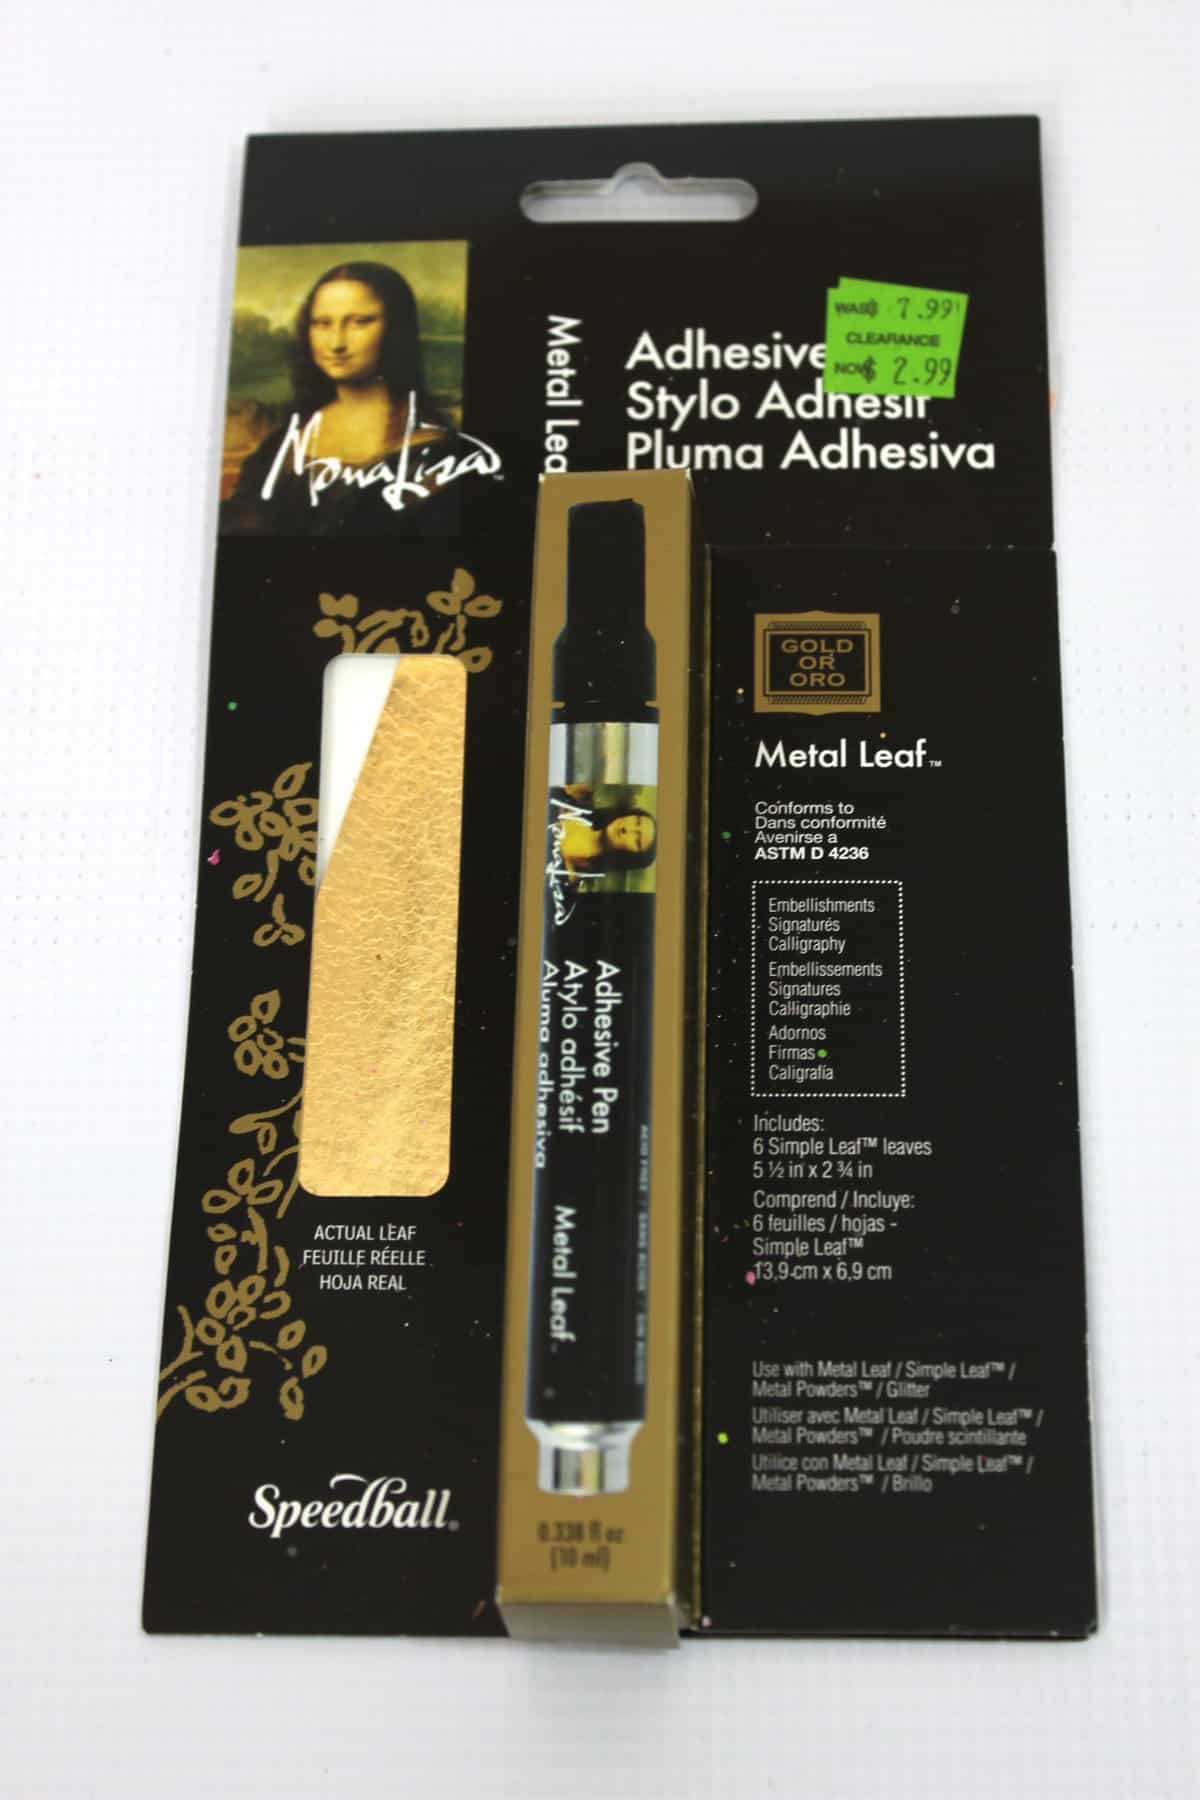
Step Six: Now go over the “Fairies Only” text with an adhesive pen. Make sure to cover the letters in a consistent amount. This adhesive will be holding the metal leaf onto the sign so if you trace some letters with just a skinny line of adhesive and other letters with a think line, the leaf will adhere in different ways and the end result will look a little off. Before the adhesive dries, apply the metal leaf following the instructions on the package. I was so excited to find gold leaf of sale for under $3! And I just love the 3D appearance and sparkle it gave to the finished project!
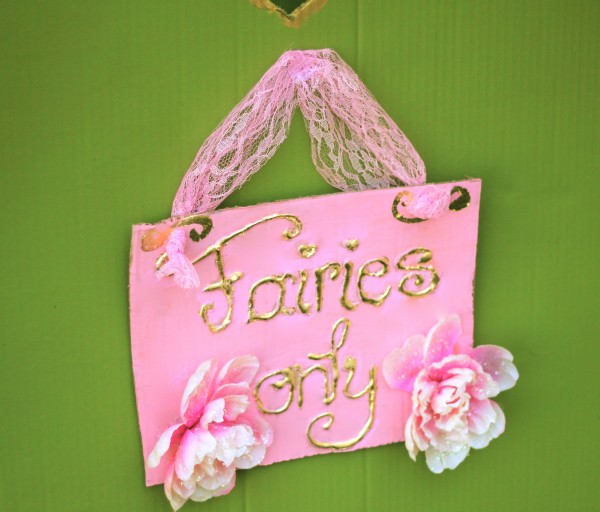
I free-handed the swirly design at the top and glued on peony flowers that I bought at the Dollar Store. Adding the gold leaf was time consuming but it was super easy….plus it added a lot of punch to an inexpensive project!
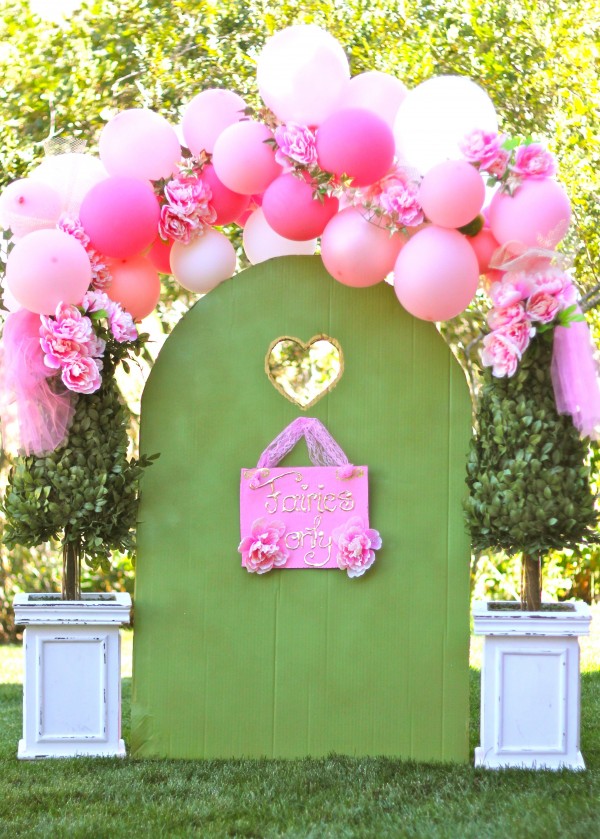
Don’t you just love it?
The “Fairies Only” printable is FREE and available for immediate download by subscribing to Design Dazzle!
To receive this free printable – enter your email address in the box below and click submit. Make sure to check your inbox for an email from Design Dazzle. You will have access to all of our FREE printables and also will receive an email newsletter filled with lots of great information. Don’t worry your email address will never be sold.
Printable files are for personal use only. They are not for commercial use.



Leave a Reply