

It’s that time again- February’s Michael’s Makers Challenge!
For this month’s challenge, the focus is Michael’s hot new 2015 craft trend: denim!
Who doesn’t love a good pair of denim jeans? Well, denim has always been a wardrobe staple and now it’s coming back in crafts and decor- and Michael’s has some awesome products to check out! In fact, Michael’s has a new Make Market line for DIY project and home décor ideas – we’re talking rich textures like chalk, denim, galvanized, burlap and cork. Just in time for some fun spring/summer projects!
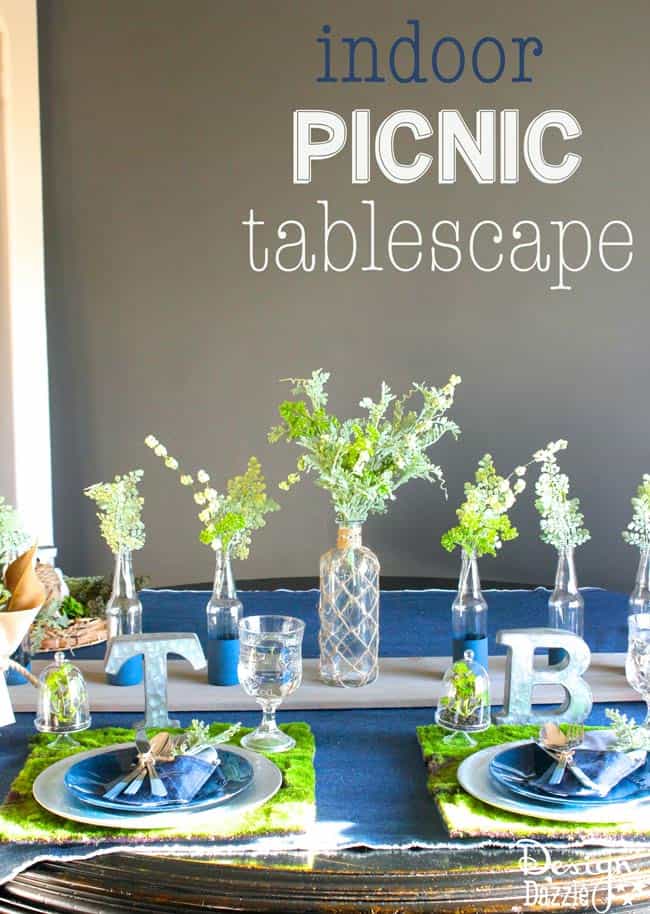
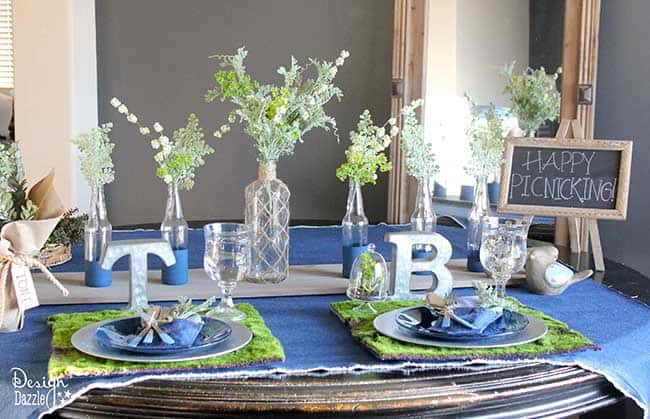
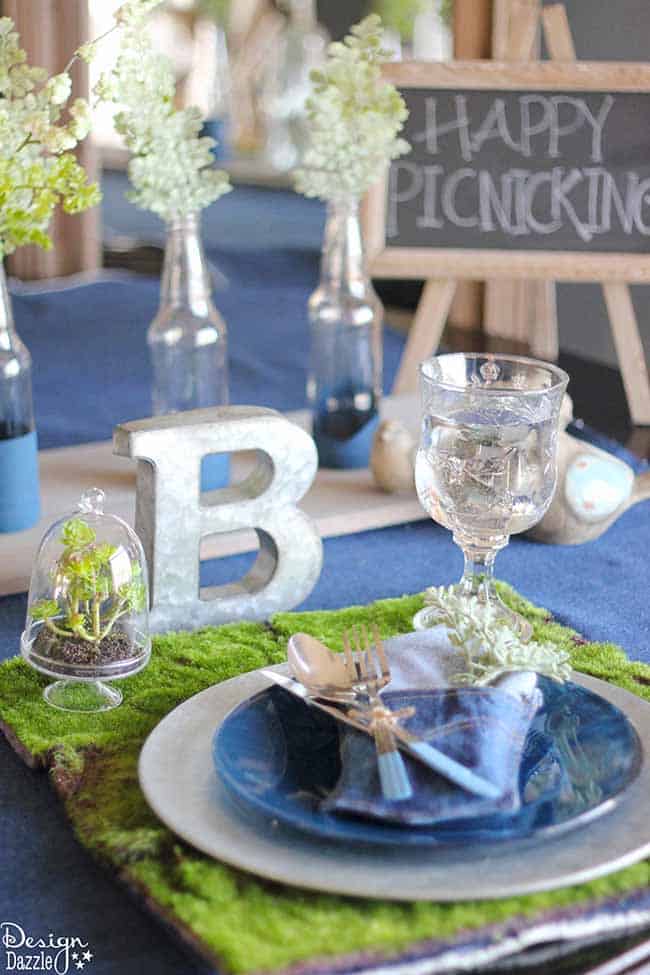
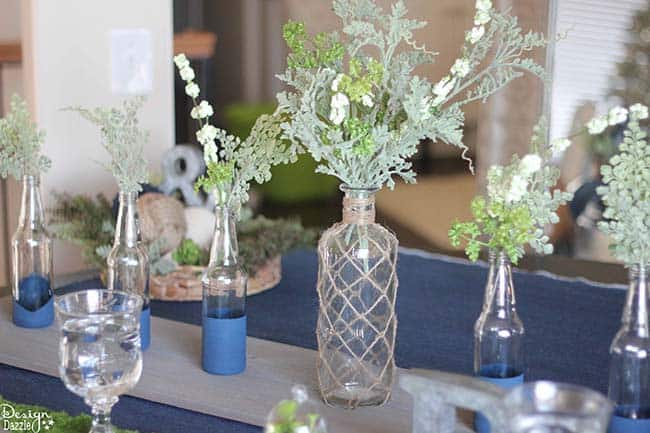
I was inspired by the denim to make an Indoor Picnic Tablescape. I loved using all of the colors and textures of the new products and home decor to create a pretty, subdued, spring, denim tablescape. (Yep, we’re already experiencing spring in February here in Utah!)
This tablescape is perfect for a romantic dinner for two, lunch with friends, or even an indoor garden picnic party! I used quite a few of Michael’s new Make Market products to create my tablescape, especially for my DIY projects. I hope you like it!
Below are a tutorials for a few of the DIY projects from my Denim Tablescape.
Denim Glass Plates:
I love how these denim plates turned out. Painting on glass is always fun. Just to let you know these aren’t everyday plates that can be washed in the dishwasher. Because this isn’t a special glass paint you need to handwash these and use the plates sparingly.
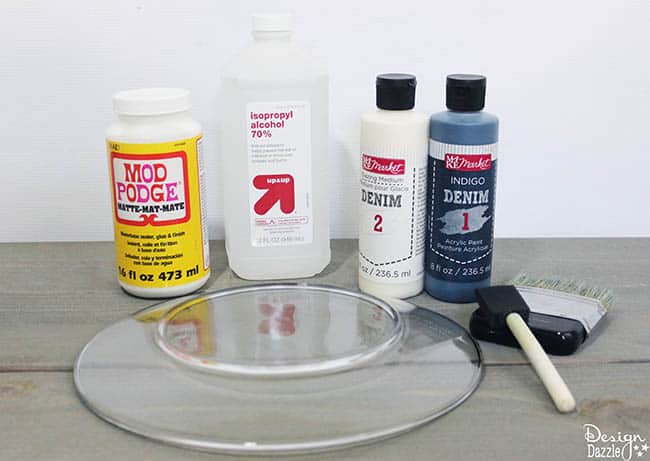
Supplies for Denim Plates
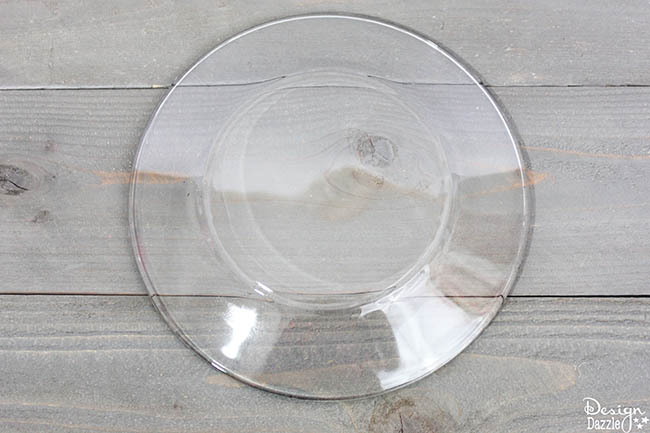
- smooth, clear glass plate
- rubbing alcohol
- MAKE Market denim acrylic paint 1&2
- MAKE Market denim weaving brush
- mod podge glue – matte
- foam paint brush
- paper towel
Step 1: Wipe the plate down with rubbing alcohol and paper towel to remove any oils from fingerprints, etc. Make sure the plate is totally clean so that you have a smooth base to start with. This will help the paint adhere to the glass.
Step 2: Using the foam brush, cover the glass with the first THIN layer of the blue denim paint. Make sure to paint in only one direction, so that the streaks and lines from the paint brush all go the same way. Do not let the paint dry.
Step 3: Use the denim weaving brush to create the texture of denim. While the paint is still wet, run the dry weaving brush in straight lines the opposite direction of the streaks you created with the foam brush. This will create a cross-hatched, denim looking texture. Let this layer dry completely, maybe for a few hours.
Step 4: The first layer of paint should be completely dry. Using a clean foam brush, cover the first layer of paint with mod podge to create a seal. Paint lightly and quickly so you don’t remove any of the paint from the first layer. Let this layer dry completely.
Step 5: Repeat steps 2, 3, and 4. Let it dry completely (this may take a few hours, total).
Step 6: Use a clean foam brush to paint on the white denim paint. Let this layer dry completely. Once again, paint on a layer of mod podge (repeat step 4) to create a final seal.
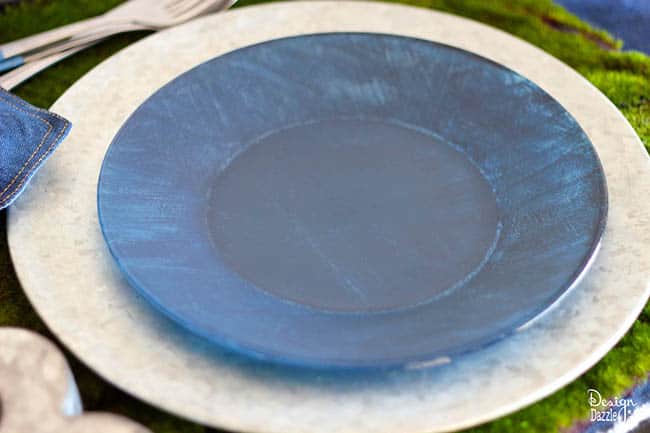
I love this denim effect! It gives the plate such a neat texture and really adds to the place setting.
This project is a bit tricky to get just right, so don’t be afraid to wash the paint off with water and start again if it’s not working out! Once you get the hang of it, these denim plates come right along.
I hope you love this denim technique as much as I do!
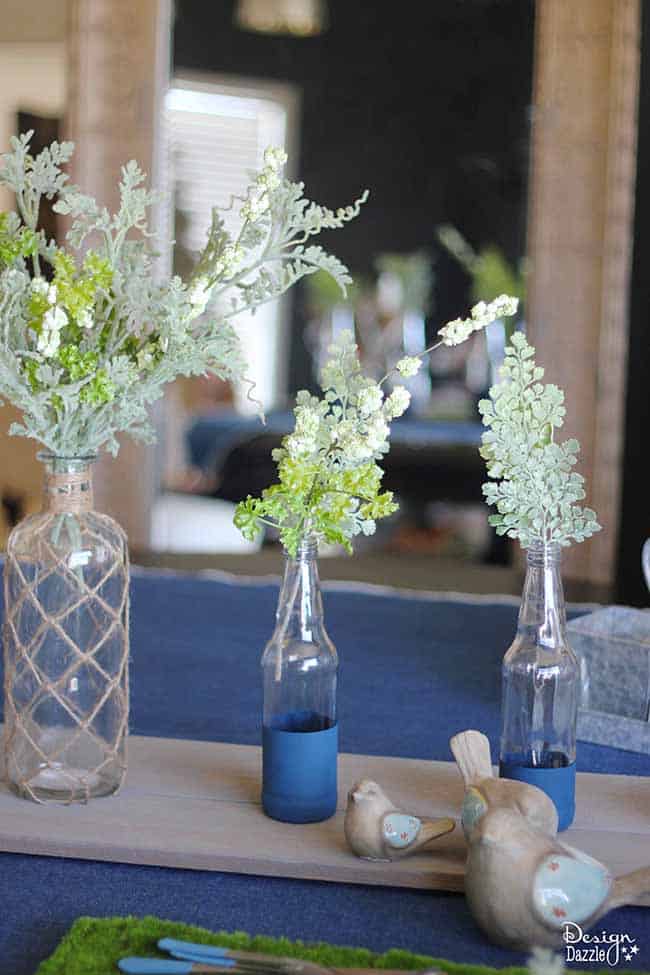
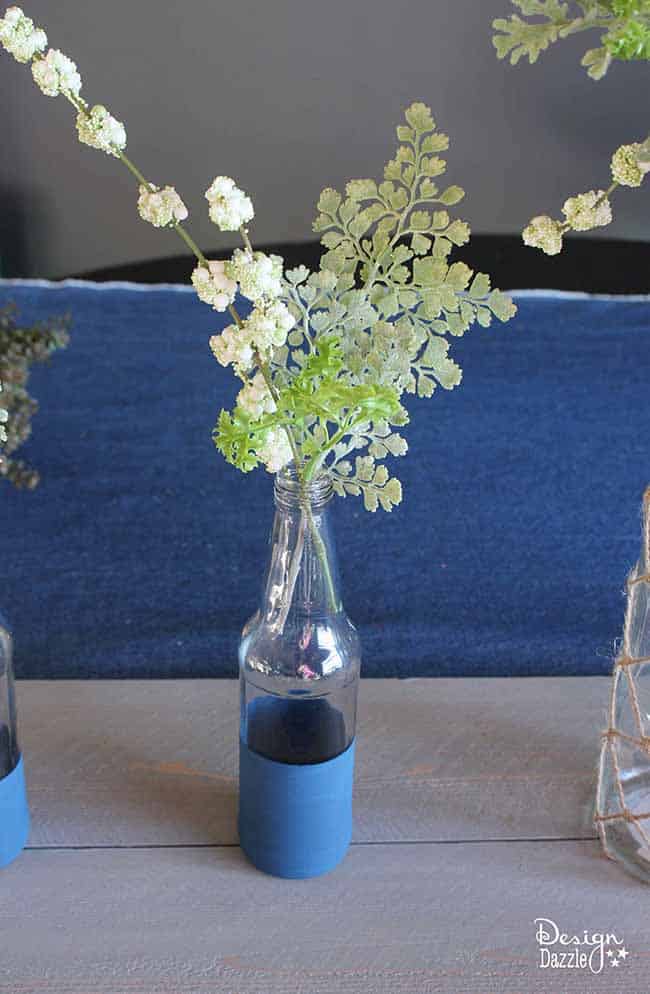
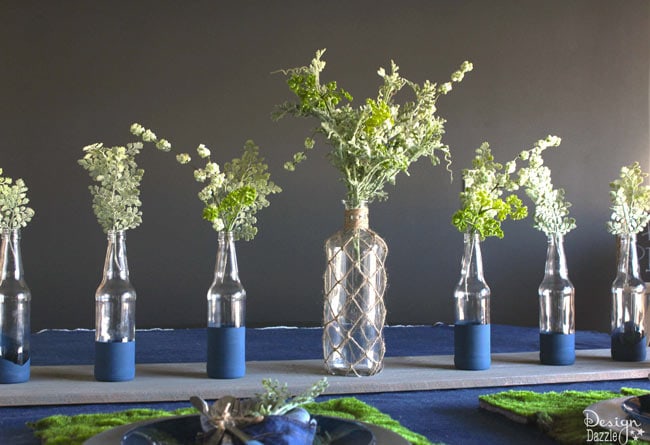
Color Dipped Bottles
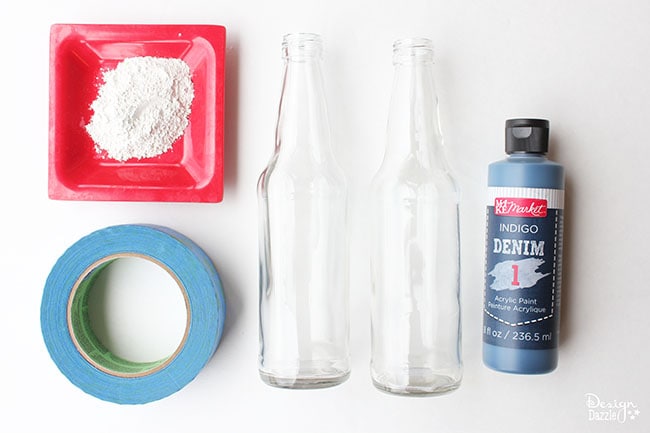
Supplies for Color Dipped Bottles
- glass soda bottles from Michael’s
- denim acrylic paint from Michael’s
- painter’s tape
- unsanded grout (the type you use to grout tile)
- foam brush
Mix the paint and grout with paint about 85-90% of the mixture and 10- 15% of grout. This will be the paint recipe to paint the bottles with. If you have a glass paint then you don’t need to used grout.
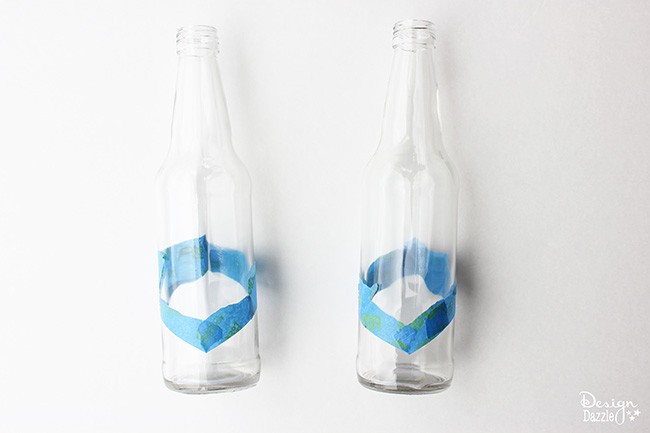
Step 1: Use painters tape to make an edge for where you will paint. For a few of the bottles, I applied the tape diagonally like this, for others, I simply wrapped it around the bottle in a straight line. Make sure there are no air bubbles or wrinkles in your tape. You want it to be as smooth as possible so that the paint edge will be straight in the end.
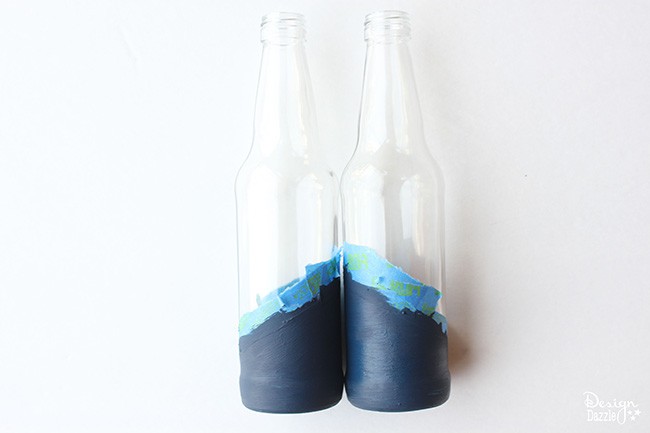
Step 2: Paint the bottle along the edge of the tape. It’s okay if you get paint on the tape! Just make sure not to get any paint on the glass above the tape.
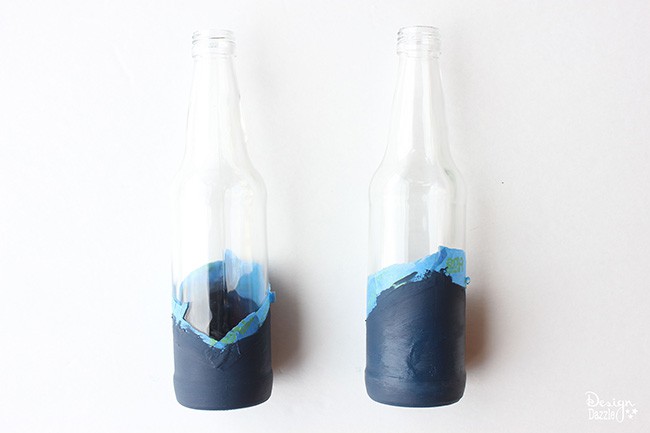
Step 3: Let the paint dry completely, and then remove the tape. If there are any spots where paint got under the tape, you can use a razor blade to CAREFULLY scrape the paint off the glass.
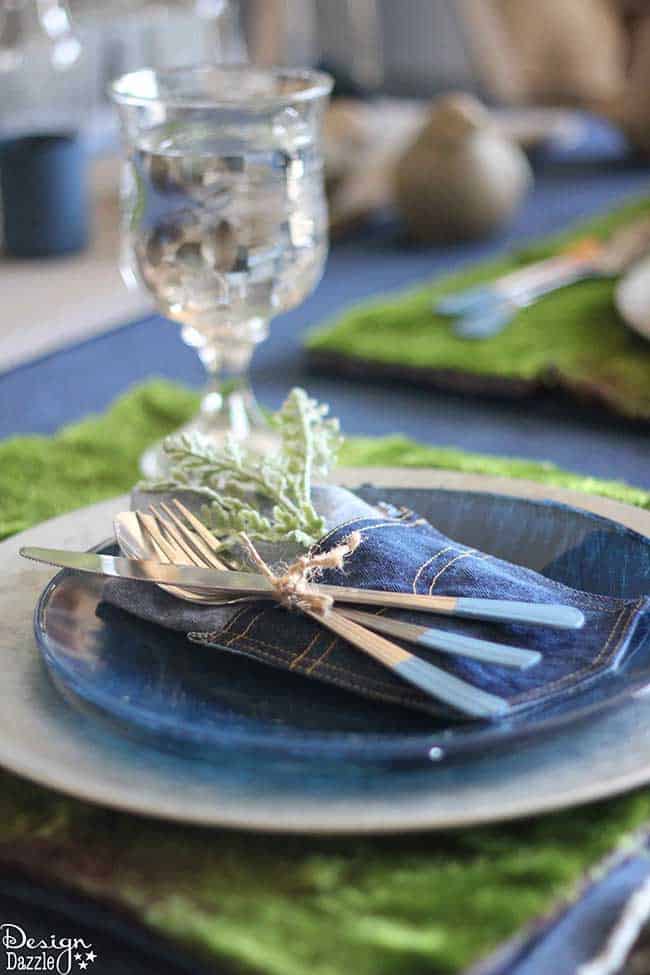
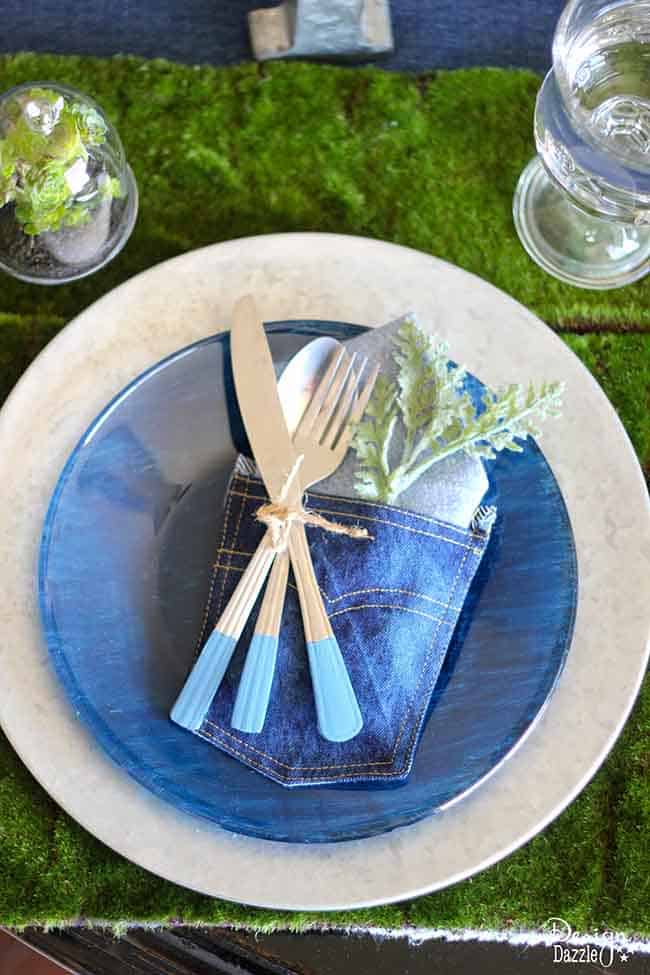
***I also used this technique to “dip” the silverware for this tablescape. Once again, place tape where you want the edge and paint away!***
I love how these DIY projects turned out! They are quick, simple ways to add more detail and fun to any tablescape.
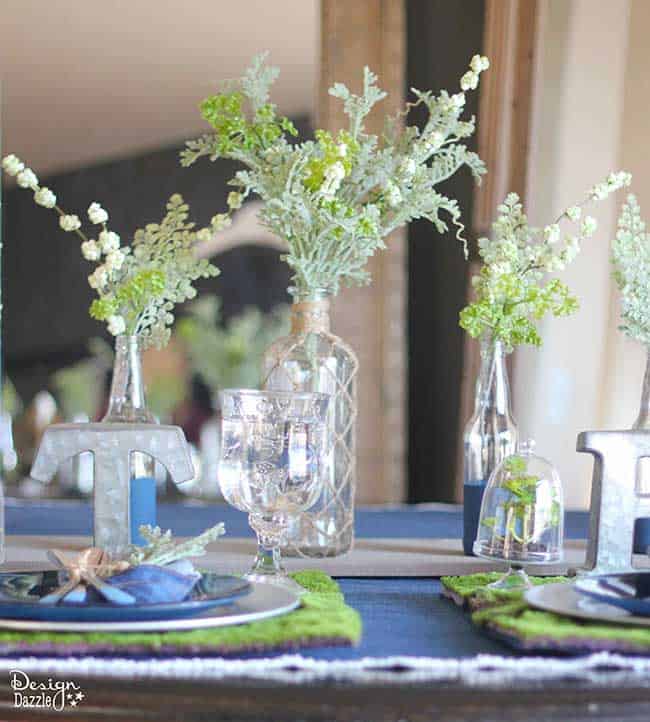
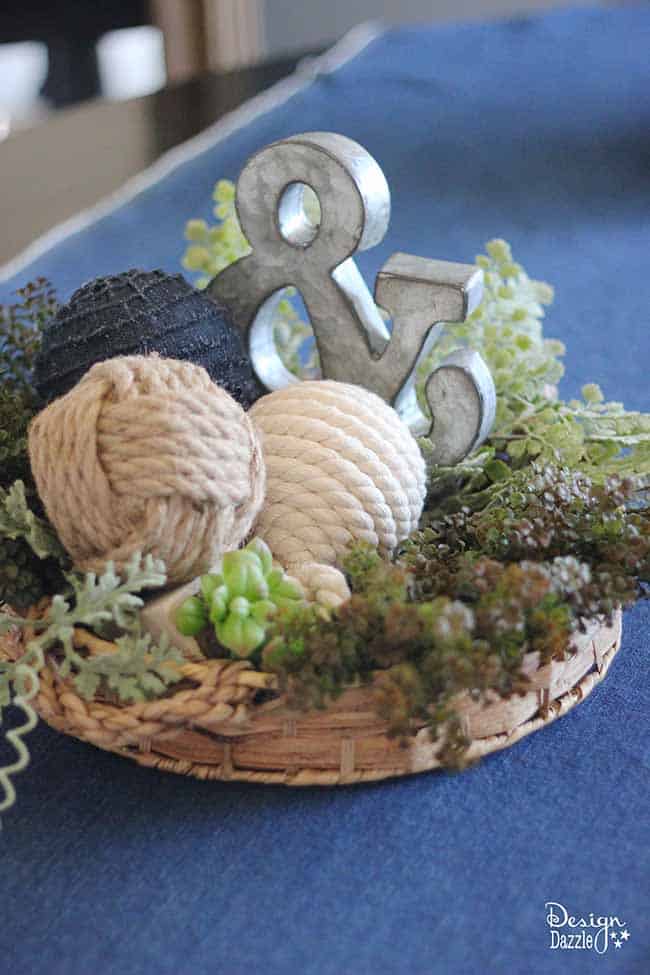
I love all of the textures of these new products – the galvanized metal and denim goes together great!

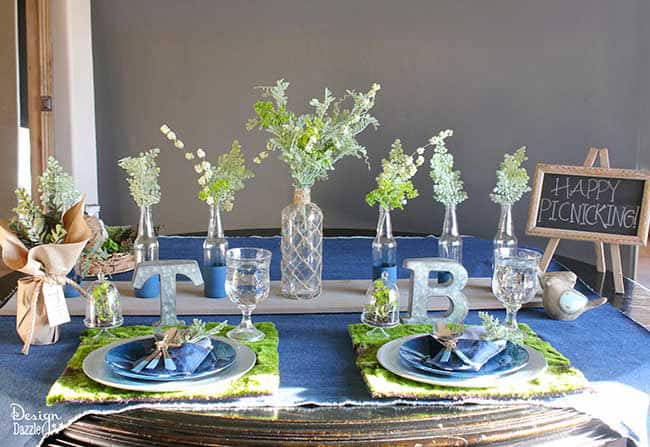
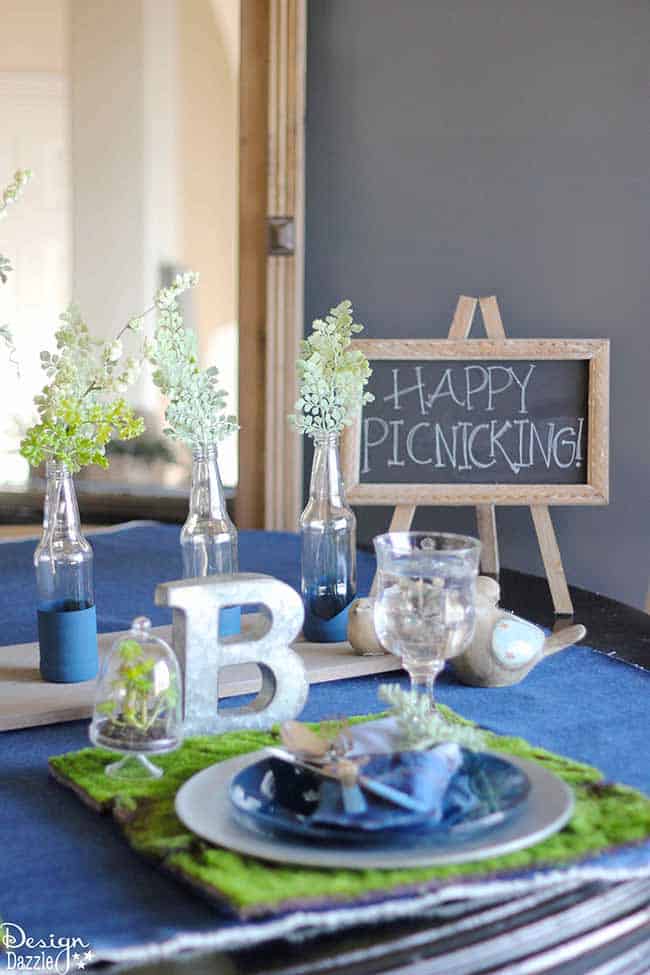
I hope you enjoy my denim indoor picnic tablescape!

If you’re looking for some spring project inspiration, take a look at Michaels’ new Make Market line for DIY project and home décor ideas – all made with simple, on-trend surfaces and textures like chalk, denim, galvanized, burlap and cork.
I was given a gift card by Michaels for this challenge. All opinions and ideas are my own.
Check out all the amazing Michaels Makers Denim Challenge:
https://pastebin.com/f1nzpCDw


Keisha - Cupcake Wishes & Birthday Dreams says
These are really great ideas – and I just love all the new products that are available from the Make Market!!!
Toni - Design Dazzle says
Thank you, Keisha! It was a fun table to design. Yes, the Make Market is awesome!
JK says
I’m with Sandra… When making the color dipped bottles, what is the grout for?
I love these ideas & think we’ll incorporate some for a little boy birthday party next week! Thank you!
Toni - Design Dazzle says
Hello!
That should have been explained better. The grout is to mix in with the paint so it adheres to the glass. Since it’s just regular craft paint. If you purchase, glass paint you wouldn’t need the grout. Thanks for asking JK!