It’s the 7th year of our annual Summer Camp here on Design Dazzle! We have amazing ideas to do with your kids for the summer – activities, recipes, parties, crafts and fun!! Check out our past summer camp posts for amazing ideas!
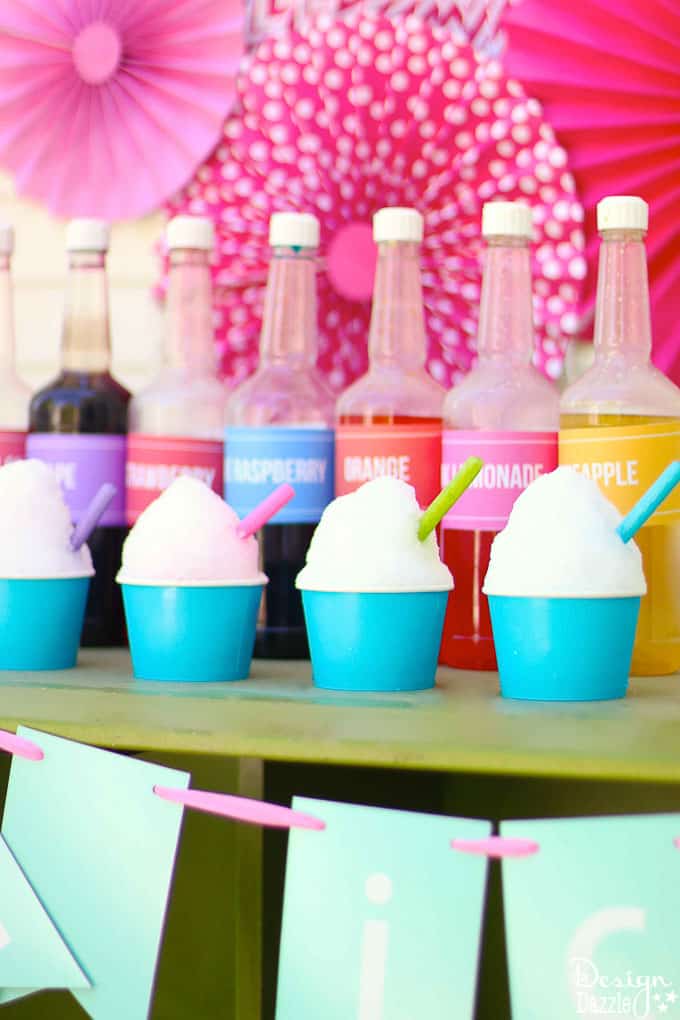
Do your cravings for frozen treats rise with summer heat? For the past while, I’ve thought about sharing with my readers about the snow cones I’ve been making for many years. When my kids were little, I purchased a small and inexpensive snow cone machine (for under $25) but we used it so much and it got old that I decided to get one that could make bigger quantities. So, a couple of years ago I purchased a shaved ice machine! I went with a light commercial grade one for in the $190 range. I have had this for two years and I love it! We enjoy using it for summer movie nights or when we have company over. If you’re looking for the perfect inexpensive summertime treat for guests of all ages, then shaved ice is your answer!
You can certainly use an inexpensive machine to make your shaved ice. We did for 20 years. However, it was just for our family and kids that were visiting. If you want to make these for more than just your family, I highly recommend getting a larger machine that can handle large groups and your visiting guests. The one I purchased is a quality machine that is more than adequate for home use and could be used for light commercial applications – birthday parties, summer camps, fundraiser, street fairs, neighborhood party, etc. The machine is currently stored in my garage and weighs about 50 lbs. I like the fact that you can shave ice for 20 in 2 minutes! No one has to stand and make shaved ice for extended periods of time for a large group.
This video shows just how easy this shaved ice machine is to work!
Be sure to subscribe to my YouTube page for some more fun videos, tips, and tricks!
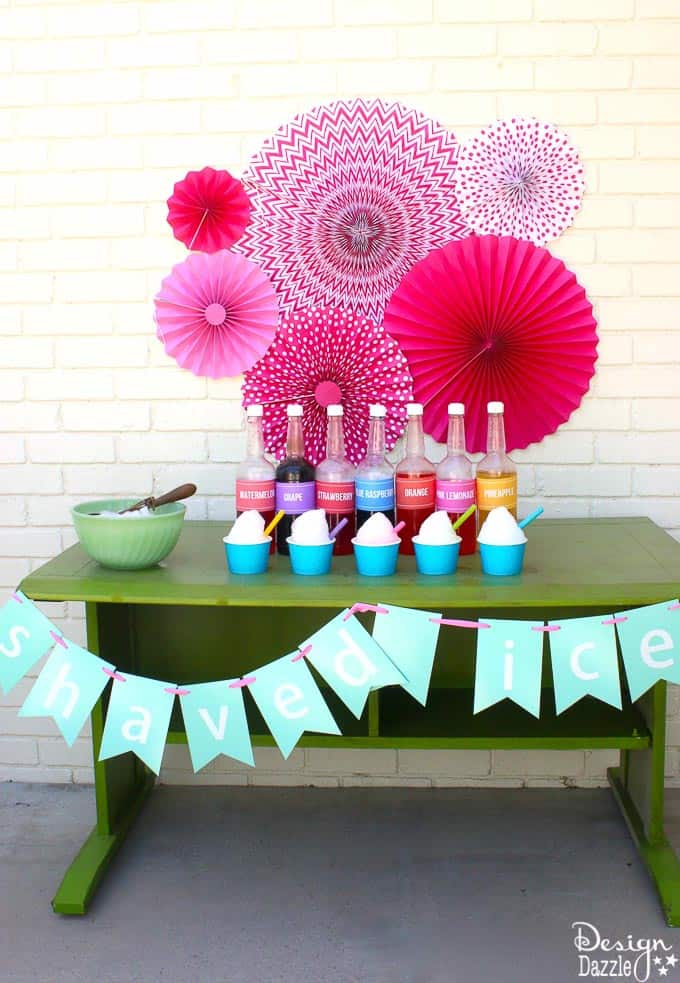
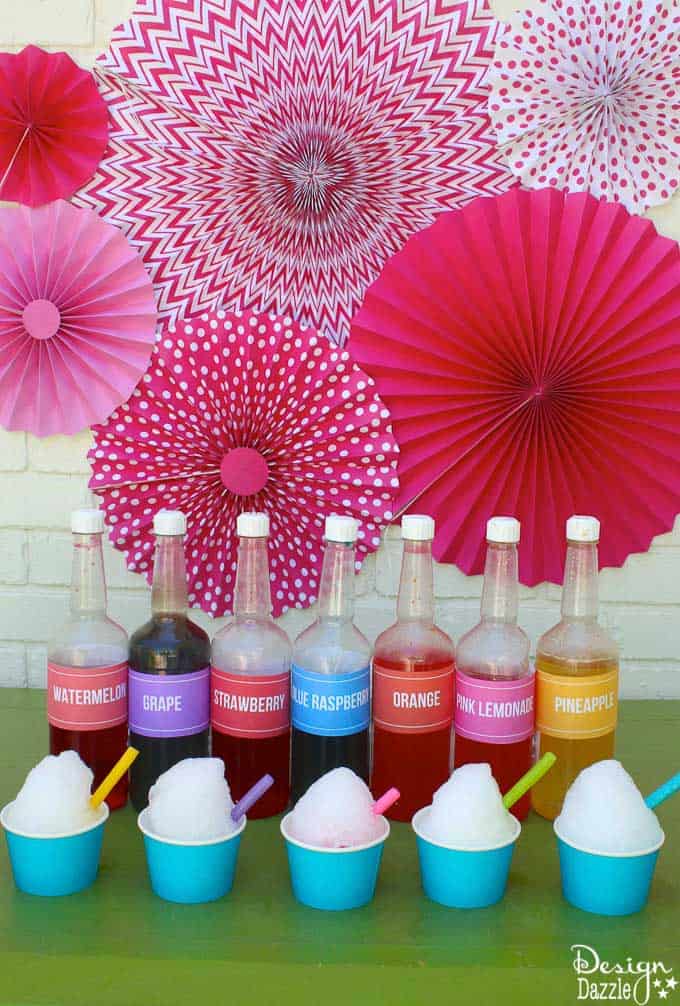
In case you’re wondering, shaved ice is different then your typical snow cone. The difference between shaved ice and a snow cone is the texture of ice and well, the name! Shaved ice has a snow like, smooth fluffy texture. The snow cone has a slightly coarser texture.
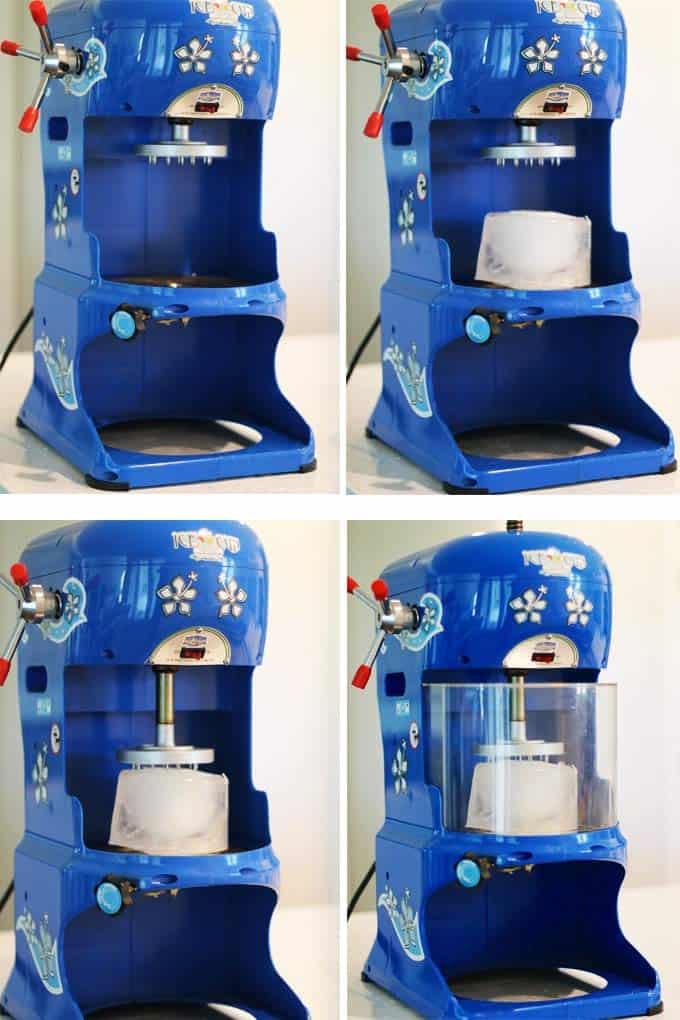
I took a few pictures to show how I placed the ice block on the machine. The lever is lowered to hold the ice in place. Then the safety shield is placed. It’s pretty simple!
What you need to make Shaved Ice:
- Shaved ice machine– click here for the link to the exact one that I use and love! Click here for less expensive shaved ice machines.
- Shaved ice syrups
- ½ gallon freezer containers to make ice block (make sure your machine will fit these size ice blocks).
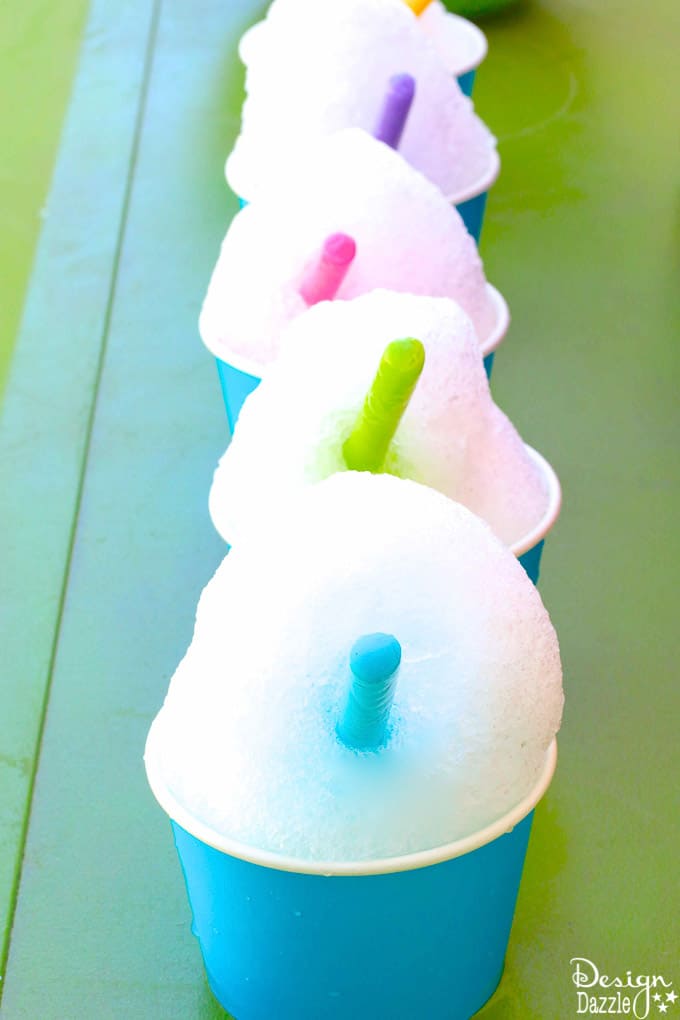
- Shaved Ice cups– some even have cute neon straws to go with your shaved ice cups!
- Depending on what type of lids your syrup bottles have, make sure to some kind of spouted lid like these easy pour lids.
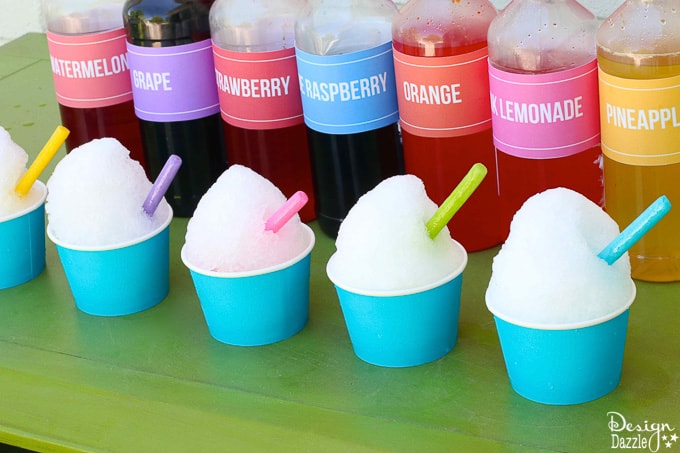
To create Shaved Ice labels and make the syrup bottles look pretty:
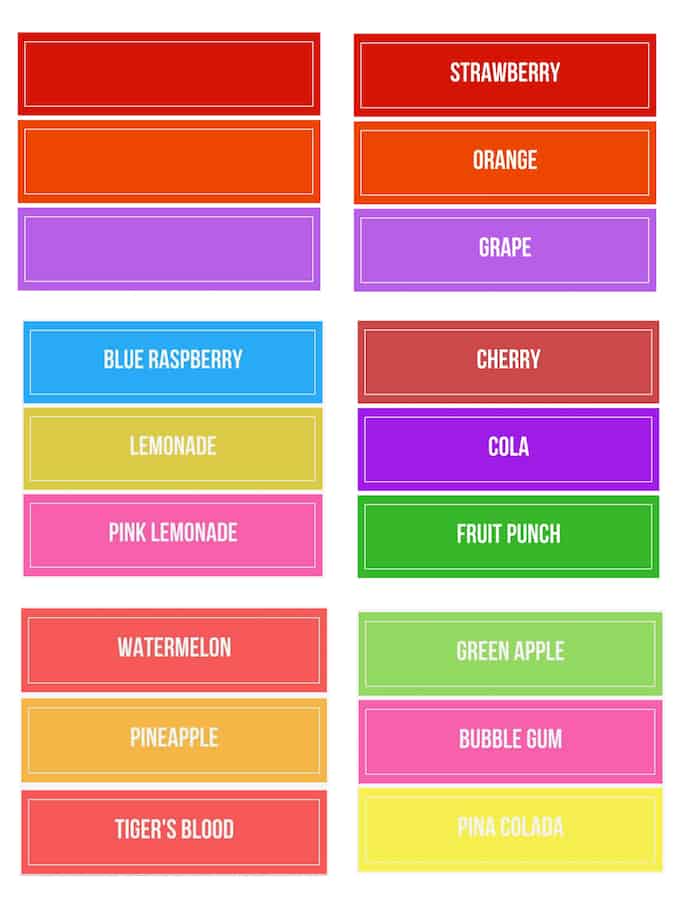
- Shaved Ice FREE printable labels– you can download these labels for free by following the steps at the bottom of the post. There are some that are blank so you can write your own flavors on the labels!
- You will definitely want WATERPROOF sticker labels to print the Shaved Ice labels. It won’t take long to ruin your labels if you print on regular paper. You could also print out the labels on cardstock and use clear contact adhesive to cover OVER the label. Extend the clear contact adhesive to go past the edges so the label will stick to the bottle.
- Purchase clear plastic bottles for syrup. Yes, you can purchase bottles with syrup already in them. But, if you want to make your own syrups or just have pretty labels these will be much easier.
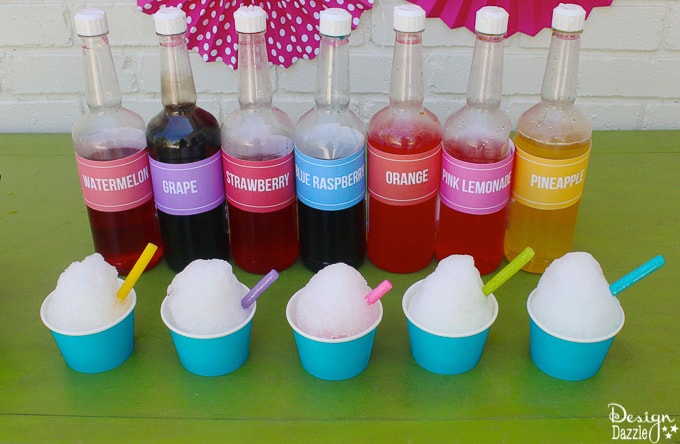
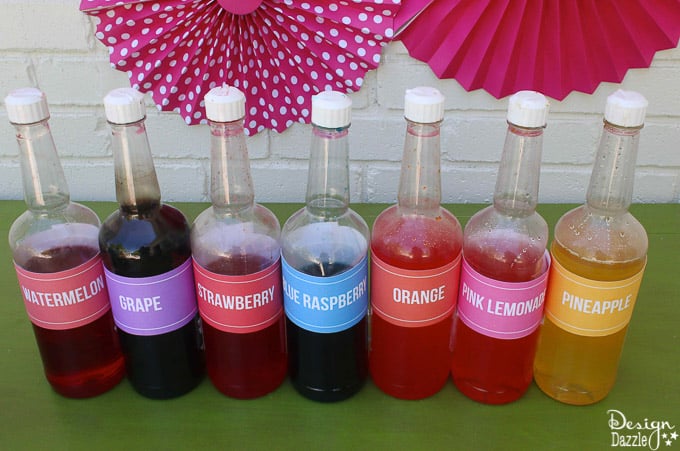
Shaved Ice Tips:
- These are the plastic half-gallon containers I use to freeze ice blocks. Yes, you can purchase ice blocks from the store but it’s so nice to have the containers already frozen in your freezer so you can make shaved ice anytime you might have a shaved ice craving! The blocks of ice will also be a smaller, more manageable size if you use these containers. I always have a frozen block in my freezer at all times. It takes a solid day to freeze a block of this size. So this isn’t anything last minute you can do.
- Place the shaved ice in a a large bowl and let everyone make their own shaved ice/snow cone.
- A funnel works wells to scoop the shaved ice into a cup. Turn the funnel over so it creates a peak of ice on top of the cup.
- Let everyone enjoy choosing and pouring their own flavors with the various syrups. It’s easy to create different flavors by combining various flavors. You can also pour one flavor on one side and another flavor on the other side.
These shaved ice printable labels are FREE and available for immediate download by subscribing to Design Dazzle!
To receive this free printable – enter your email address in the box below and click submit. Make sure to check your inbox for an email from Design Dazzle. You will have access to all of our FREE printables and also will receive an email newsletter filled with lots of great information. Don’t worry your email address will never be sold.
Printable files are for personal use only. They are not for commercial use.
Make sure to see all of our Summer Camp posts for the past several years. There is lots and lots of fun to be had this summer!





Leave a Reply