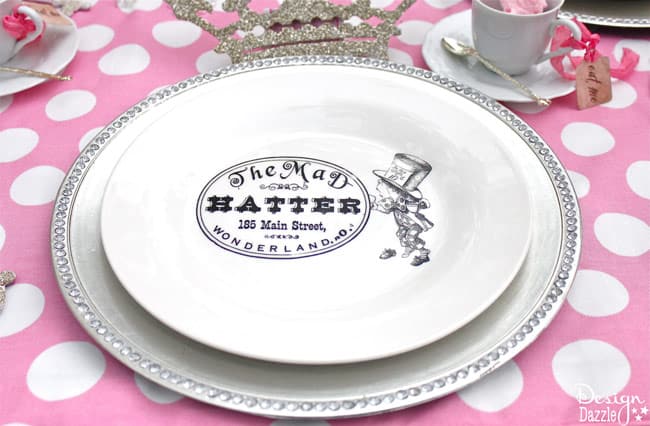
There is nothing more fun then achieving a high-end designer look using dollar store items! It goes to show that inexpensive really can look high-end! These ceramic plates were purchased plain from the dollar store and turned into designer plates with a theme! I used Laser Clear Waterslide Decal Paper to create this amazing look! It is really a SUPER easy process. I used the Papilio brand of laser waterslide paper. I do not know how any other brand works. At the time of this project the company was out of stock of the bake on paper. All I know is the regular clear laser waterslide decal paper worked in the oven. The image transfer ends up being durable. However, I wouldn’t recommend this process for everyday plates. These plates were made for a special event and have been hand washed a few times with no problem. What items can you use this process on? If you can place the object in an oven, you can use this transfer process.
Supplies:
- Laser Clear Waterslide Decal Paper
- Ceramic Plate
- Mad Hatter Digital Image
- Bowl of Water
- Laser Printer
- Oven
Directions:
The decal film is coated onto the paper that you print on your laser printer.
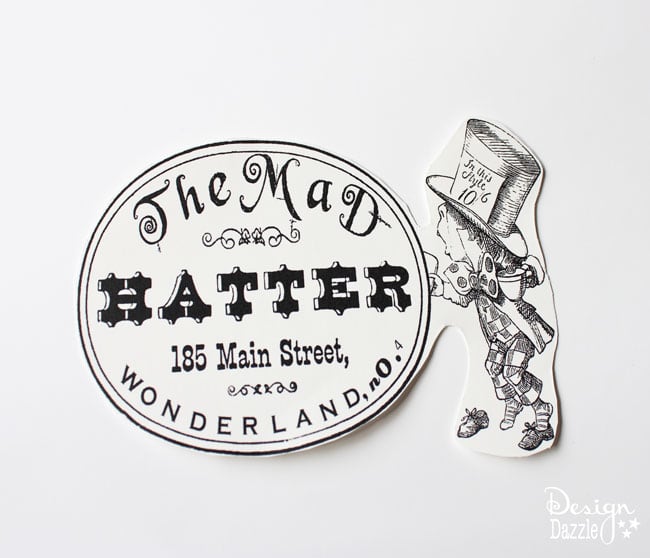
I purchased the Mad Hatter digital image from Graphique. I sized the image to print TWO to a page. According to the instructions on the package, print the image on the glossy side of the laser paper on a laser printer. Allow image to dry. Cut out the image close to the actual design.
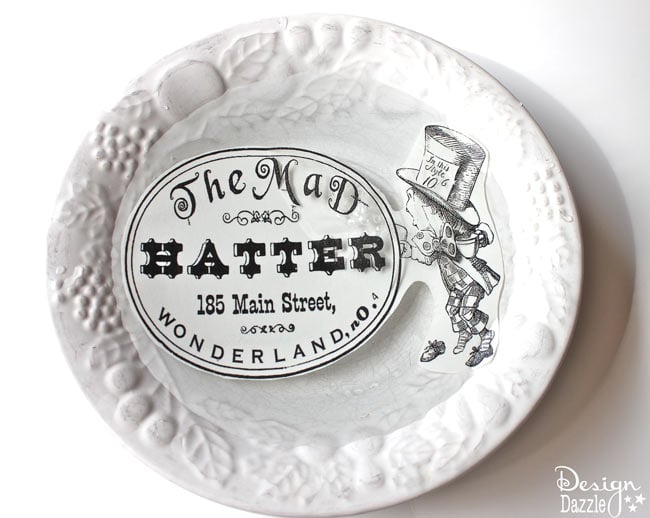
So once the image is printed by a laser printer you place in water to remove the clear decal film from the paper. Dip the paper piece in warm water (not hot) for the length of time stated on the package. You can see the soft clear film coming apart from the backing.
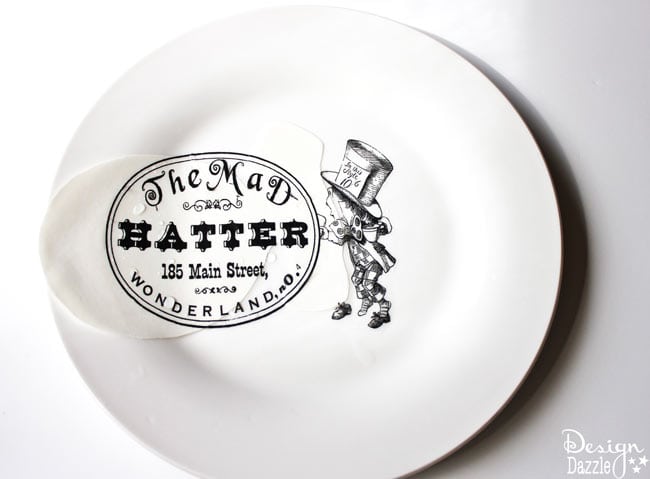
Slide the image of the backing paper on to the ceramic plate. Use a clean cloth to gently dab off excess water. Use moist fingers to get rid of air bubbles. Center the decal exactly where you want it. Be gentle the decal can tear at this point. This decal paper can be used on any solid surface like glass, metal, wood and ceramic.
Bake at 250° 20 minutes. You might need to bake at a little higher temperature or longer. Test and experiment with your plate at the right temperature.
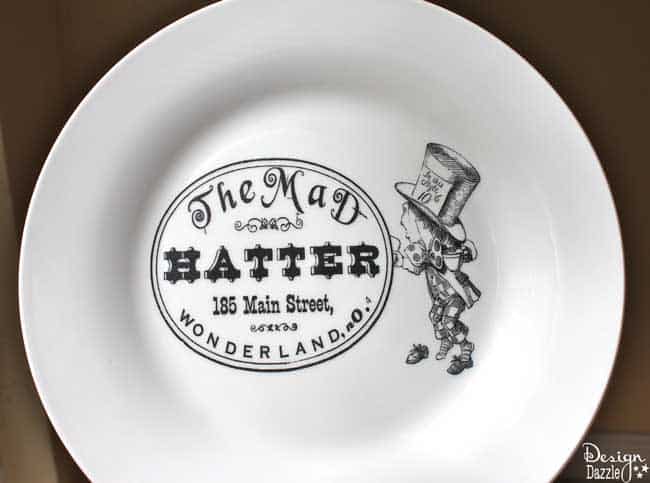
Disclaimer: I did contact the decal paper company and asked about laser ink and toxicity for eating off of. I was told that because of the baking process any toxicity was gone. So this is something to think about if you feel comfortable eating off of the plate or not.
Tips:
The directions say to use an aerosol laminate spray. I DID NOT do this step because these plates were to be eaten off of. The baking in the oven adheres the decal to the plate.
Clear decal paper can be used on clear, white or light colored surfaced. If you have black or a dark surface use white decal paper.
DO NOT use inkjet for the water process. It will not work. It needs to be LASER ink to work with water.
Hand wash these plates.
Check out another inexpensive, easy party prop idea. How to make a giant mushroom party prop.



Leave a Reply