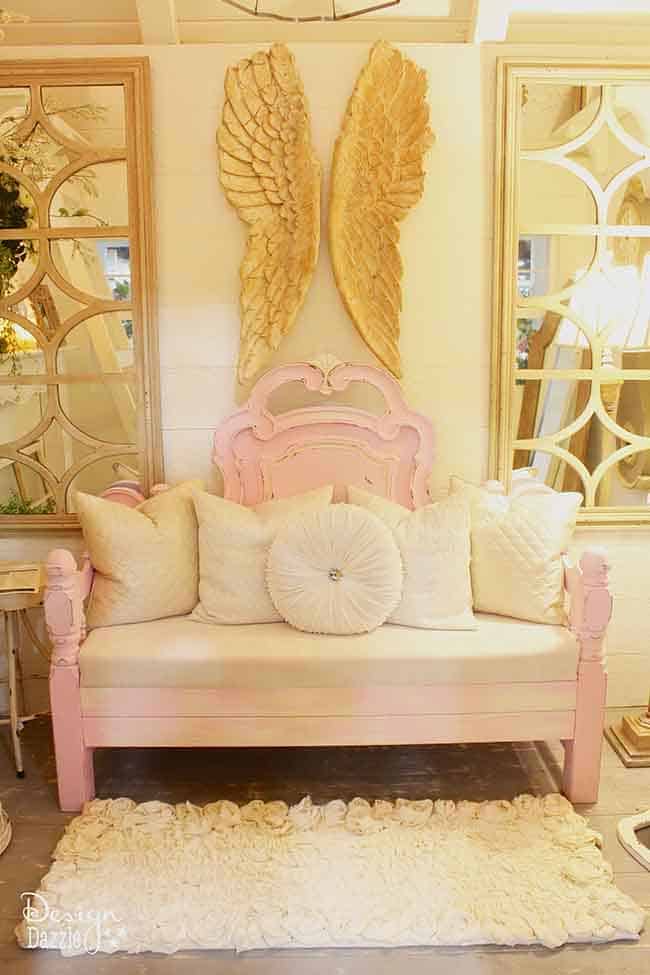
I had the awesome opportunity to participate in the SLC Home Show this month and create a beautiful, shabby chic Mom Cave. It was so fun using a palette of soft neutrals to create a gorgeous, special space just for mom to relax. For my Mom Cave, I included some fun DIY projects. One of them is this gorgeous DIY rosette fabric rug.
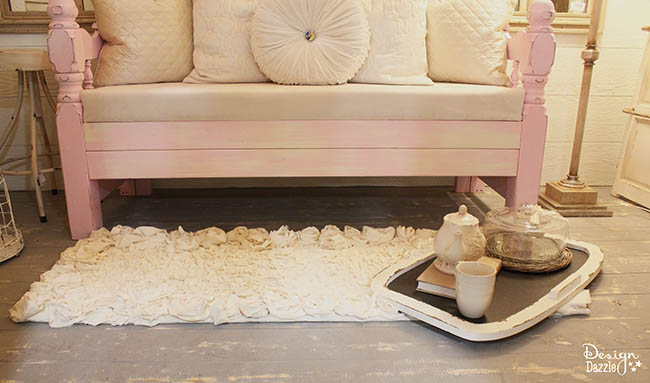
I love a good “couch craft”. These are the projects that are pretty repetitive so they don’t take a lot of attention so you can work on them while multitasking! This rosette fabric rug is the perfect couch craft! While rosettes are very simple to make, you do have to make quite a few of them for this rug.
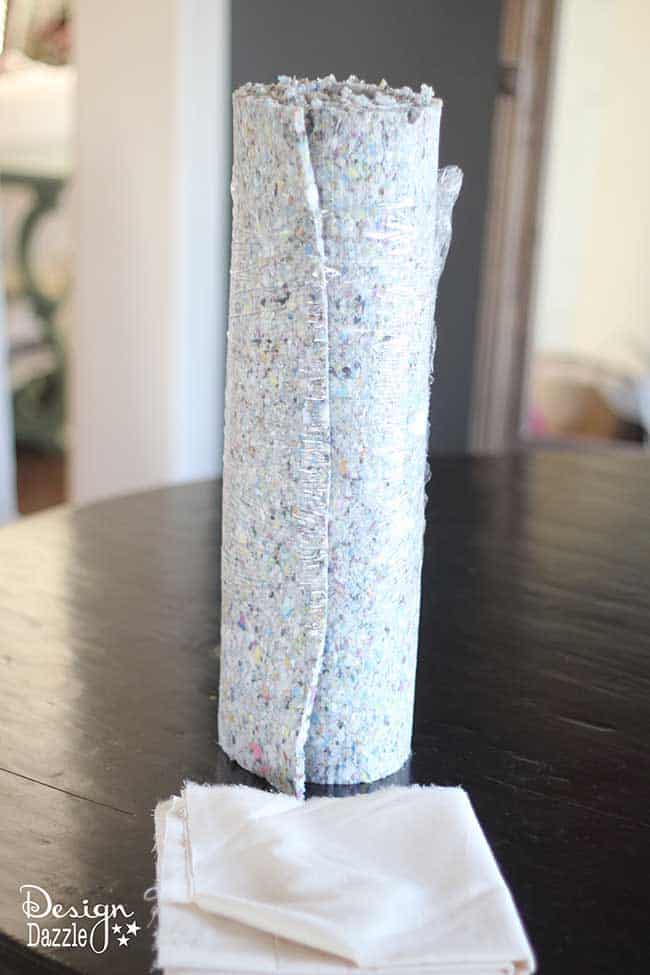
Supplies to Make DIY Rosette Fabric Rug
- carpet pad remnant or old rug
- knit fabric
- fabric glue
- hot glue gun
- a large, sharp needle and thread (embroidery thread would be great here – the stronger, the better!)
- scissors
- duct tape
- a fun show or movie to watch while you work!
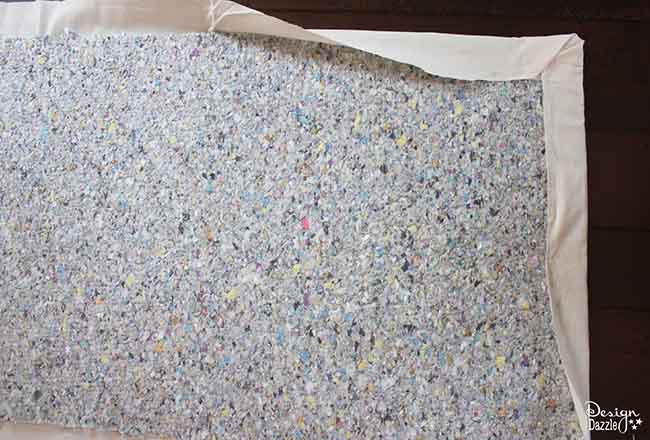
Step 1: Make a good, solid colored base for your rug by covering your old rug or carpet pad remnant with the fabric you are using. Fold the sides of the fabric over to the back of the rug or carpet pad and hot glue the sides down. Once the hot glue has dried, use duct tape to cover all of the edges. You don’t want any fabric showing at the edge.
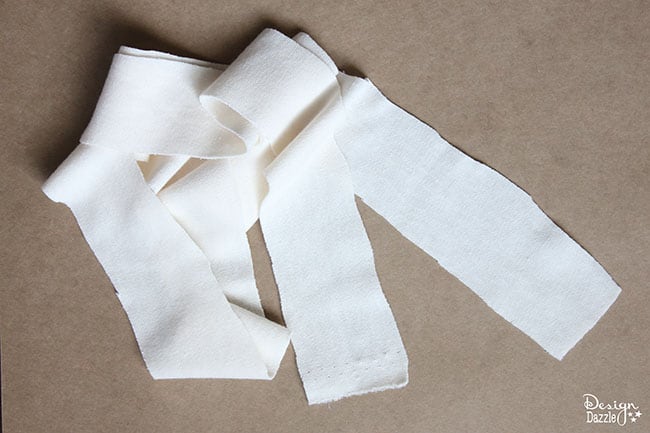
Step 2: Cut fabric into strips about 2 inches wide. You will need to cut MANY of these strips. There will be at least 1-2 strips for each rosette, and you will cover the middle of the rug with these strips as well.
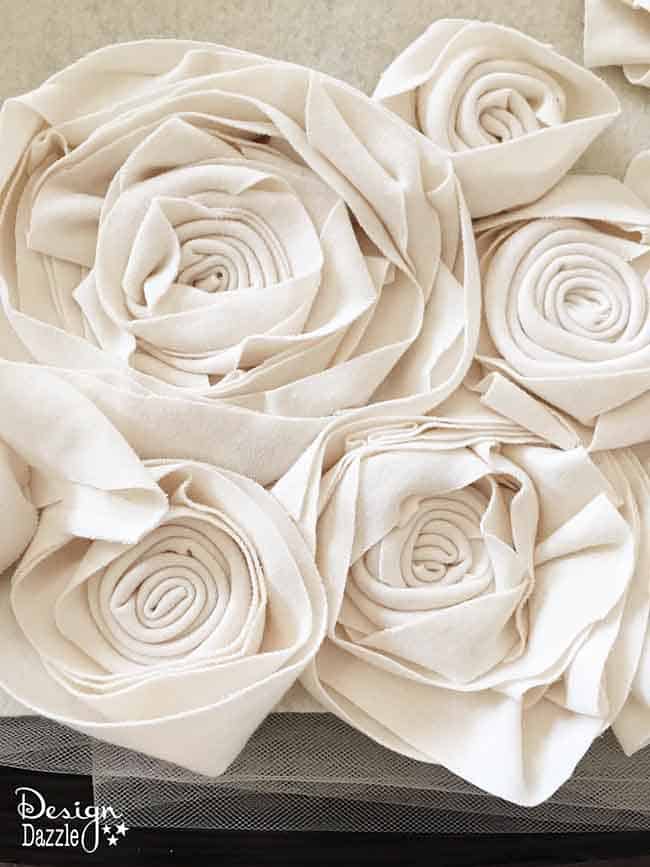
Step 3: Make rosettes. You want to make these in various thickness and tightness. For the larger rosettes, I used two strips of fabric. For the smaller rosettes, only use one strip of fabric. Wrap some tighter to make them smaller, and wrap some loosely to make a fuller, thicker effect.
How To Make Rosettes:
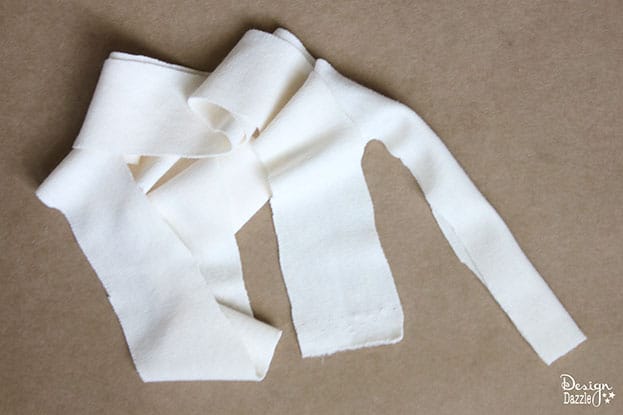 1. Start by folding the fabric in half. This will make the roll thicker, with better texture.
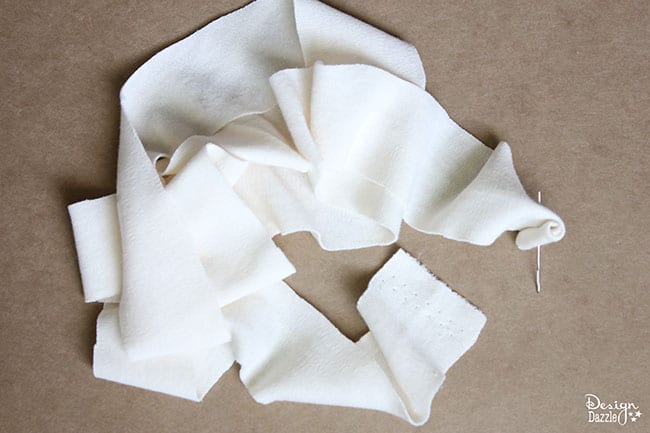 2. Wrap the fabric around itself. I stuck a needle through my roll to keep my place and to show how to start the roll. This isn’t necessary, but may be a good idea if you need to take a break.
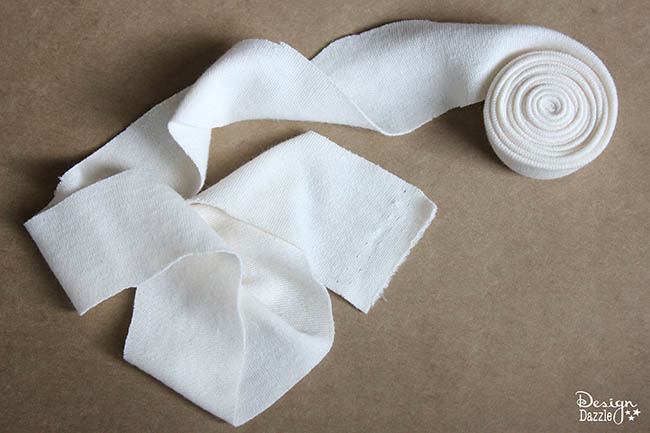 3. Continue wrapping and rolling, with the strip of fabric folded in half. When you get to the point as pictured above, do not fold your fabric in half anymore. Gently fold the fabric, twisting and tucking, to give it more texture.
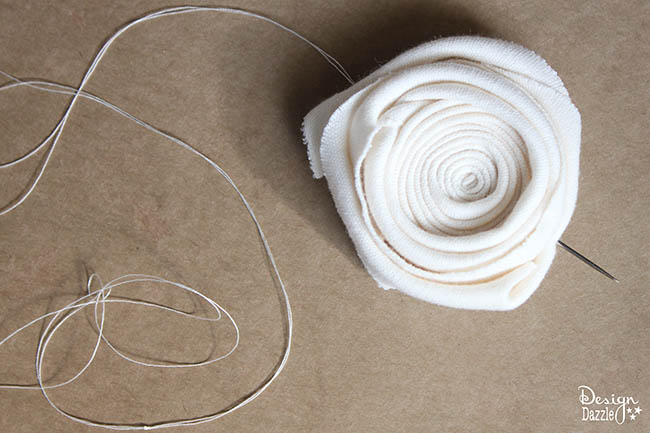 4. The loosely wrapped layers should look like this. Once you get to the end of your first strip of fabric, it’s a good idea to sew the layers together. I went in one side, and out the other, like pictured. I did this all around the circle. (Example: If the rosette were a clock, I went in at 6:00 and came out at 12:00, then went over to 3:00 and came out at 9:00, so on and so on, until it feels secure.)
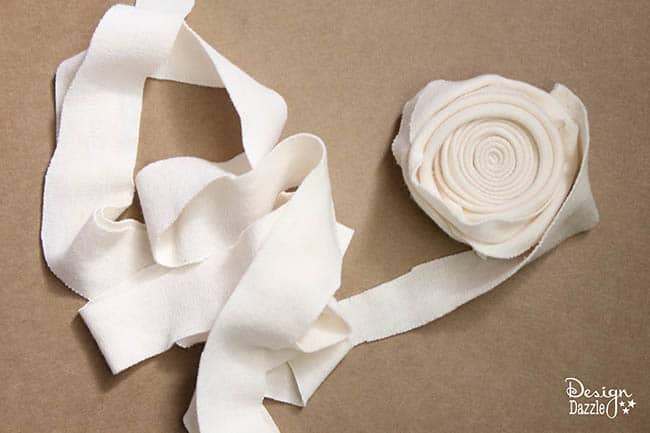 5. If you are making a larger rosette, start wrapping the second strip of fabric around the first. This time, wrap the whole strip loosely like we did at the end of the first strip. Once you reach the end of the second strip of fabric, repeat step 4. Make sure to sew through each layer.
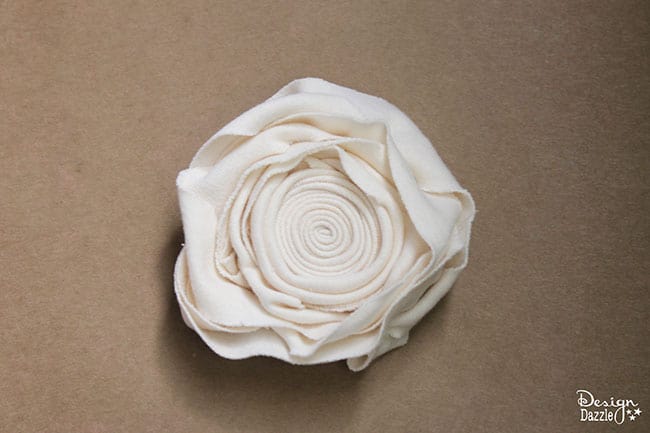
This is what a completed large rosette should look like! Once all the layers are secured and sewn together, you can pull on a few of the layers to loosen it up and give it some more texture.
Now, back to the rug!
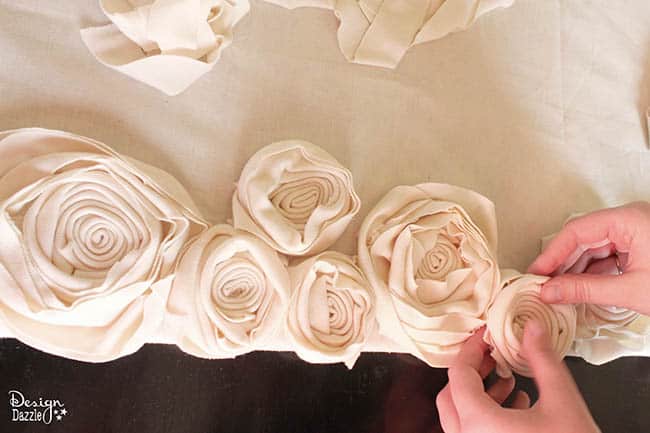
Step 4: Arrange the rosettes on the edge of the rug, close together. Once you have the arrangement that you like, hot glue the rosettes onto the fabric of the rug.
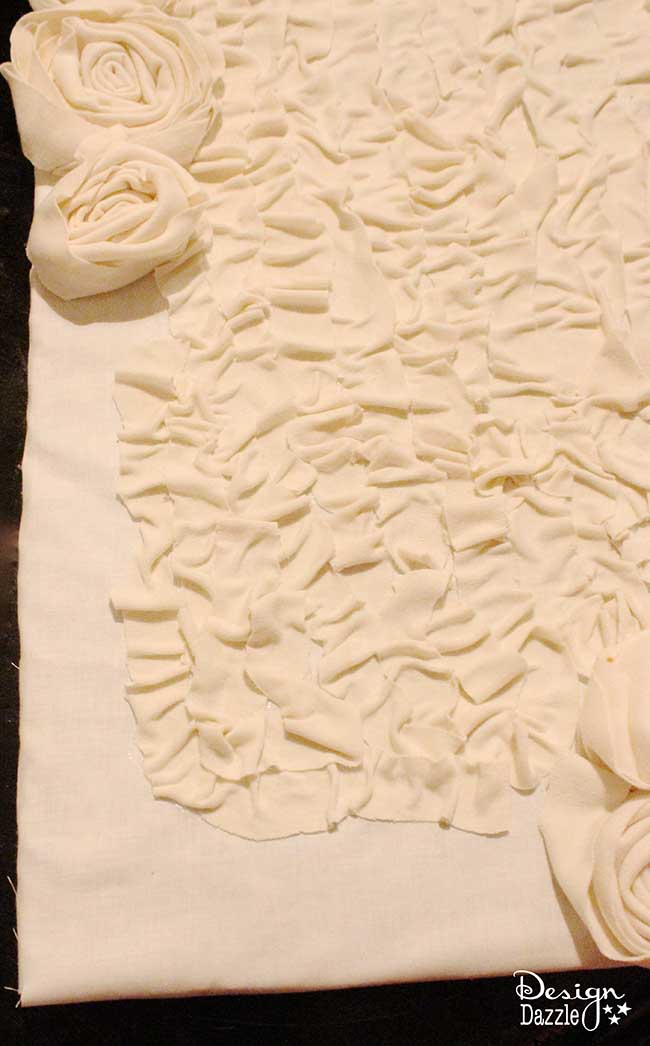
Step 5: Using the strips of fabric, create a ruffled look across the middle of the rug. Do this one strip at a time, using the fabric glue to secure the strips on the rug. Once you put the glue down, use your fingers to create little pleated ruffles. Repeat this all over the rug. There is no pattern to this, just create ruffles all over!
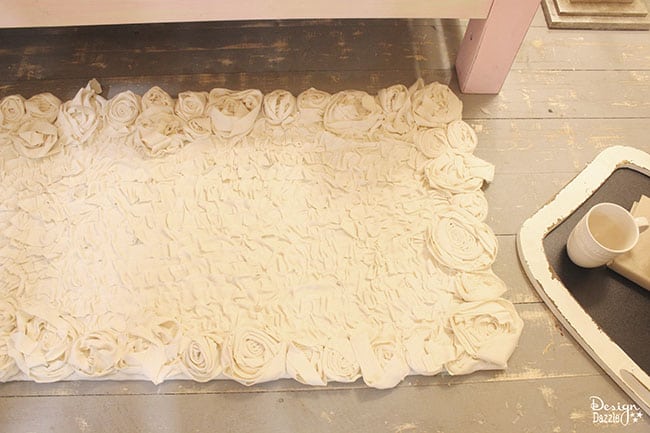
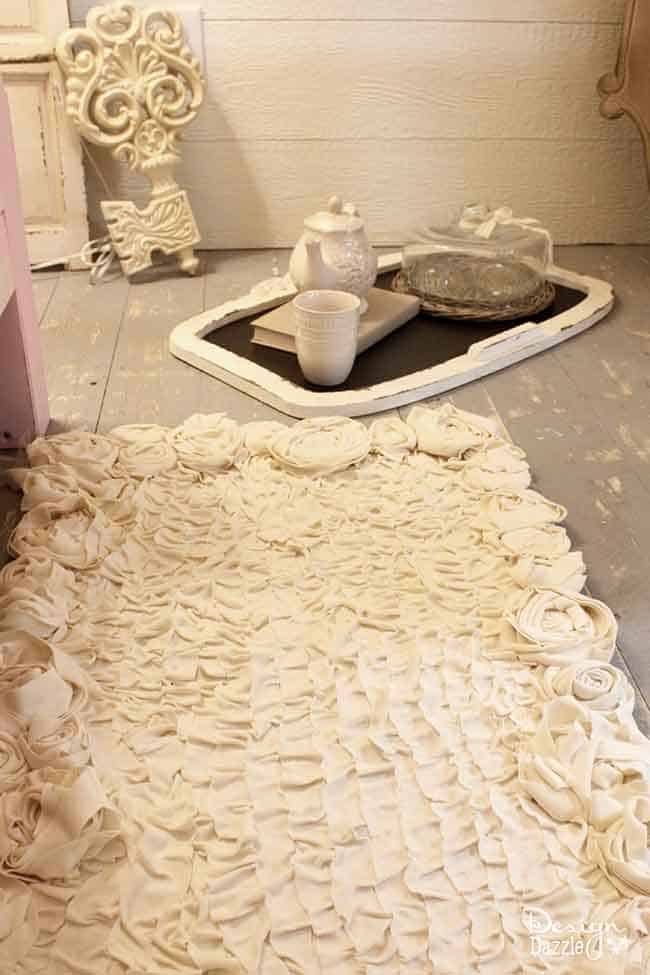
This is what your rug should look like when completed. I love this shabby chic, totally feminine look!
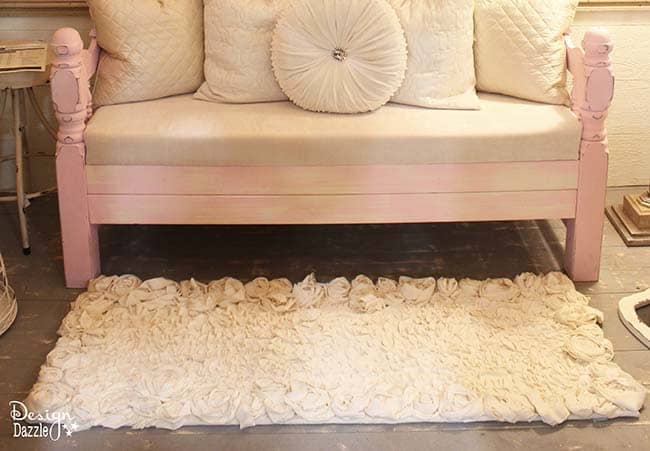
I love how this rosette fabric rug turned out! I can’t wait to show you the rest of my Mom Cave soon. Look forward to more DIY projects and other decorating ideas!



JudyG says
I just fell in love with this rug
Toni - Design Dazzle says
Thank you, Judy!
JudyG says
I just fell in love with this rug. But it’s taking me forever to make the flowers and my fingers are so sore
Toni - Design Dazzle says
Yes, this isn’t a real quick craft. Make this a couch craft! Meaning – enjoy some TV or music listening and make it fun! Hopefully you are using a thimble!! I would love to see a picture of your rug! Please send it our way and we’ll feature it on social media!
Thanks, Judy!
Tina says
Hello,
I love this rug! Is it machine washable?
Toni - Design Dazzle says
Tina,
I’ve never washed it ; ) I would handwash it and air dry it.
Toni
Dianna says
Beautiful, I have an old rug I don’t like anymore. Its small but a great way to start. Can’t wait to get the material and start!!!!! I want pink!!!!!! Excited to try a new craft!!! Thank you for such a great idea. I’ve made rosettes out of felt before, so I’m thinking its the same pattern to use. Love this!!!!
Toni - Design Dazzle says
Ooh I would love to see your rug and my favorite color too!! Just remember this isn’t a high traffic rug. But I sure love the look!
Tara says
Beautiful but unfortunately won’t work with a special needs little guy. I can imagine he’d get it filthy right away but it is gorgeous
Toni - Design Dazzle says
Yes, this is not a rug for kids. It was in my craft room and hasn’t received much traffic. : )
Kym says
Love the project!! ❤❤
Toni - Design Dazzle says
It’s quite pretty. Thanks.
Yvonne says
Love Your creativity
Toni - Design Dazzle says
Thanks, Yvonne for your kind comments!
Lana Gordon says
How would you wash this Rug if you hot glued the rosettes? Did you use a knit fabric? It is beautiful!!
Toni - Design Dazzle says
I placed the rug in an area where it hardly got stepped on. I have since moved and haven’t put it back out. But I would gently hand wash and airy dry -maybe try that.