


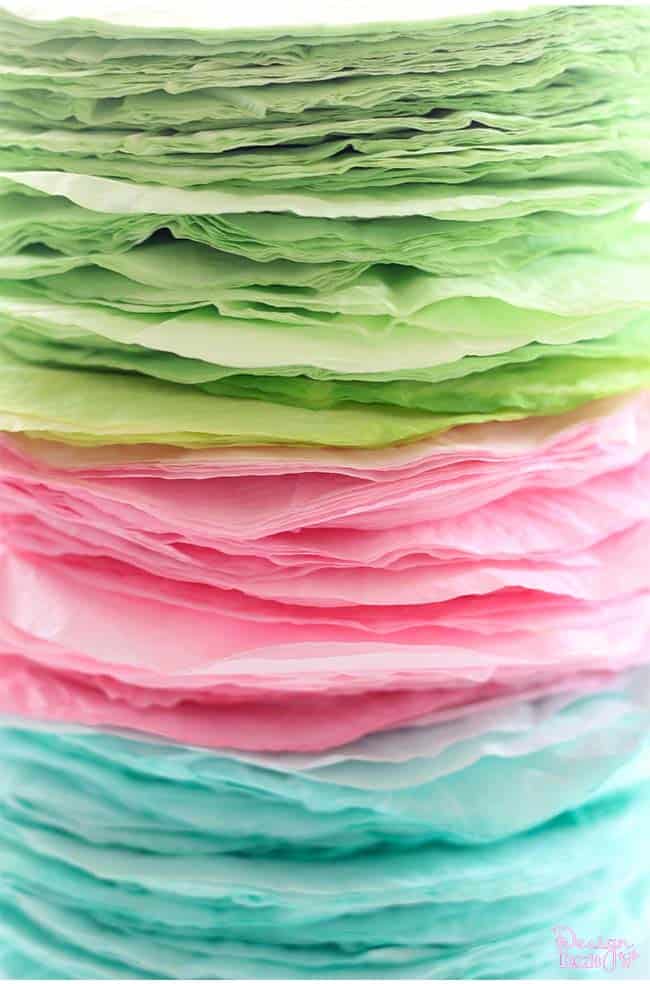
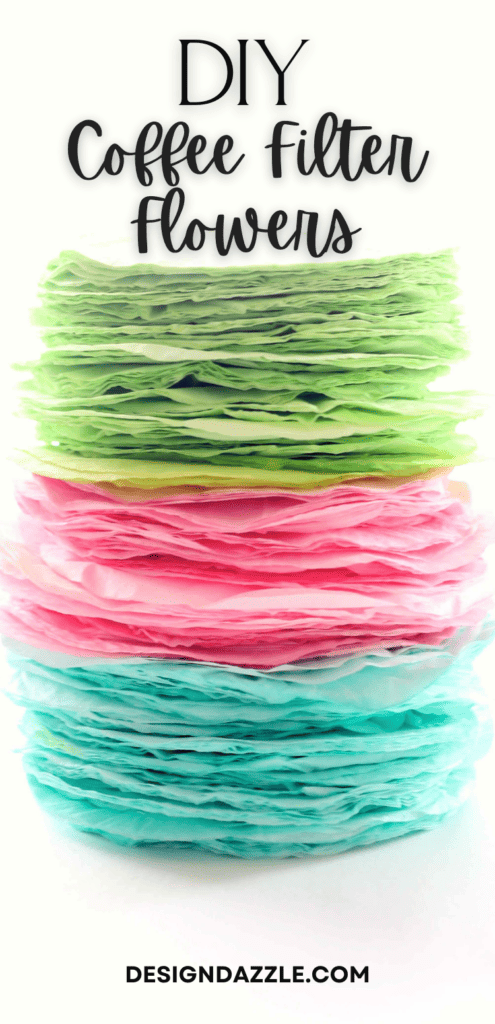
I can’t wait for spring- warmth, sunshine, pastel colors, fun parties! Coffee filter flowers aren’t anything new, but I love the look! They are so light and beautiful, they are the perfect craft to welcome spring and brighten up your next party! Coffee filters absorb the colors and can create vibrant, beautiful colors! I love that the colors are completely customizable so you can get exactly what you want. This tutorial is so simple, it’s something you can do with your kids!
Coffee Filter Dye
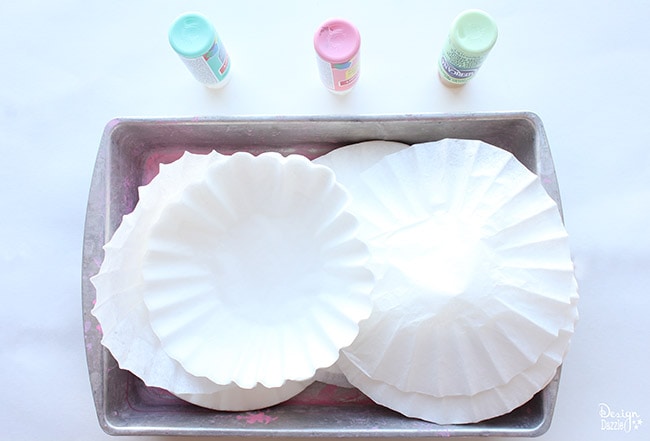
Supplies:
- coffee filters – I purchased mine at the dollar store or you can purchase white coffee filters
online.
- acrylic craft paint – My paint colors: Pink – Craft Smart Pink Rose mixed with Americana Bubblegum Pink, Blue – Craft Smart Ocean Breeze, Green – Americana Pistachio Mint mixed with Craft Smart Apple Tart.
- water
- pan or large bowl
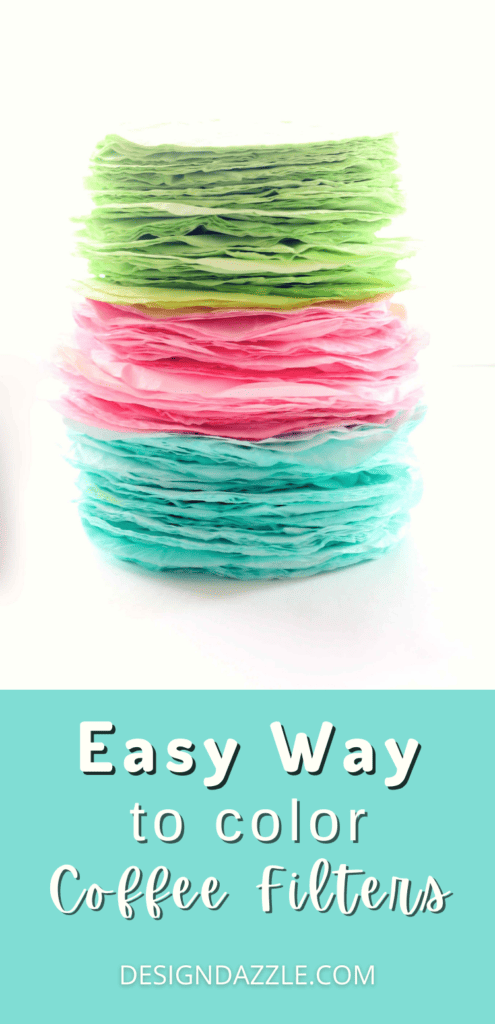
Step 1: Flatten coffee filters. Mix water and paint in a pan or large bowl. I used about ¾ of a small bottle of acrylic paint with about 5 cups of water. Swirl paint until it is mixed thoroughly.
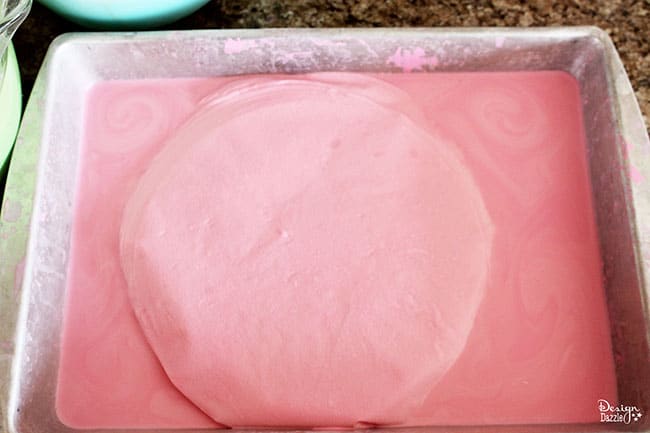
Step 2: Place flattened coffee filters into the paint/water mixture. Submerge coffee filters and let soak for a few hours. The longer the coffee filters soak, the more vibrant the colors will become. I let mine soak for about 2 hours. Occasionally separate the stack of coffee filters and mix them up.

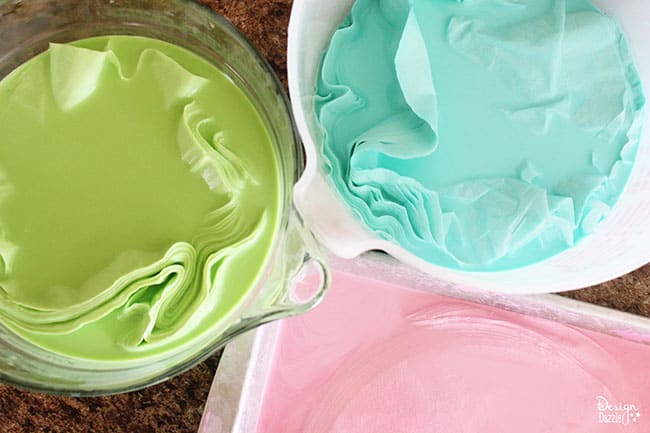
Step 3: Drain liquid and gently squeeze/pat the coffee filters dry. Let the coffee filters dry completely. You can dry the coffee filters laid out in the sun, but that would take a long time and they would be exposed to the elements. I laid mine in the sun for a few hours, and then placed them in a warm oven. I turned the oven on for a few minutes and then turned it off. I don’t like to have paper in the oven when it’s on. It may take a few days for the coffee filters to dry completely, so start this project in advance!
Coffee Filter Flowers
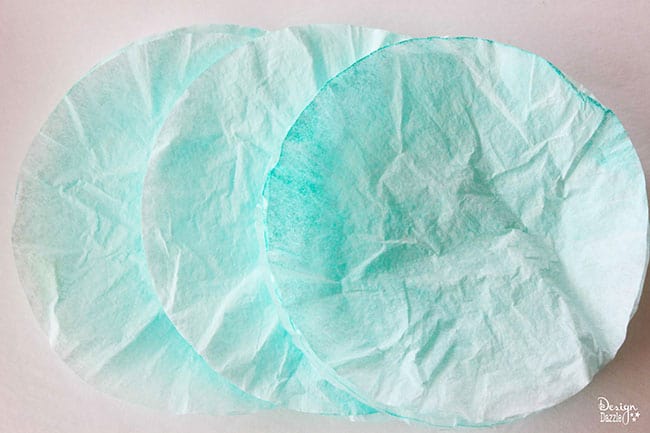 Step 1: To make flowers, choose 6 dyed coffee filters of the same color. Separate in half (3 and 3).
 Step 2: Take the first 3 and line them up. They do not have to be perfectly aligned – in fact, they look better when they are a little uneven, it adds more texture. Fold the stack in half. Then, fold the half in half again, so it ends up in fourths.
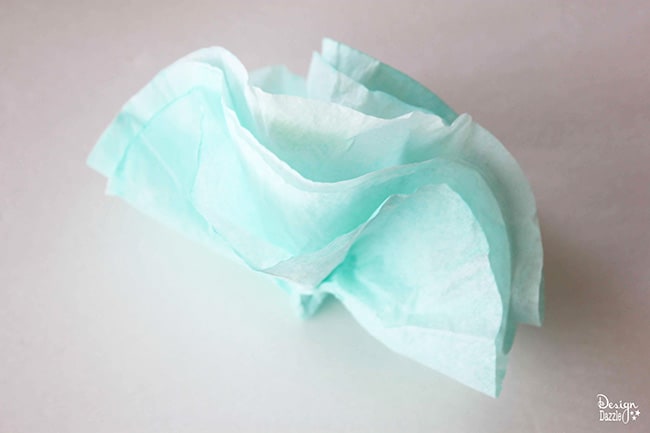 Step 3: Twist and ruffle these 3 layers. Twist the bottom tightly so it doesn’t come apart.
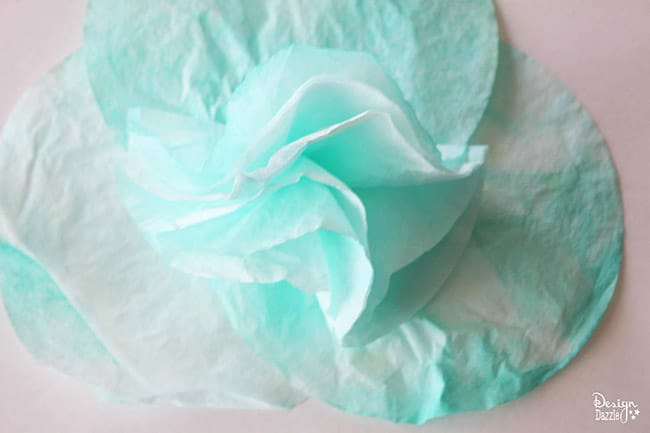 Step 4: Next, take the remaining 3 coffee filters and place them around the base of the twisted first 3 coffee filter, grabbing them off center and loosely to give a fuller effect. Staple the bottom so that the flower doesn’t come apart. Make sure to catch all the layers together tightly.
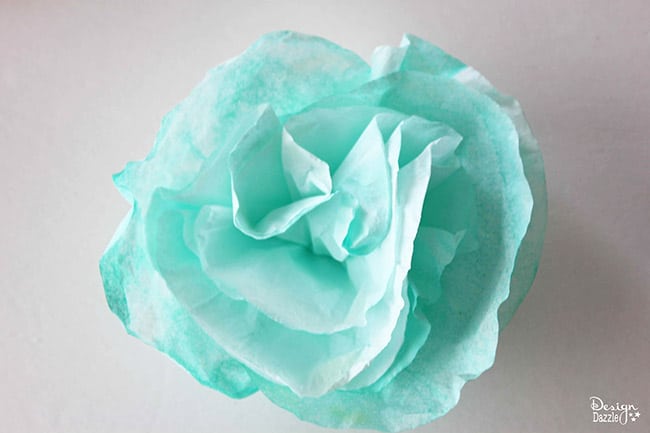
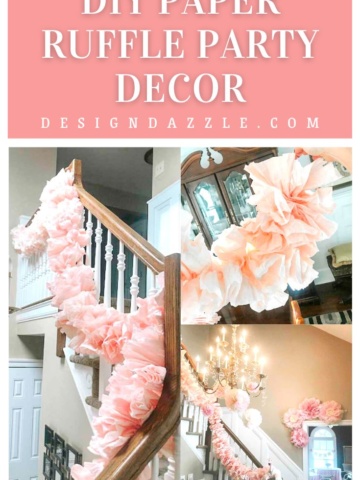
Once the coffee filters are colored, these flowers take about 3 minutes to make. I love that this is such a quick, simple tutorial! And they look so pretty. These are the simple version of the coffee filter flowers. Other versions use floral tape and wire so it just depends on your needs of what type of flower you want.
***To make the blossoms, use only one coffee filter folded in half and in half again and then twist loosely to make a blossom.***
This is such an quick, easy craft that will bring a smile to your face. It’s so easy, your kids can even help! I hope these springy flowers bring the perfect pop of color to your party!


Deanna says
Such a cute idea. Don’t worry about putting paper in the oven. Paper burns at 451 degrees Fahrenheit, so as long as you keep the temp below that, you are fine. I would think a couple hours at 250 or 275 degrees would be perfect.
Toni - Design Dazzle says
Thanks, Deanna. It’s good to know.
jen says
Love these! I’m going to get the kids whipping these up for May Day to treat the neighbors. They can enjoy them all spring long. Merci for the inspiration! 🙂 jen @ http://www.satsumadesigns.com
Toni - Design Dazzle says
Jen,
I’m so glad you like these. I love your idea about May Day and treating the neighbors. I know they will love it!!
Toni
Patty says
These would be great for my Faith Class to do for the Crowning of Mary that we do on Mothers Day! As long as I color and dry the filters well before hand.. but it looks like I have time 🙂
Toni - Design Dazzle says
Yes, you’ll have plenty of time. It’s a fun easy project. Glad you’re planning ahead. Good luck, Patty!
Cecile La Belle says
I started to dye my coffee filters and what an amazing ideal this is. Once I have my filters read I will be gluing them and making Kissing Balls for my wedding.
Toni - Design Dazzle says
So happy this is working out for you. I would love to see pictures when you are done!! Congrats on your upcoming wedding!
Towanda says
Will definitely try for my nieces backyard
Jerk fest. Theme colors are red, green, gold.
Thanks for sharing
Lisa says
Great tut! I love filter flowers and always looking for new ways to make them. Recently I threw the wet filters in the dryer with a few old towels. Checked on them frequently to make sure they weren’t sticking together (or to the drum! 😅) and took them out as they dried. They were fabulously wrinkled too!
Toni - Design Dazzle says
Great idea. Thank you for sharing!