• Skip to main content
  • Skip to primary sidebar

Design Dazzle logo

menu icon
go to homepage
  • Home
  • Home Decor / Design
  • Holidays
  • Crafts
  • All Categories
    • Facebook
    • Instagram
    • Pinterest
    • YouTube
  • search icon
    Homepage link
    • Home
    • Home Decor / Design
    • Holidays
    • Crafts
    • All Categories
    • Facebook
    • Instagram
    • Pinterest
    • YouTube
  • ×
    Design Dazzle » Kids » kids rooms

    Published: Apr 18, 2016 · Modified: Feb 16, 2018 by Toni Roberts · This post may contain affiliate links · Leave a Comment

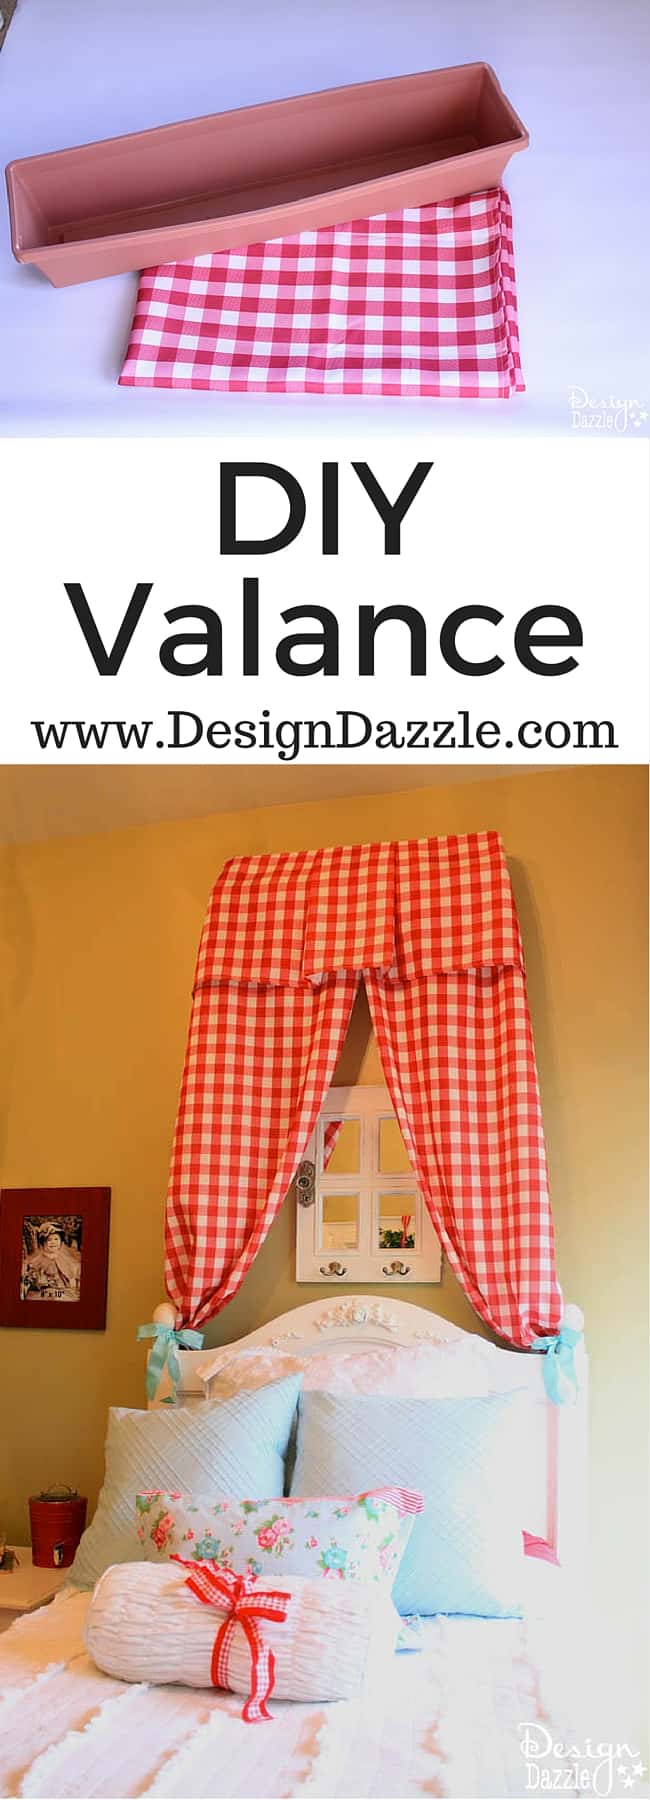
    A No-Sew, DIY Valance Made From A Flower Box

    The no-sew diy valance made from a plastic window box. Use a glue gun and a table cloth to create a darling valance. Design Dazzle

    This a no-sew, DIY valance made from a flower box is an easy and inexpensive project that comes together in no time! You may have noticed the red and white bed valance in my last post where I shared the details of our girly shabby chic room. I’ve used it as a statement piece above the twin bed but you can use this technique over windows as well!
    The no-sew diy valance made from a plastic window box. Use a glue gun and a table cloth to create a darling valance. Design Dazzle

    This post contains affiliate links at no additional cost to you. For further information, please see our disclosure policy.

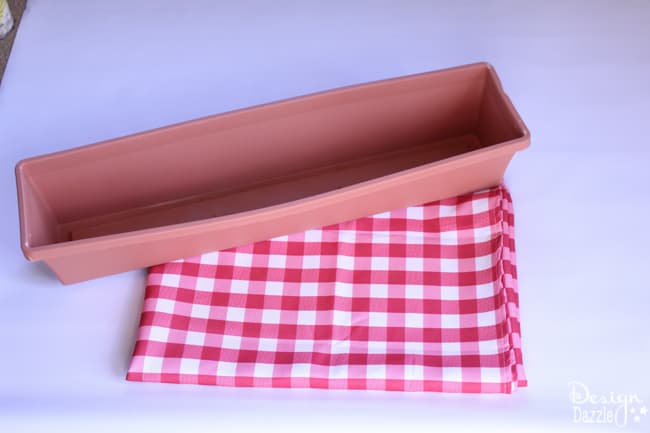
    I started this project by buying an inexpensive plastic window box. You can find them in garden centers or home improvement stores or order them online. The window box I used was 30 inches long. This size worked great to go over the twin size bed. Of course, stay away from wood window/flower boxes. They would be too heavy. The plastics ones are very lightweight. I also purchased a long rectangle red and white checked table cloth and two corner brackets with hardware that fits. You’ll need a glue gun, too, but that’s everything!

    Please note that you might need to adjust your measurements depending on the size of your window box and tablecloth and how high you plan to hang it.

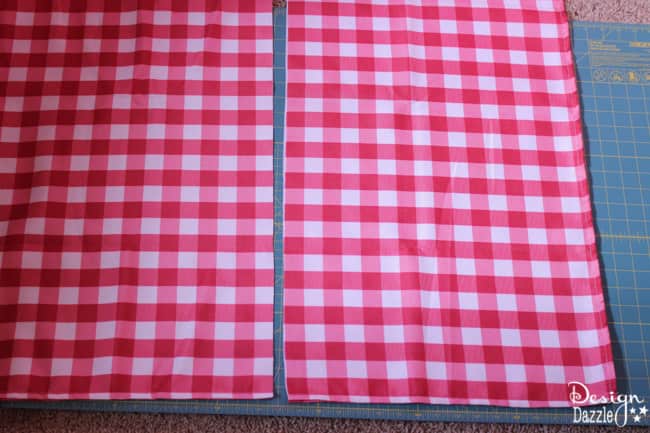
    Start by cutting one of the ends off of the tablecloth. After cutting, the short section should be around 16-18″ long. Set the remaining section aside for later. You can see the sides and the bottom are hemmed.
    The no-sew diy valance made from a plastic window box. Use a glue gun and a table cloth to create a darling valance. Design Dazzle

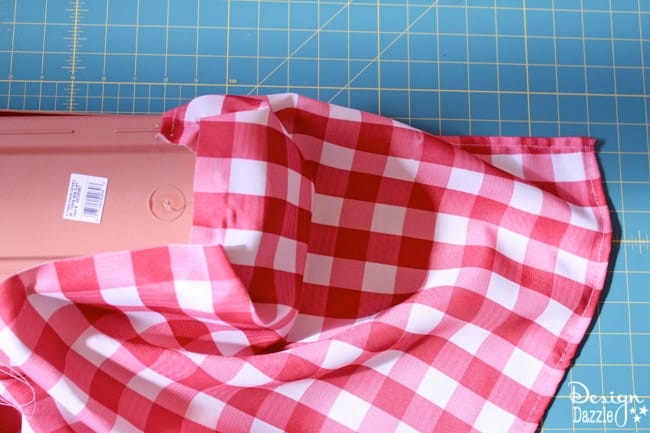
    Next, place the open end of the window box on your work surface so the bottom is facing up (it will now be the top of the valance). If you’d like to create any pleats (see picture below) figure out where you want them and make sure everything lines up how you want it. Wrap the tablecloth around the sides and a bit along the back to give it a nice finished look. Then, use your glue gun to glue the unfinished edge of the tablecloth in place along the top of the valance. You’ll glue the “wrong” side of the fabric to the box so the “right” side is facing out.
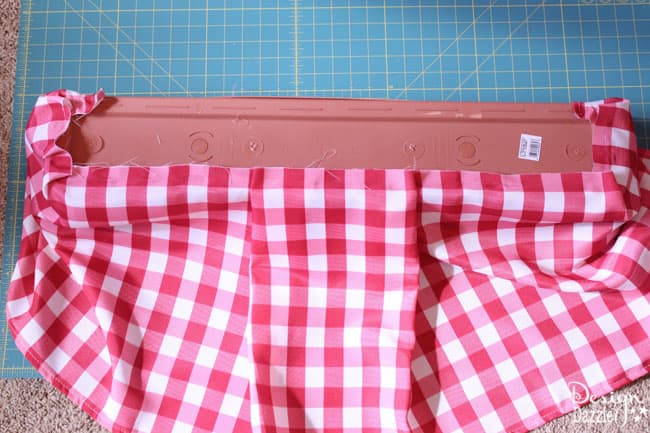
    The no-sew diy valance made from a plastic window box. Use a glue gun and a table cloth to create a darling valance. Design Dazzle

    The no-sew diy valance made from a plastic window box. Use a glue gun and a table cloth to create a darling valance. Design Dazzle

    Next, take your corner brackets and pre-drill two holes into the top of the valance. Then attach the corner brackets to your wall, using the distance between your pre-drilled holes as a guide. You can use drywall anchors if you are not attaching the brackets to studs.
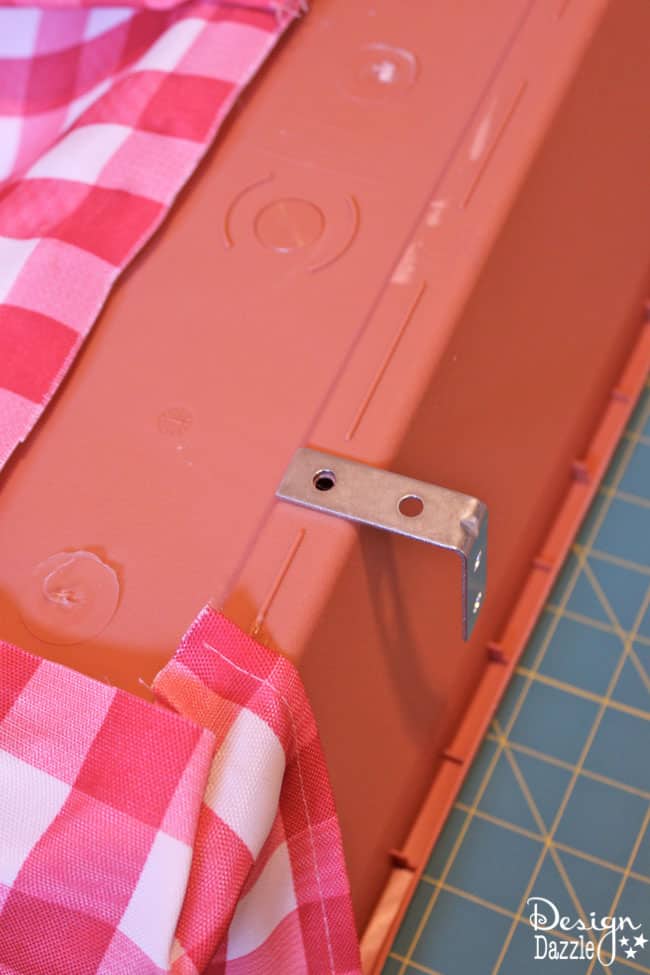
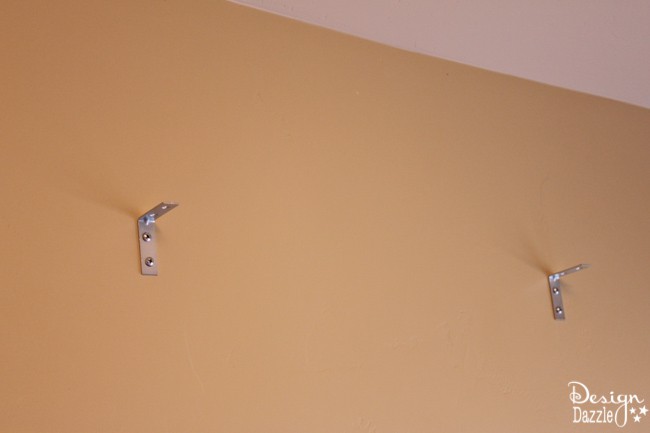
    The no-sew diy valance made from a plastic window box. Use a glue gun and a table cloth to create a darling valance. Design Dazzle

    The no-sew diy valance made from a plastic window box. Use a glue gun and a table cloth to create a darling valance. Design Dazzle

    At this point, flip the window box over so the open end is facing up. Take the remaining section of the tablecloth and cut it in half lengthwise. You should have two long, skinny sections after cutting – each with one long finished edge, one long unfinished edge, one short finished edge, and one short unfinished edge. Glue the “right” side of one of the sections to the inside of the window box with the long finished edge just past the center of the box and the long unfinished edge wrapped around the side and back of the box, like the first piece you glued on. Repeat with the second section. Make sure the two sections overlap each other at the center of the window box.
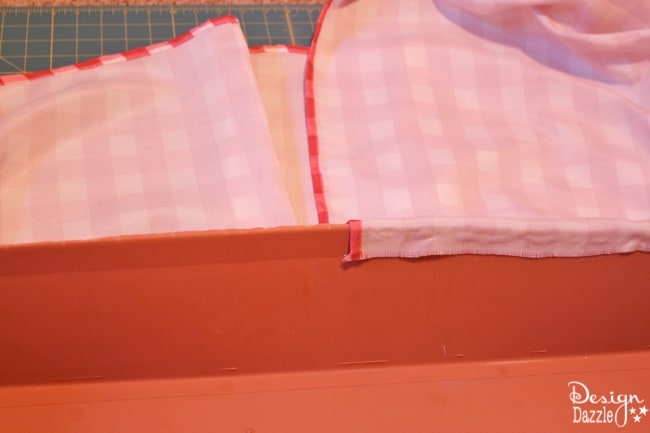
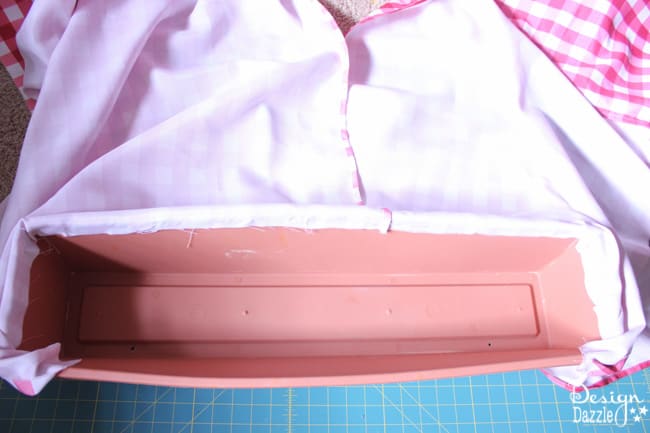
    The no-sew diy valance made from a plastic window box. Use a glue gun and a table cloth to create a darling valance. Design Dazzle

    The no-sew diy valance made from a plastic window box. Use a glue gun and a table cloth to create a darling valance. Design Dazzle

    The last step is to attach the valance to the corner brackets already in place on your wall with some screws and nuts. Place the screw in the top of the bracket, place the screw through the top of the valance, then fasten it with a nut from the inside of the valance. Repeat with the second bracket and you’re done!
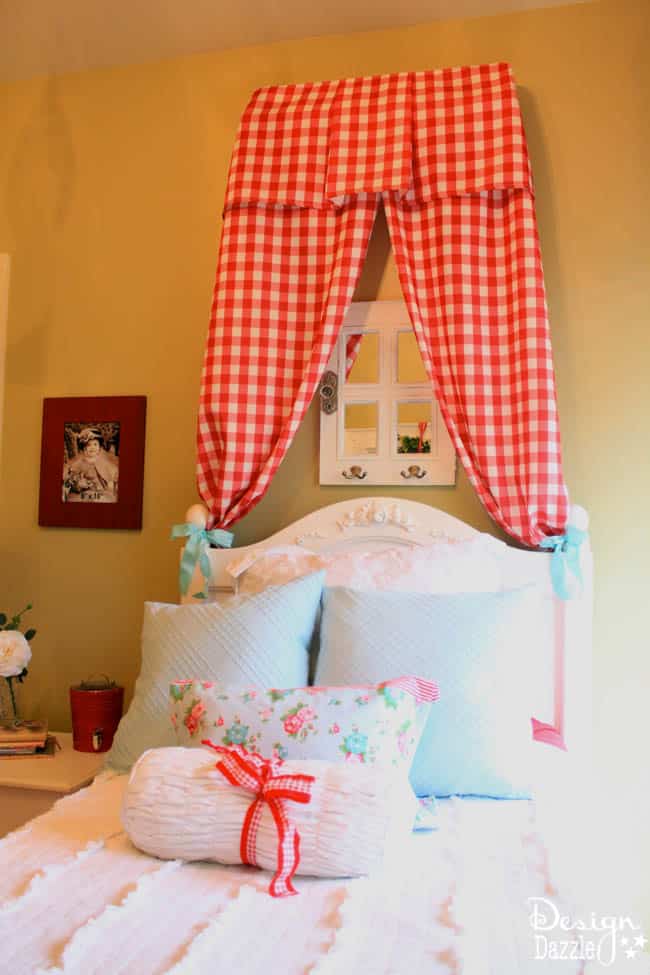
    The no-sew diy valance made from a plastic window box. Use a glue gun and a table cloth to create a darling valance. Design Dazzle

    I tied the long sections to the headboard posts with some ribbon that matched the room decor but that is totally optional! I hope you love this easy DIY  valance created from a plastic flower box!

    signature_toni.jpg

    More Crafts

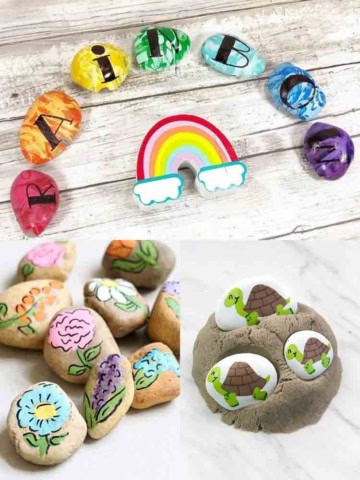
    • Creative Ways to Paint Rocks
      20 Creative Ways For Painting Rocks
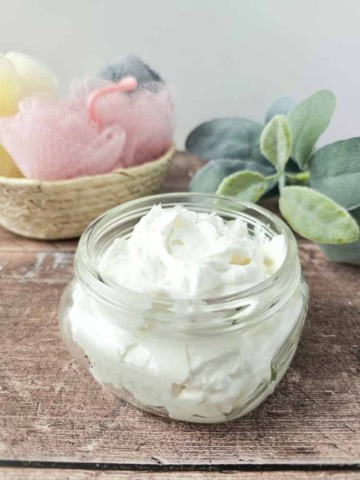
    • Energetic Whipped Grapefruit Body Butter
      Whipped Body Butter Recipe
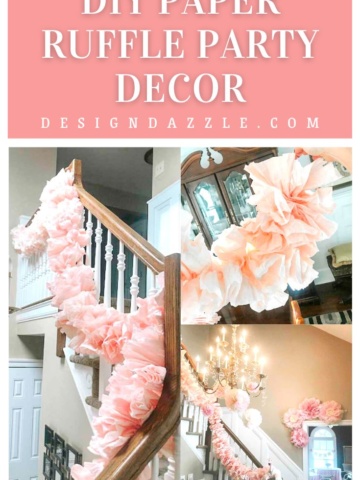
    • DIY Paper Ruffle Party Decor made with paper towels!
      Easy DIY Paper Ruffle Party Decor
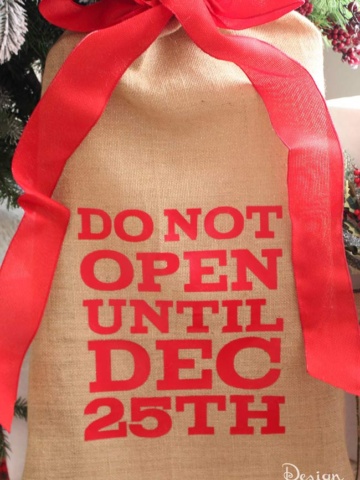
    • Holiday Santa Sack
      Santa Sack: Do Not Open Until December 25th

    Sharing is caring!

    Reader Interactions

    Leave a Reply Cancel reply

    Your email address will not be published. Required fields are marked *

    Recipe Rating


    Primary Sidebar

    Toni medium

    Hi, I’m Toni! I love designing and decorating. Join me for home inspiration and creative living! More about me →

    Popular

    Spring/Easter

    • Setting an Easter Table
      Decorating An Easter Table
    • elegant recipes with rose
      Rose Petal Sweets
    • IMG 9043
      Simple Easter Table Decor
    • Edible Bunny Box with candy inside. - Design Dazzle
      It’s An Adorable, Edible Easter Bunny! D-I-Y

    Footer

    ↑ back to top

    About

    • Privacy Policy
    • About Toni

    Contact

    • Contact
    • Press & Partnerships

    Toni Roberts is a participant in the Amazon Services LLC Associates Program, an affiliate advertising program designed to provide a means for sites to earn advertising fees by advertising and linking to amazon.com

    DesignDazzle.com is protected by copyright laws. DO NOT distribute or copy the content or share multiple images or collage images without written permission. You can use ONE Design Dazzle image only if there is a link back to DesignDazzle.com. DO NOT edit, crop, or remove watermarks from any image. Please contact me at [email protected] with any questions.

    Copyright © 2024 Design Dazzle