

Hello Christmas lovers! Christie Troxell from Ritzy Parties here. It’s so awesome to celebrate another year of fun Christmas decor and craft ideas with you!
Vintage Charm at Christmas Time
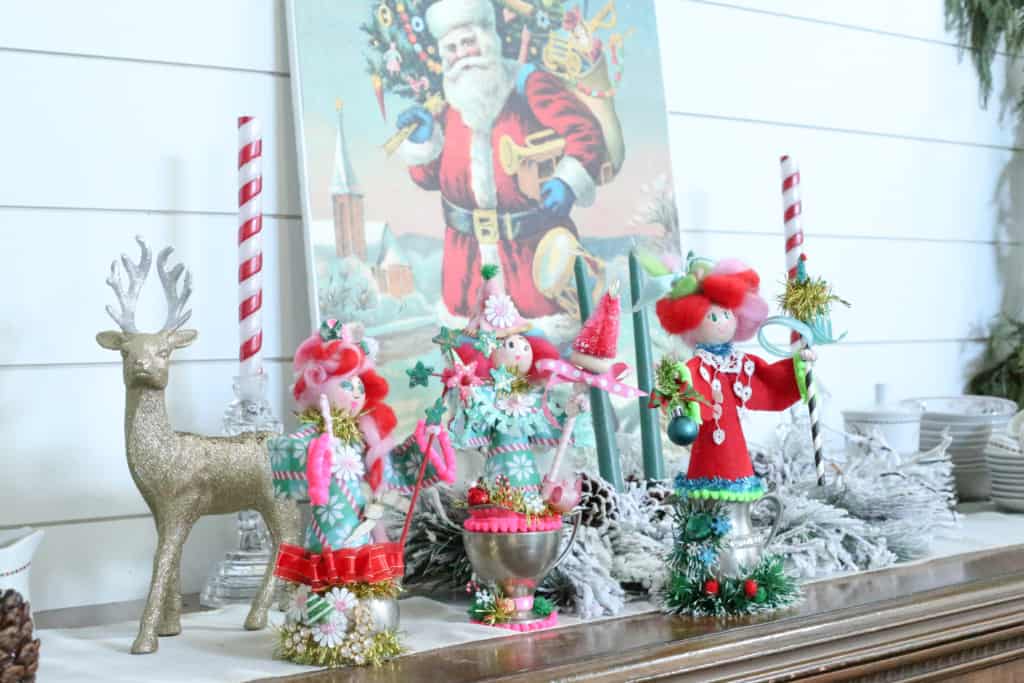
I just love whimsical Vintage Christmas Cone Dolls. Truly, they are one of my all-time favorite handmade Christmas crafts. Cone dolls are as delightful to make as they are to give. Also, I love that they make very unique Christmas gifts! Over the fall season, I learned how to make these cute dolls from Ami Negron of Ami’s Rock N’ Pop Shop, and I thought it would be fun to make one in my own style for Christmas and share it with you!
Head to the Thrift Stores and Shop Your Own Cupboards
One holiday pastime I love is checking out thrift stores and flea markets. It’s fun to pick up little containers like vintage teacups and silver sets. Later, they turn into things like this! For this craft I paired a few with basic craft supplies and loads of sparkly, fun Christmas trimmings. Each kitschy little Christmas cone doll is a totally one-of-a-kind creation that will be cherished by the recipient for years to come.
Gather Christmas Trimmings and Treasures
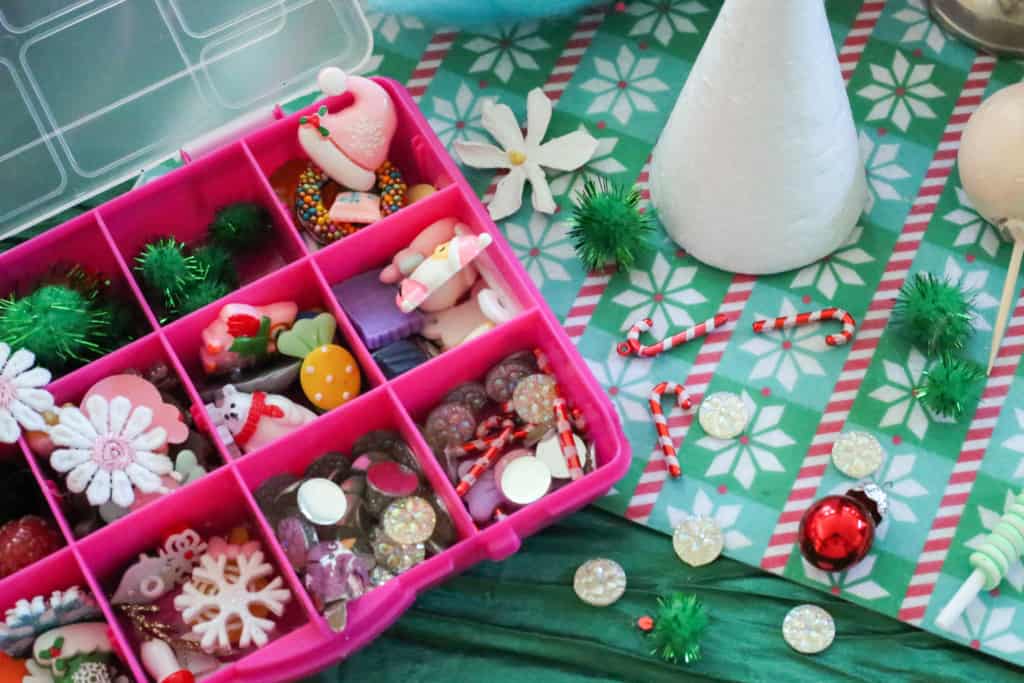
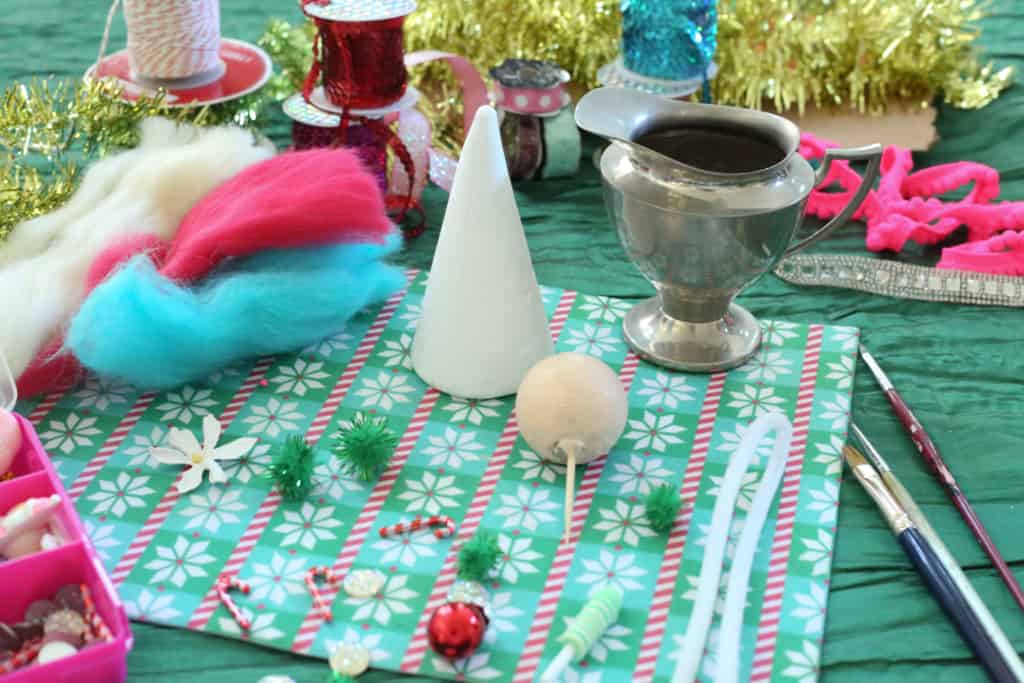
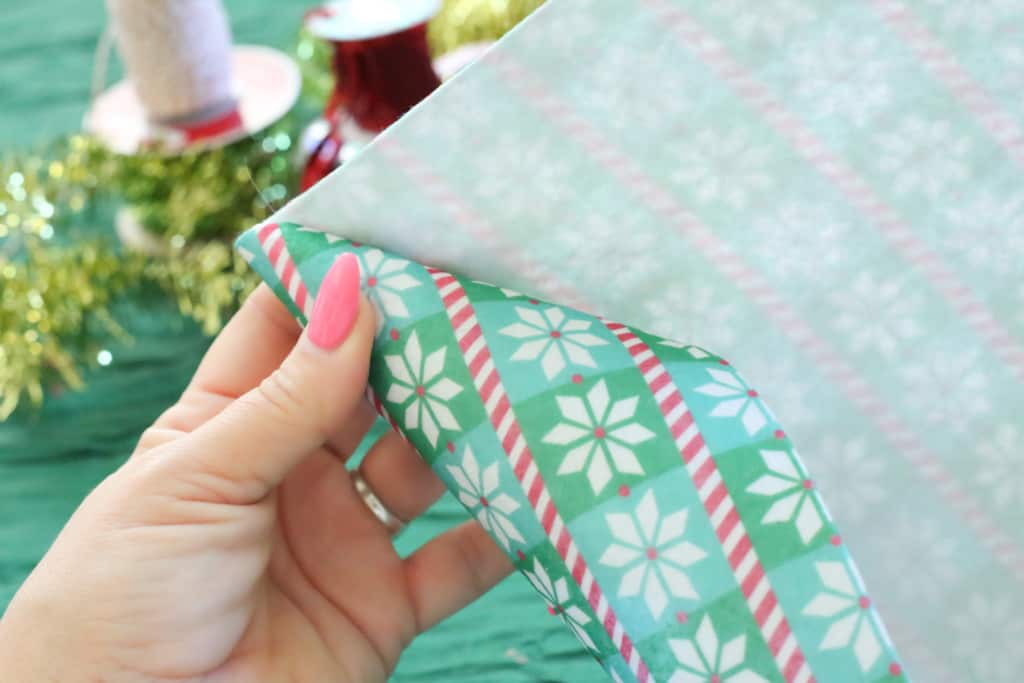
First, I gathered up some favorite supplies, including patterned or solid felt sheets, a styrofoam or cardboard cone for the cone doll body, a paper mache or wood ball for the head, and a chenille stem to create the arms. I like to wrap mine in baker’s twine. Also needed, a hot glue gun, scissors and all my favorite trimmings, as well as something to make the hair for the doll. For this one, I used mixed colors of brightly dyed wool roving that I had in my craft stash. Last, I collected together some craft paint and a few detail brushes to create the doll’s face.
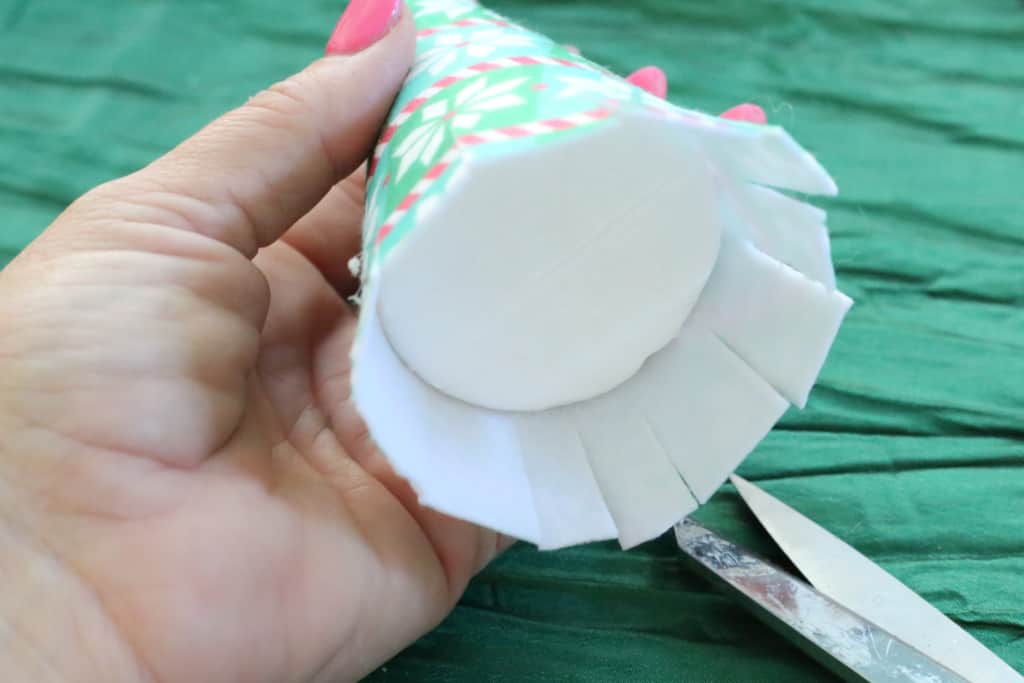
To begin, I wrapped the cone in felt and glue in place.
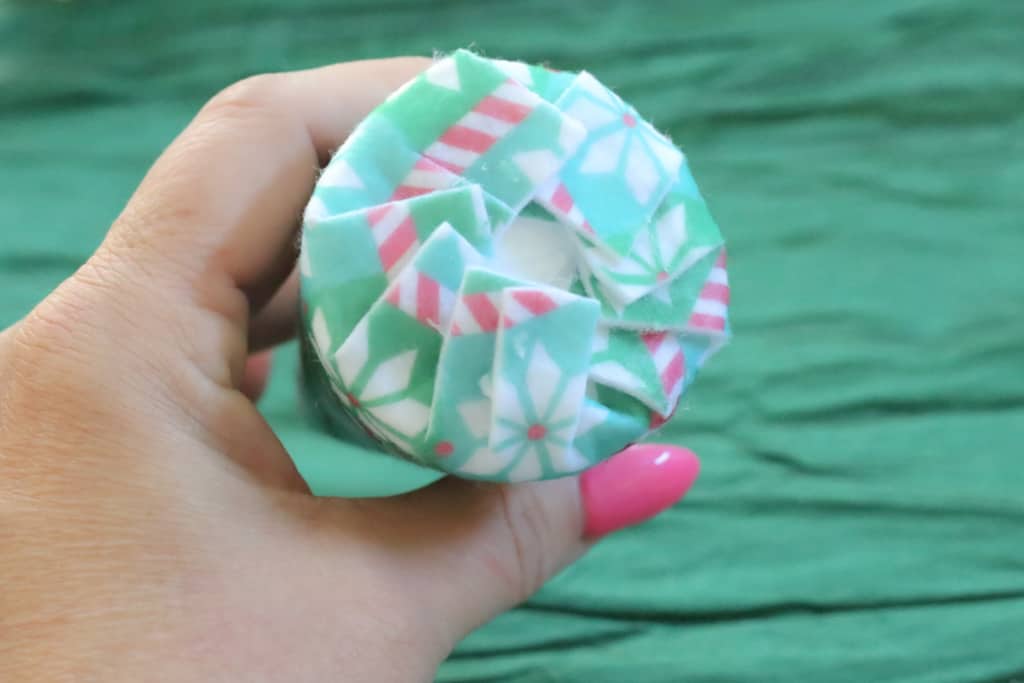
After that glue was set, I trimmed the bottom as shown so that the flaps could be glued down to create a clean edge.
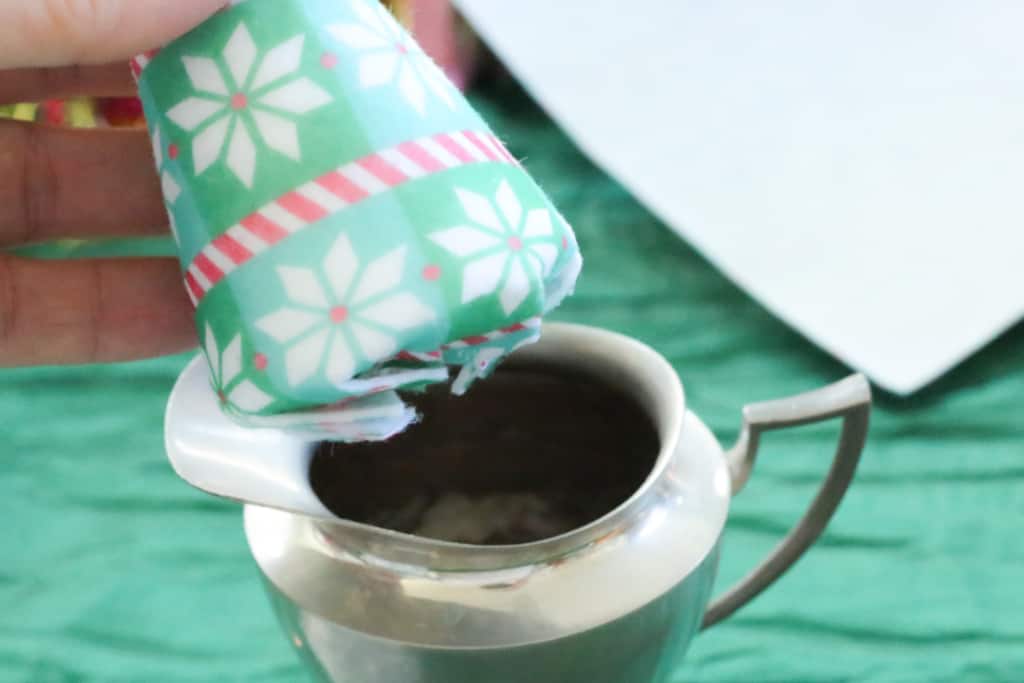
Next, I glued the entire cone bottom into an appropriately sized item like a teacup, creamer or sugar bowl. I found this cute little curvy cream pitcher at a thrift store for about two dollars. I think it’s a very charming base for my kitschy Christmas doll, don’t you?
Let’s Give Her a Hand
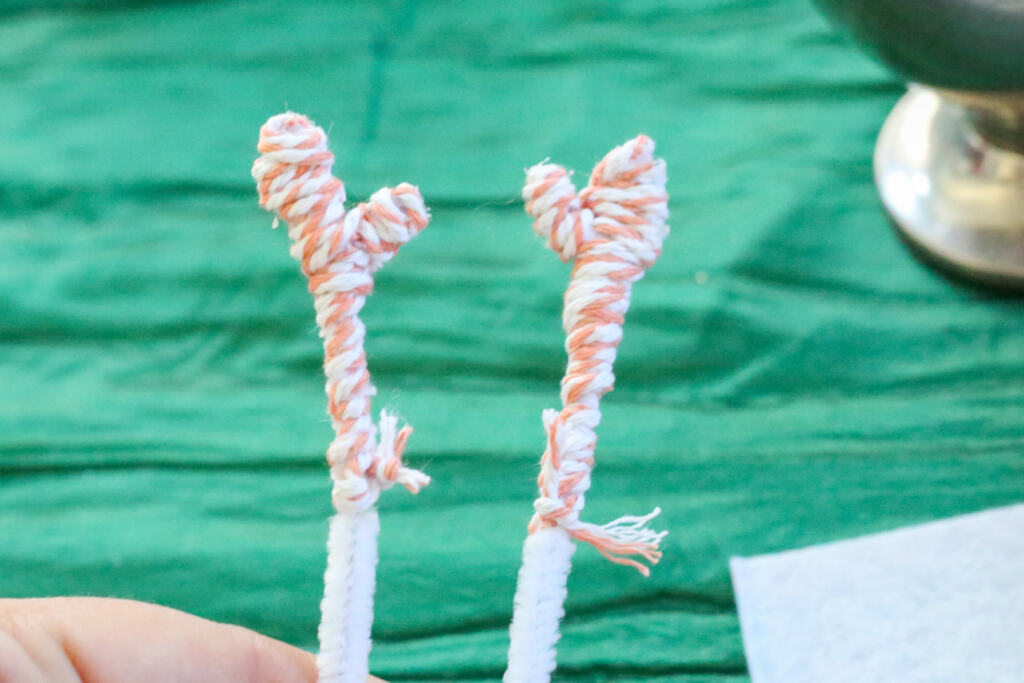
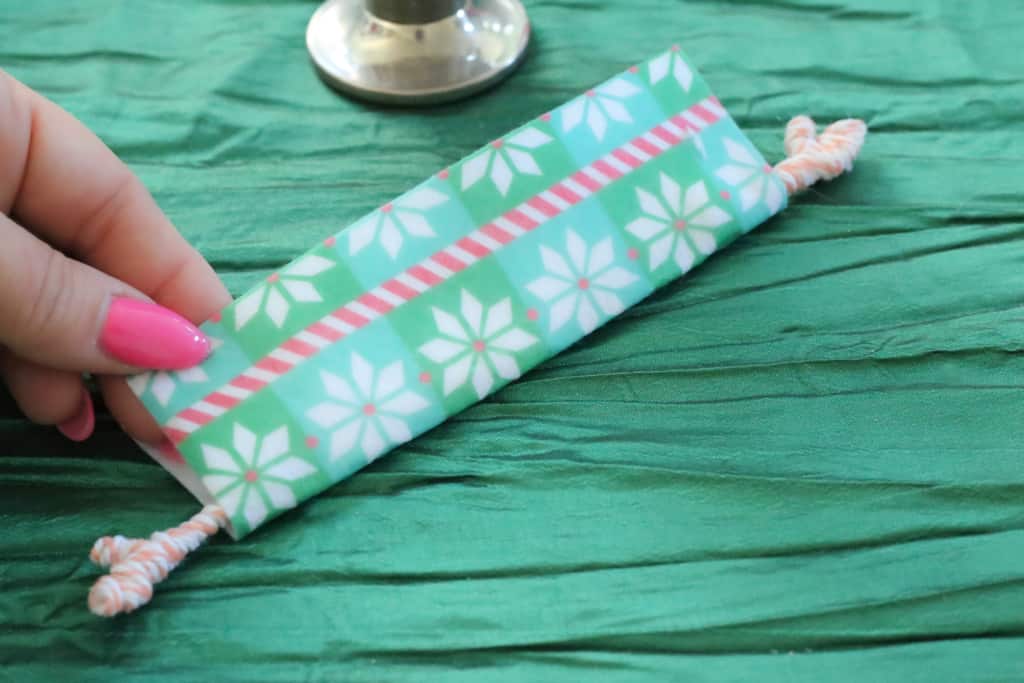
In the next step, I used the chenille stem to create two little “hands”. I wrapped these with peach striped baker’s twine. It’s great how these cute little hands make it possible for the cone doll to hold items when we reach the decorating stage.
Once those were done, I placed the chenille stem in the center of a strip of felt about six inches by three and a half inches. It will really depend on the size of your cone and how long you want the doll’s arms to be. Try out a few folds before you trim to the size you like best.
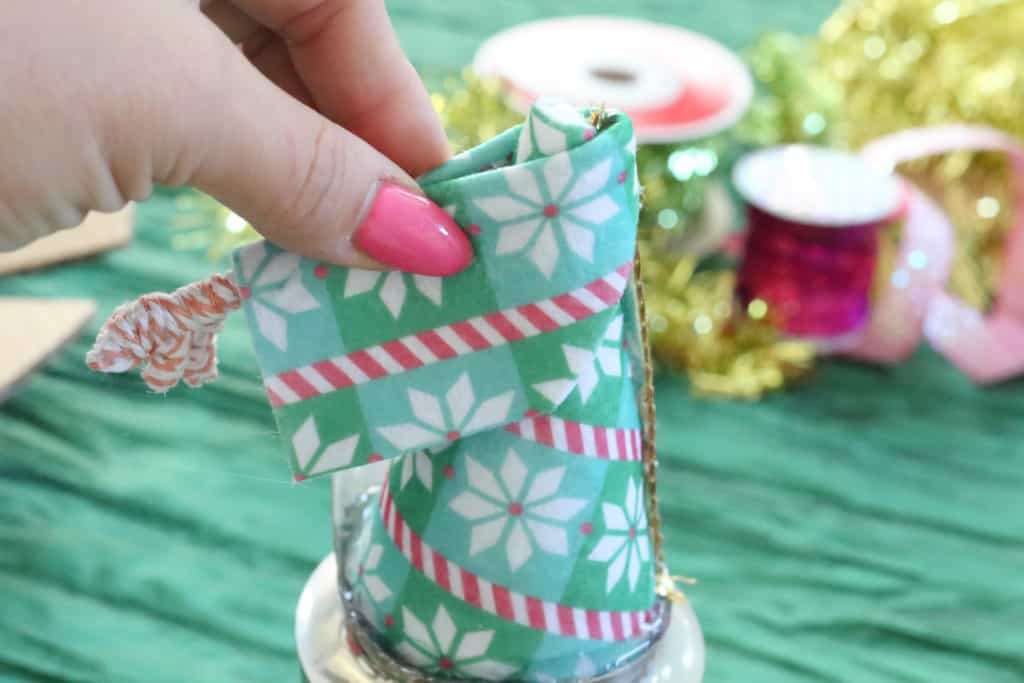
To help it fit and for a clean look, I added a notch in the back as shown. I then glued the arms to the shoulders of the doll body, taking care not to cover the tip of the cone. You can hold the arms together as shown until the glue sets.
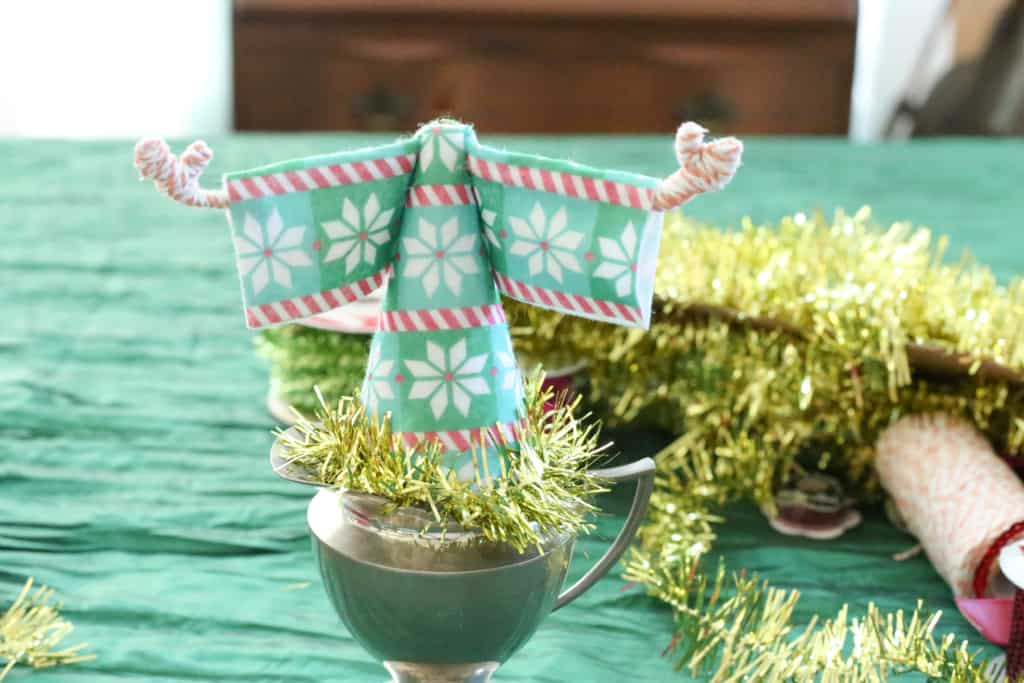
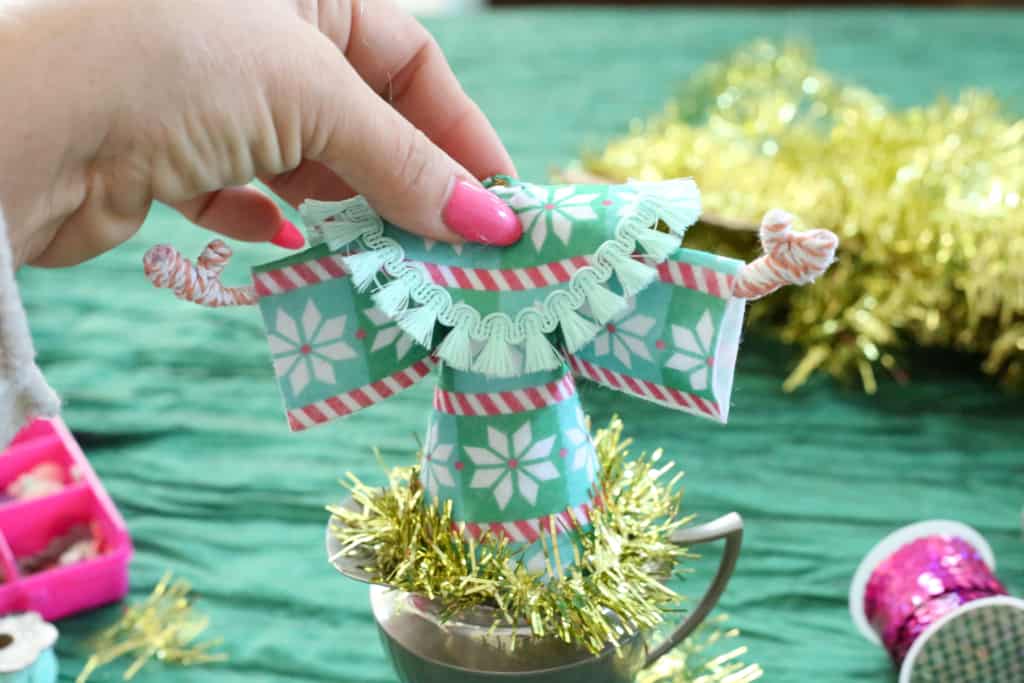
You’ll then have a complete body with arms, like this one. I made a little capelet to add to the top of mine by cutting an oval and adding a center hold to fit over the neck.
Put on a Happy Face
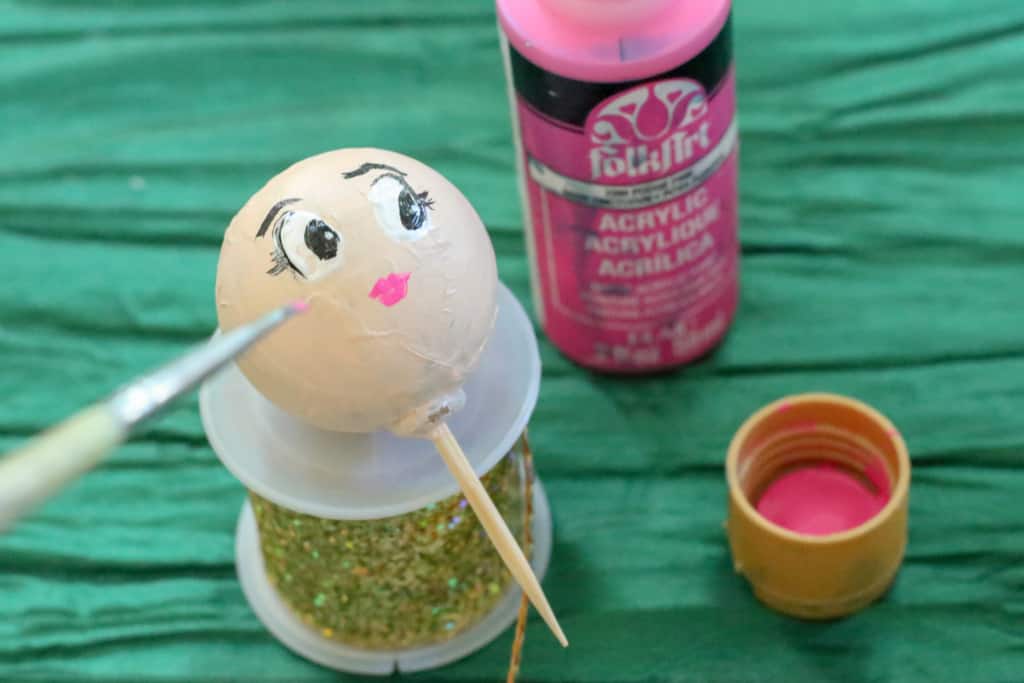
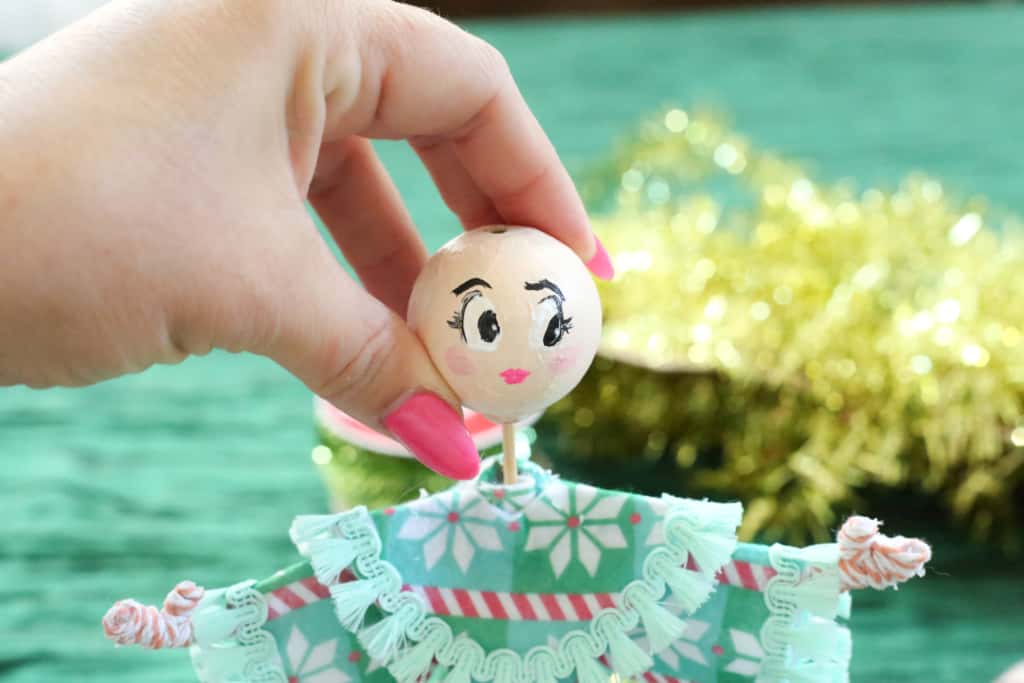
Now it’s time to paint the face for your cute Christmas doll. You can paint the face in any style you like, you can also use vintage doll heads or make a head from clay or papier mache. My doll head was made from a hollow papier mache ball painted peach. Paint on your own details like eyes and eyebrows, cheeks, eyelashes and lips in red or pink. You can also use felt pieces or google eyes if you prefer.
Next, I attached the head using a wood pick. Dot some hot glue onto the tip of the styrofoam cone before sinking it down to secure.
All Dressed in Her Christmas Best
It was lots of fun to add hair using yarn, felt or wool roving, as I did here! I mixed bright turquoise with pinkish red and ivory to create a wintery swirl of thick braids for my doll. I also crafted her a little santa hat from a scrap of pink velvet ribbon and trimmed it with a sparkly green pom pom and gold slub sequins.
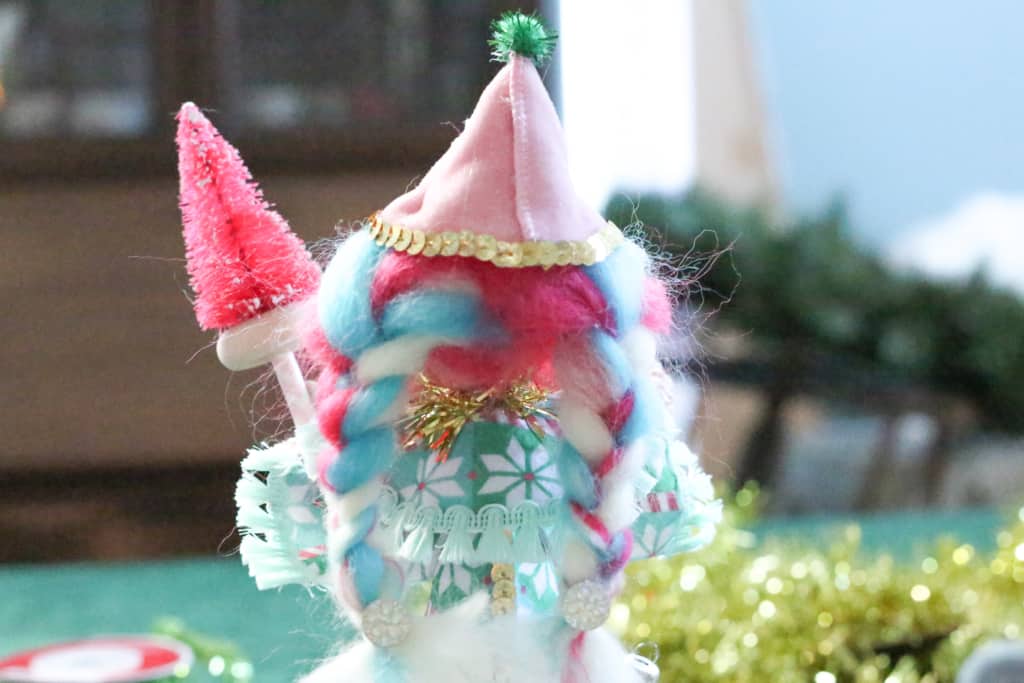
You can place a Christmas tree scepter in your dolls hand, or any other fun items you can dream up! This one is made from a paper straw fitted with a wood circle and a small flocked red bottlebrush tree. Trim the base of your project and all parts of the doll with your favorite trims and embellishments. I loved digging into rolls of tinsel, ribbon, Christmas buttons and old junk jewelry stashes. All are perfect items to incorporate into a fun Christmas cone doll design.

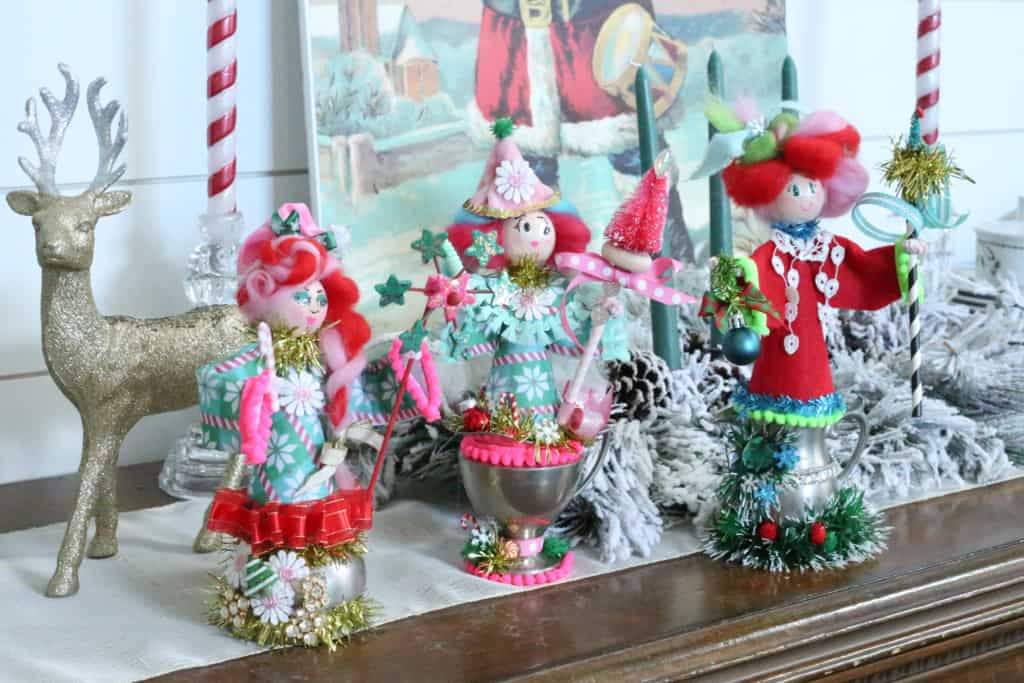
Bet You Can’t Make Just One!
Once you get started, I think you’ll find it’s hard to make just one! You’ll definitely get a case of the holly-jollies when you give this fun and simple Christmas craft a try. I hope you had fun seeing how to create a fun Christmas cone doll. Merry Christmas Wonderful from Ritzy Parties, and happy holiday crafting!
Be sure to check out our other wonderful Christmas crafts and ideas here!


Leave a Reply