Hi Design Dazzle peeps! I am absolutely thrilled to be here today to participate in Toni’s Christmas Wonderful this year! We love Christmas at our house and start blaring Christmas music as soon as Tday is over!
I am a wife and mother and I blog over at Simply Designing about DIY, crafts, design, decor and occasionally recipes. If you have a moment I’d love for you to stop by!
Today I am thrilled to share a really fun and simple tutorial to help you add a bit of Christmas Wonderful to your own home! I am going to show you how to make Shabby Ruffle Burlap Christmas Trees.
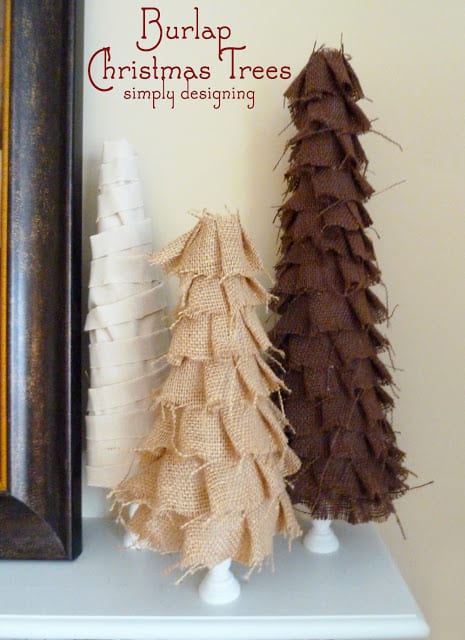
To make Burlap Ruffle Trees, you will need:
- styrofoam cones
- candlesticks
- burlap
- hot glue gun (low temp)
- E6000
- paint
- foam brush
- fabric scissors
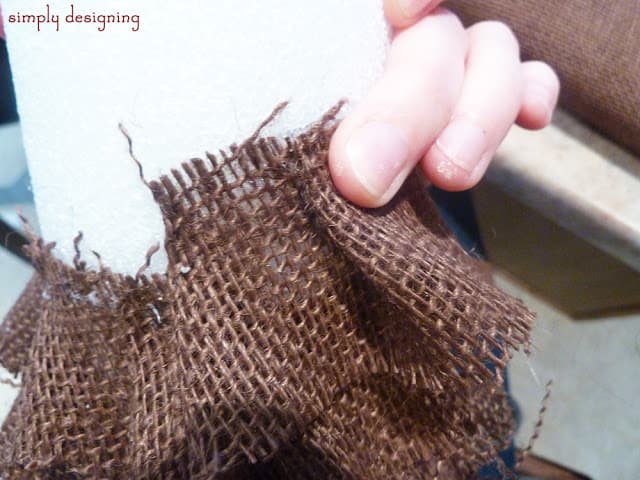
First, cover the top of your styrofoam cone with a bit of burlap. Secure with hot glue.
Cut your burlap into strips and using your hot glue gun, glue it to the styrofoam cone. Start at the bottom and work your way towards the top, folding ruffles as you go.
Paint your candlestick and attach to the bottom of your tree with E6000 glue.
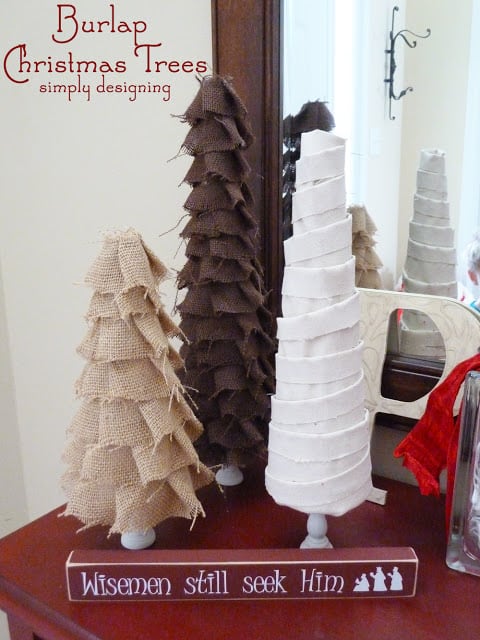
These are so simple to make and they really are so cute! Enjoy your Shabby Ruffle Burlap Christmas Trees!
Oh…and if you are wondering how to make the other tree in these photos, you can check that out here: Pottery Barn Knock-Off Shabby Fabric Christmas Tree.
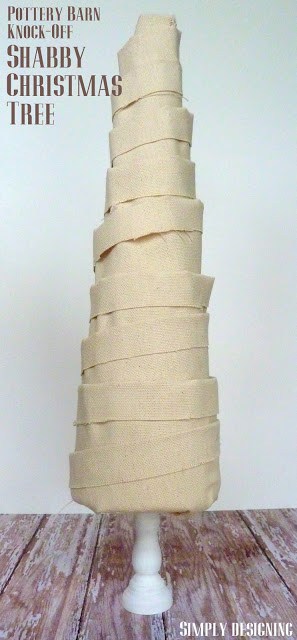
It is also really simple to make and is a great knock-off project too!
You might also like these Christmas projects:



Leave a Reply