Do you have some busy bodies at home that would love a fun craft this Halloween season? This Halloween 3d art is seriously cool! Your kids will be blown away.
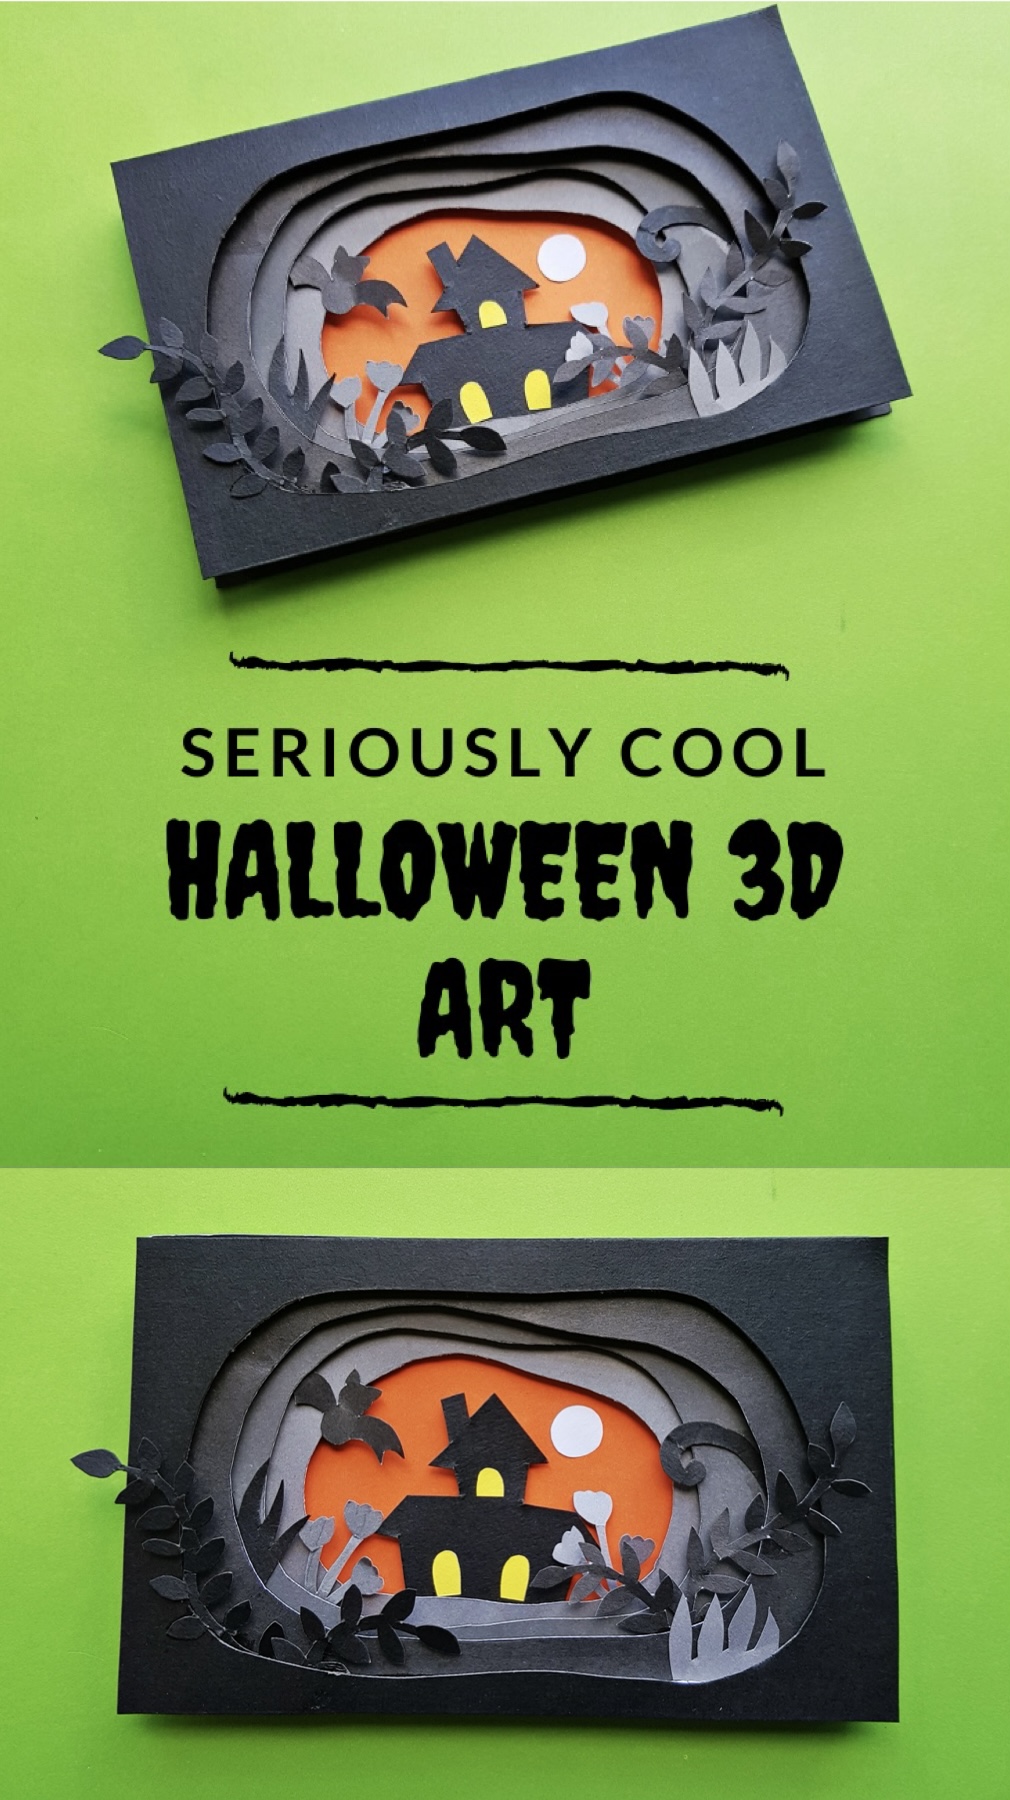
In this post I have detailed step by step how to create this Halloween 3d art. I have also included free printables to help you create this masterpiece. I would love to see how your creations turn out! Tag me on my Instagram when you’re done so I can repost your beuatiul work!
Without further adieu, here are the instructions and supplies that you will need:
List of Supplies:
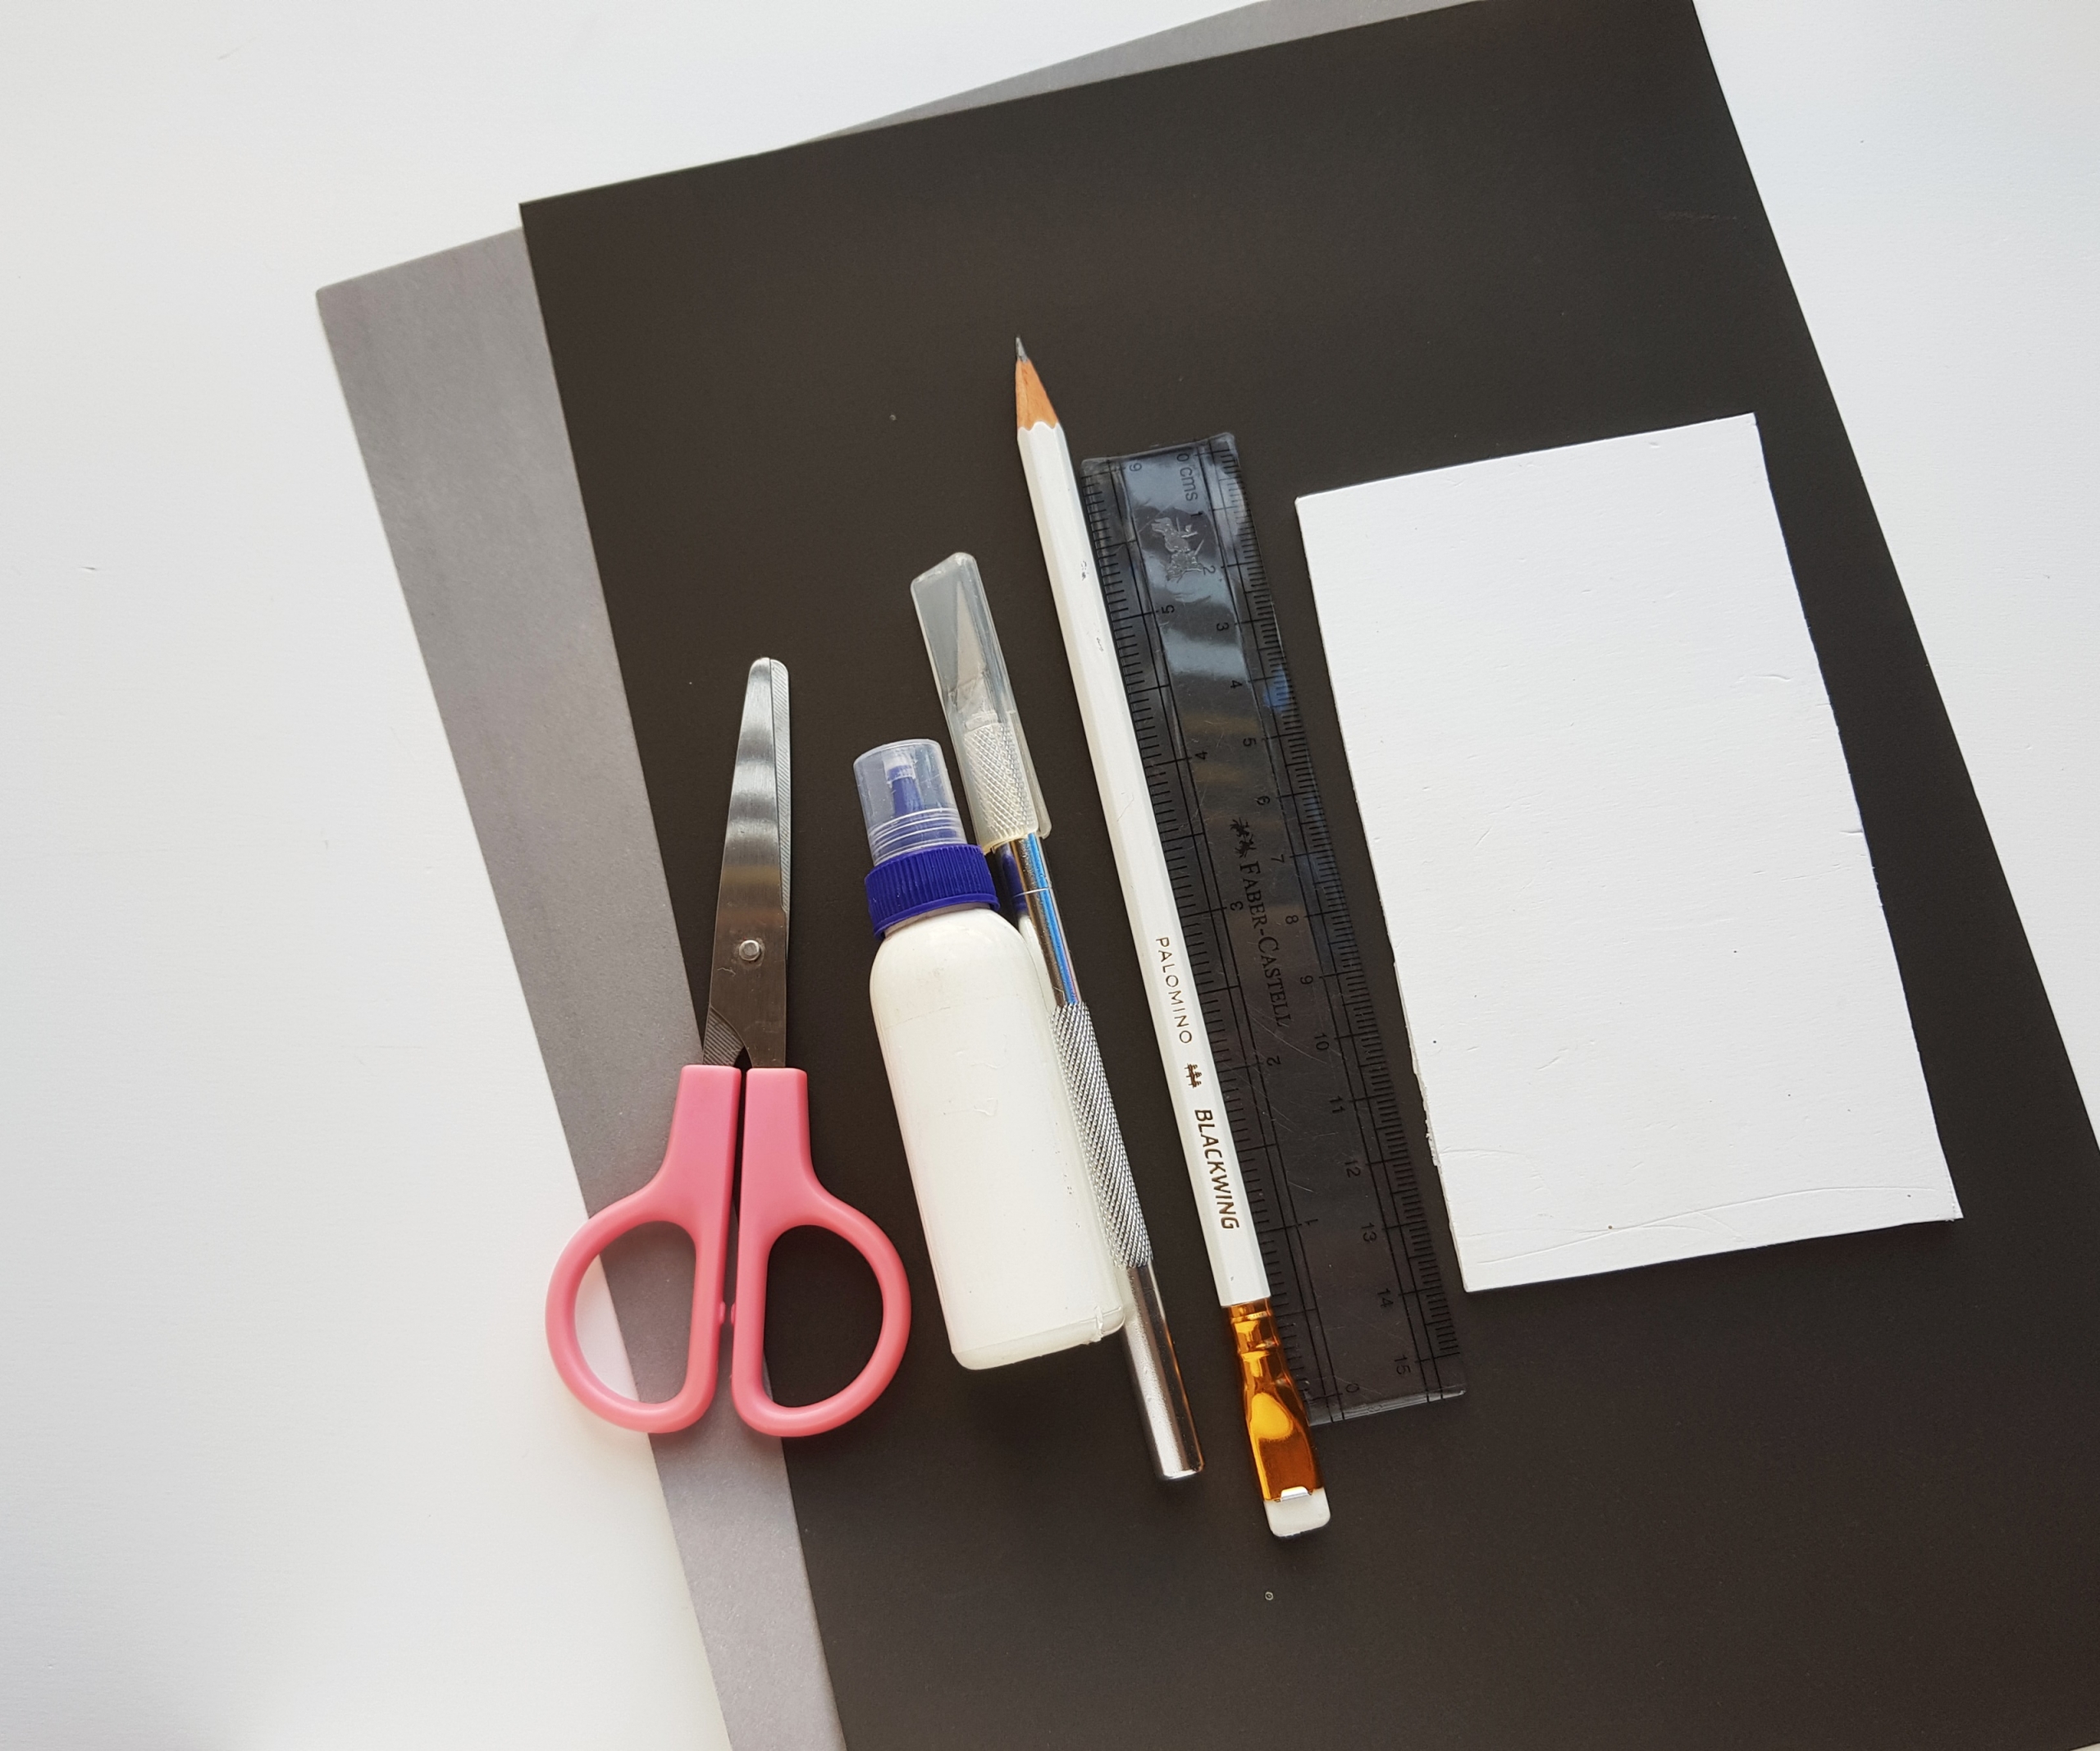
- Colored craft papers
- Pencil
- Scissors
- X-acto knife
- Craft glue
- Craft foam board
Instructions:
Step 1
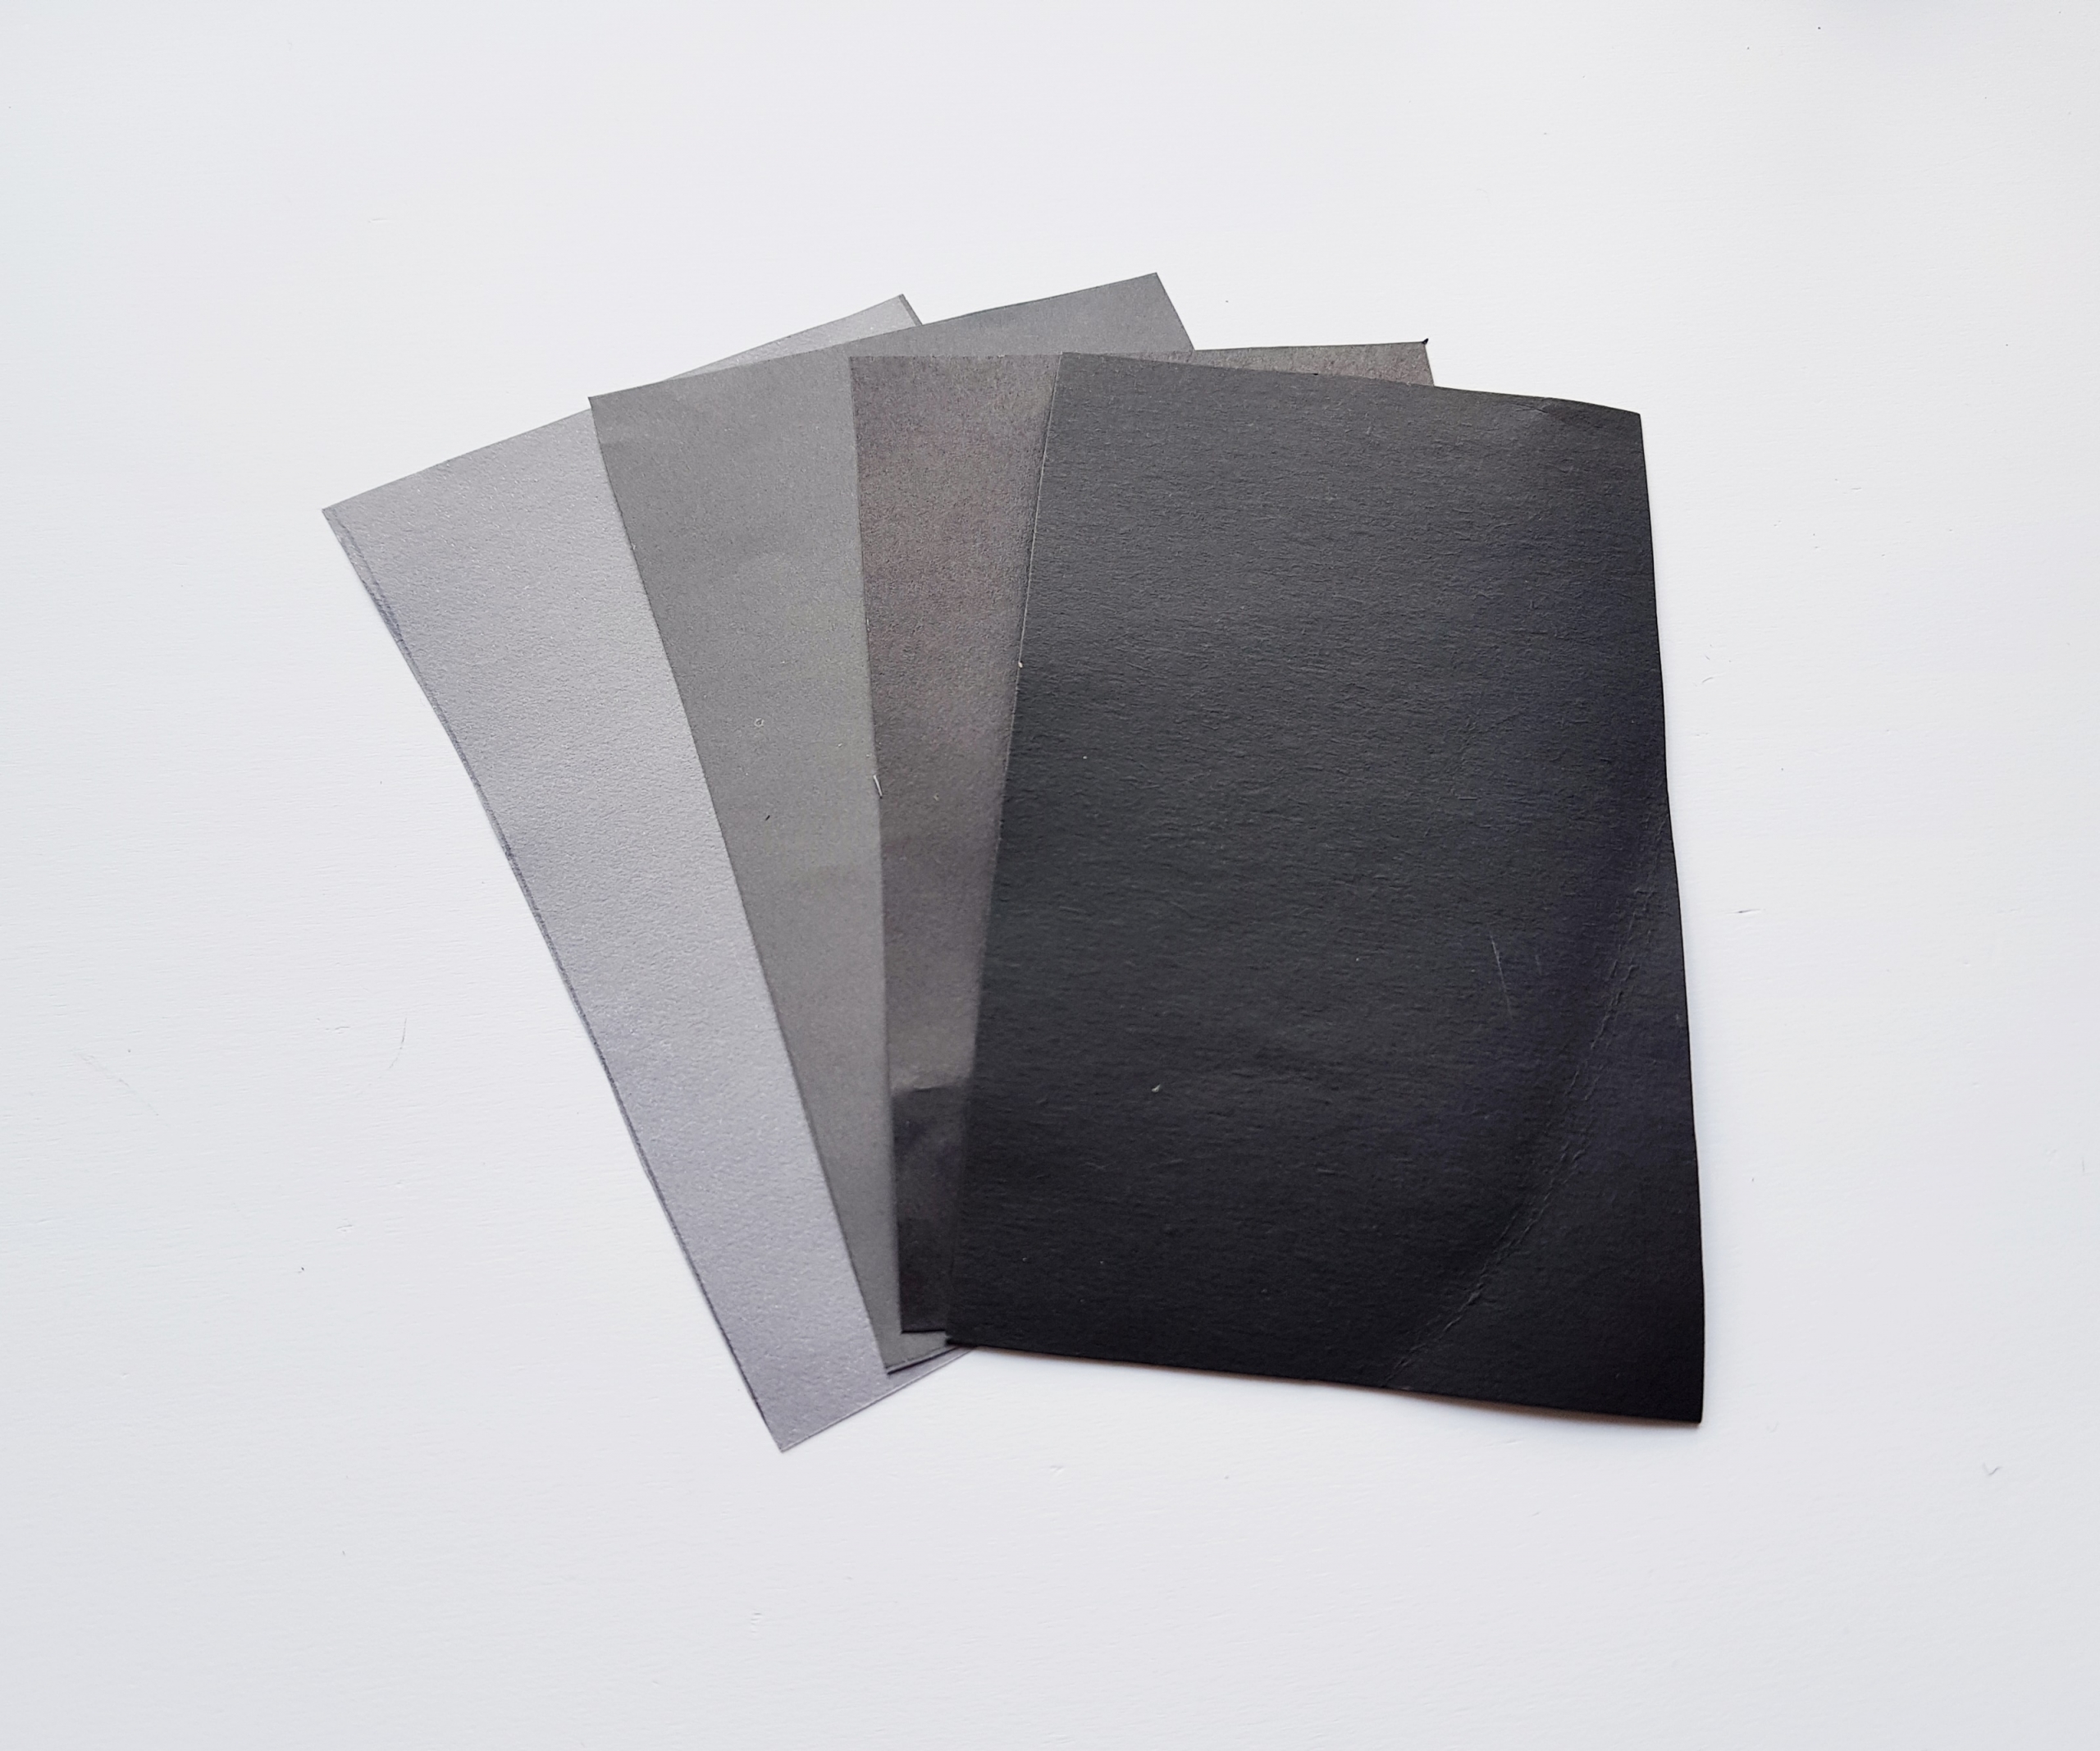
Decide the shades for each layer. I’m using different shades of black and grey craft papers. This 3d art has 4 layers, so you’ll need 4 different shades of papers. Cut all 4 sheets into the same size. I’ve cut the papers into 5.5 inches X 3.5 inches.
Step 2
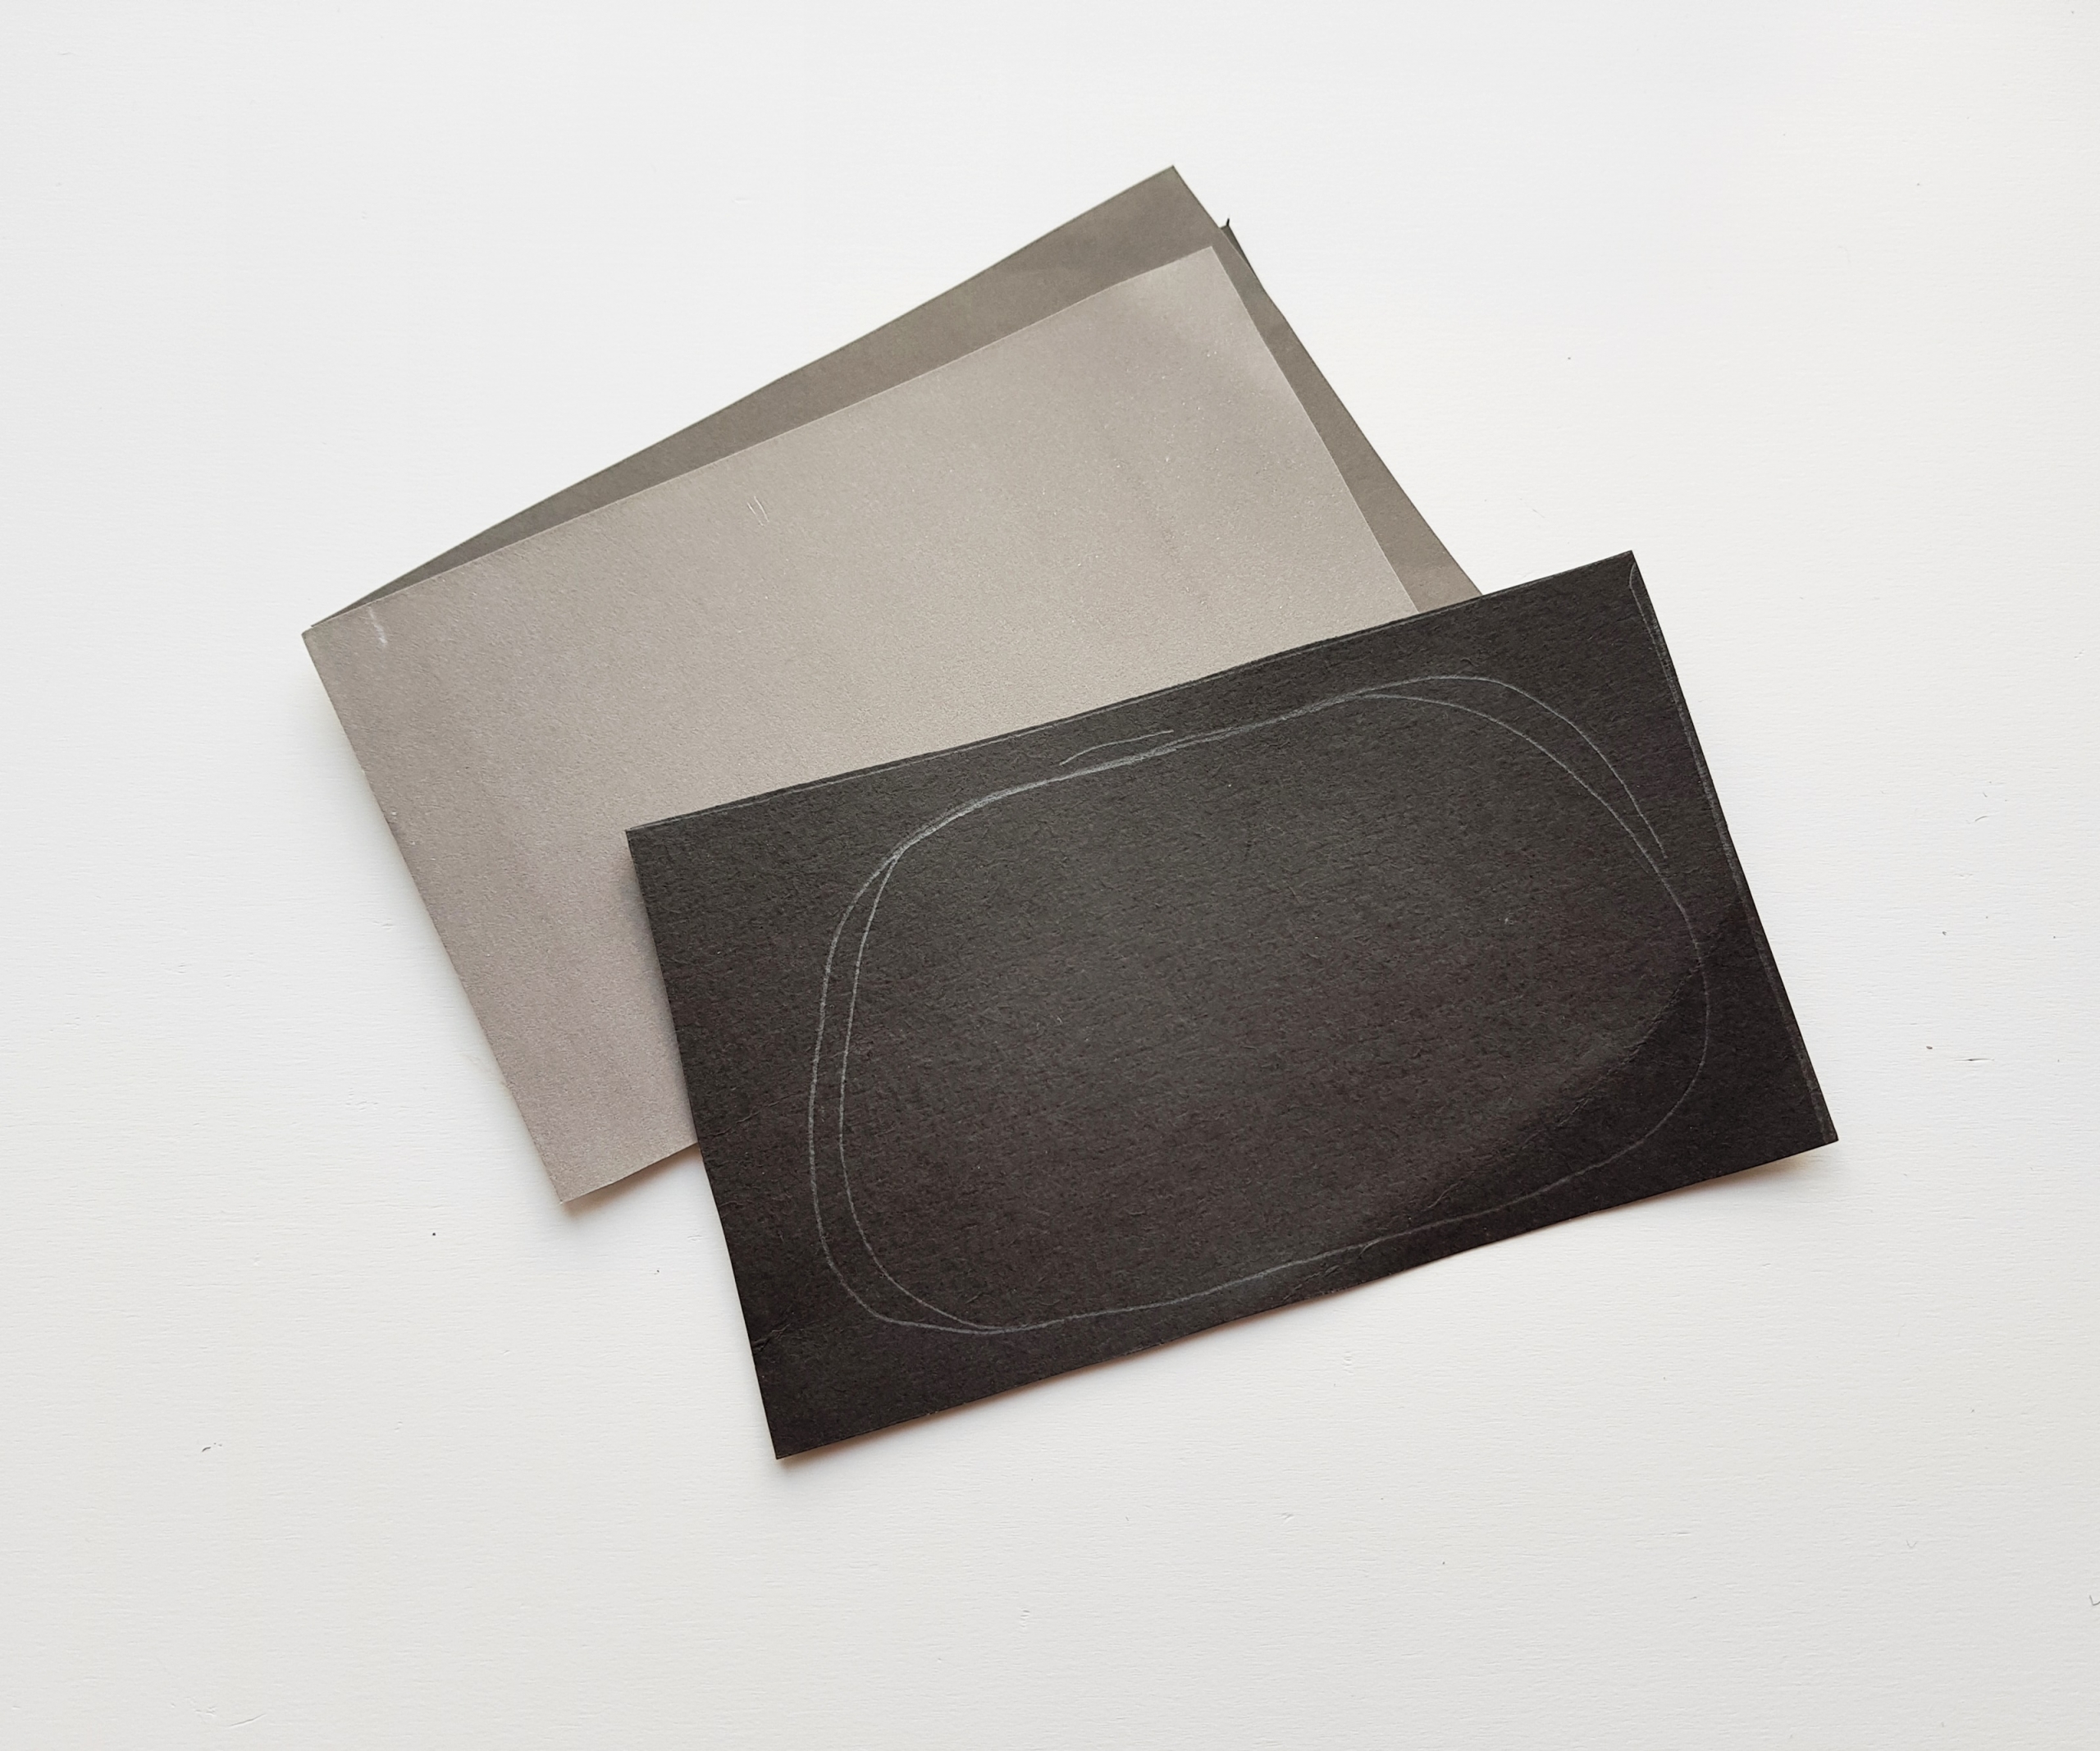
Take the sheet selected for the front layer. Use a pencil to draw the front layer pattern on the sheet from the given template. Or you can simply draw a pattern you want.
Step 3
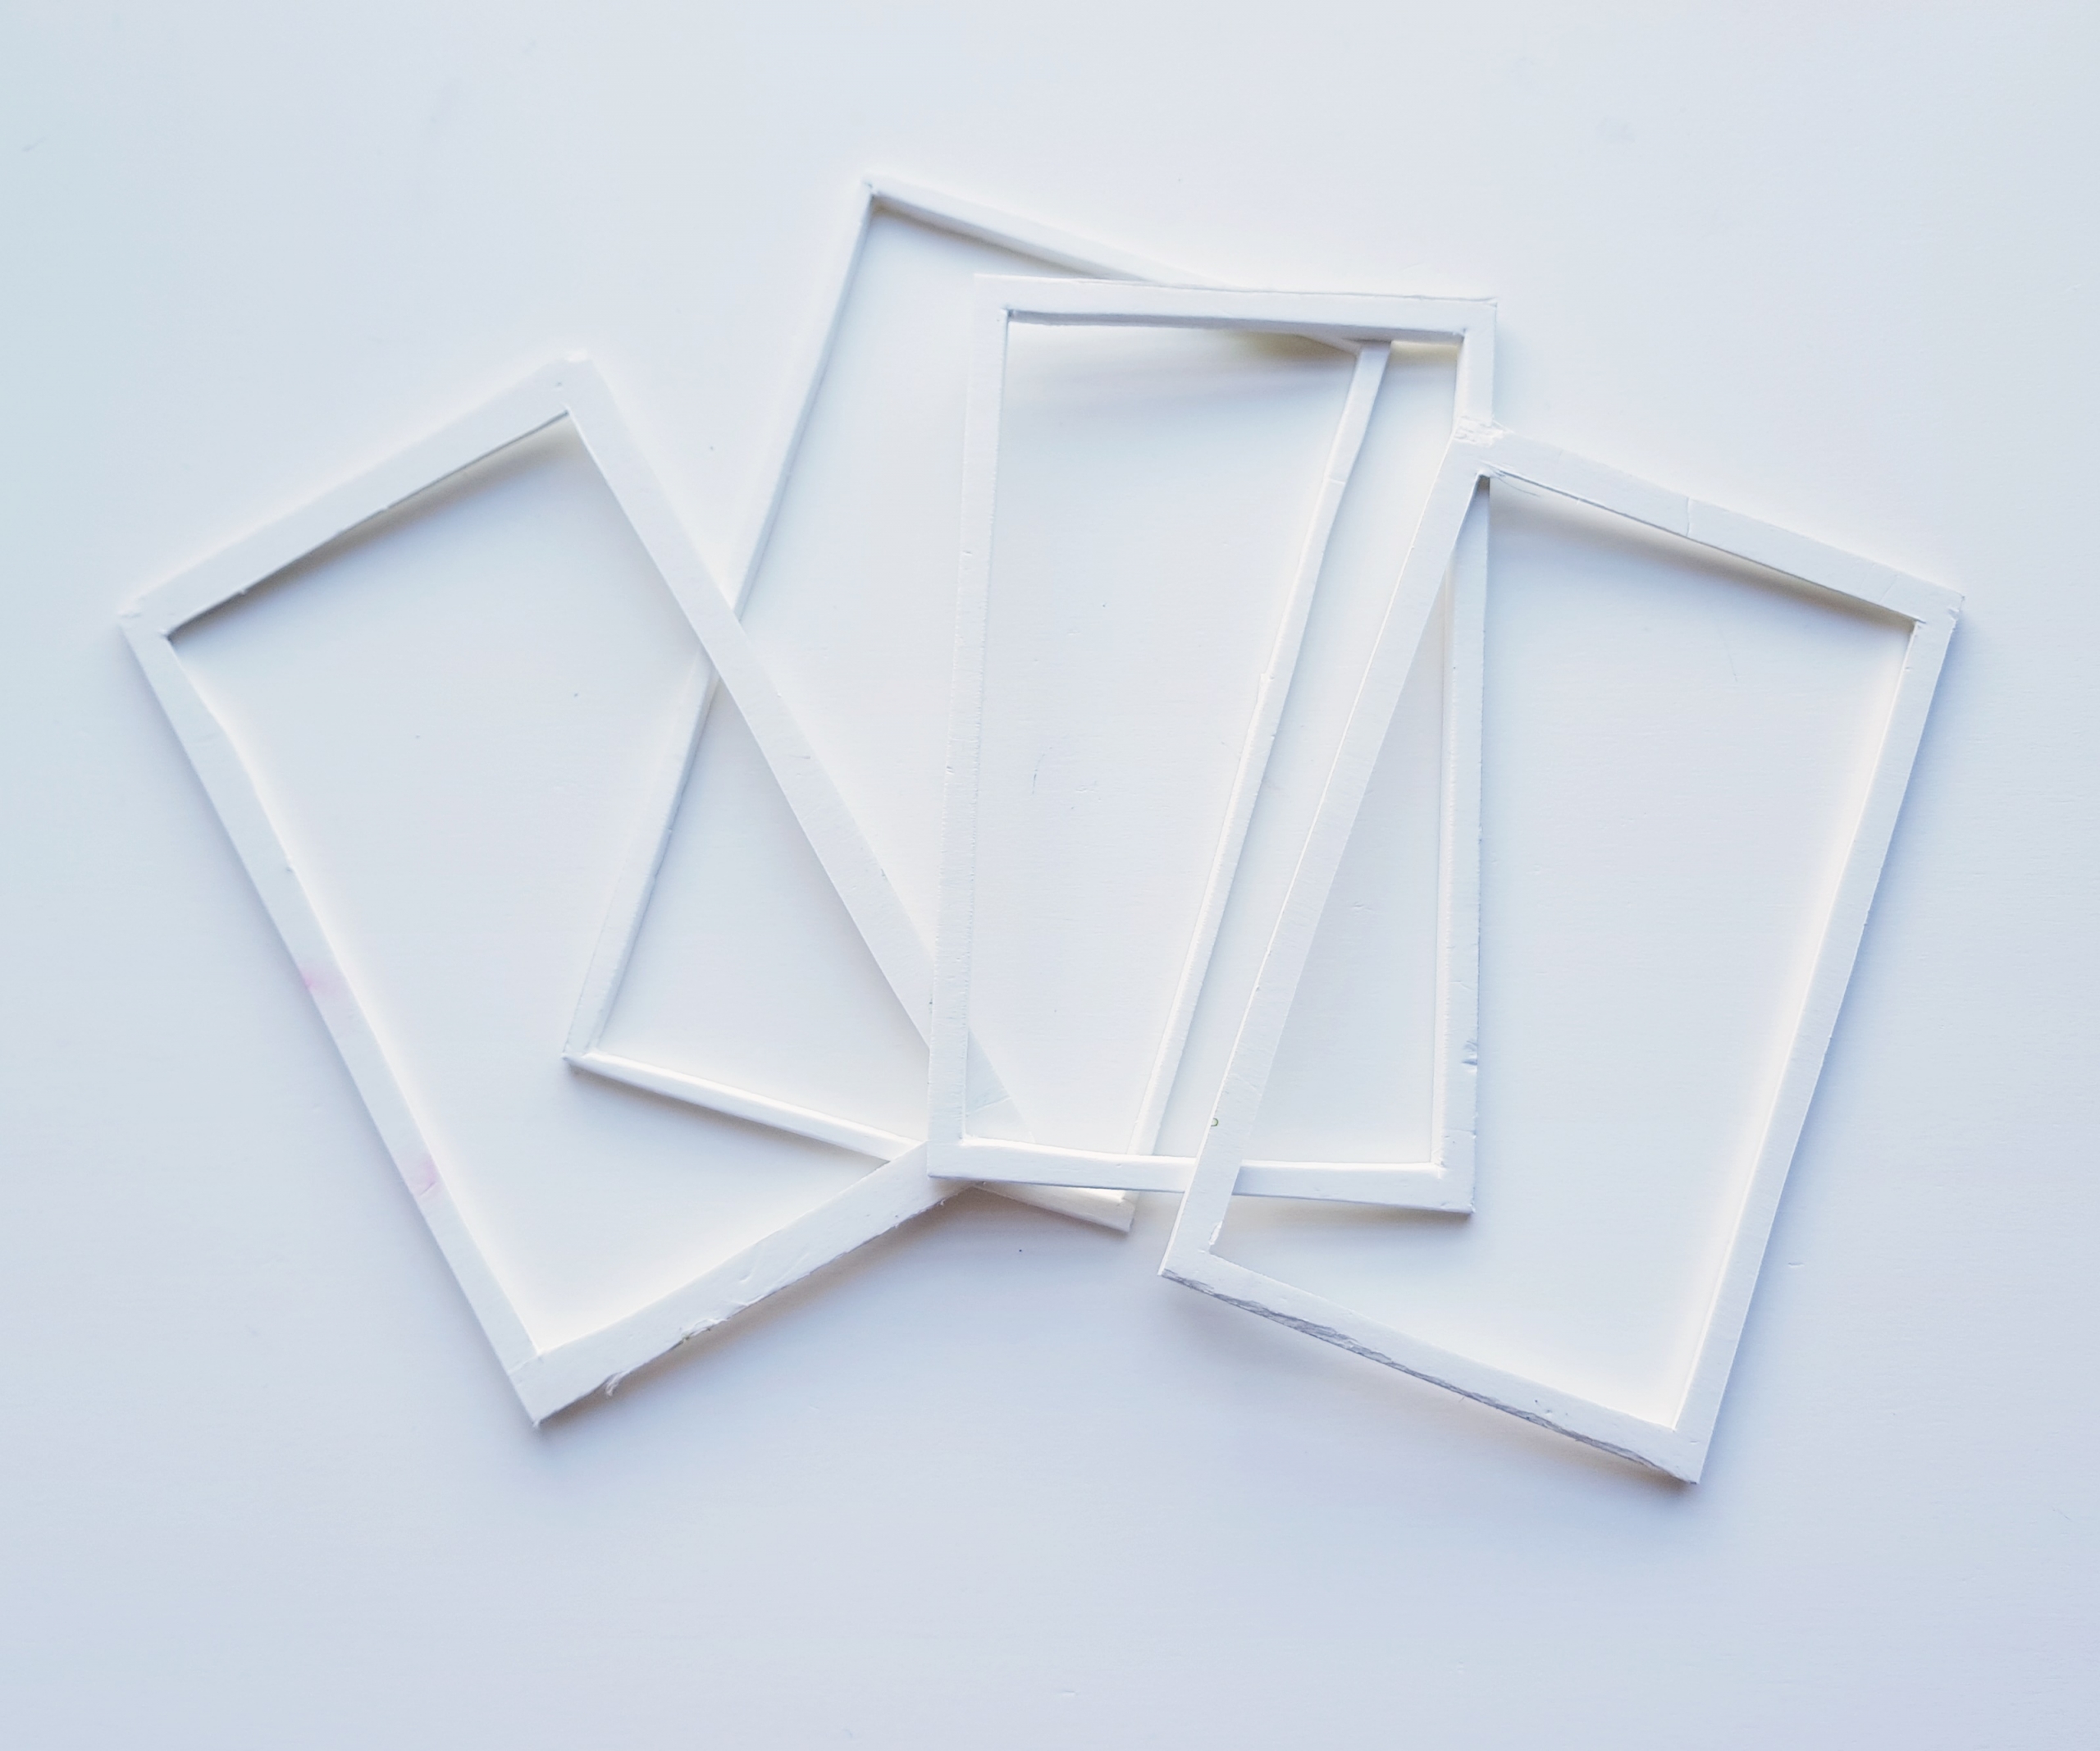
Grab some craft foam board sheets and trace the canvas frame layout on them. We’ll need 4 frames for this art.
Step 5
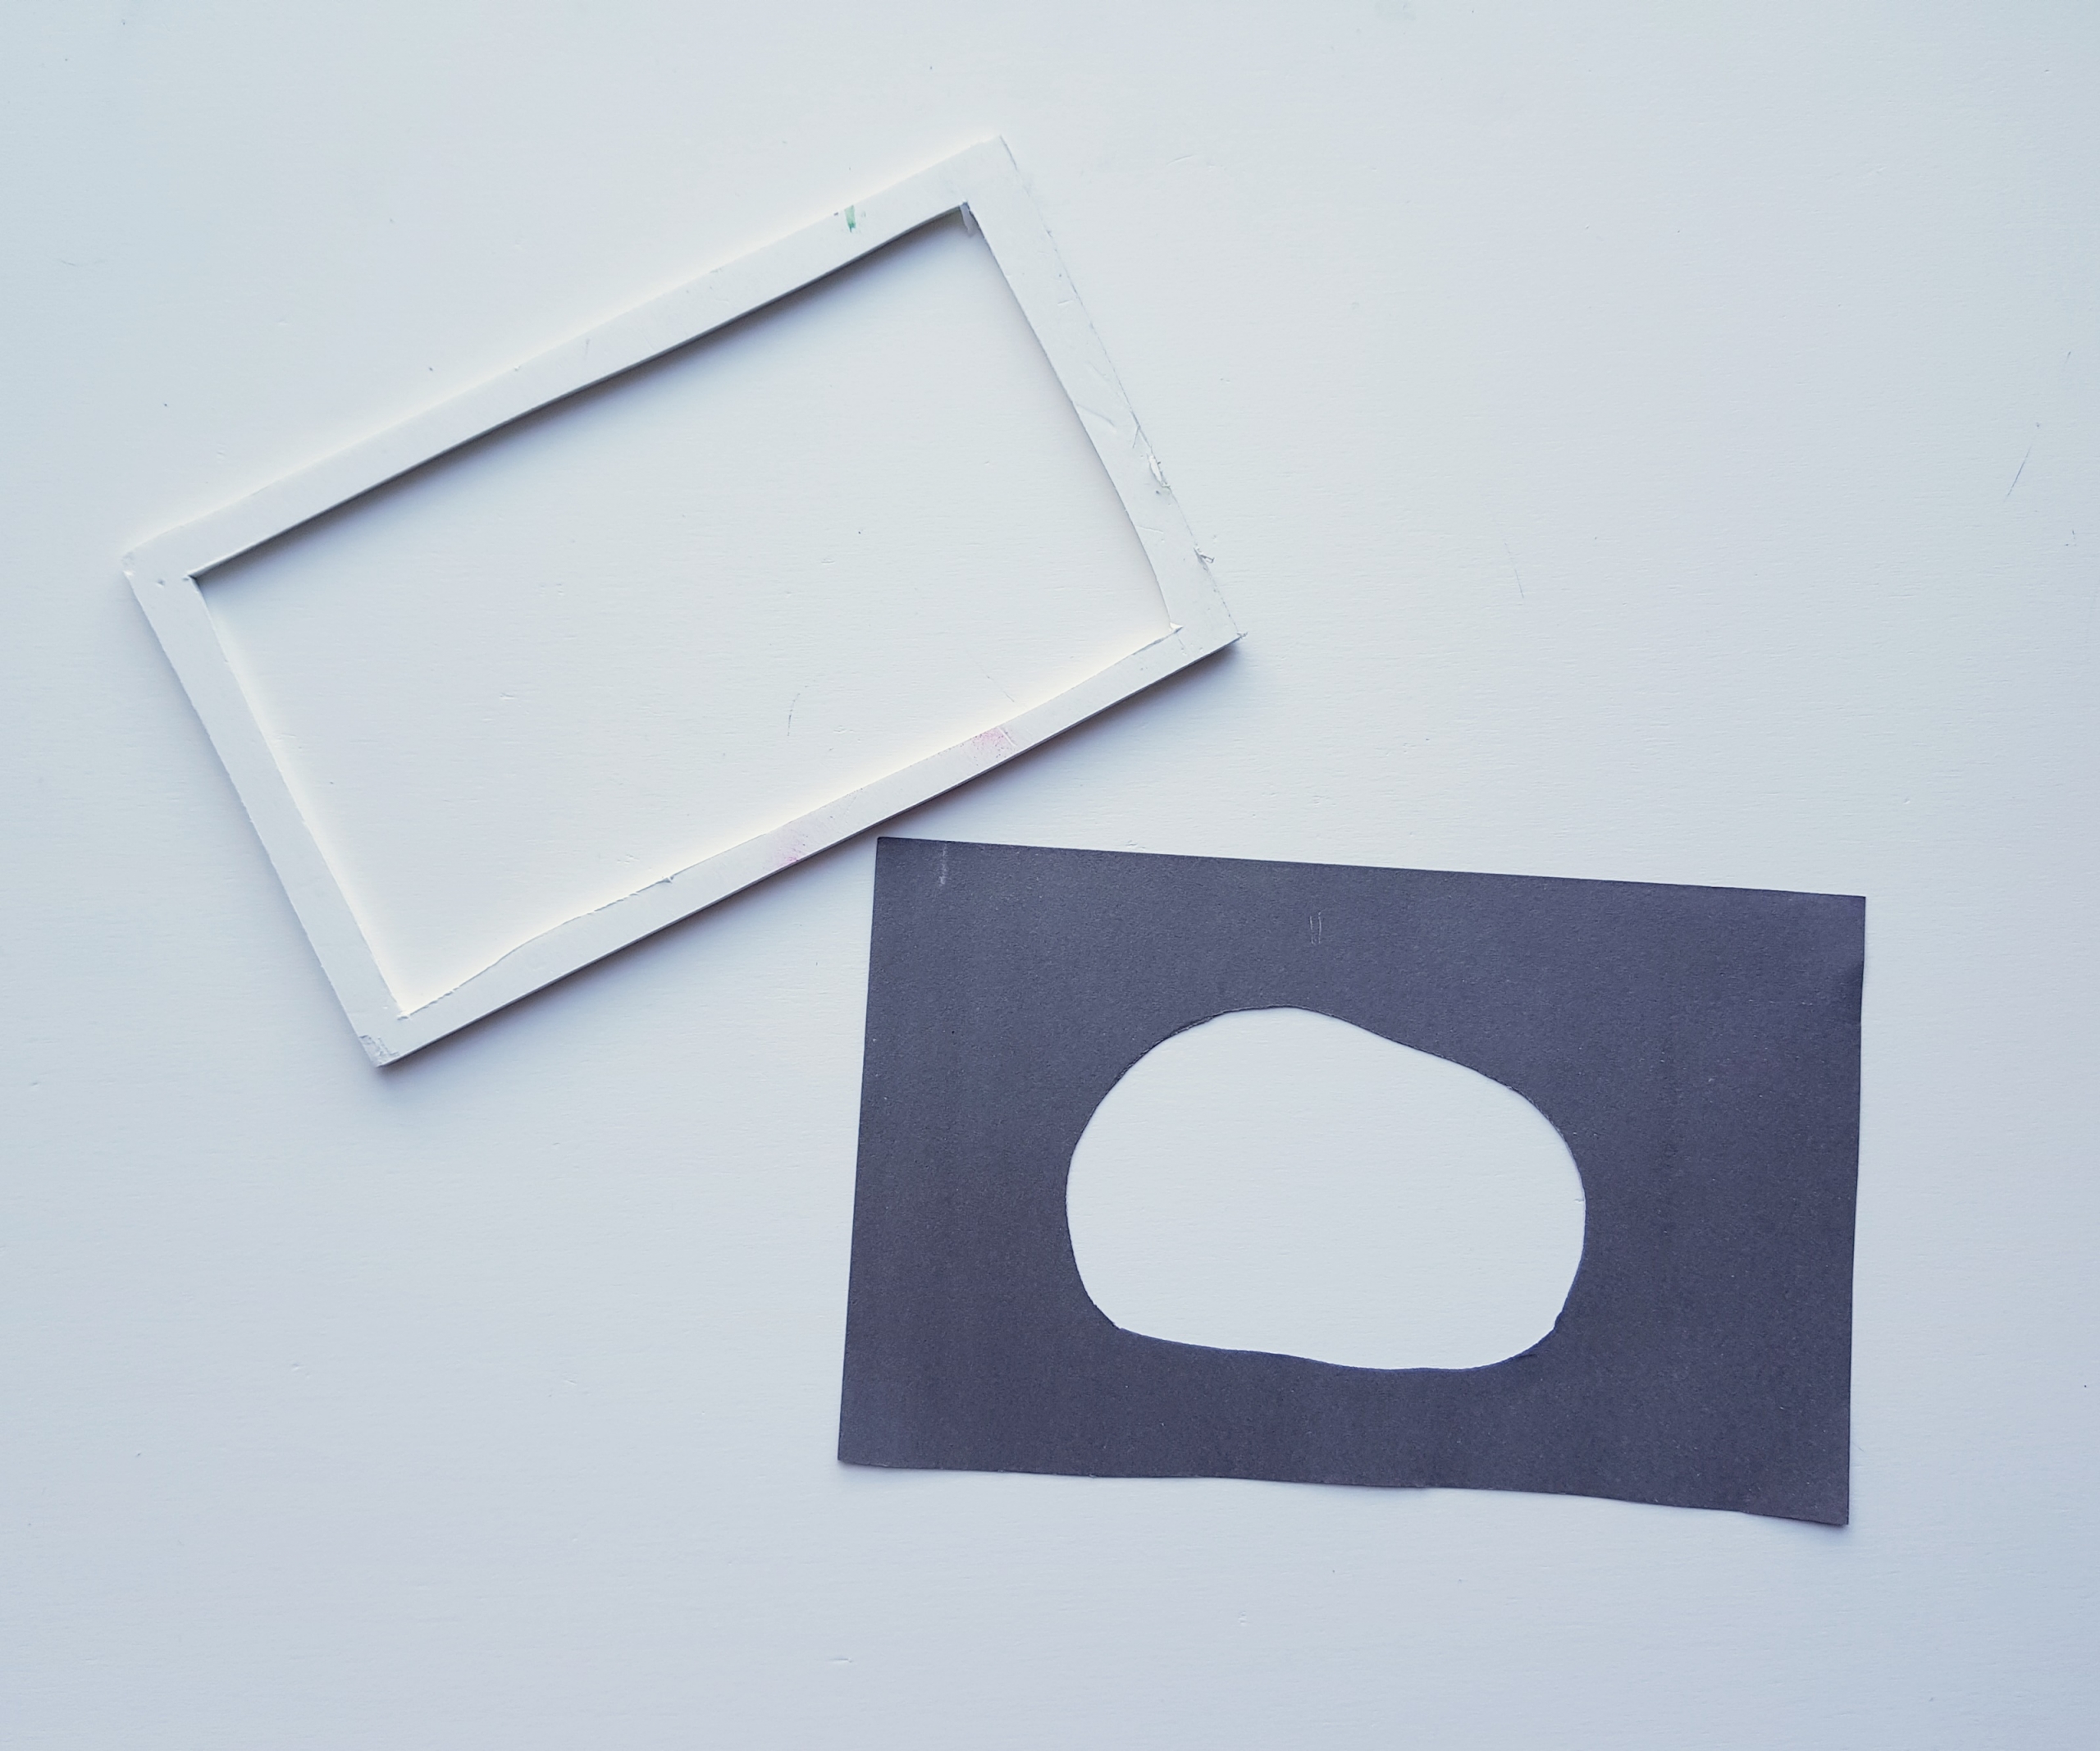
Grab the bottom layer and a foam board frame. Apply thin lines of glue along the foam board frame.
Step 6
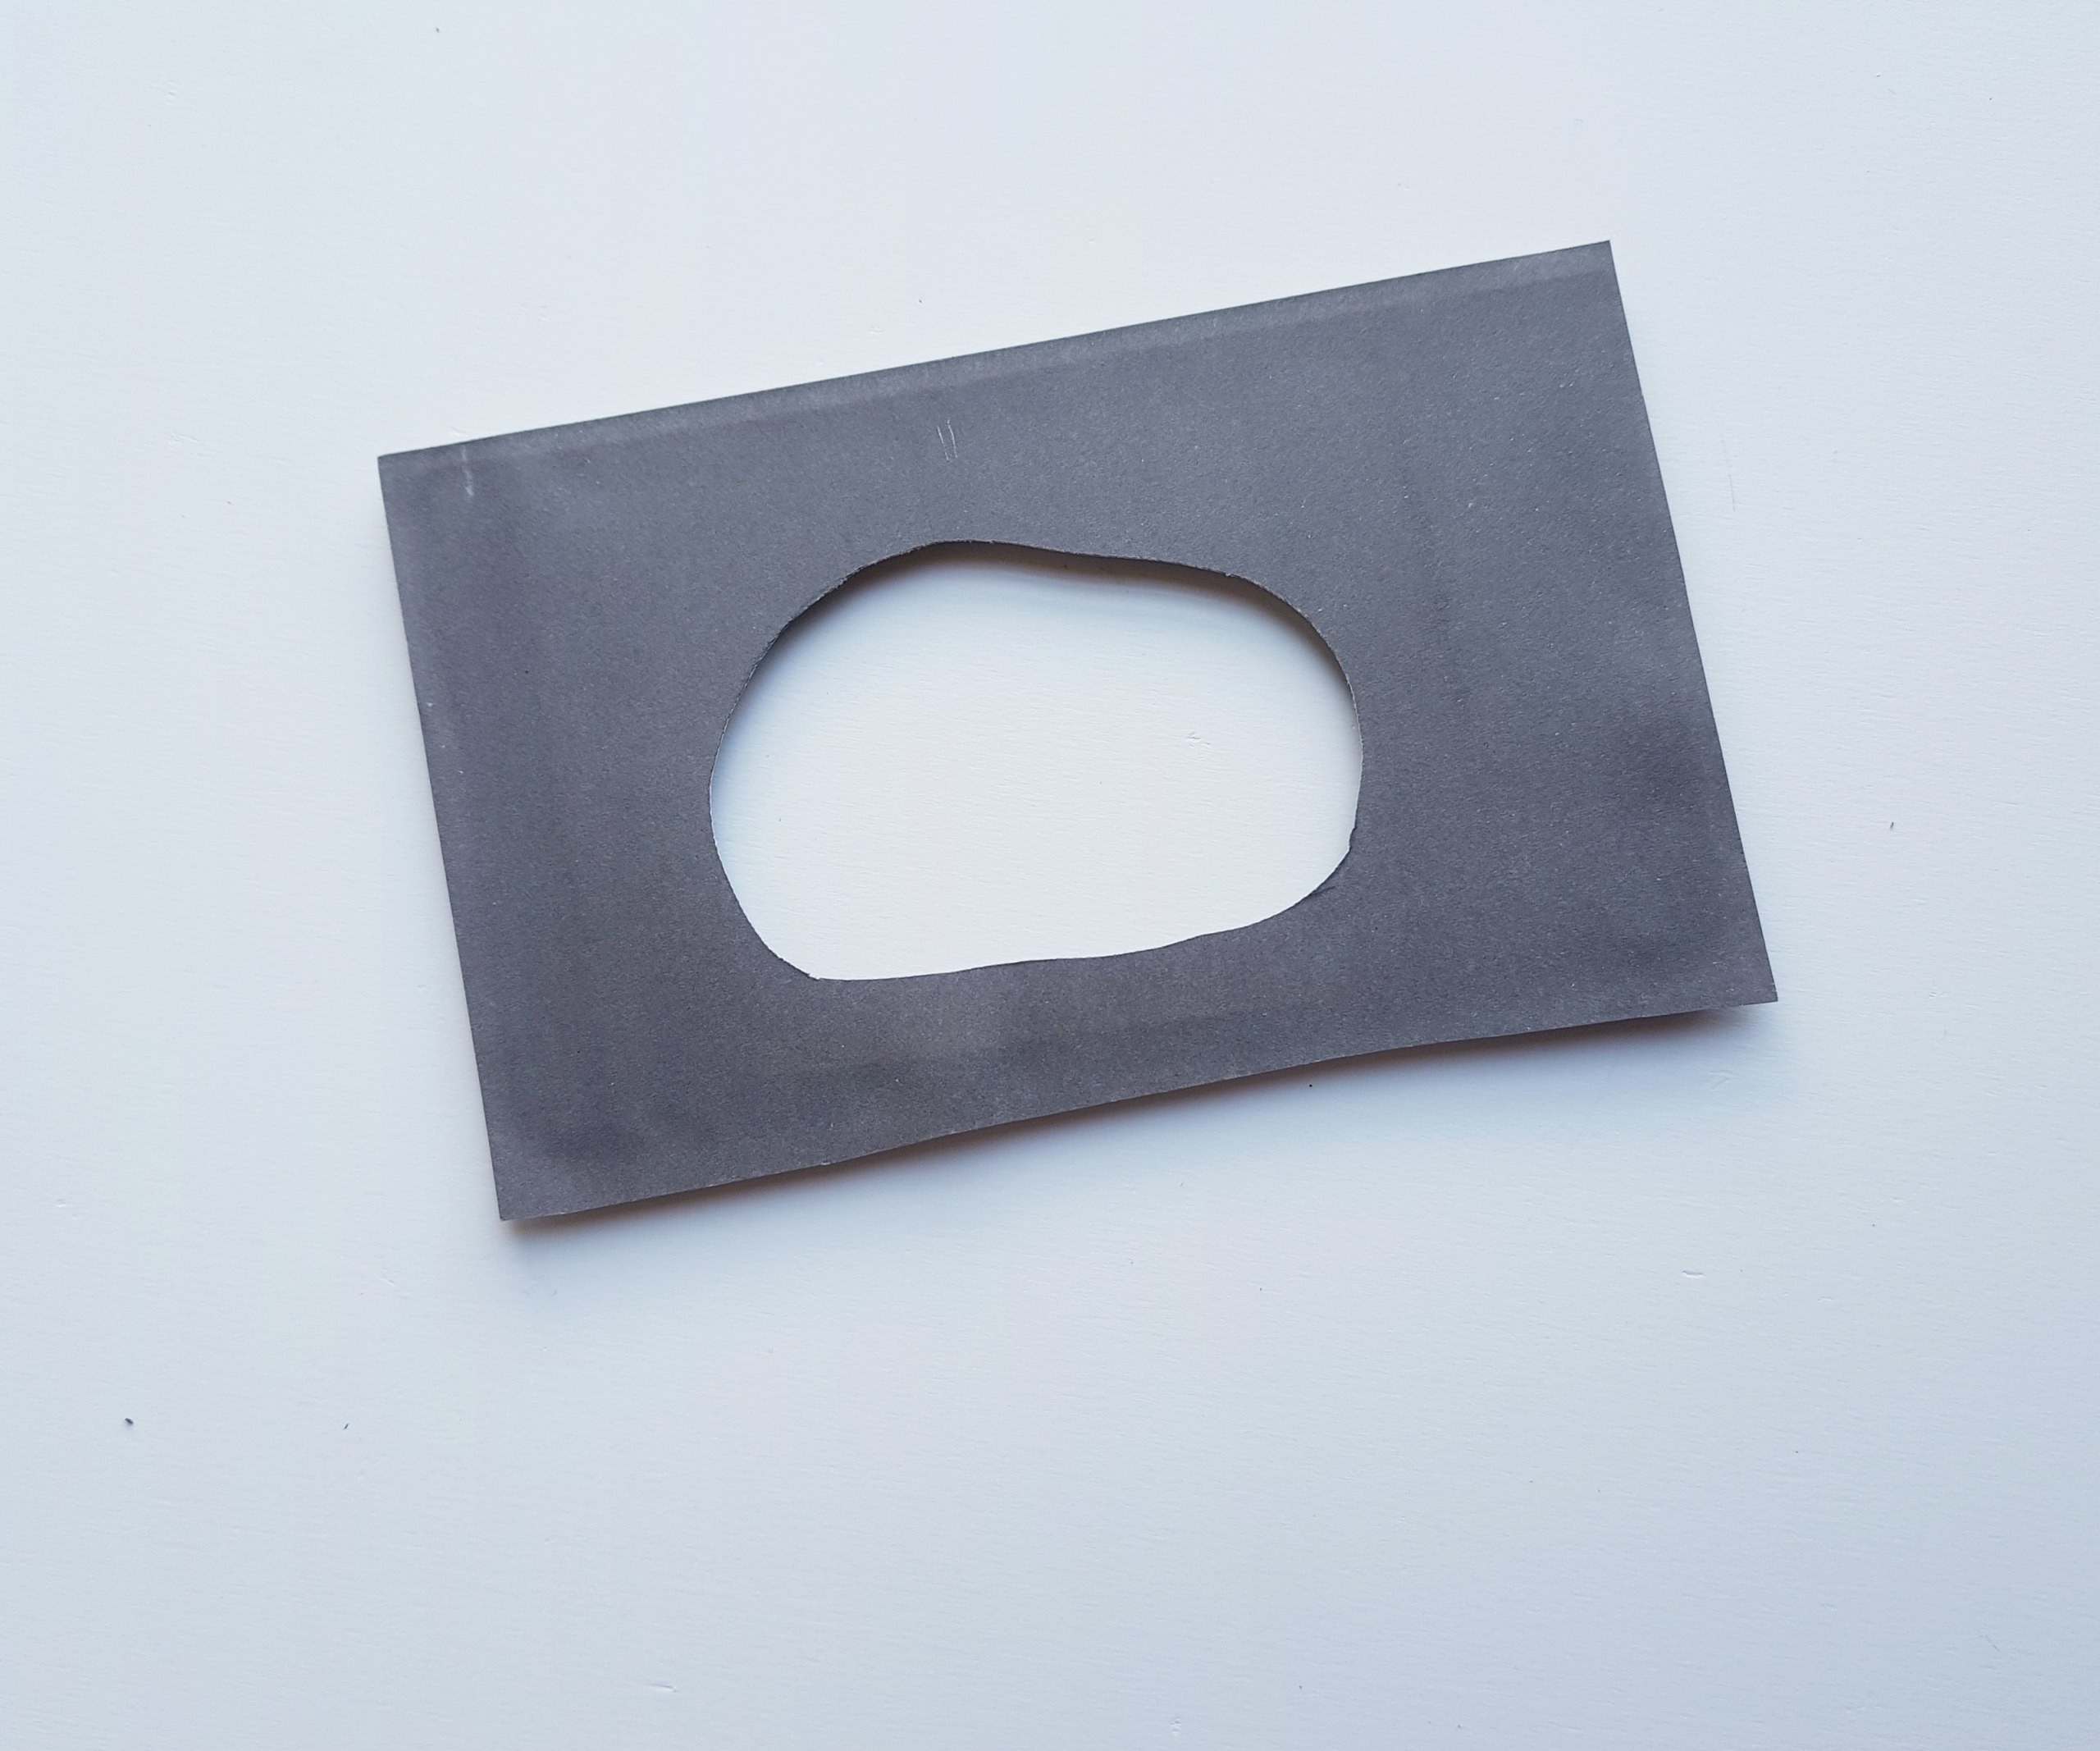
Carefully place the bottom layer paper on the glued frame, making sure to match all 4 sides of the paper with the board frame.
Step 7
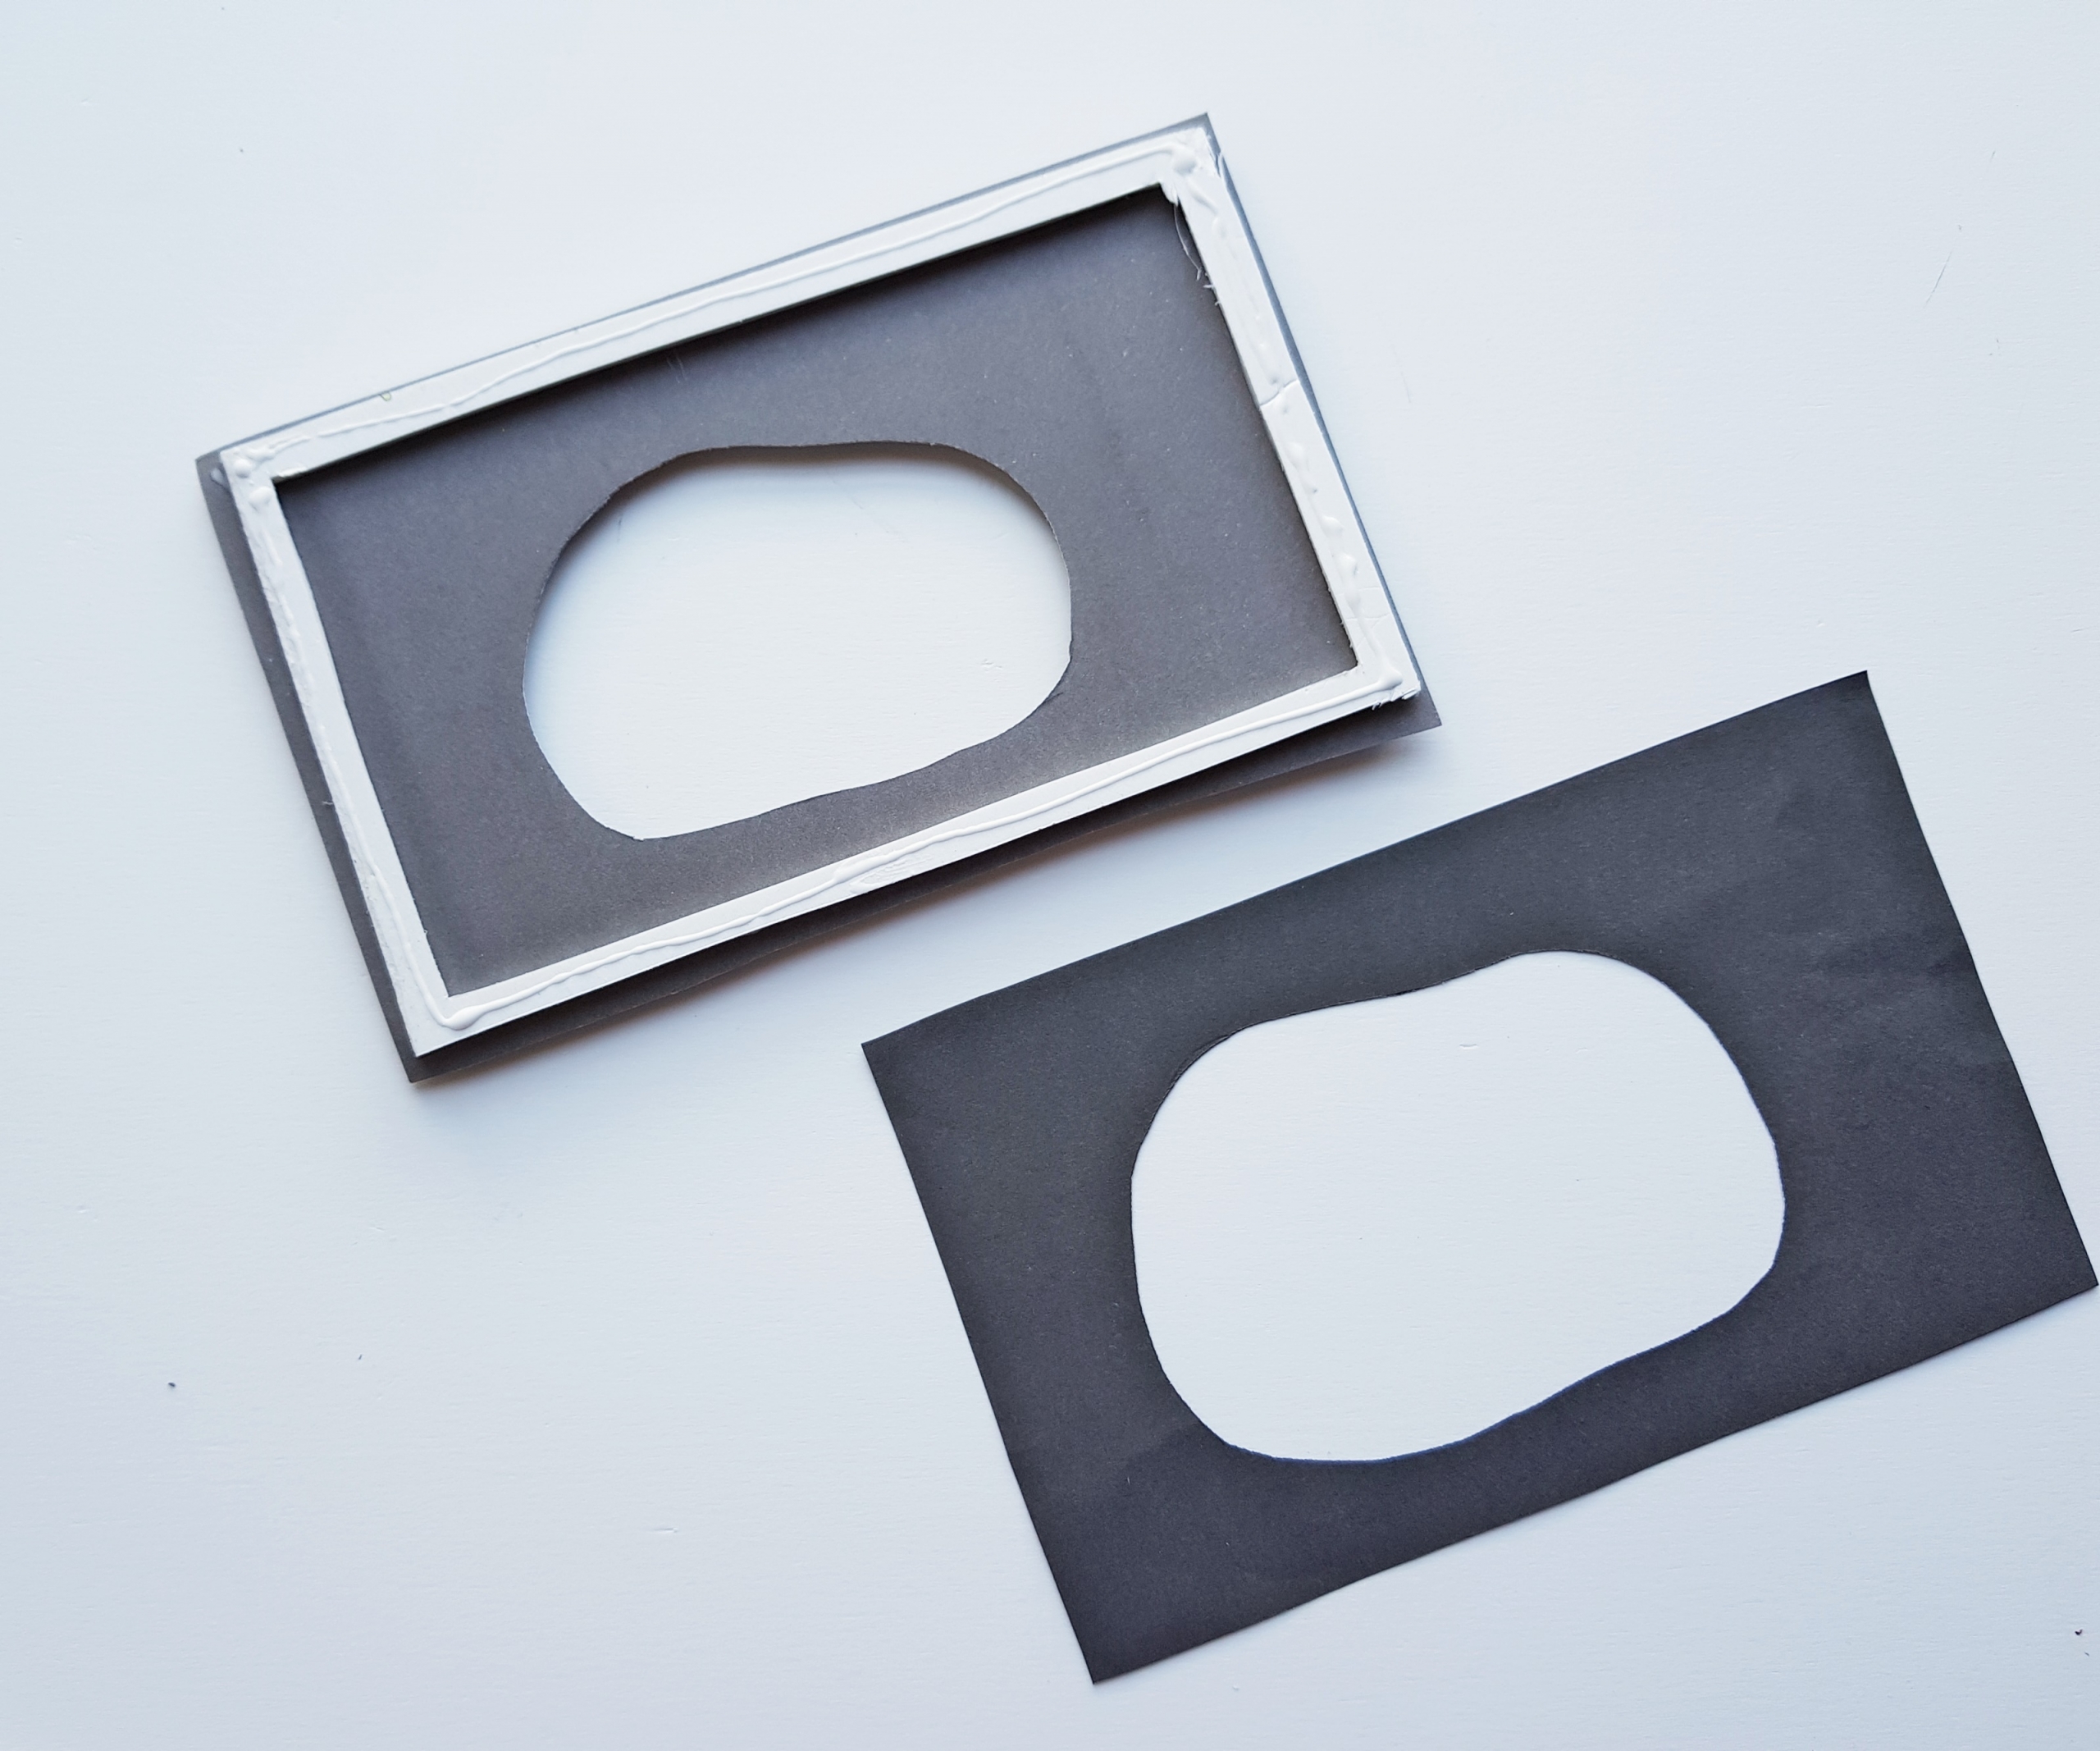
Flip the frame attached paper to the frame’s end. Apply a layer of glue along the frame and grab the second bottom paper layer.
Step 8
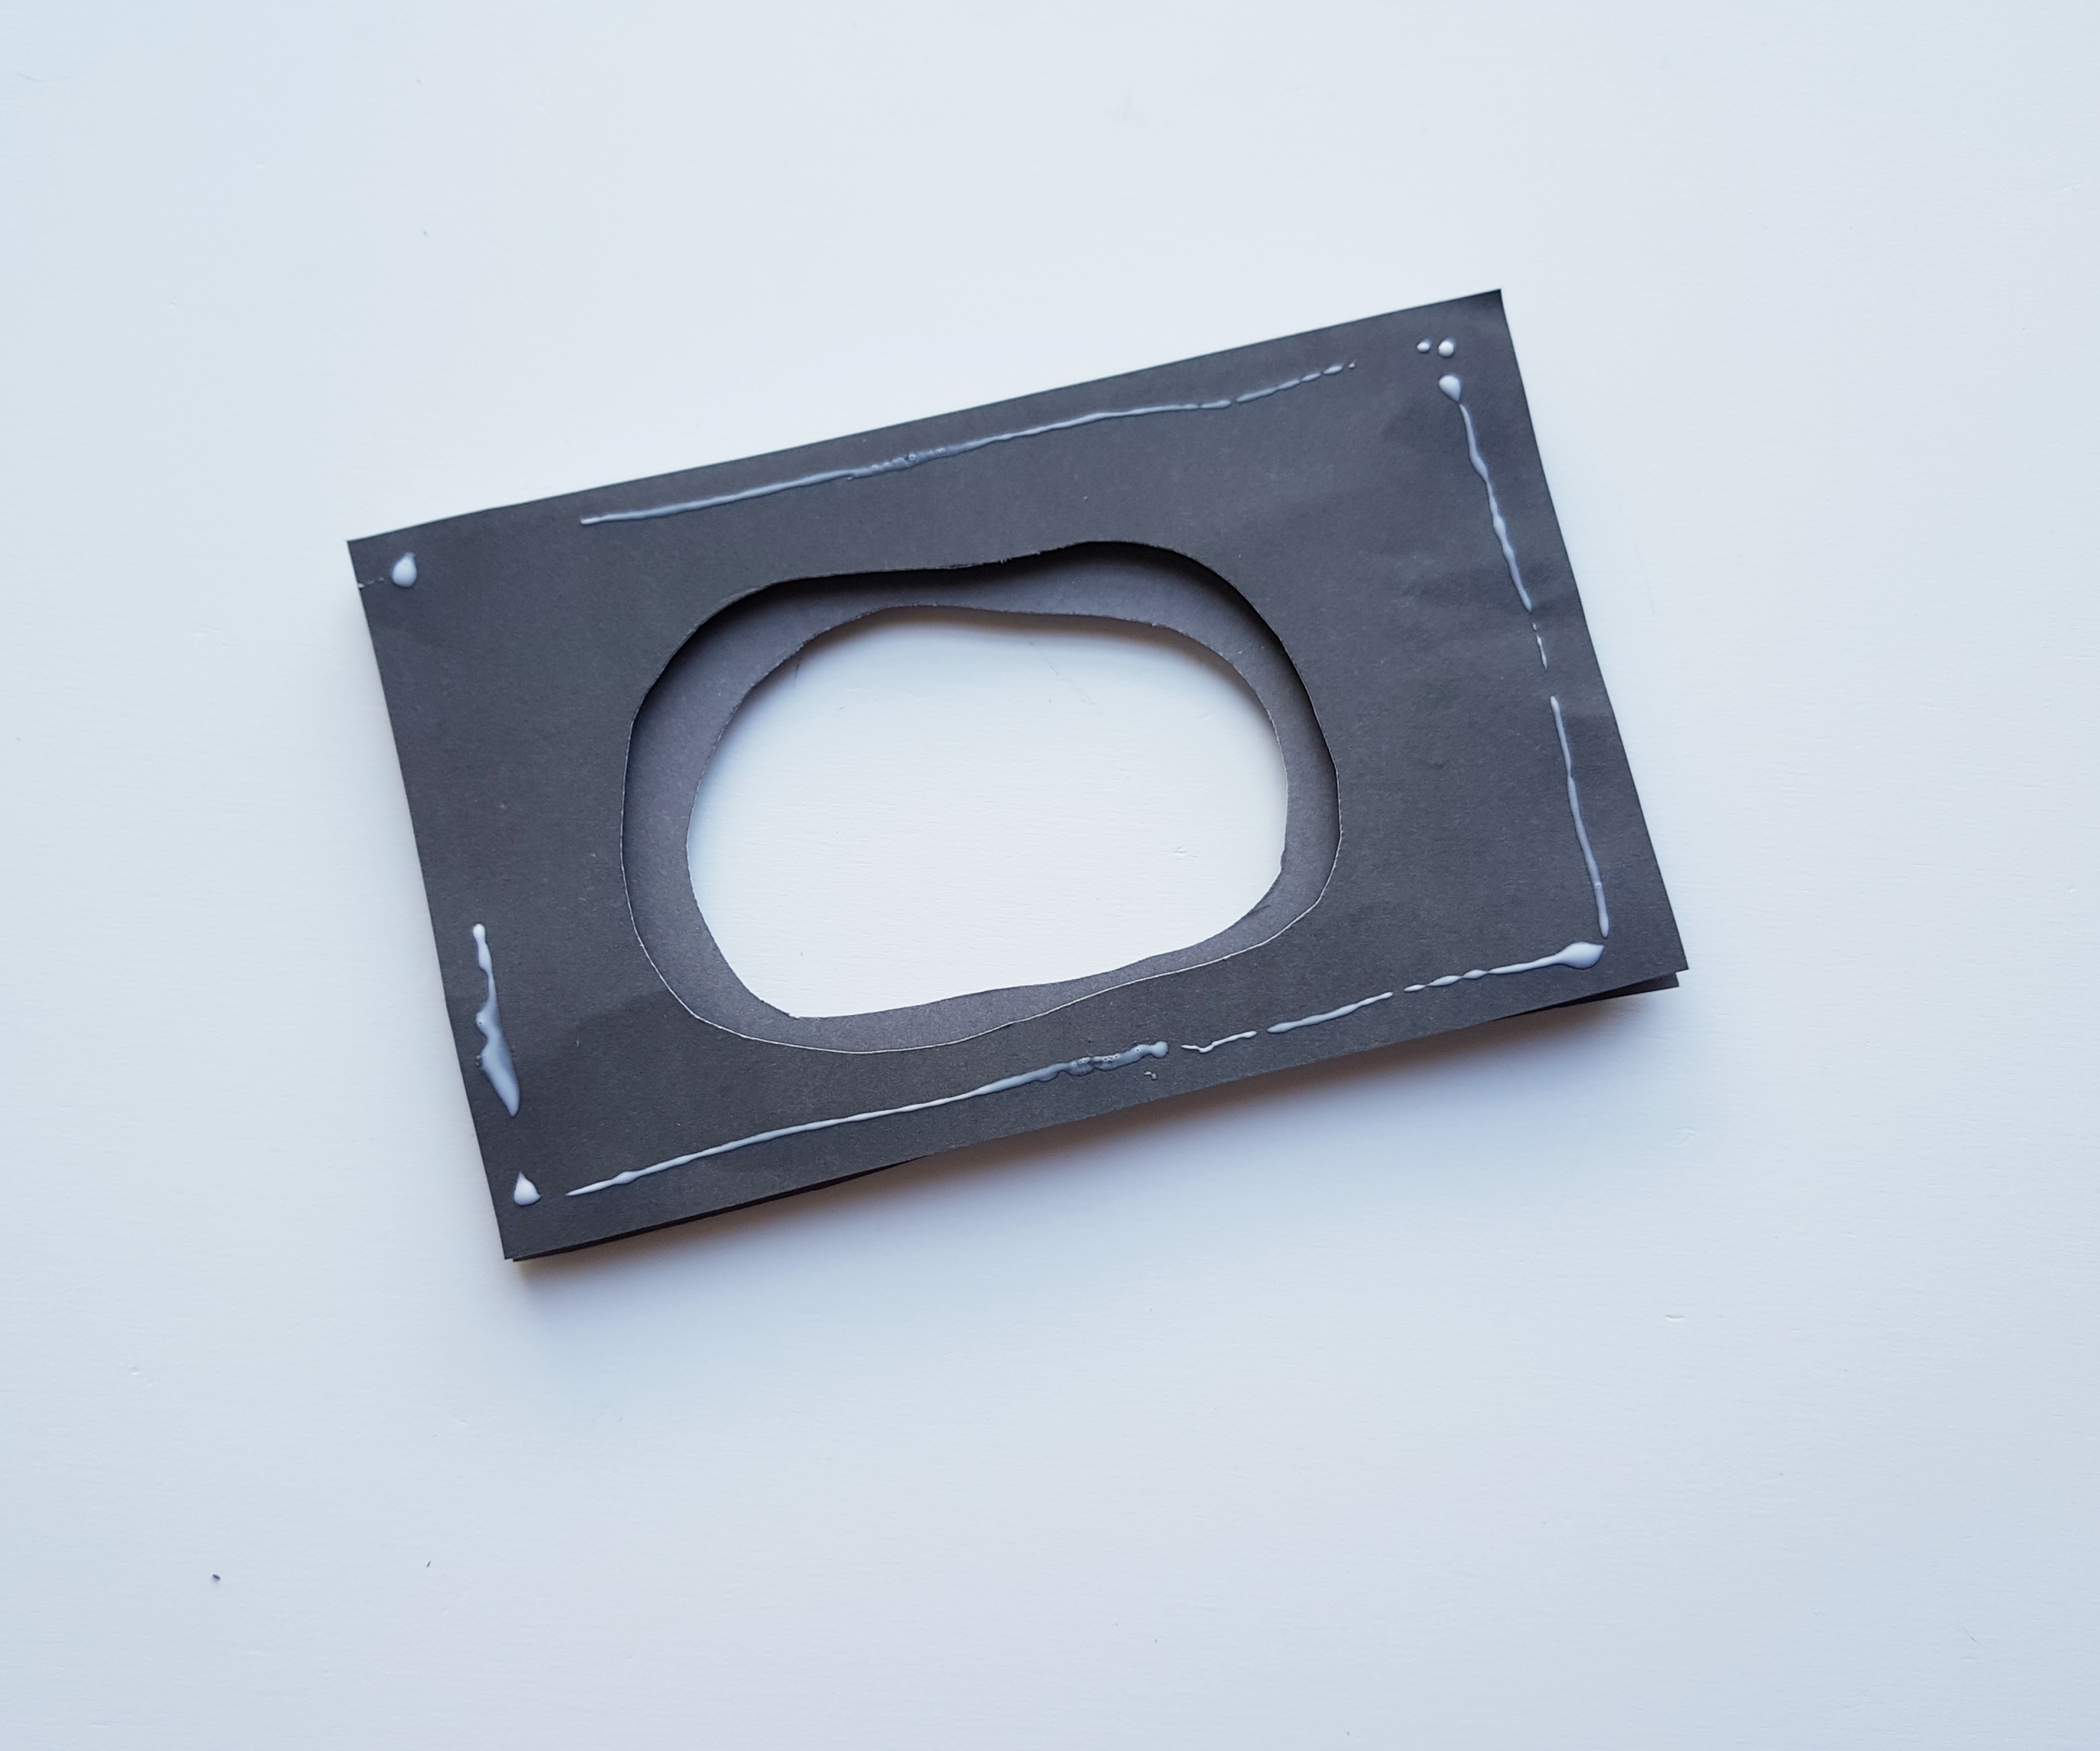
Place the second bottom layer on the frame like we did in the previous step.
Step 9
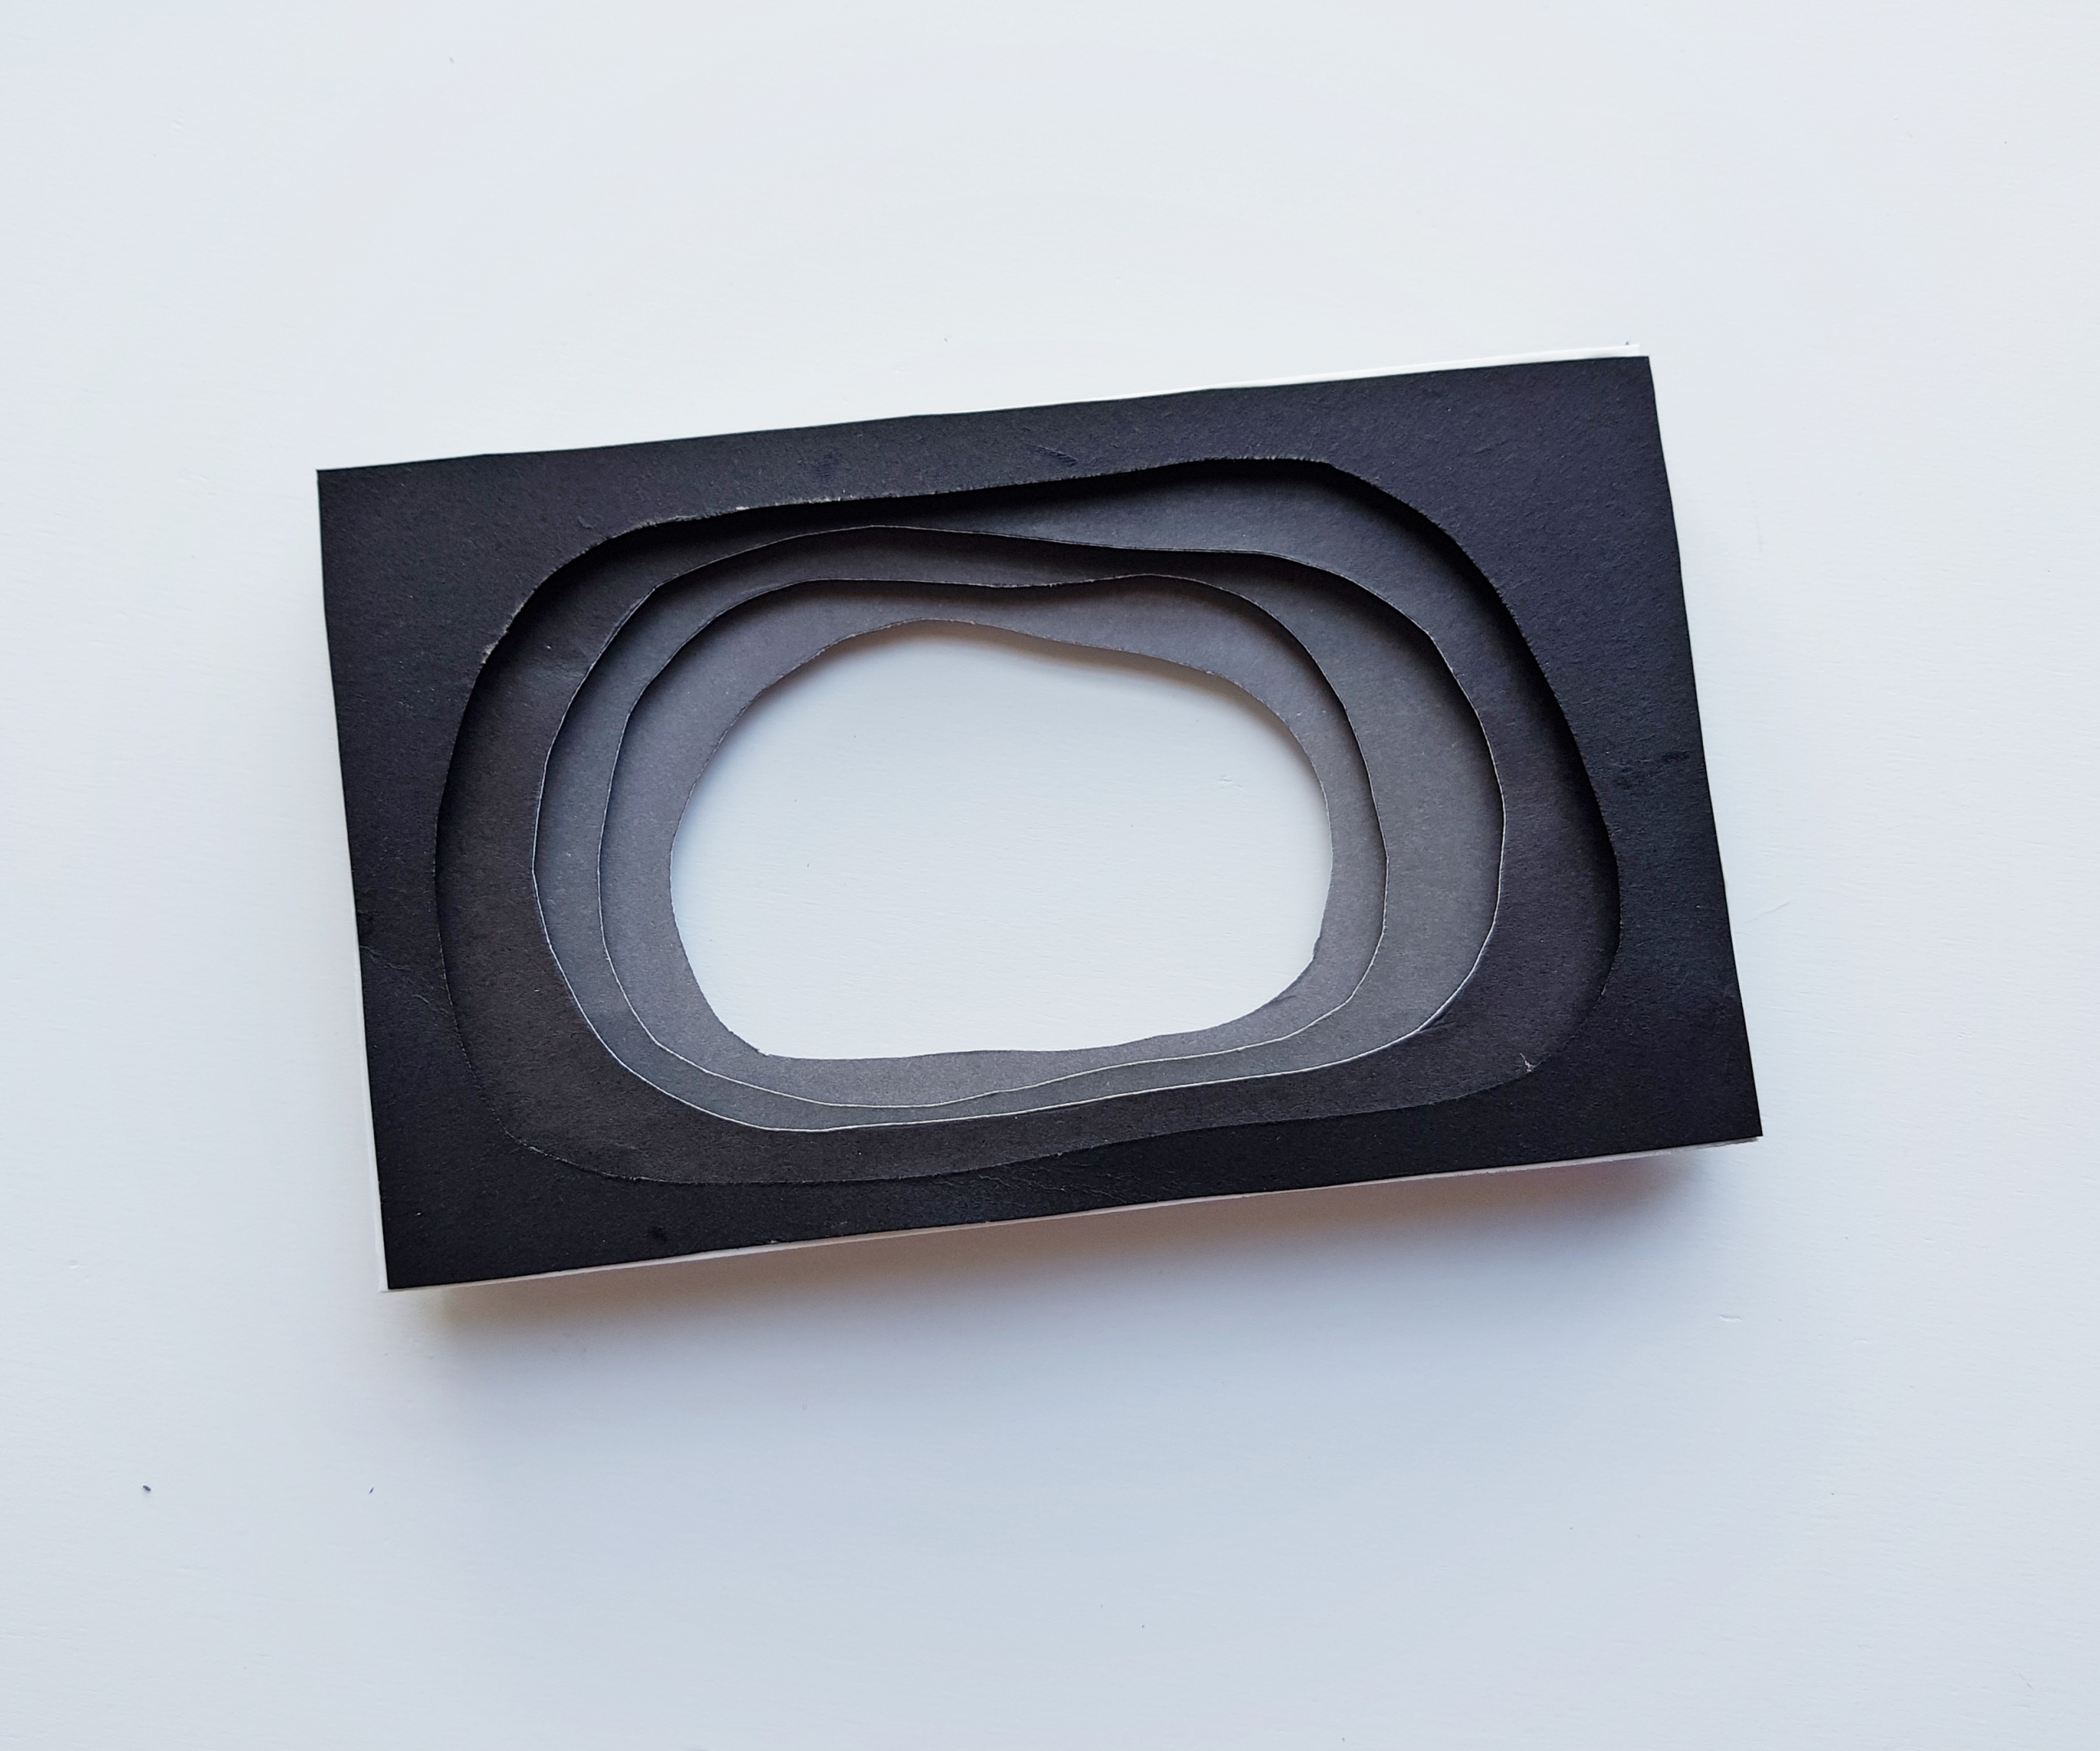
Attach another frame on the second bottom layer and then attach the 3rd bottom layer on the frame. And at last, attach the front layer, making sure to attach a frame between each paper layer.
Step 10
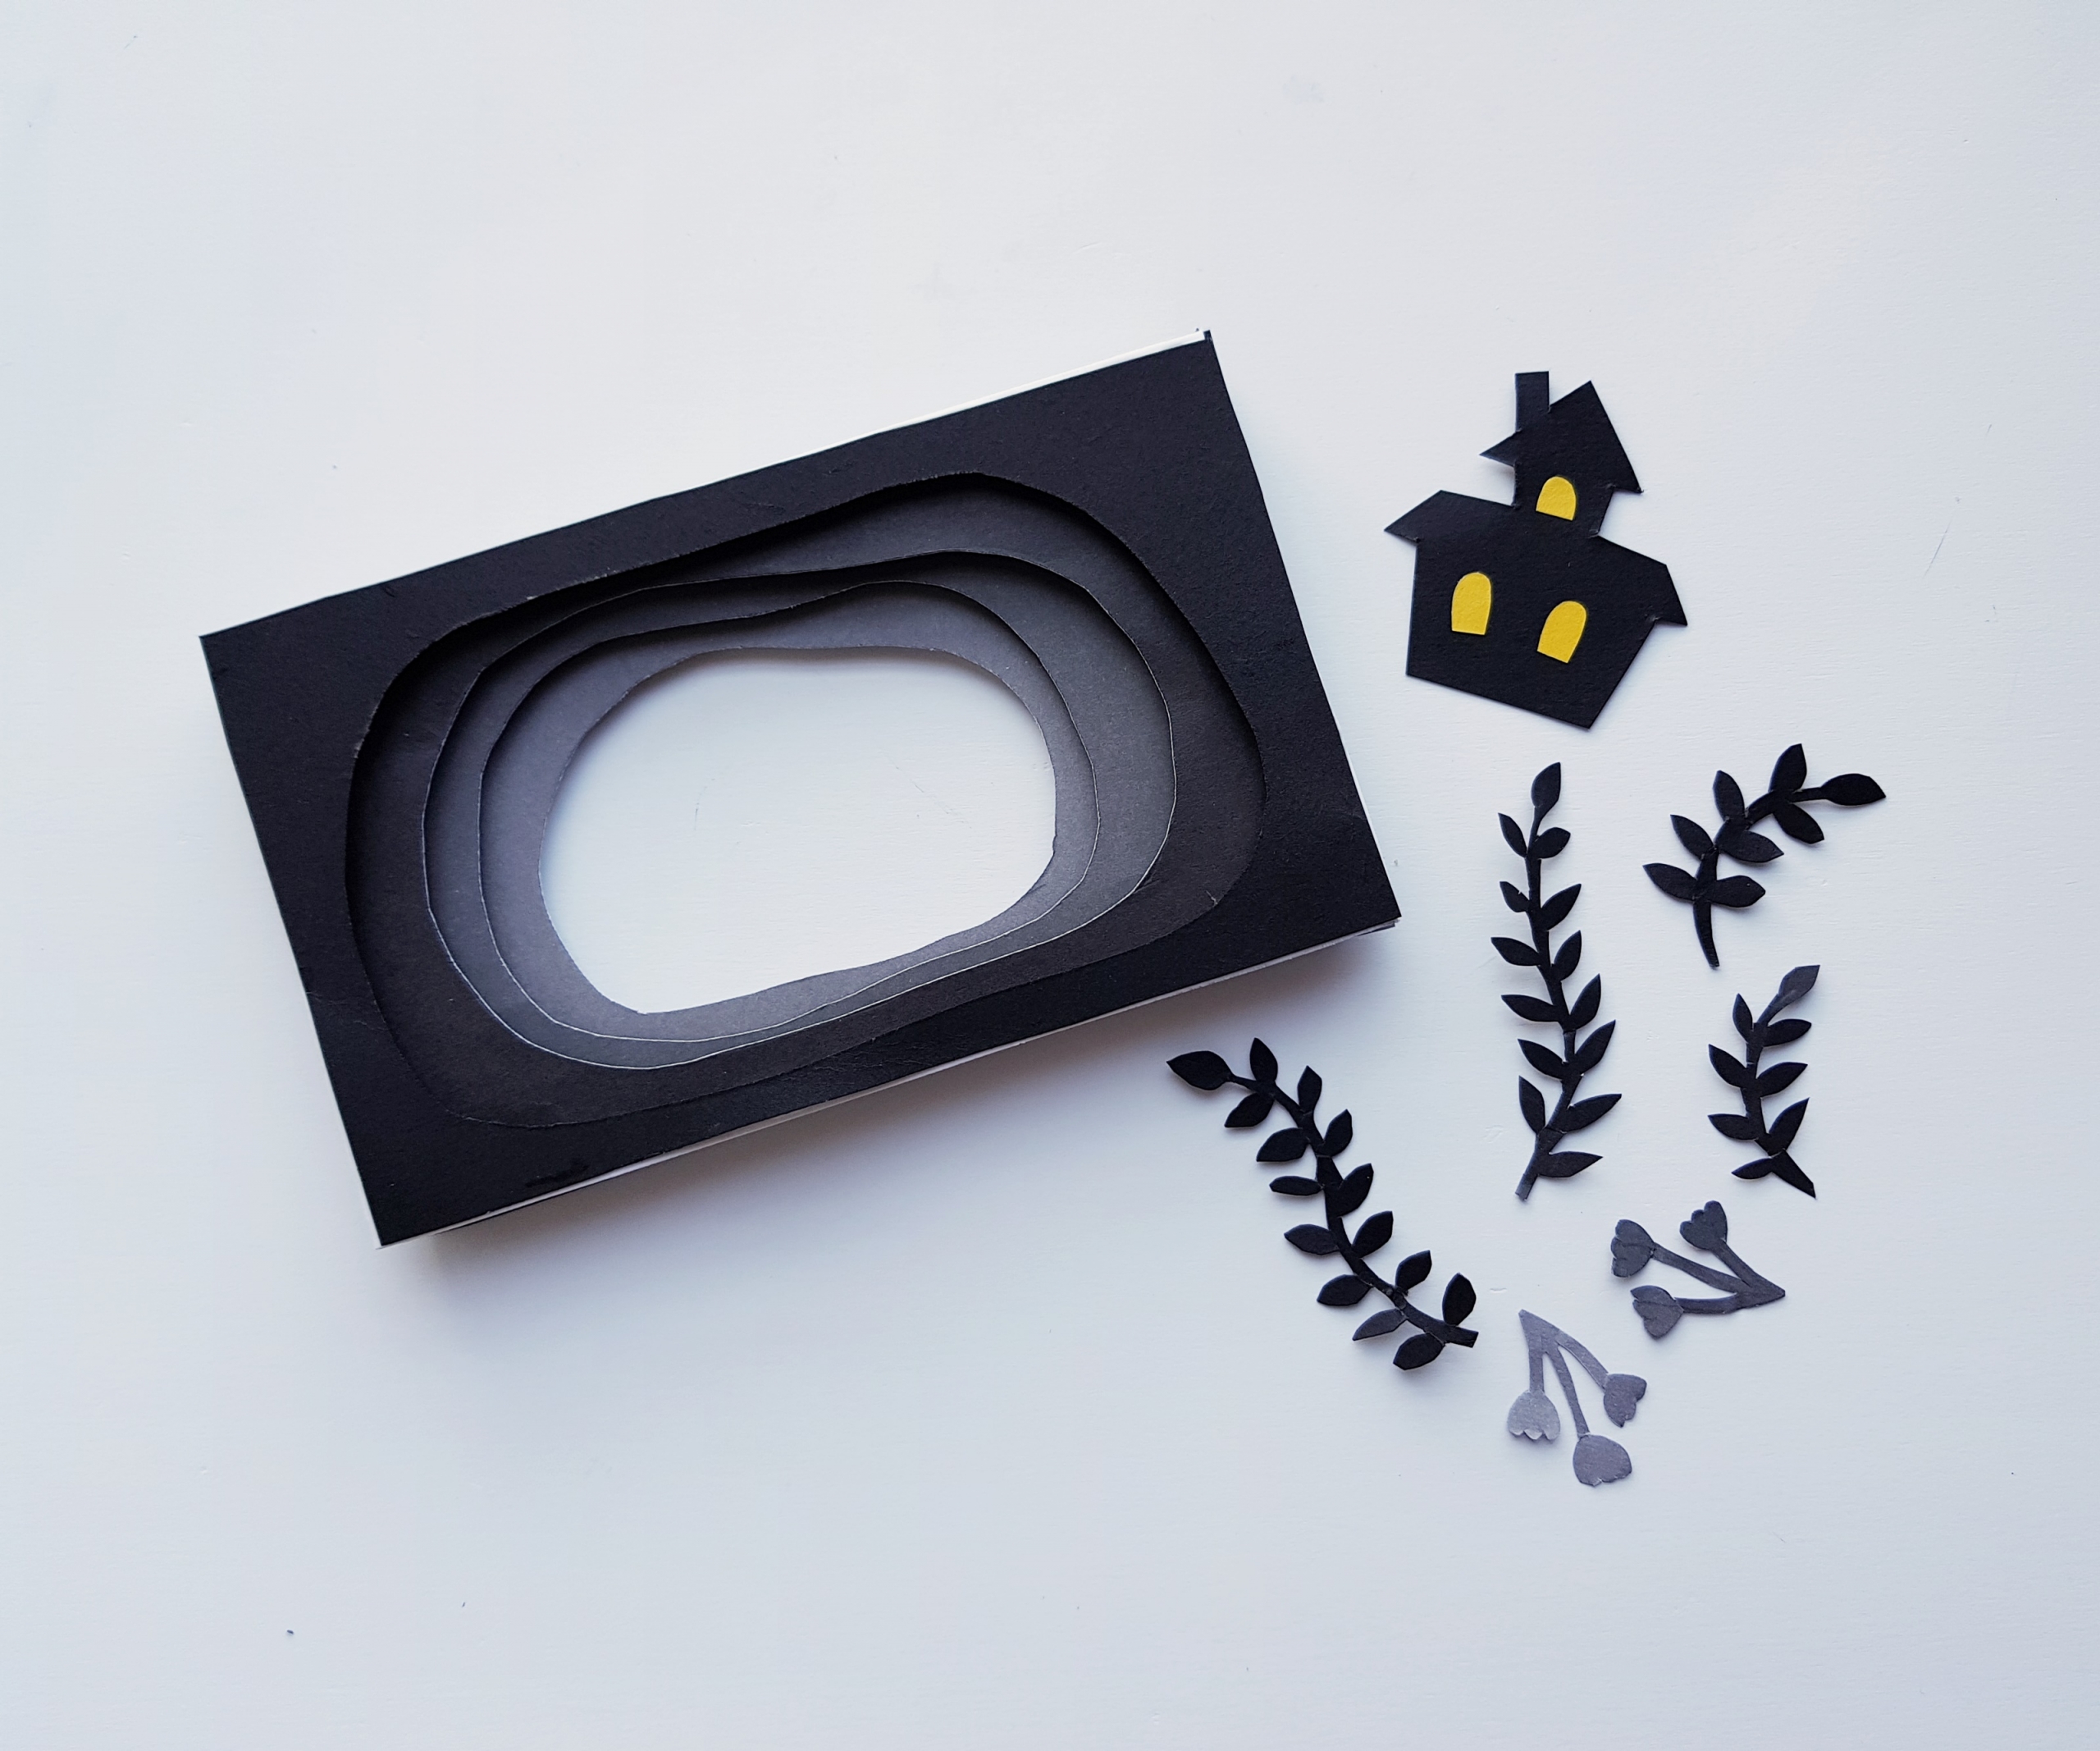
Trace and cut out the other items (leaves, grass, bat, moon, haunted house, plants etc.).
Step 11
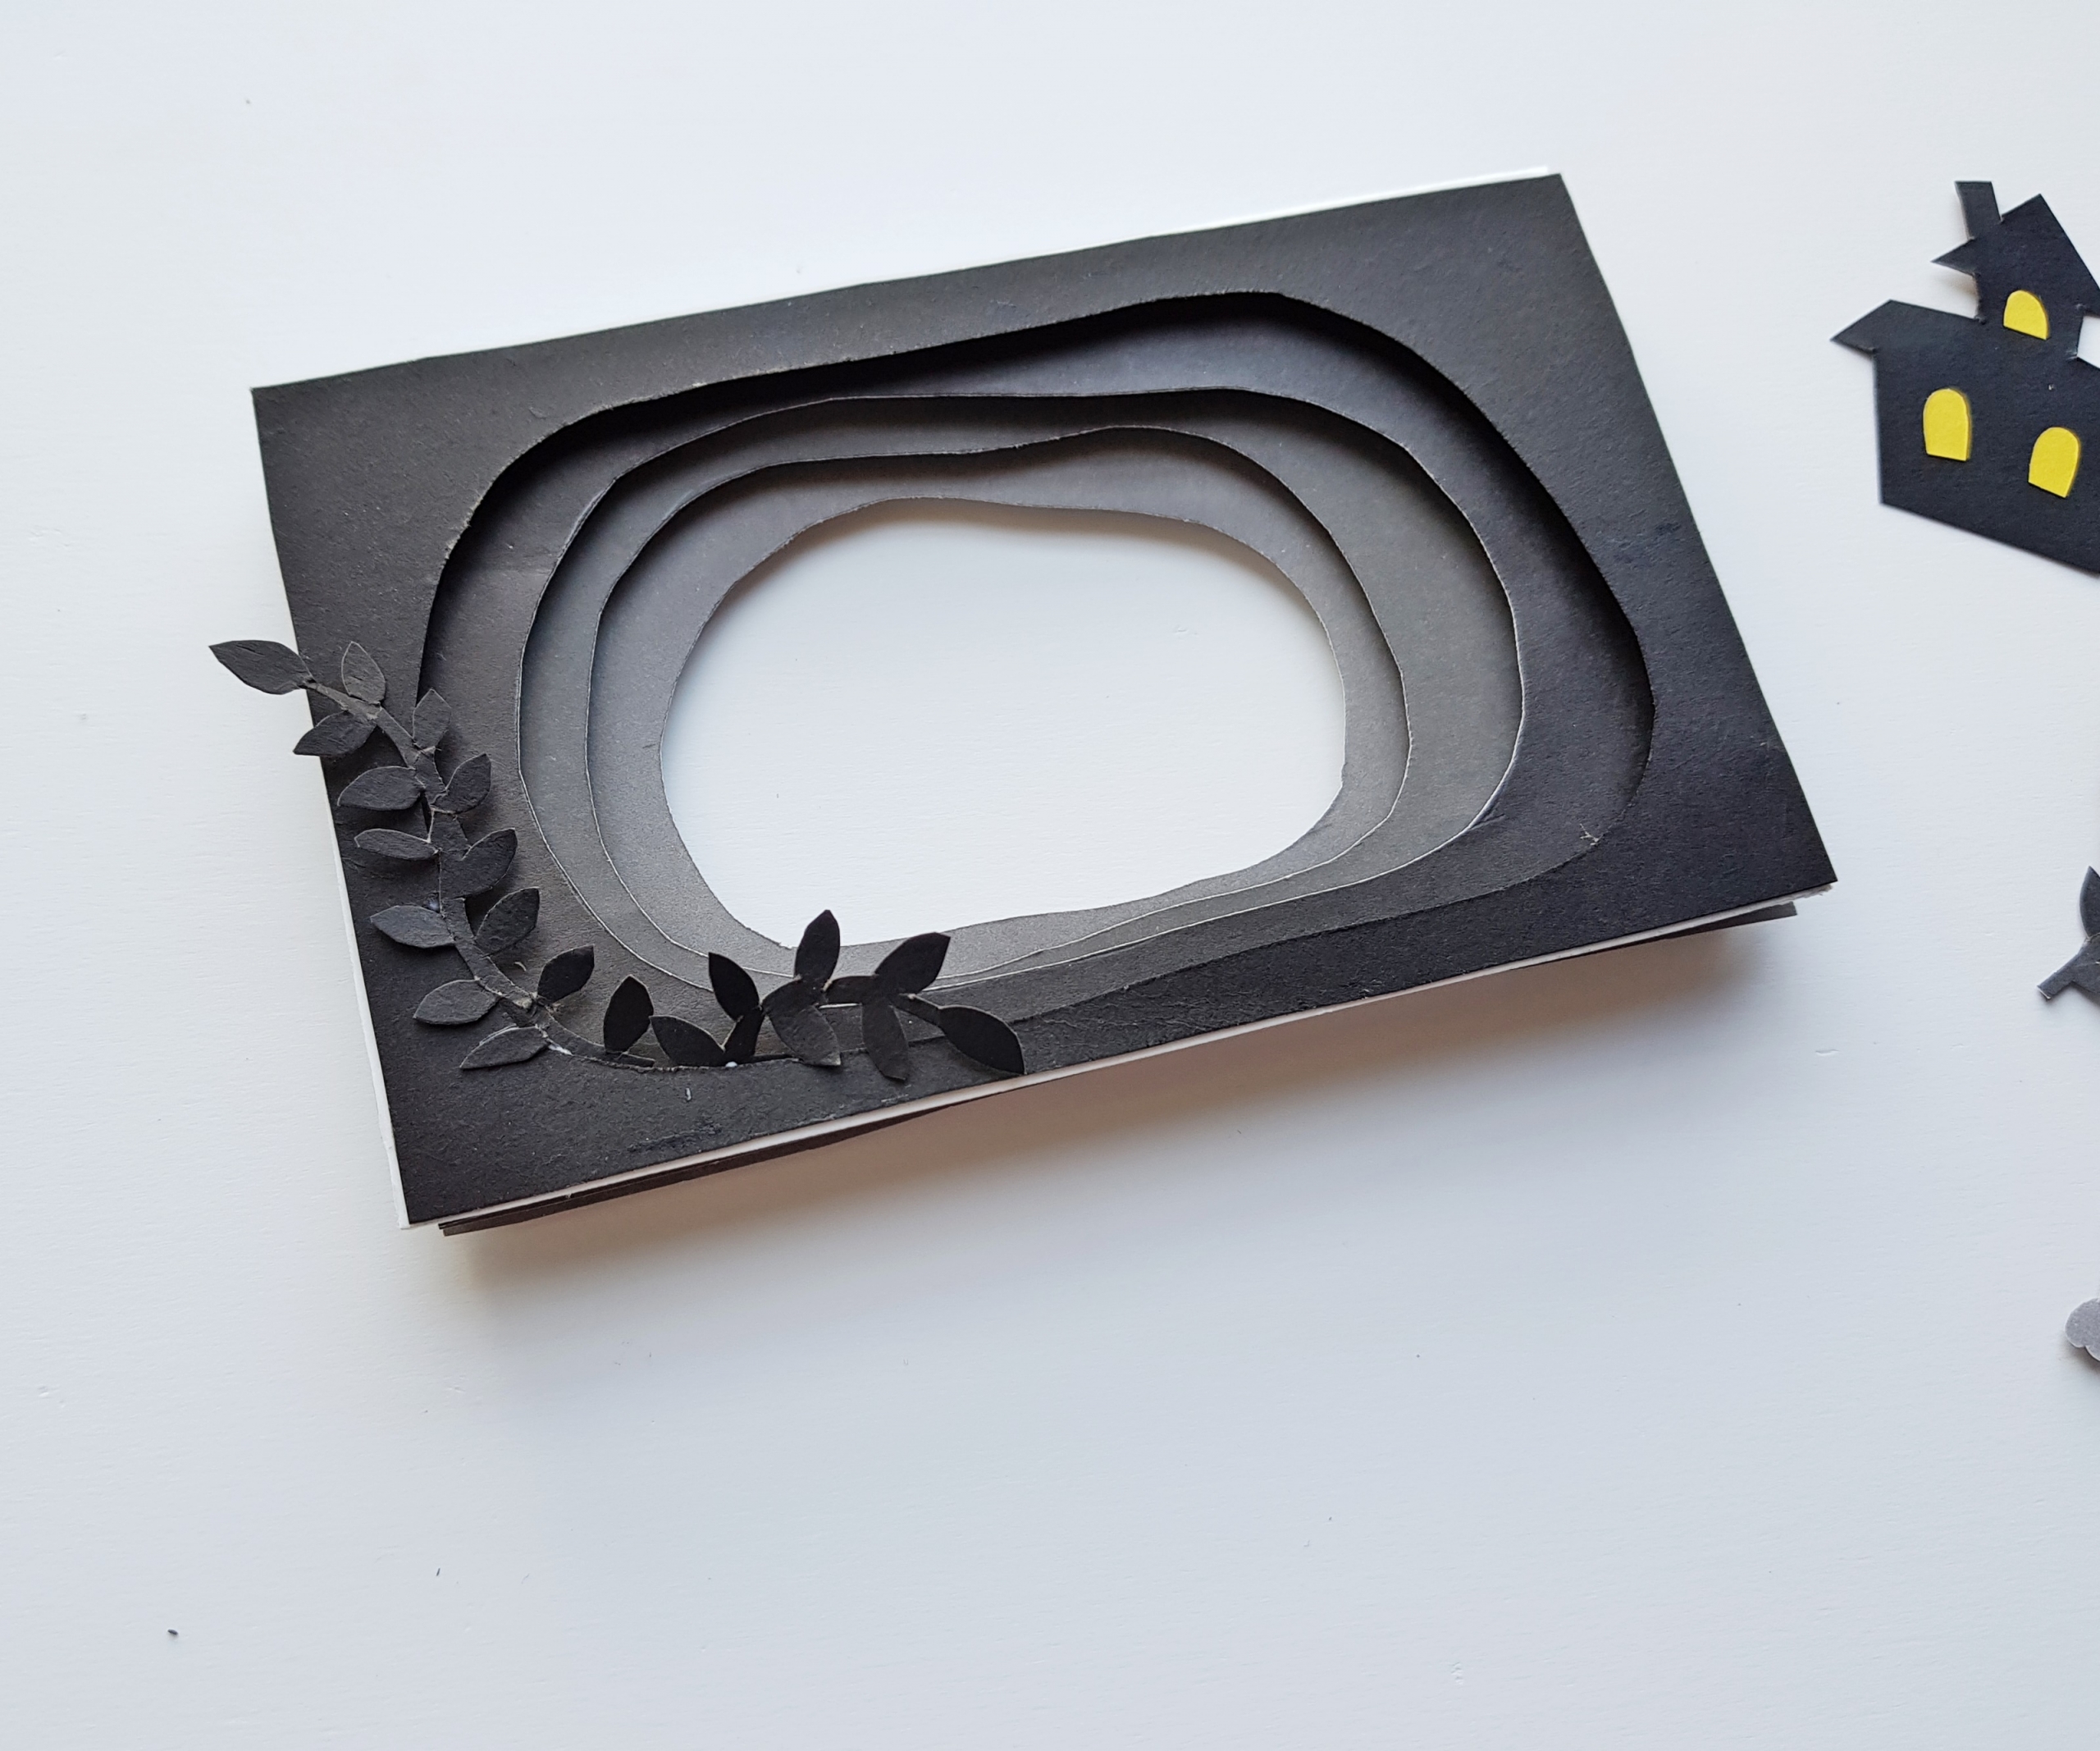
Take any one of the plant or grass cutouts and attach them to the back side of any layer.
Step 12
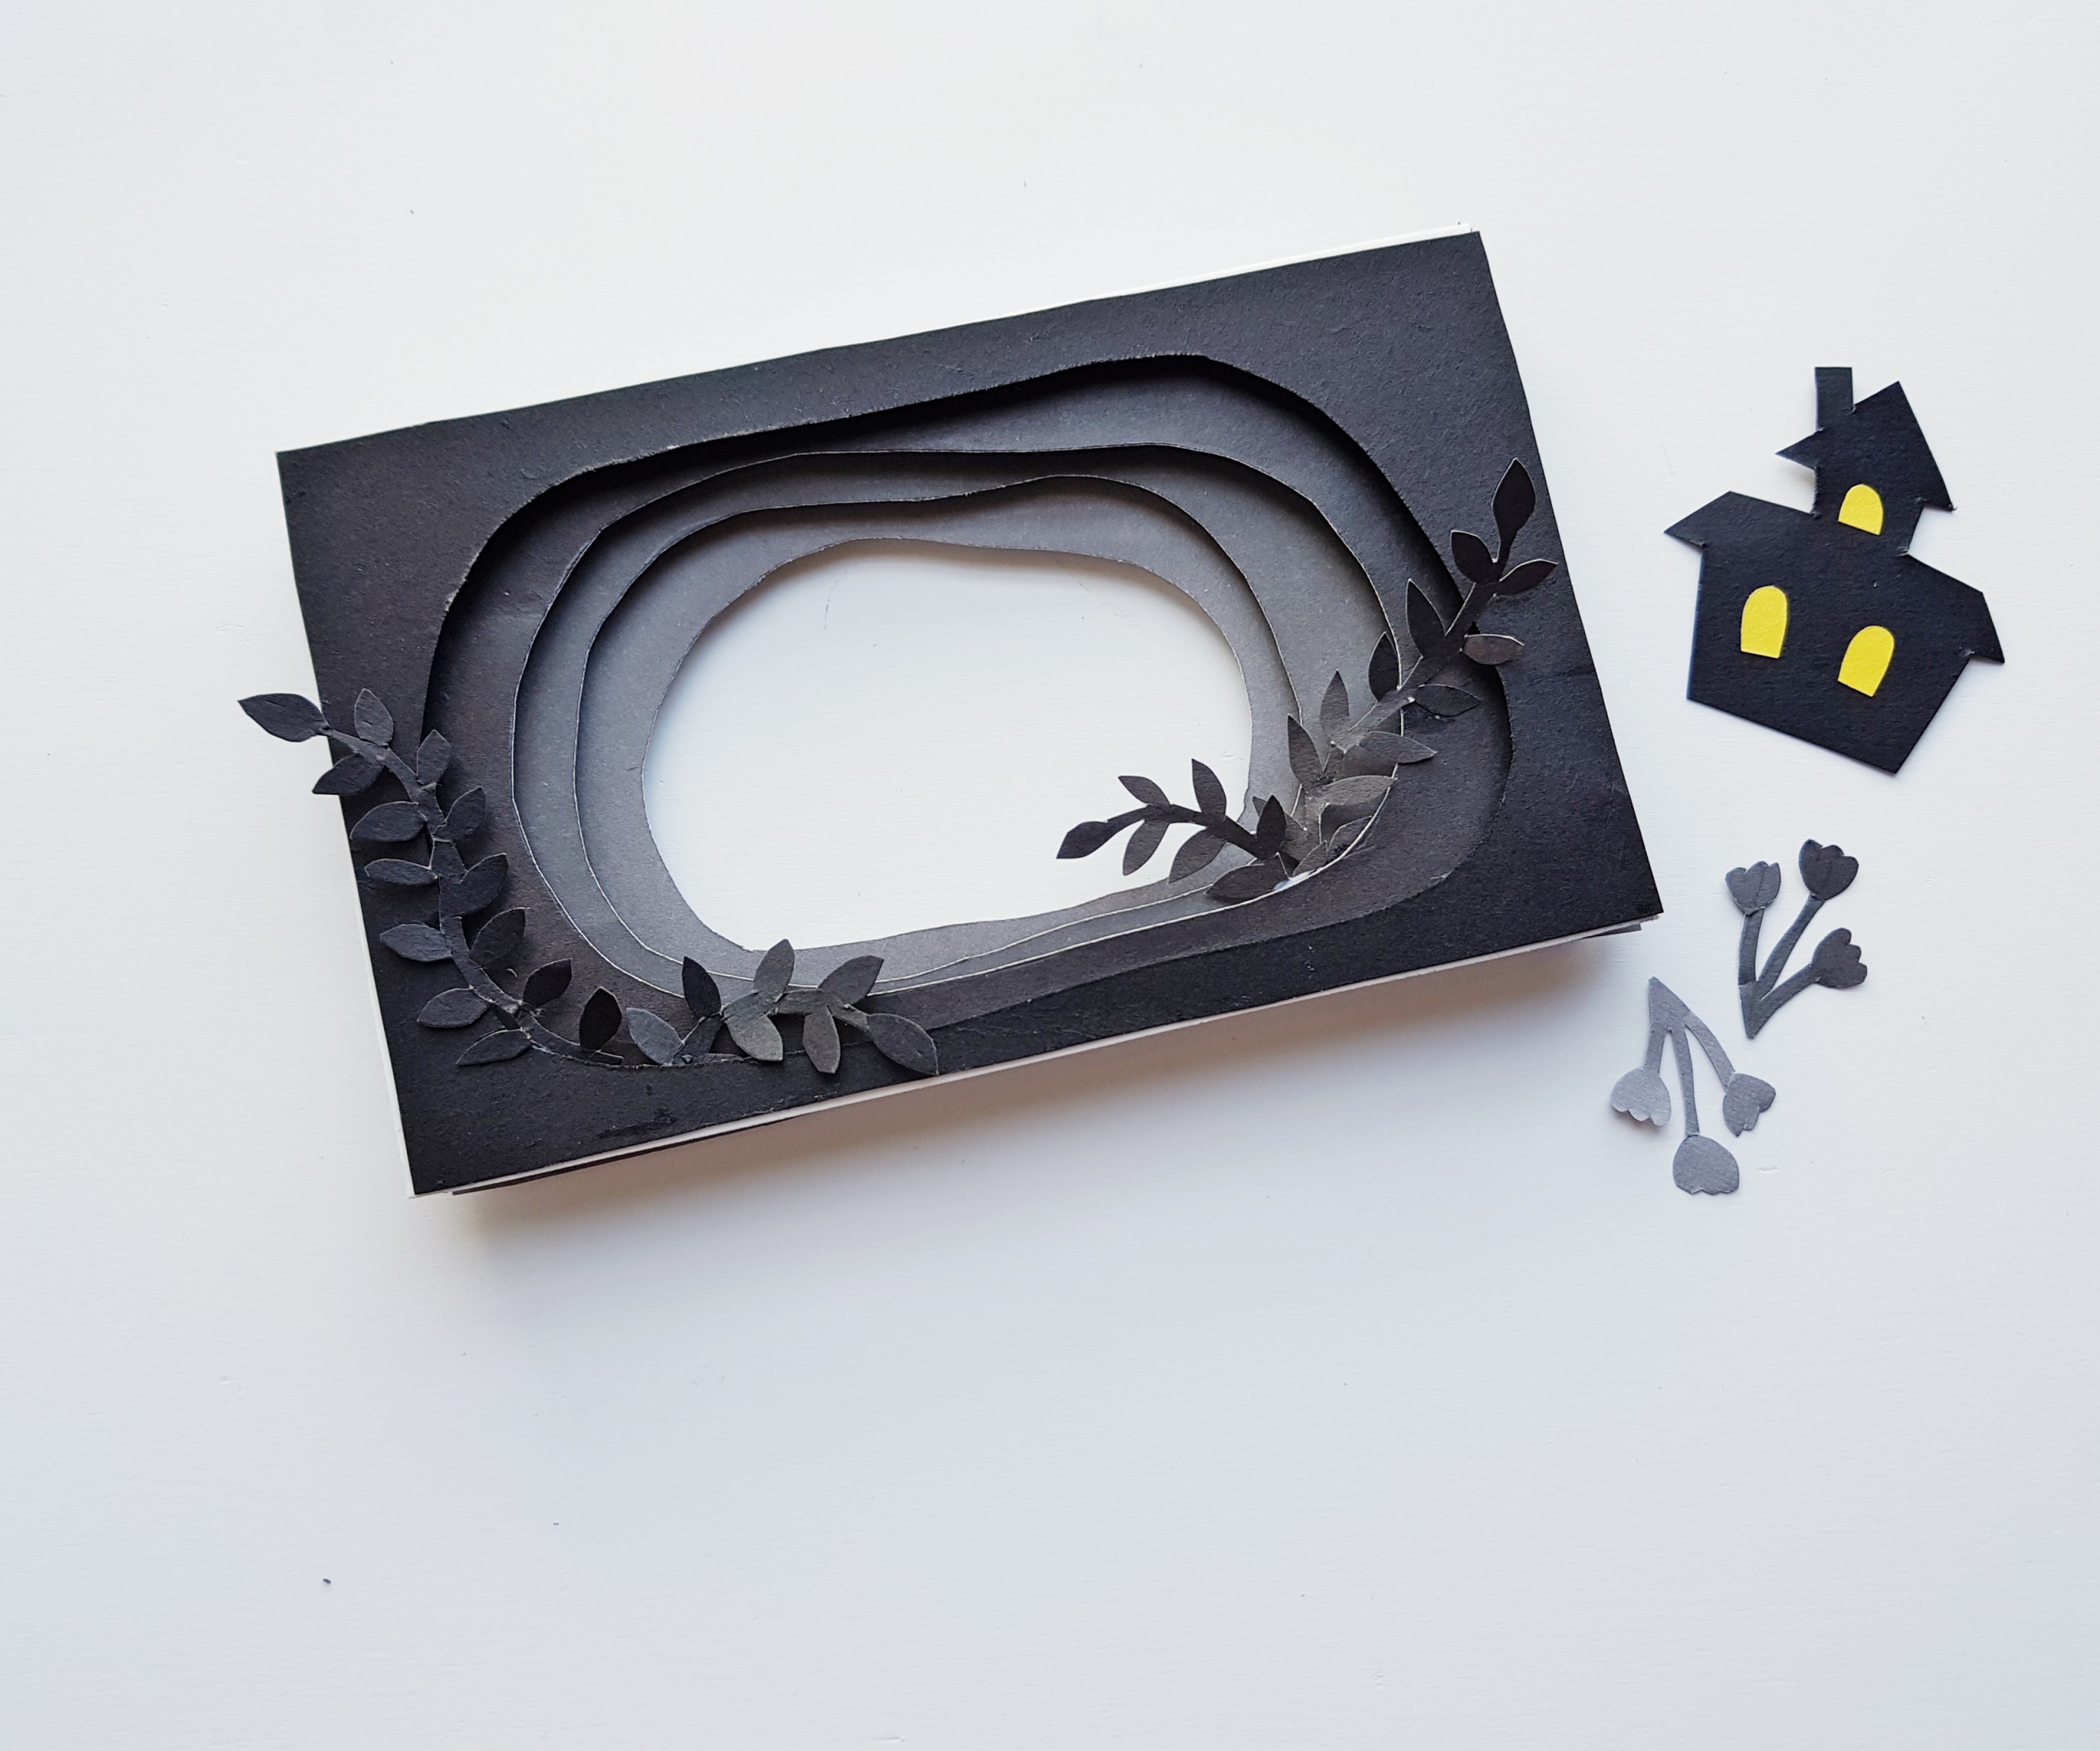
Grab each item one by one and attach them to each layer to create a 3d scene.
Step 13

Select a paper for the empty background. You can either cut the paper to the layer size (5.5 inches X 3.5 inches) or cut to the size to fill the background space (the bottom layer cutout). Also cut out a thick paper layer for the back side of the 3d art.
Step 14

Attach the background paper on the back side paper.
Step 15

Attach the 3d art piece on the background paper prepared in the previous step. Allow the glue to dry and then frame it.
Done! Didn’t this Halloween 3d art turn out AWESOME?
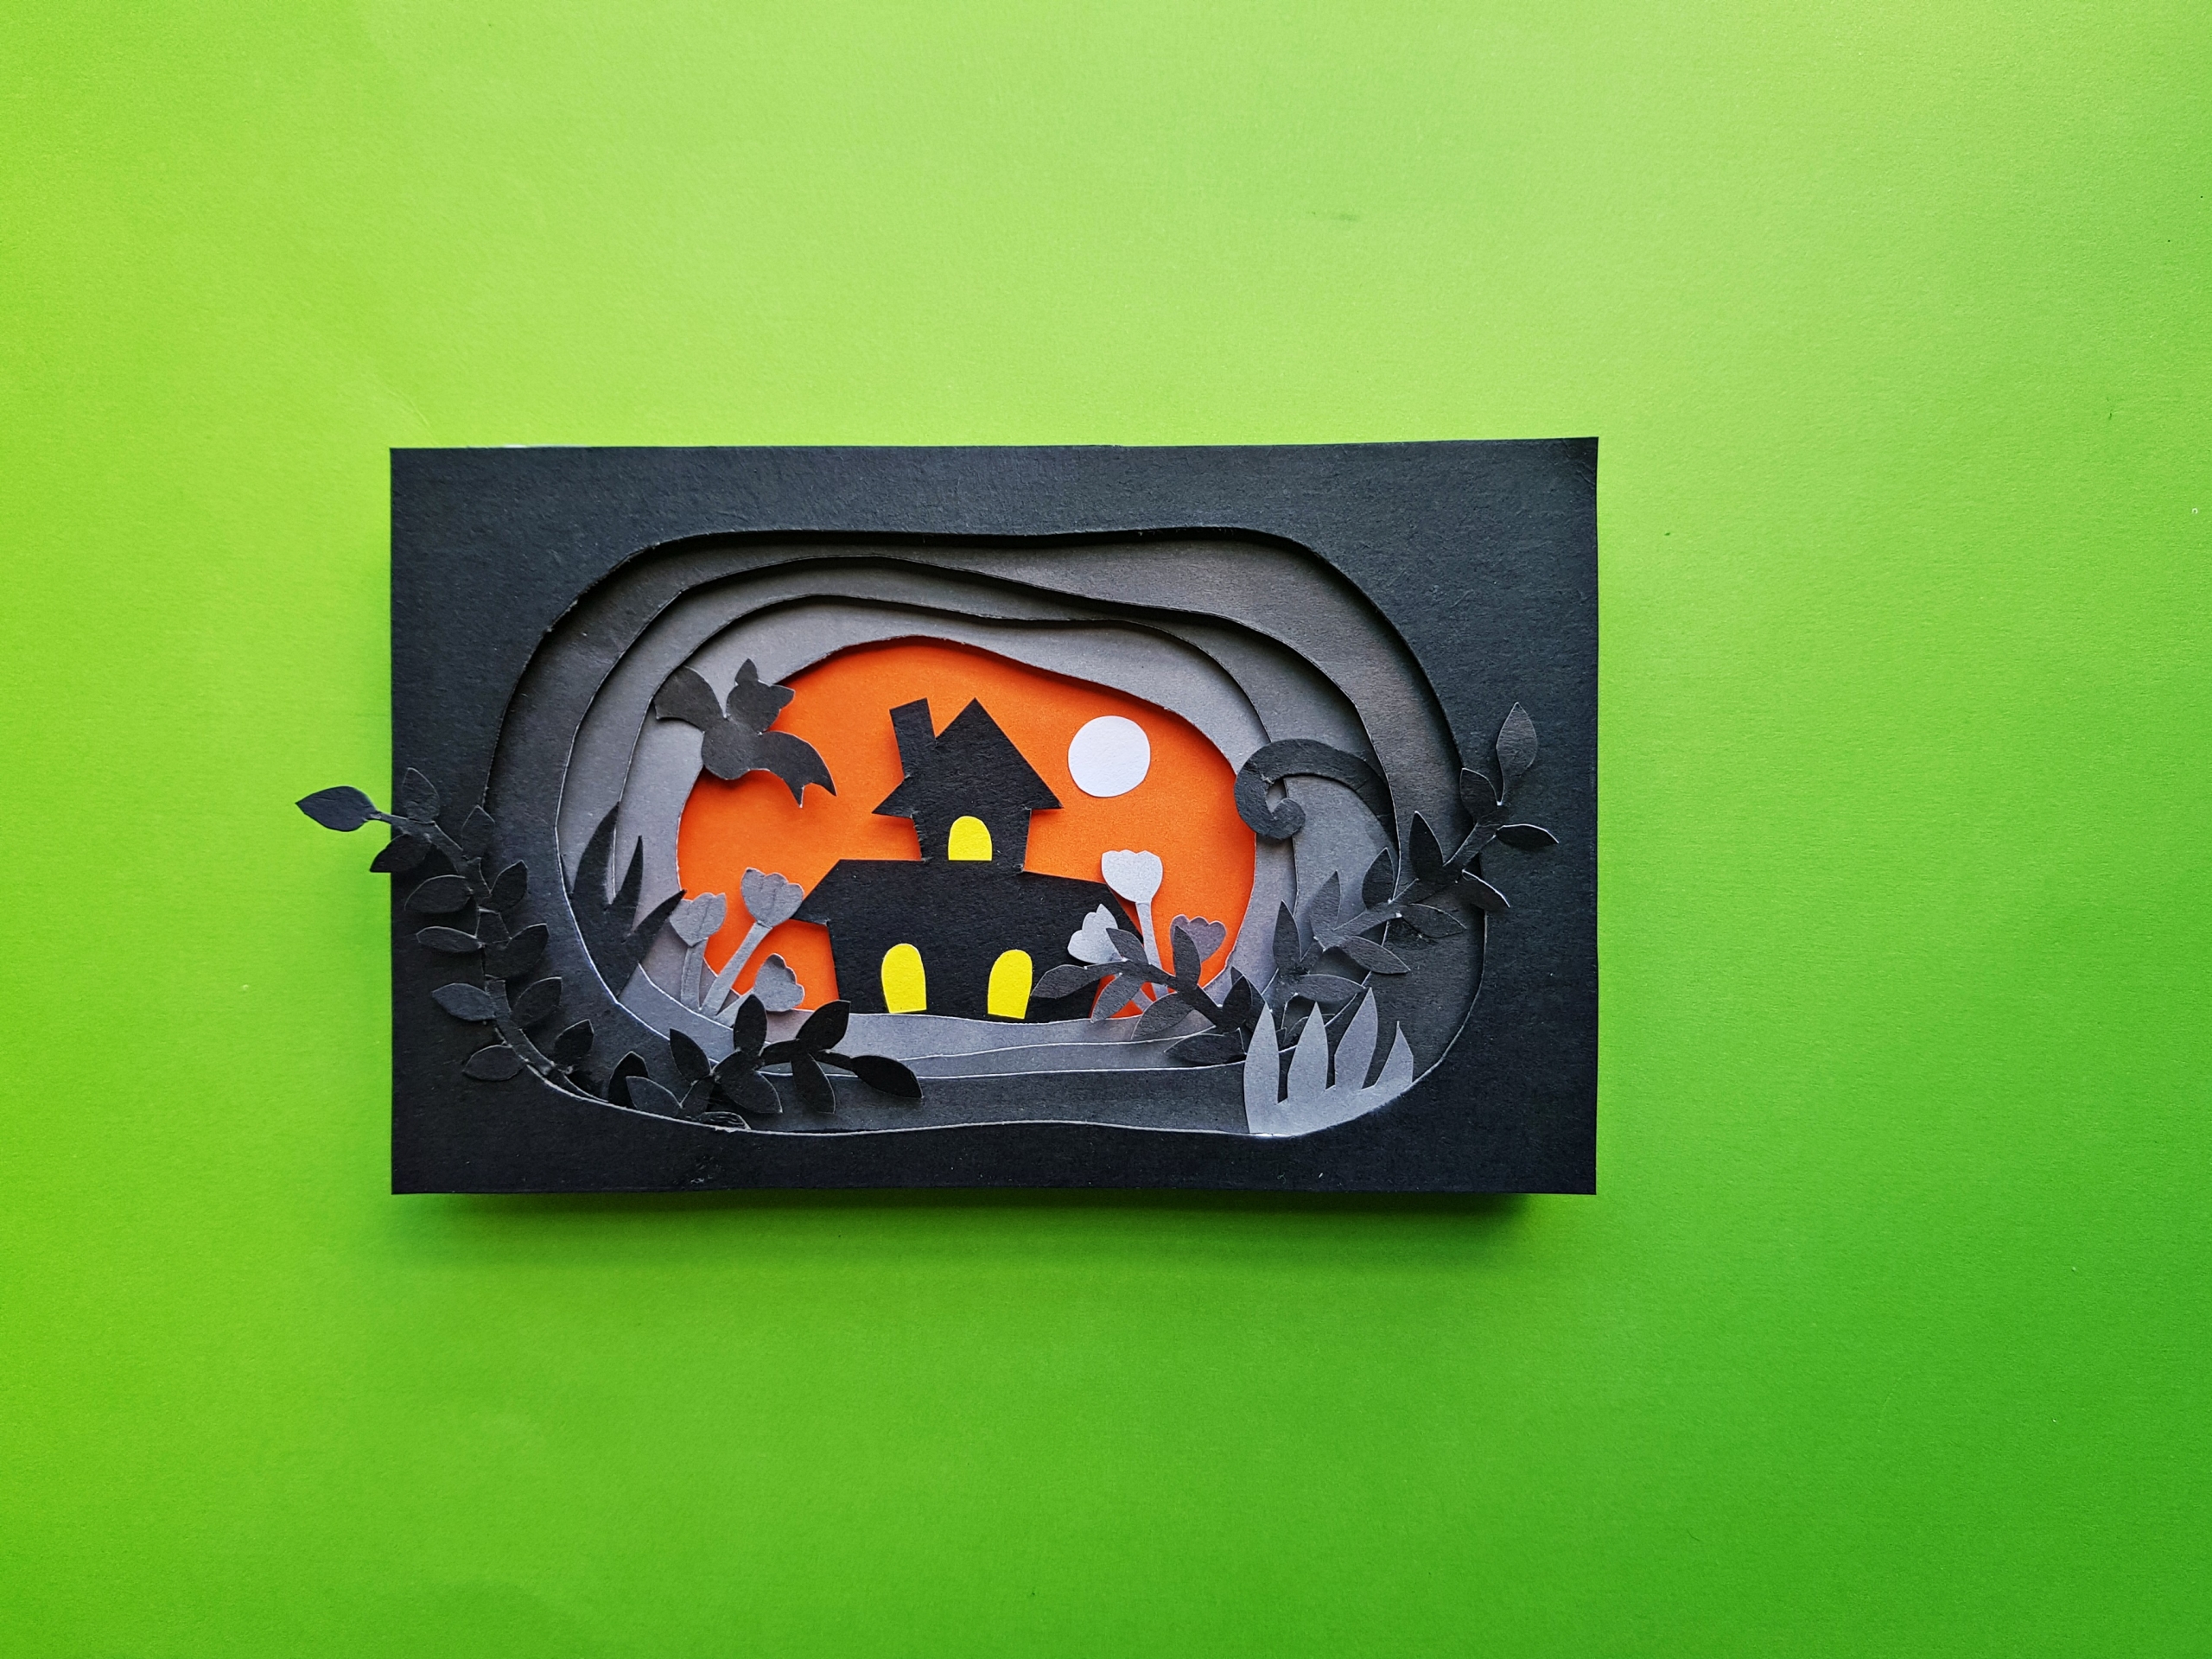
This 3d Halloween Template is FREE and available for immediate download by subscribing to Design Dazzle!
To receive this free template – enter your email address in the box below and click submit. Make sure to check your inbox for an email from Design Dazzle. You will have access to all of our FREE printables and also will receive an email newsletter filled with lots of great information. Don’t worry your email address will never be sold.
Printable files are for personal use only. They are not for commercial use.
Check out some of our other Halloween Printables too!






Leave a Reply