• Skip to main content
  • Skip to primary sidebar

Design Dazzle logo

menu icon
go to homepage
  • Home
  • Home Decor / Design
  • Holidays
  • Crafts
  • All Categories
    • Facebook
    • Instagram
    • Pinterest
    • YouTube
  • search icon
    Homepage link
    • Home
    • Home Decor / Design
    • Holidays
    • Crafts
    • All Categories
    • Facebook
    • Instagram
    • Pinterest
    • YouTube
  • ×
    Design Dazzle » Celebrations » Christmas

    Published: Nov 25, 2014 · Modified: Jul 31, 2020 by Toni Roberts · This post may contain affiliate links · 5 Comments

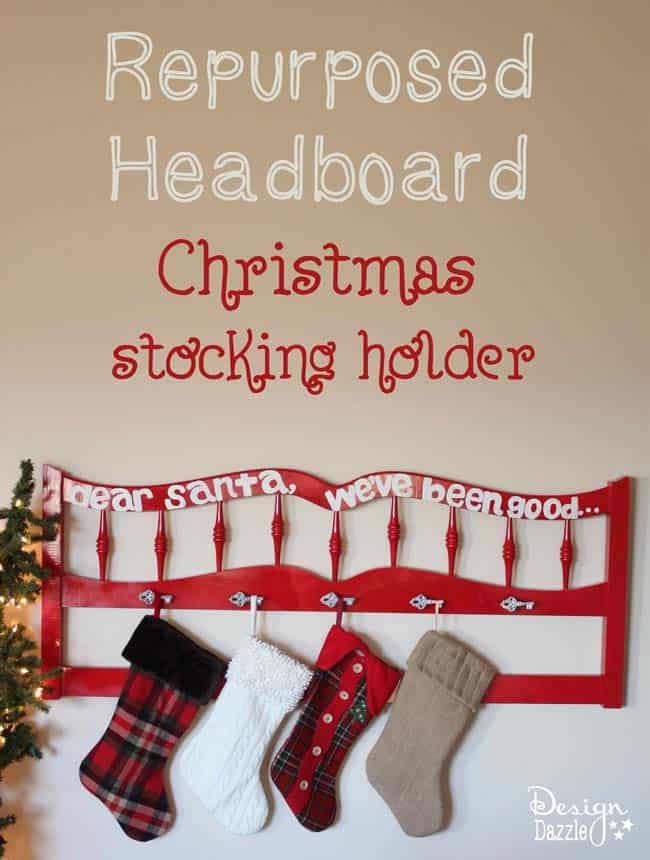
    Repurposed Headboard: Christmas Stocking Holder

    Don't have a fireplace with a mantel? Looking for a creative new way to display your cute stockings? Here's a fun DIY project to make a fabulous Christmas Stocking Holder. #repurposed #christmasdiy #christmasstockingholder

    Don’t have a fireplace with a mantle? Looking for a creative new way to display your cute stockings? I have got the perfect DIY project to make a fabulous Christmas Stocking Holder! Repurposing a headboard to be a stocking holder might sound pretty far-fetched, but the end result is fantastic. Your kids will love the reminder “Dear Santa, We’ve Been Good…” hanging right above their empty stockings, waiting to be filled! With a little bit of elbow grease and a steady hand to paint, you will have a fabulous, festive Christmas Stocking Holder in no time!
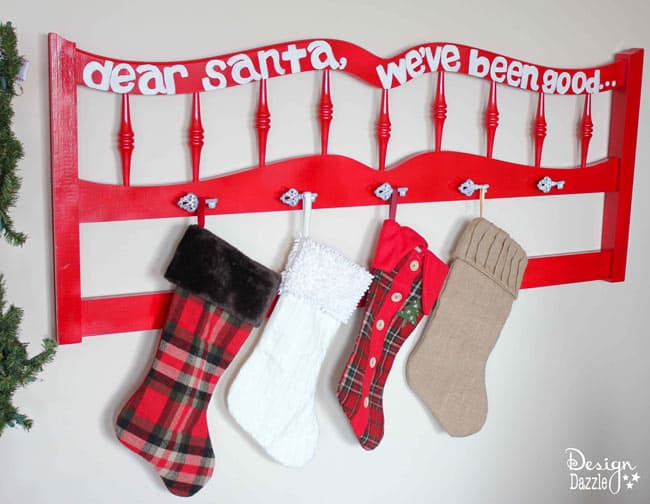
    Dear Santa, we've been good...repurposed headboard into stocking holder

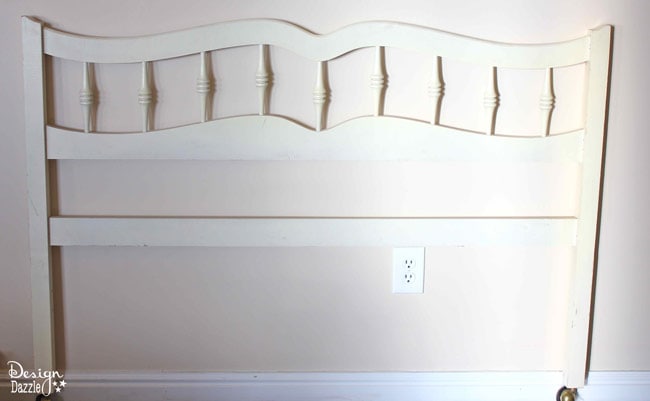
    I found this old headboard at a thrift store a few years back and decided to finally make it into something. The footboard to the bed was also made into something creative. Can’t wait to share it with you!

    Supplies to make Christmas Stocking Holder

    • old headboard
    • Rust-Oleum Spray Paint Apple Red
    • chalk
    • white acrylic paint
    • paint brush
    • knobs from craft store
    • electric drill
    • saw


    headboard repurposed into Christmas stocking holder

    Step 1:

    Cut the legs down to where you need. The legs on this headboard were trimmed about 18 inches from the bottom with a saw.

    Step 2:

    Clean up your old headboard. This could be quick and painless, or require quite a bit of work depending on the condition! I spray painted my headboard with a primer coat and then used red spray paint to cover the headboard. Let it dry completely. It took about 3 coats of red paint to cover completely.

    Step 3: Using chalk first, write out the phrase “Dear Santa, We’ve Been Good…”. Then, paint over the chalk with white acrylic paint. This could take longer than expected, depending on how much of a perfectionist you are!
    Don't have a fireplace with a mantel? Looking for a creative new way to display your cute stockings? Here's a fun DIY project to make a fabulous Christmas Stocking Holder. #repurposed #christmasdiy #christmasstockingholder

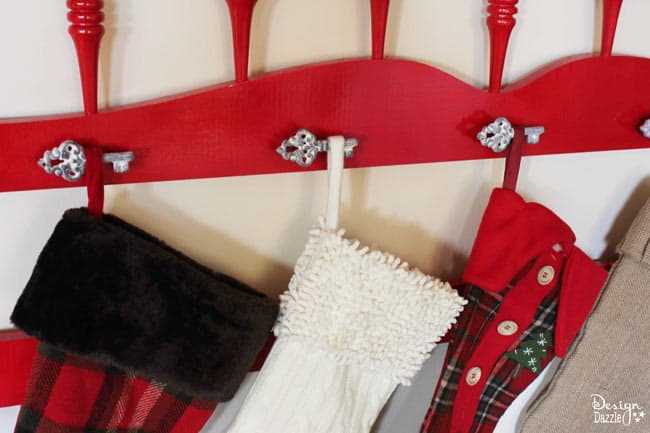
    Step 4: Using an electric drill, make the holes for the  knobs to go into. Make sure to measure and check that the holes are spaced apart evenly! Then, screw the knobs into the holes.
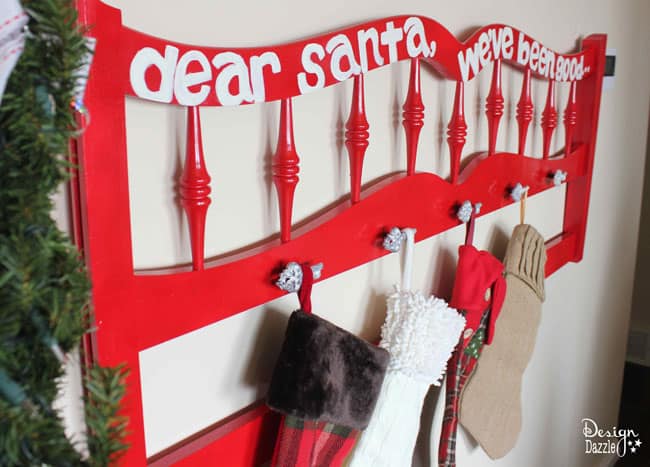
    Don't have a fireplace with a mantel? Looking for a creative new way to display your cute stockings? Here's a fun DIY project to make a fabulous Christmas Stocking Holder. #repurposed #christmasdiy #christmasstockingholder

    Step 5: Make sure that the stockings are hung with care on this old headboard that became the cutest Christmas Stocking Holder ever!
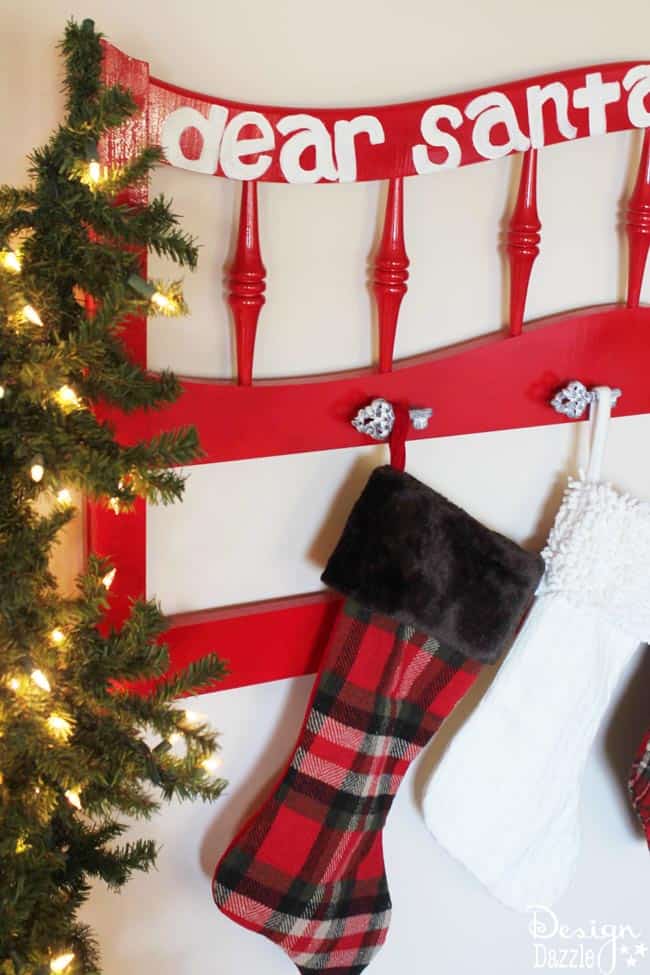
     

    Don't have a fireplace with a mantel? Looking for a creative new way to display your cute stockings? Here's a fun DIY project to make a fabulous Christmas Stocking Holder. #repurposed #christmasdiy #christmasstockingholder

     This project is not that difficult and the end result is fantastic! You will love the pop of color and the festive feeling it brings into the room. Giving Santa that gentle reminder that, “Dear Santa, We’ve Been Good…” is sure to get your kids stockings full of goodies that will keep the smiles coming!

    design dazzle christmas wonderful

    Christmas Wonderful runs until mid-December.
    Check back tomorrow for more great ideas like this one!
    Can’t wait that long? Take a look at our Christmas Wonderful archives.

    This post contains affiliate links.

    signature_toni.jpg

    More Celebrations

    • Adult Harry Potter Party Entrance
      Ultimate Ideas For an Adult Harry Potter Party
    • Christmas Cookie Decorating Party for Kids
      Host a Christmas Cookie Decorating Party for Kids
    • 17 Perfect Fall Cakes
      17 Impressive Fall Cake Recipes
    • Chocolate and caramel dipped apples
      Chocolate Dipped Apples + Caramel

    Sharing is caring!

    Reader Interactions

    Comments

    1. Gustin says

      December 10, 2014 at 3:08 am

      I’m going to have to try this idea!

      Reply
    2. Ann says

      September 15, 2015 at 4:09 pm

      Genius!

      Reply
      • Toni - Design Dazzle says

        September 25, 2015 at 11:06 am

        Thank you Ann!

        Reply

    Leave a Reply Cancel reply

    Your email address will not be published. Required fields are marked *

    Recipe Rating


    Primary Sidebar

    Toni medium

    Hi, I’m Toni! I love designing and decorating. Join me for home inspiration and creative living! More about me →

    Popular

    Spring/Easter

    • Setting an Easter Table
      Decorating An Easter Table
    • elegant recipes with rose
      Rose Petal Sweets
    • IMG 9043
      Simple Easter Table Decor
    • Edible Bunny Box with candy inside. - Design Dazzle
      It’s An Adorable, Edible Easter Bunny! D-I-Y

    Footer

    ↑ back to top

    About

    • Privacy Policy
    • About Toni

    Contact

    • Contact
    • Press & Partnerships

    Toni Roberts is a participant in the Amazon Services LLC Associates Program, an affiliate advertising program designed to provide a means for sites to earn advertising fees by advertising and linking to amazon.com

    DesignDazzle.com is protected by copyright laws. DO NOT distribute or copy the content or share multiple images or collage images without written permission. You can use ONE Design Dazzle image only if there is a link back to DesignDazzle.com. DO NOT edit, crop, or remove watermarks from any image. Please contact me at [email protected] with any questions.

    Copyright © 2024 Design Dazzle