Reindeer Food Recipe
Hi everyone! I am so very excited to be back again this year. It’s always so much fun to guest post on Design Dazzle, especially during the holiday season. My name is Jess, and I blog about all things party on Everyday Party Magazine. I’m a mama to four crazy young men, a Cricut and DIY enthusiast. When I’m not blogging or DIY’ing, I am at the hockey rink cheering on two of my boys, or trying to figure out where our next trip will be. But, y’all didn’t come over today to read about me, you want a darling holiday post!
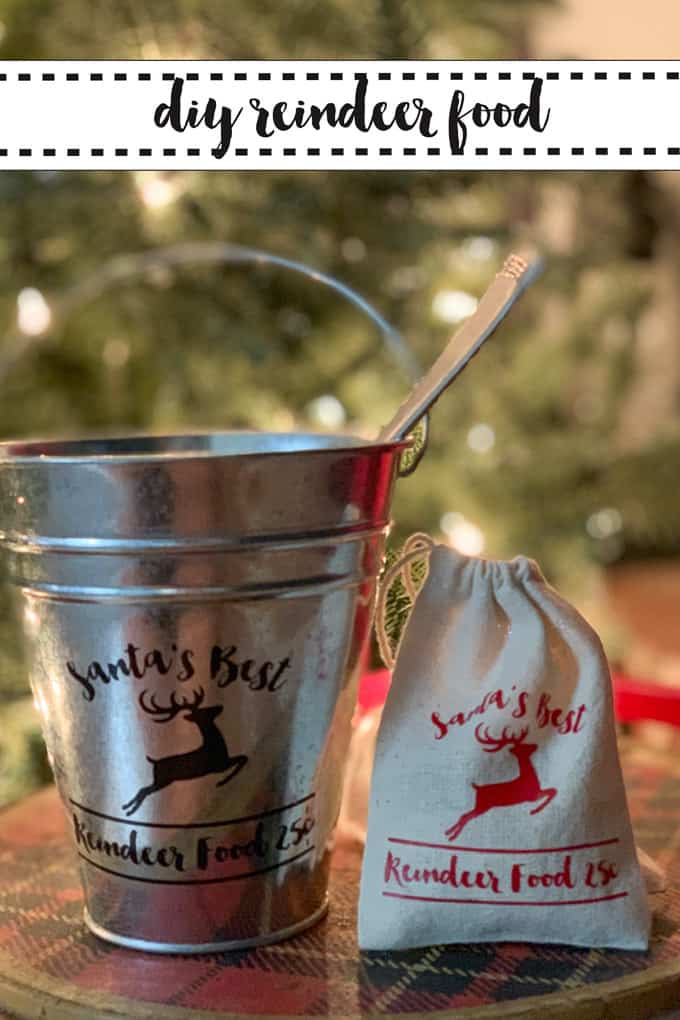
As I mentioned, I am a Cricut enthusiast, and I recently started creating my own SVG files. Two of my boys are truly gifted artists and they have helped me create some of the most amazing custom pieces of art to use for SVG files. Together, we are having so much fun creating these new files for my shop. {Bonus, it’s a great opportunity for us to bond; and the boys love that they are earning a little bit from each sale.} One of my favorite cut files that we have created far is the Santa’s Best Reindeer Food one. It’s simple, farmhouse, and maybe a little rustic…all the things that make my heart pitter patter. I’m offering this SVG for just a dollar for Design Dazzle’s dazzling followers, just use code Dazzle in my shop.
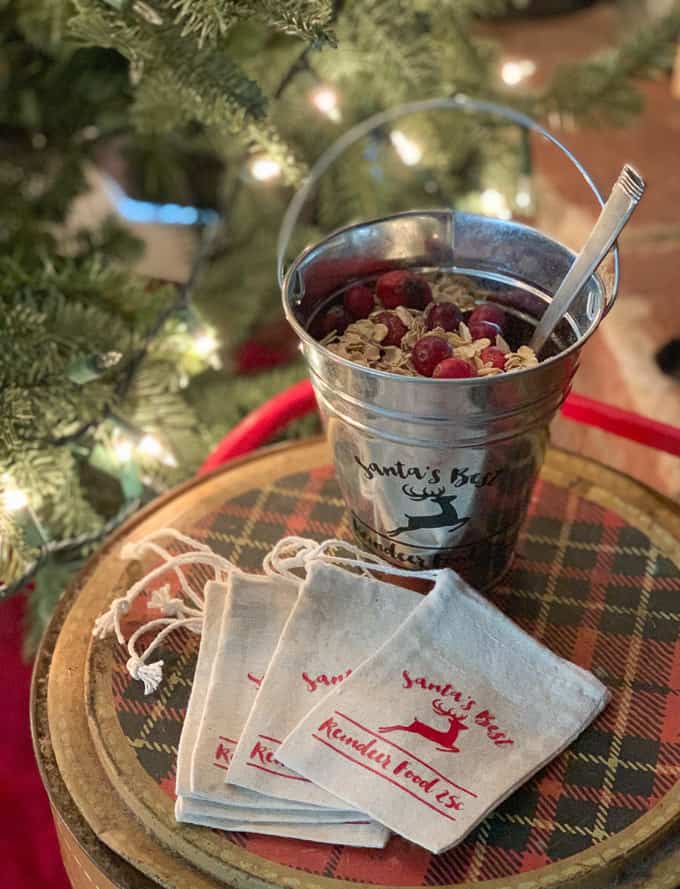
I cut several copies of the SVG, one from permanent vinyl for a small galvanized bucket, and a dozen more from Iron On for small canvas bags. My sister is going to have her class make reindeer food and send it home in the little bags. Of course we had to made wildlife safe reindeer food for the reindeer.
Reindeer Food Ingredients:
Oatmeal
Fresh Cranberries
Dried Fruits
Nuts
Mix the ingredients together in the small bucket, and package in small bags.
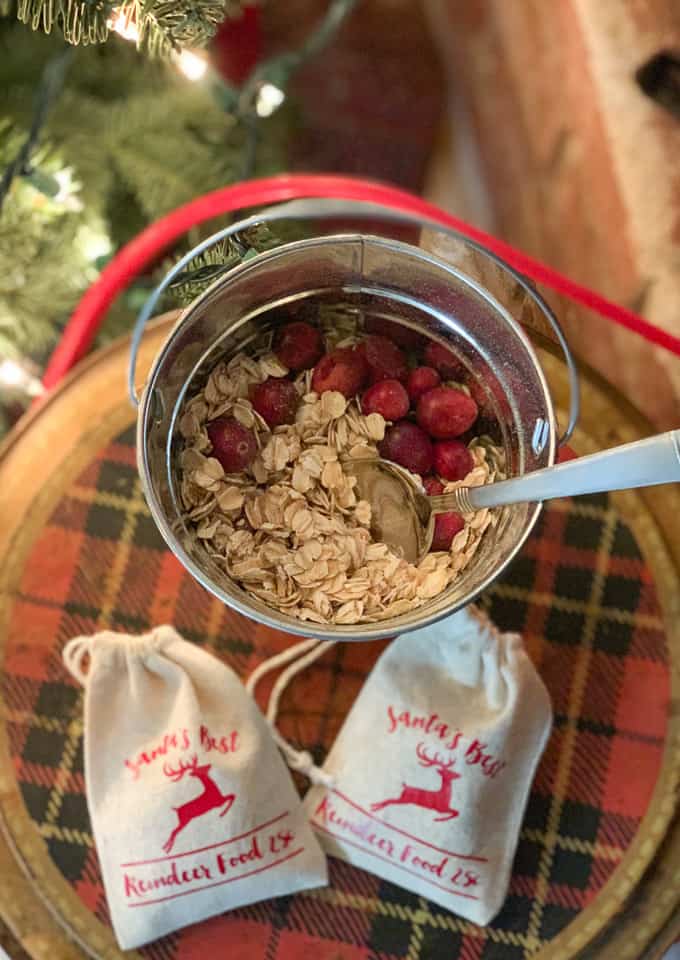
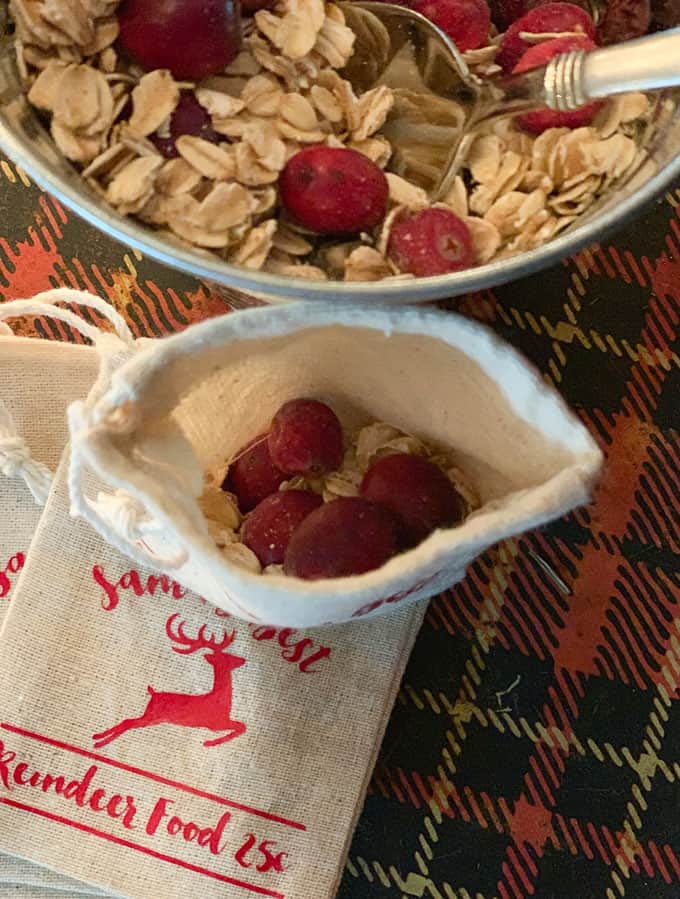
Reindeer Food Bag Supplies:
SVG
Cricut or other Cutting Machine
Iron On
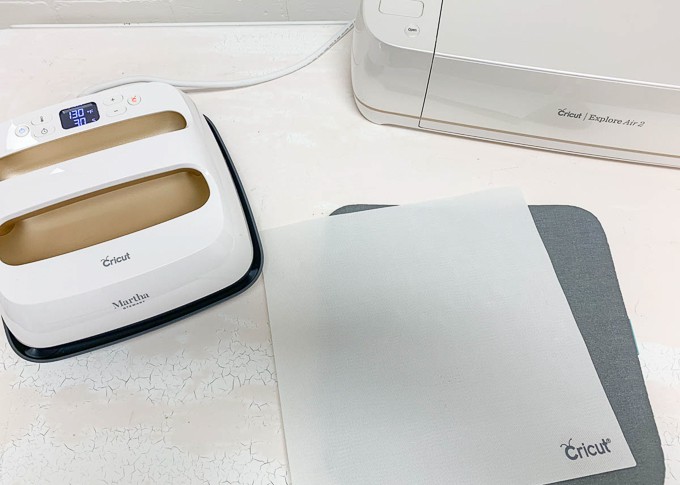
EasyPress 2 or Iron
Small Canvas Bags
Purchase the SVG {Don’t forget to use the code Dazzle} and upload it to Cricut Design Space. Size it to fit the bags, and send to cut. When you cut Iron On, you need to place the Iron On shiny side down and mirror the cut. Weed the excess vinyl, and press the Iron On onto the bags.

It’s really so simple, and too darn cute not to do!
If you liked this post, I would LOVE it if y’all would follow my blog too!
_______________________________________________________________






Leave a Reply