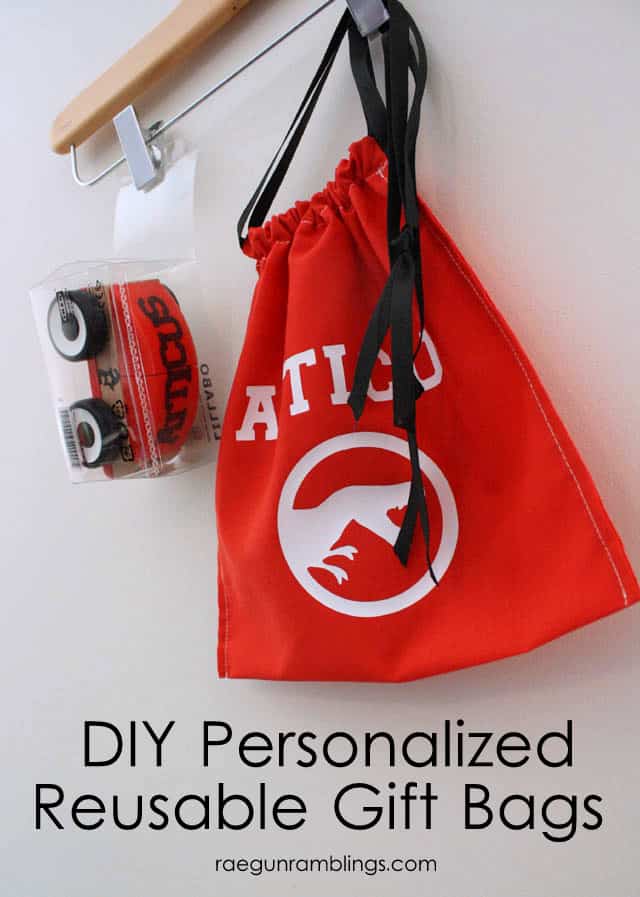
I’m Marissa from Rae Gun Ramblings where I blog about all things crafty, tasty, and bookish.
I love the idea of wrapping gifts in bags that do double duty cutting down on trash and serving as a bonus gift.
I’m so excited to be here today to show you an easy way to make reusable gift bags.
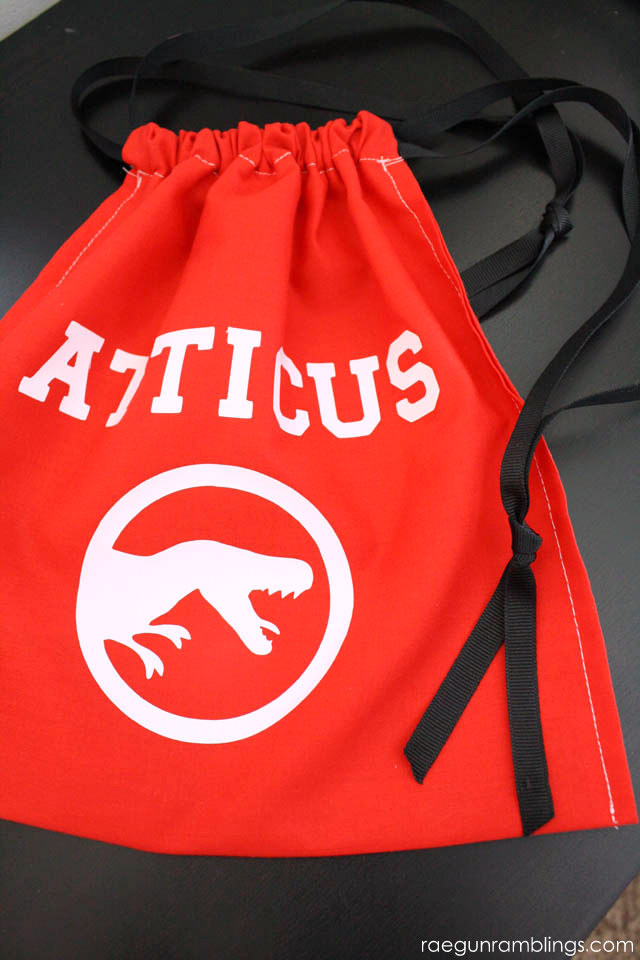
This simple bag tutorial is easy enough that it’s a great beginner sewing project perfect for teaching kids to sew (or anyone who might be new to sewing).
All you need to do is sew 4 straight lines for the basic bag!
What you need
- Fabric
- Ribbon
- Iron-on Vinyl
- Lighter
What to Do
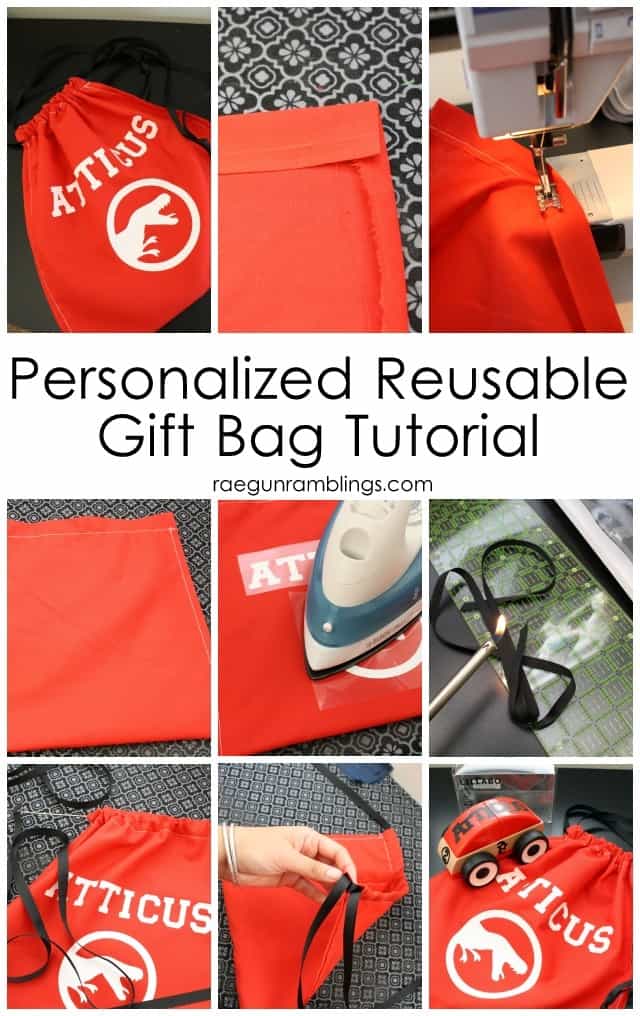
- Start by deciding how big you want your bag. You’ll want to double the length and add 3 inches for the length measurement. For the width measurement just add 3 inches to the finished width measurement.
- For the ribbon you want two pieces of ribbon that are 1.5x the width of what you want your finished bag to be.
- Start by ironing both short edges of your fabric under 1 inch. Also iron the long edges under ½ inch.
- Sew down the short edges with a ⅝ inch seam allowance.
- Fold the fabric in half so the folds are on the inside and the sewn short edges are aligned. Starting at the sewing line you made in step 3 sew down the edge of the bag with a ¼ inch seam allowance catching both pieces of fabric.
- Now you should have a basic bag shape. Cut your iron-on vinyl out with a cutting machine (or if you’re super brave use an exacto knife). If you have never used iron-on vinyl it’s super awesome stuff and easy to use to learn more about it with tons of step by step pictures check out my iron-on vinyl tutorial. But the basic gist is that you make a mirror image that you want to cut, use a cutting machine and cut the vinyl out vinyl side up (plastic side down). Pull away any of the negative space of the design, lay the vinyl onto your bag and iron through the plastic and finally pull the plastic away. And don’t worry, if it went too fast or you can’t picture it just check out my long how to use vinyl post.
- Next seal the ends of the ribbon by running them across a flame.
- Thread the ribbon through one end and loop it back through the other. Knot the ends together. Repeat going the other direction and you should have a bag where you can pull the straps to cinch it closed.
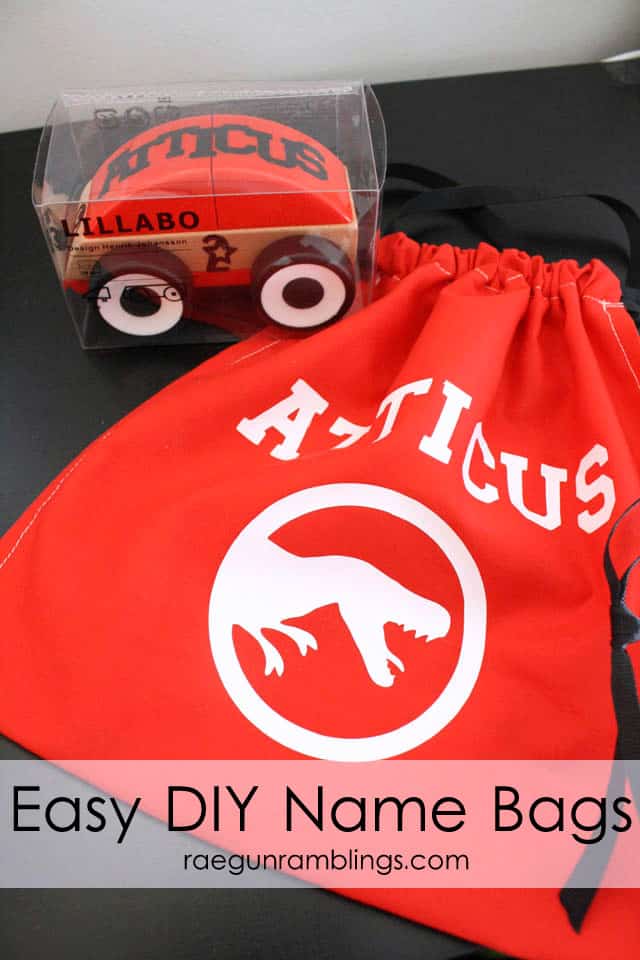
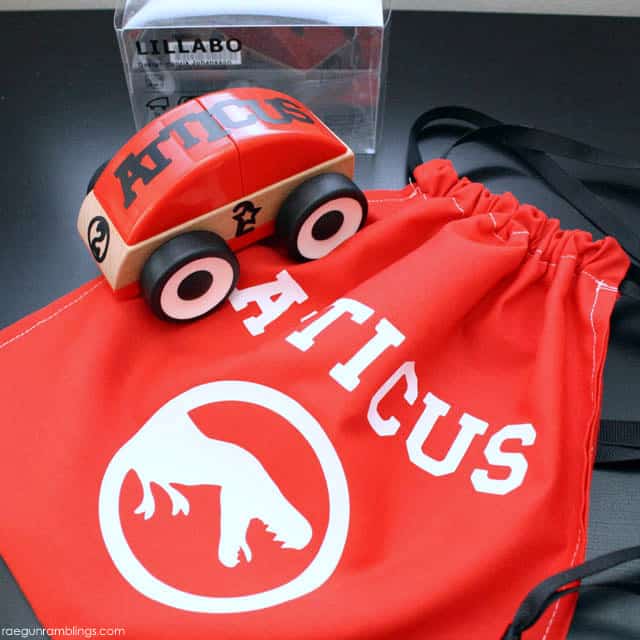
These are awesome since you can make them into any size. You can use it to pack up a personalized little IKEA car like I did or something much bigger.
They can be a gift all on their own or you can place other gifts inside to use it as a great double duty or reusable gift bag.
 Marissa’s a huge HP fan, lover of fried food, Instagram addict, and new mama to 9 month old Teddy. She spends her days sewing baby clothes for her shop Rae Gun and blogs over at Rae Gun Ramblings where she loves to share her favorite recipes, creative tutorials, and book recommendations. Stop by her blog to see more and say hi!

Can’t wait that long? Take a look at our Christmas Wonderful archives.




Leave a Reply