Hello Design Dazzle readers! It’s Christine again from I Dig Pinterest, and I’m thrilled to be back with you sharing how to make a fun and festive craft!
I love the holidays, don’t you? Besides the magical aura that fills the air, everyone is happy while they’re bustling about shopping for friends and loved ones. There’s just something special to be said about the wonderful time of year when family and giving are the focus.
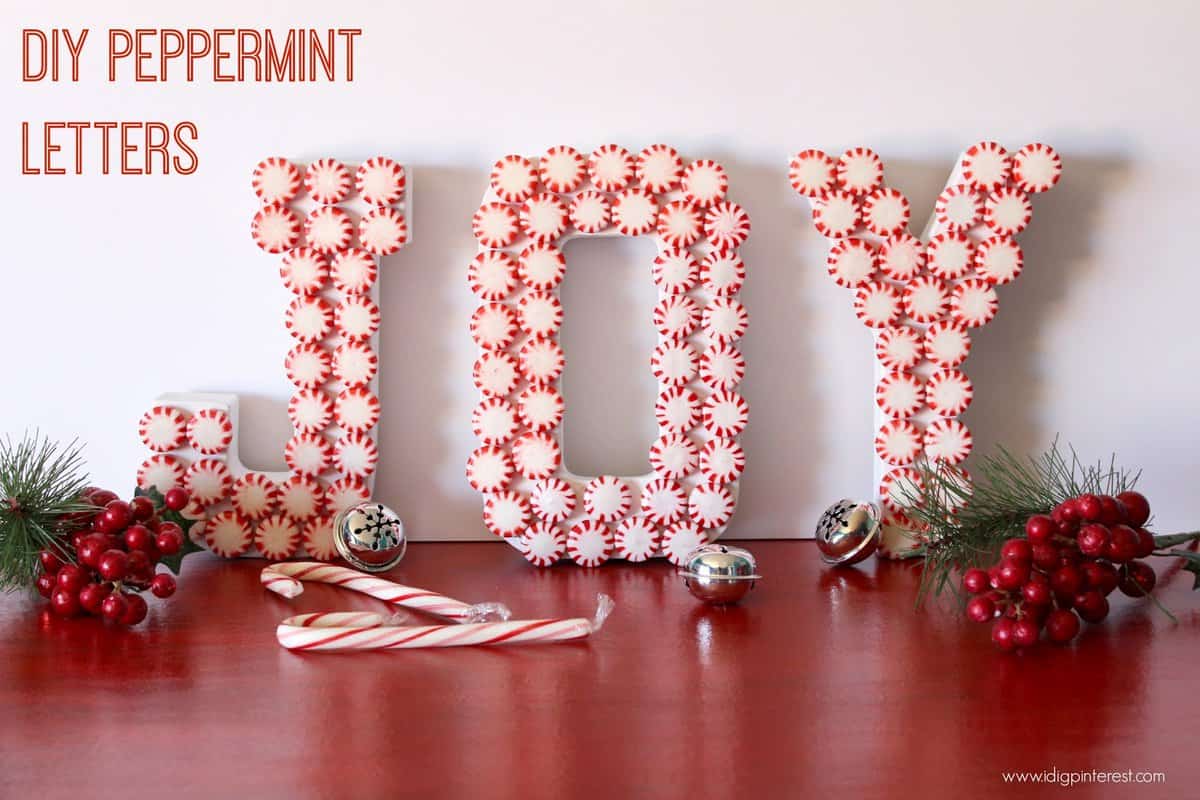
I also really love the fun colors that accompany Christmas time. I may have a little obsession with peppermints because I heart red and white stripes! So I put together one of the most simply DIY holiday projects you can ever undertake. These festive painted peppermint paper mache letters only require a few inexpensive elements and are a perfect decor piece to bring the beauty of the season into your home.
When I saw this adorable idea for Halloween “BOO” gumball letters over at My Sisters’ Suitcase, I knew I needed to make a spinoff of it later in true Christmas fashion. So here it is in all its red and white peppermint glory!
{SUPPLIES}
White craft paint and foam brush
Paper mache letters
Peppermints
Hot Glue gun
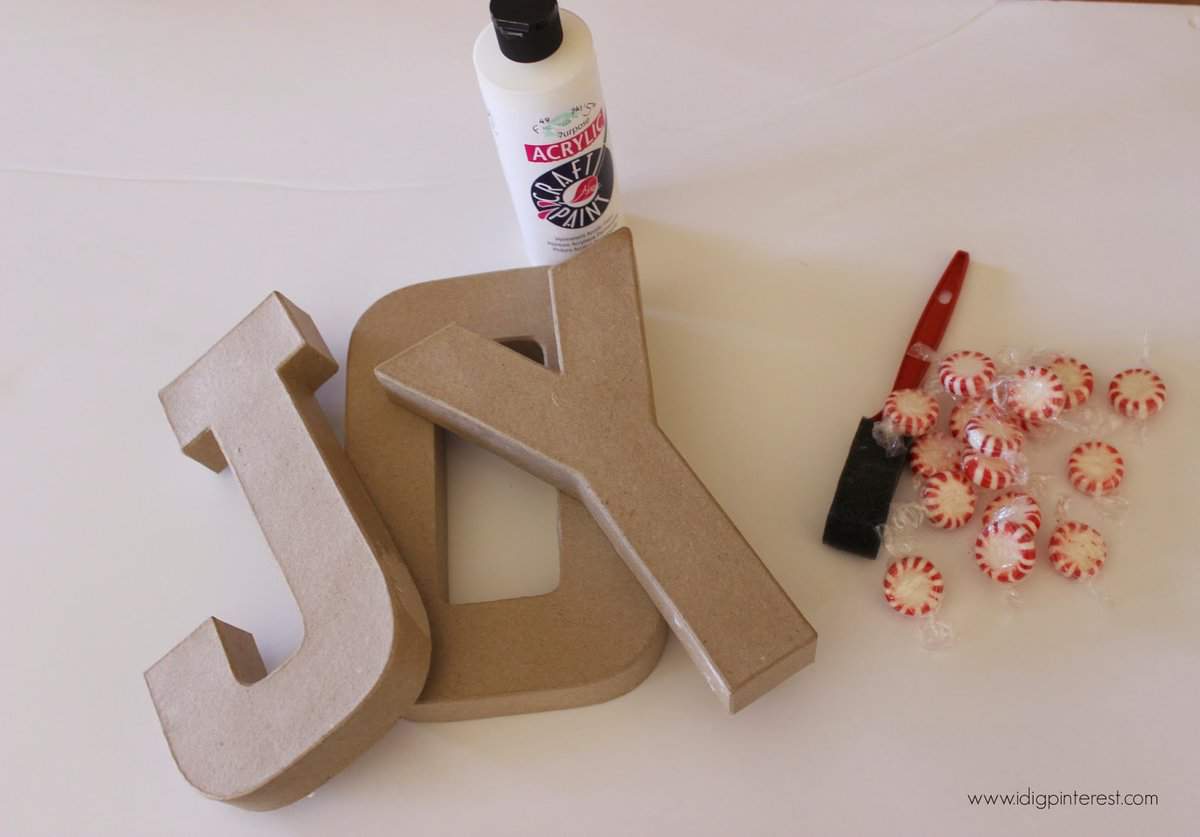
I prefer the peppermints from the Dollar Tree because the red is definite and bold. Assemble your supplies and let the kids have fun unwrapping oodles of peppermints. 🙂
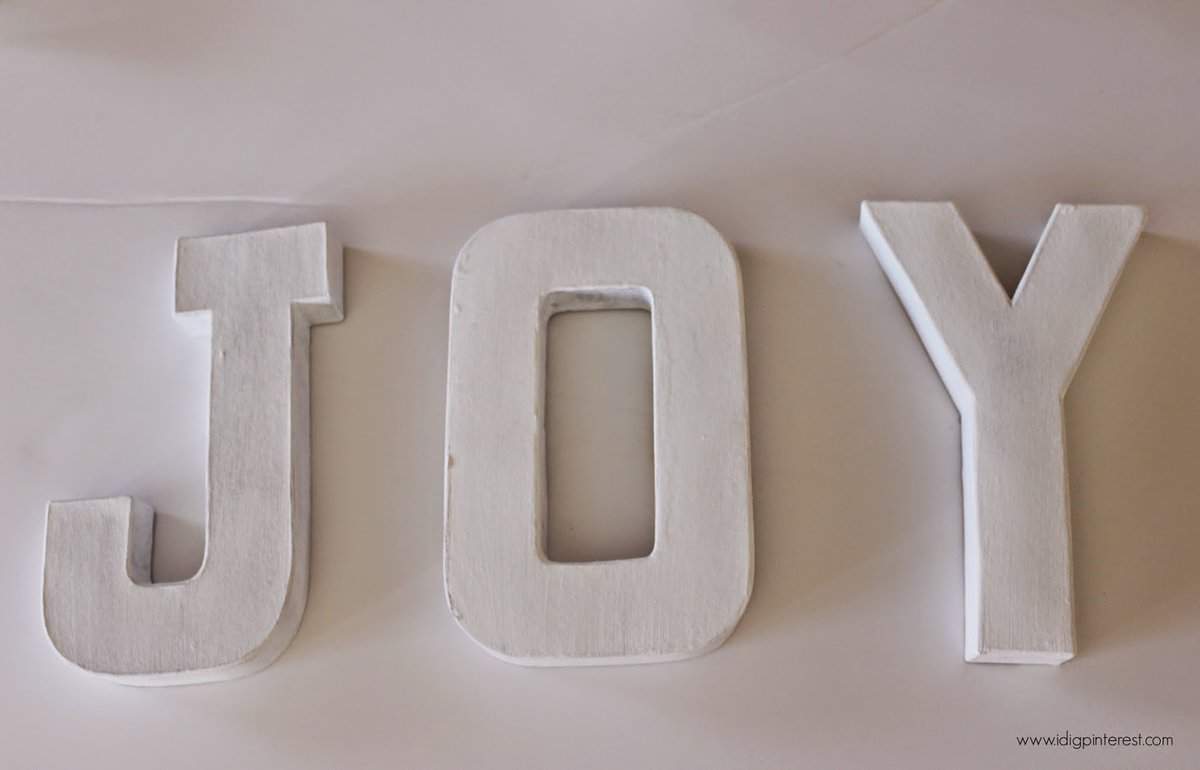
Begin by painting your paper mache letters, allowing the paint to dry in between. Mine required a few coats. Be sure to get inside the nooks and crannies of the letters. I didn’t worry about painting the backs of mine, but you certainly can if you want to go the extra mile.
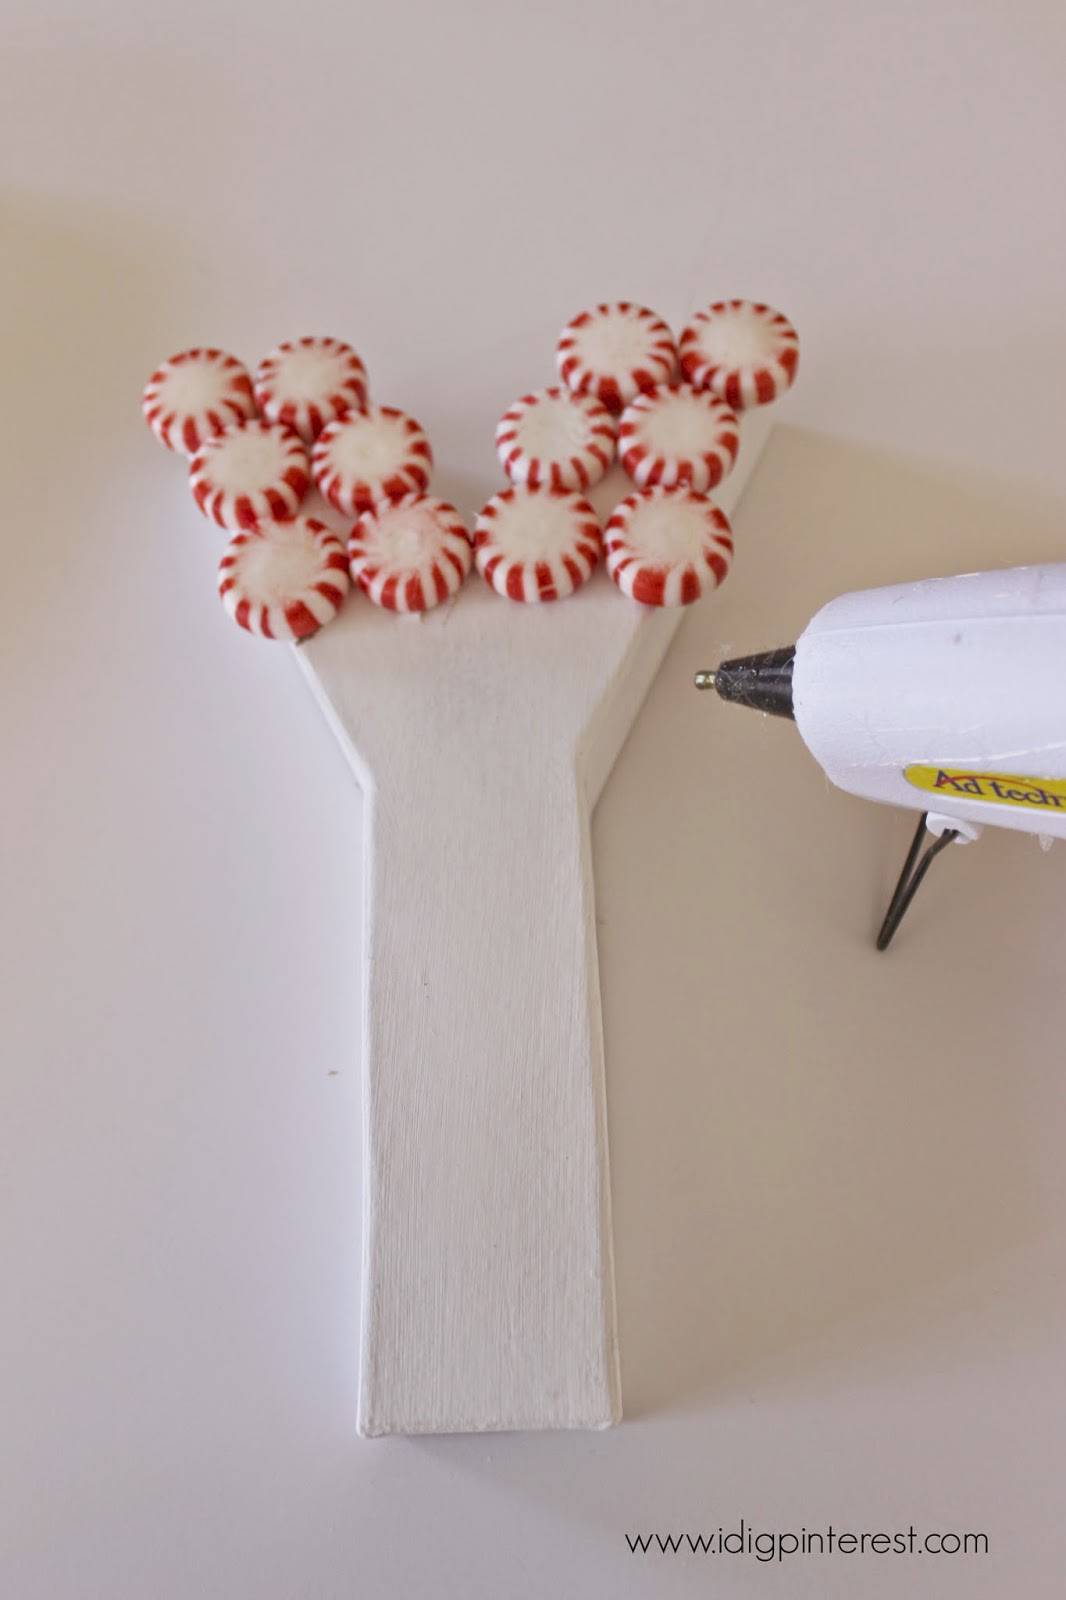
Now hot glue your unwrapped peppermints on as close together as you can. It’s a little tricky repositioning the peppermints after gluing because doing so pulls the paint and paper with it, so I recommend arranging all the peppermints where you want them and then gluing.
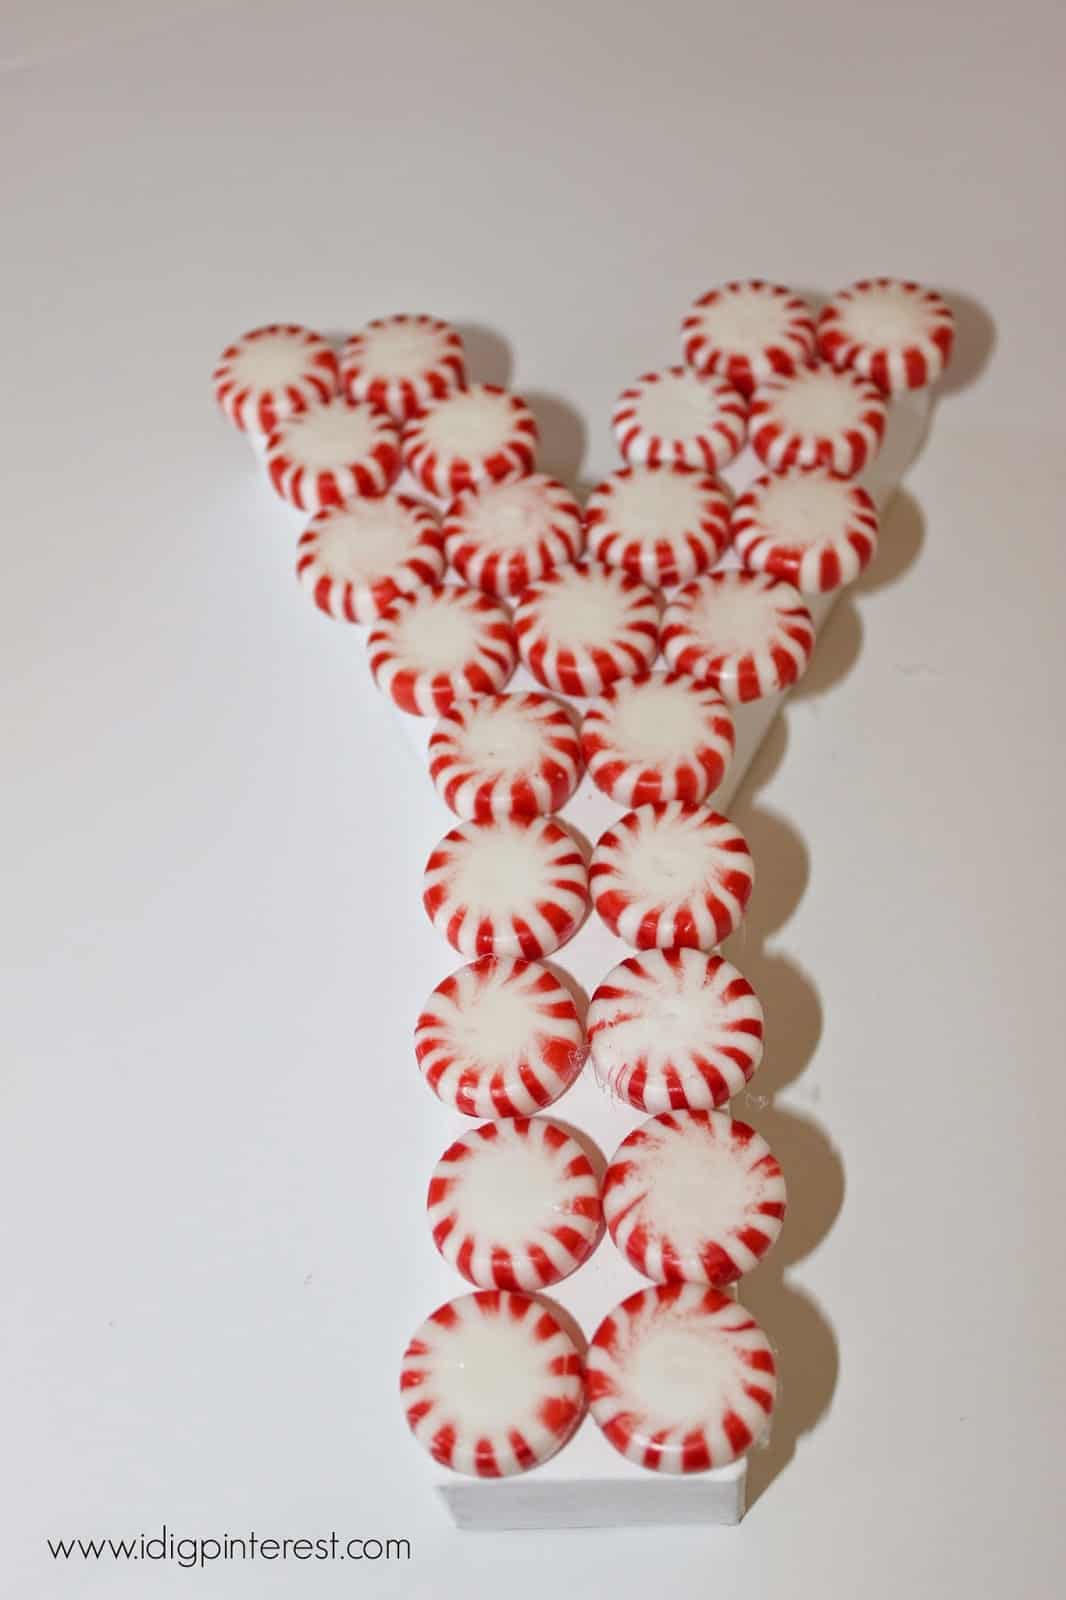
You’ll of course see some gaps in between the candies, but that’s why we painted the letters first. This process seems tedious, but it really does go quickly once the peppermints are unwrapped.
Repeat for each letter in your holiday word or phrase. I chose JOY primarily because it’s short, but I also appreciate the extra joy that abounds during the Christmas season. 🙂
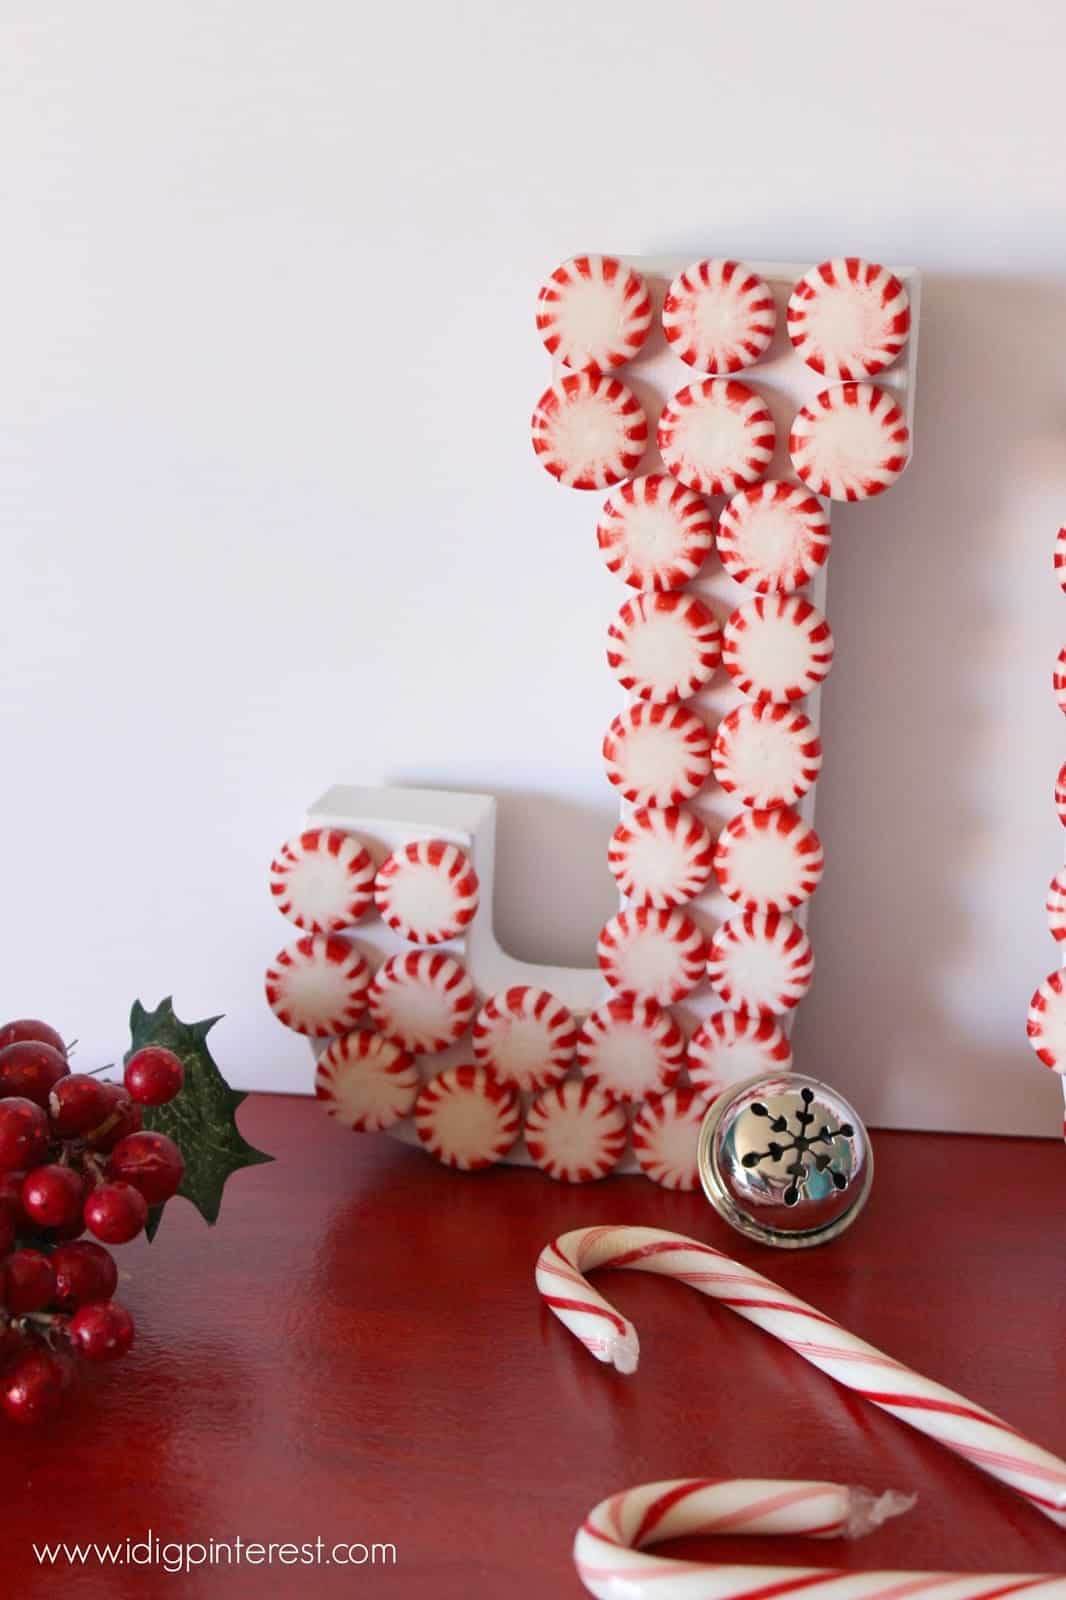
How’s that for easy and festive? I think they’re quite classy looking!
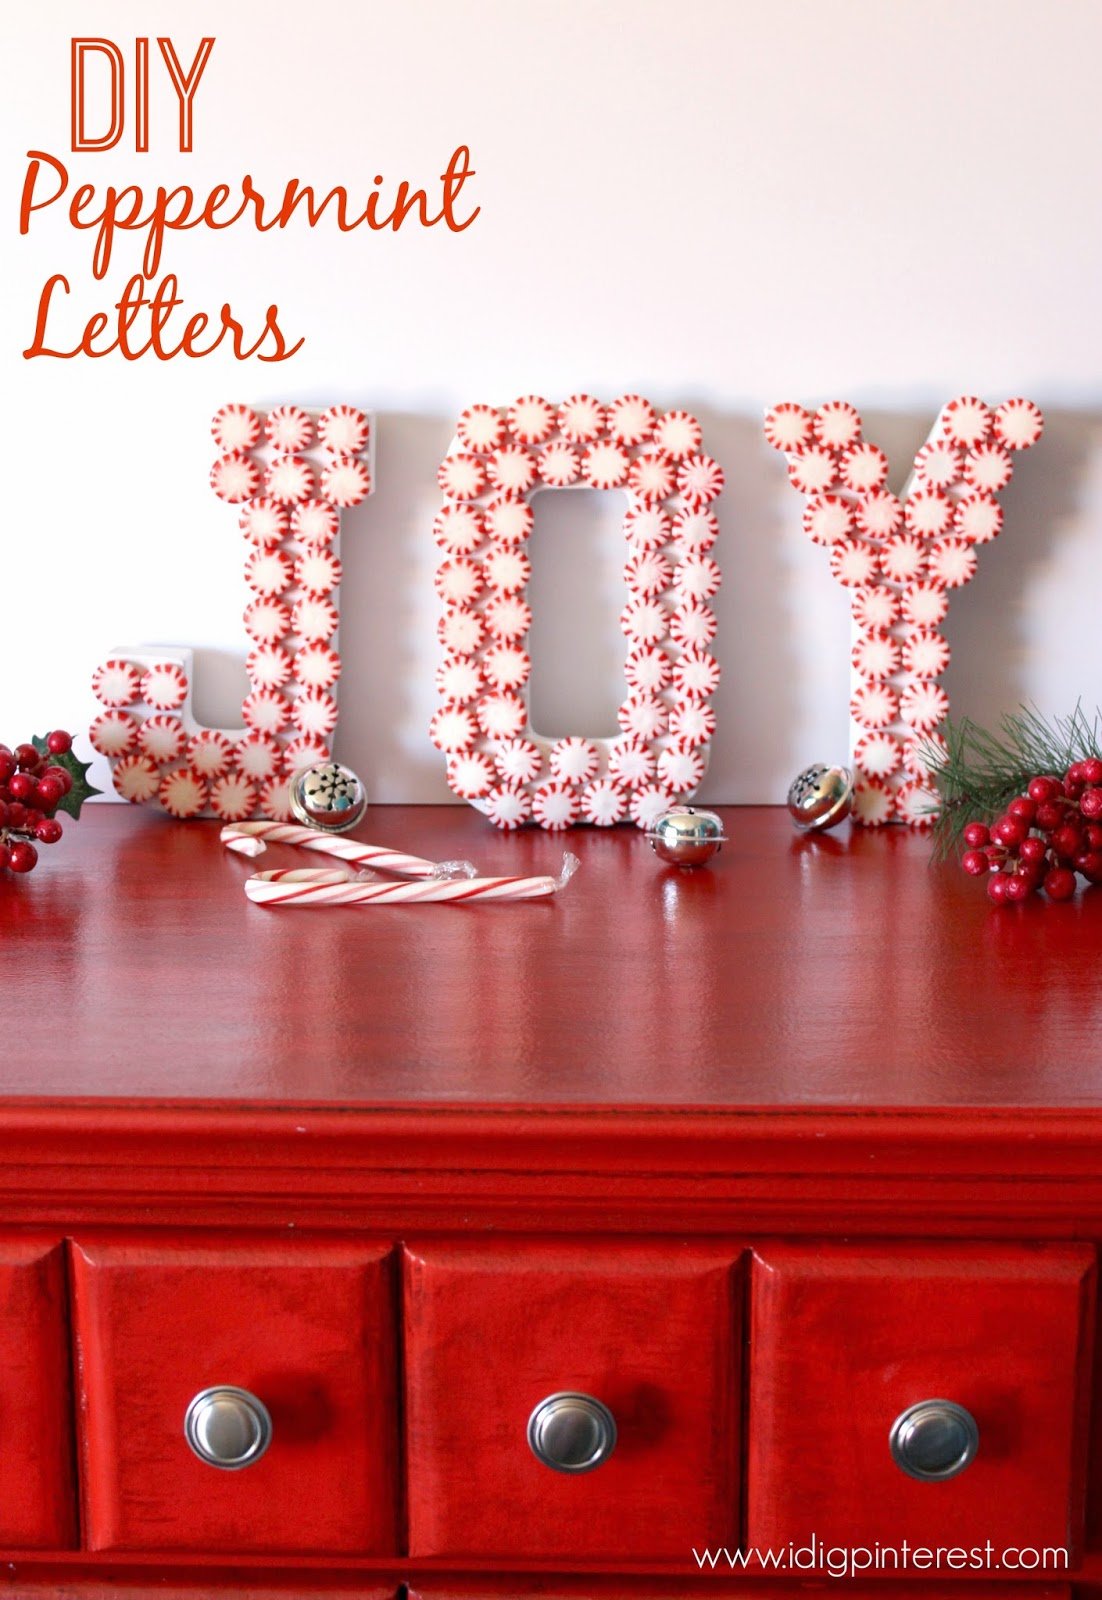
Now display the gorgeous finished letters on a shelf or mantel, accented by other fun holiday memorabilia or decor items and admire!Here’s a few holiday ideas I’ve shared in years past, that you might like.
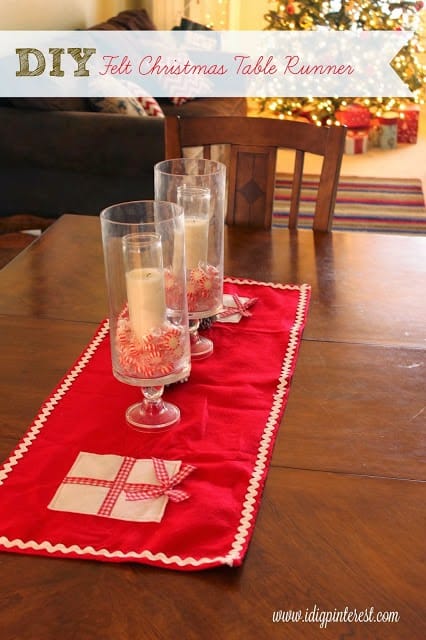
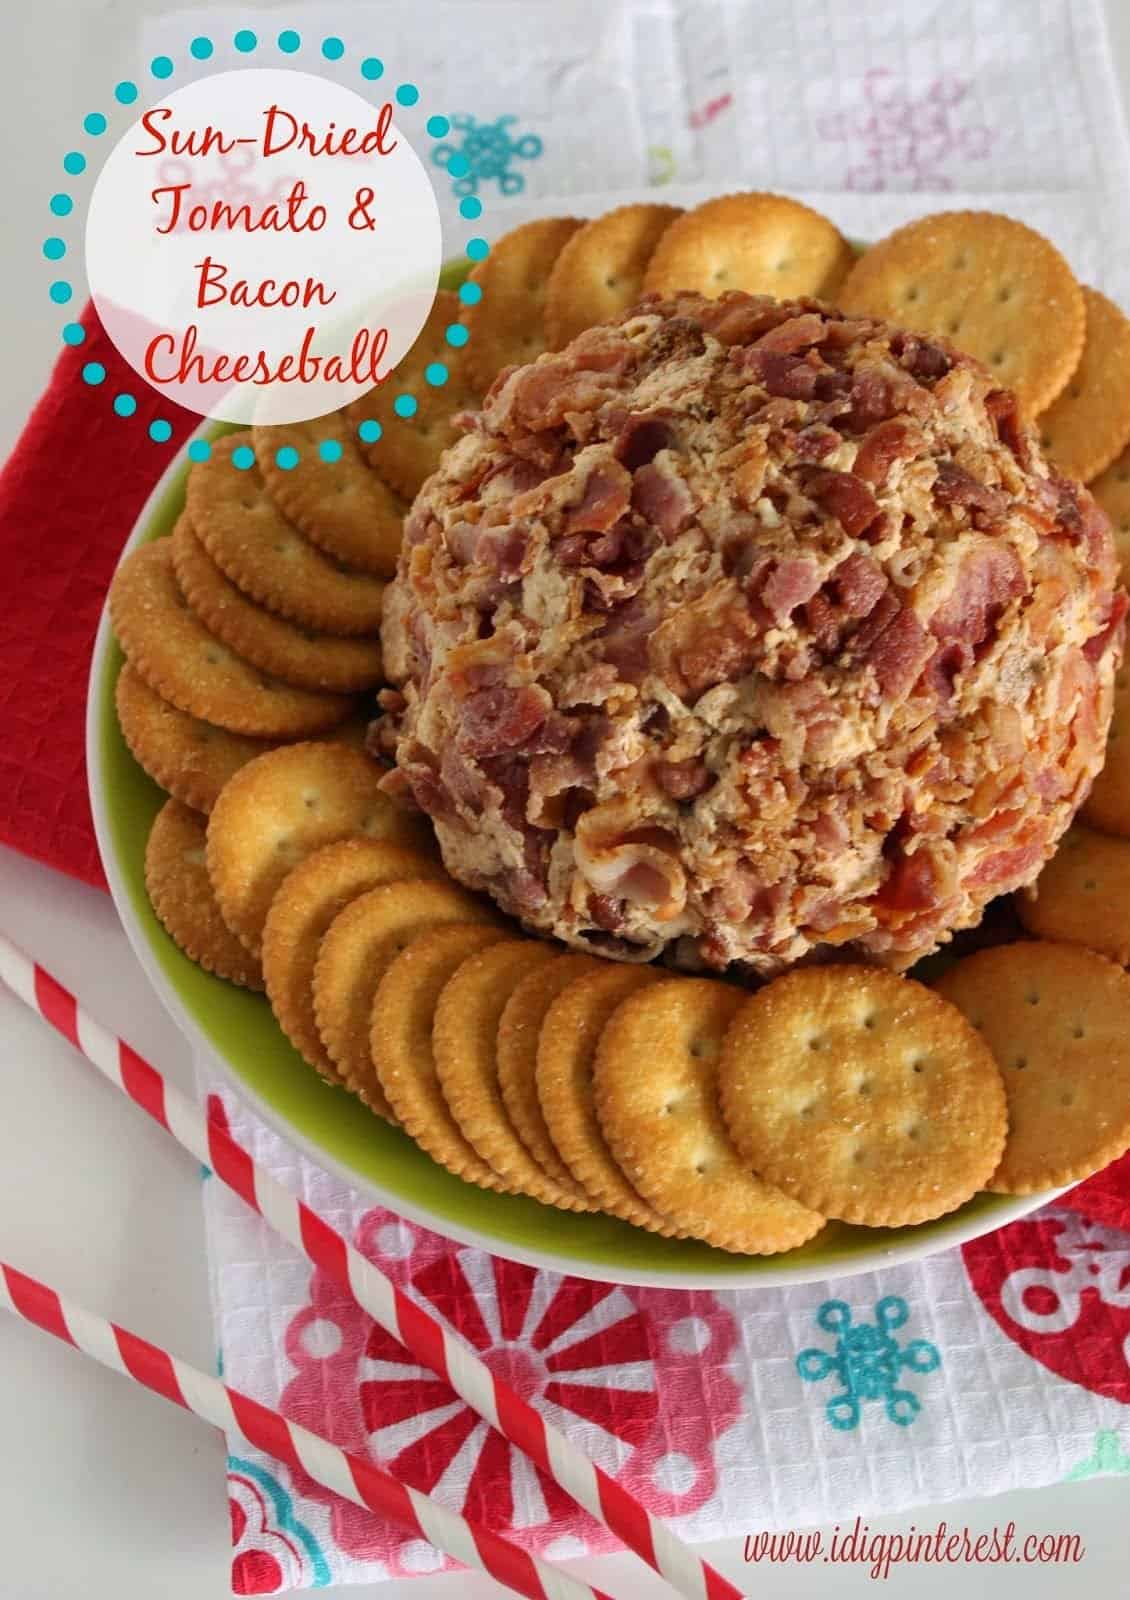
Happy holidays! I hope you’ll visit me soon at I Dig Pinterest and say hi! I’d love to hear from you.
Be sure to follow along for more fabulous crafts like this.
 Hi! I’m Christine, and I’m addicted to Pinterest! I love sharing creative “pin”-spiration by way of delicious recipes, fun crafts, party ideas, and DIY projects.

Christmas Wonderful runs until mid-December.
Check back tomorrow for more great ideas like this one!
Can’t wait that long? Take a look at our Christmas Wonderful archives.
Can’t wait that long? Take a look at our Christmas Wonderful archives.



Leave a Reply