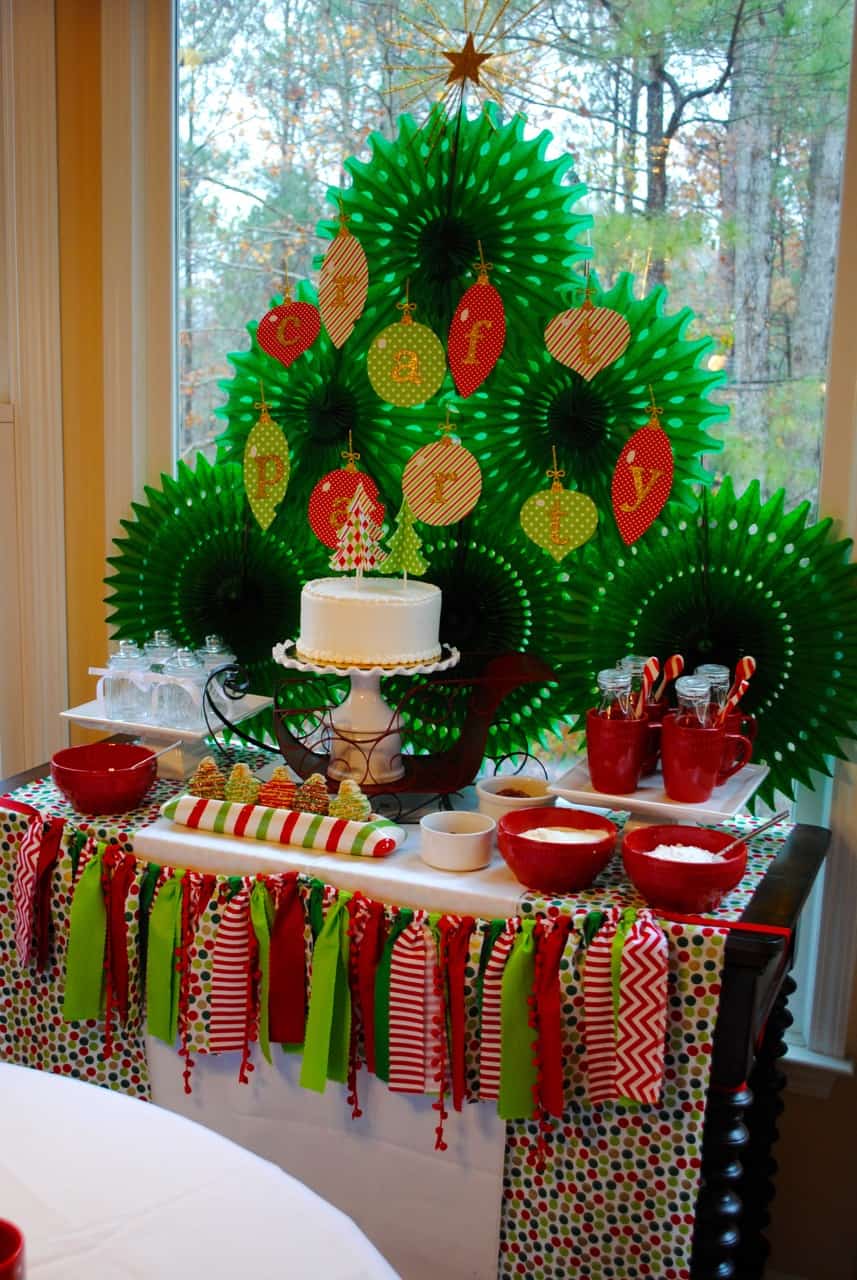
Hi! I’m Jennifer from The Party Teacher, where I teach moms how to party like a pro. I’m thrilled to be back at Design Dazzle, sharing the DIY Christmas Tree Party Backdrop I made for our Christmas Crafting Party.
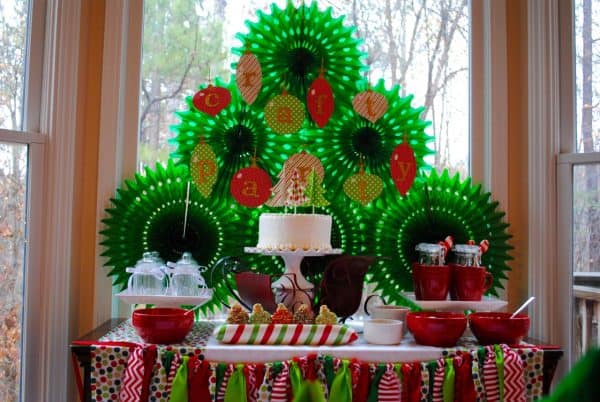
When I was little, there was a Christmas store at my church were kids could go with a little money to pick out their own gifts to give their parents. I loved it, and wanted to re-create something similar for my kids and their friends. At our party, the kids crafted their own gifts. Today, I’m showing you how to make our Christmas Tree Party Backdrop.
Supplies
- Green tissue fans (6)
- Clear packing tape
- Foam board, if you need to mount the fans on a backdrop
- Gold pipe cleaners
- Gold glitter scrapbooking paper (2)
- Hot glue gun
- Christmas pattern scrapbooking paper
- Glue glitter alphabet stickers
Instructions
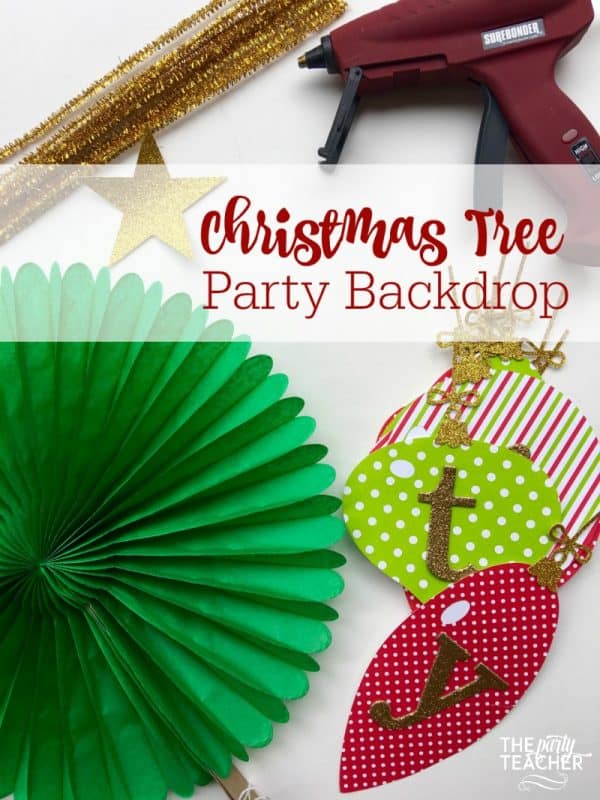
1 – Your first step is to make the ornaments. I used Design ID #23221 from the Silhouette Store, my Christmas scrapbooking paper, and the gold glitter paper for the ornament hangers. The ball and tear drop ornaments are 5.25 inches wide. The long style ornaments are 7 inches long.
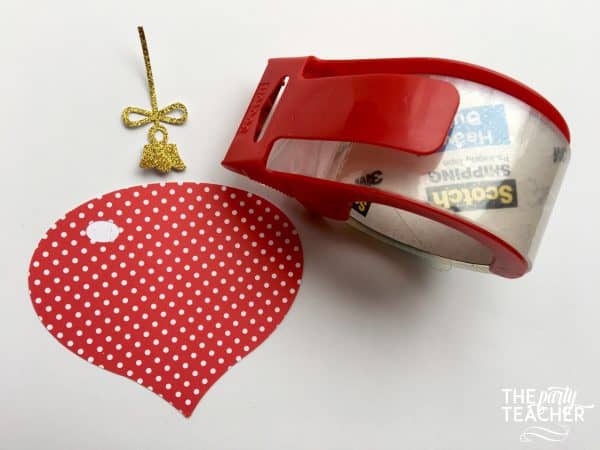
If you don’t have a Silhouette die cutting machine, you could trace a circle and hand-cut all the shapes as ball-style ornaments. Use the gold pipe cleaners as ornament hangers.
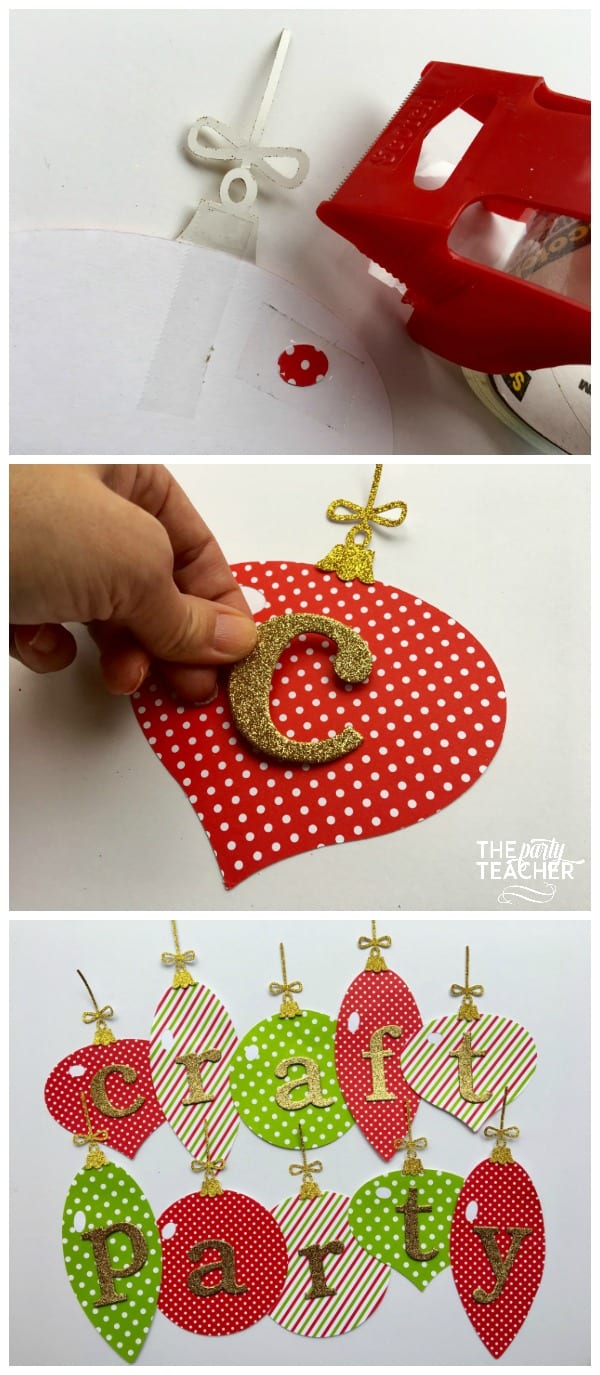
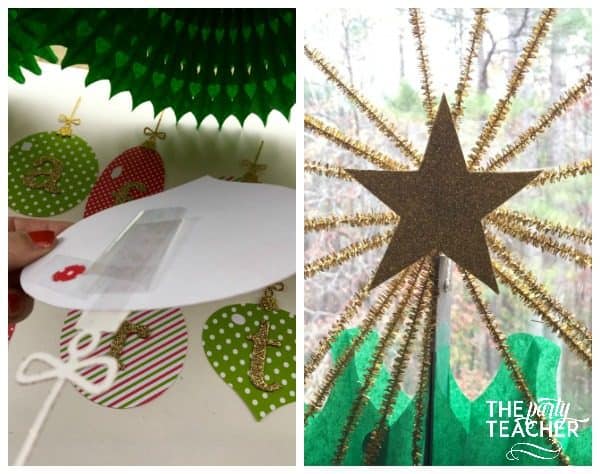
2 – Use the clear packing tape to attach the ornament hangers to the backs of the ornaments. Stick your letters to the fronts of the ornaments. Spell out whatever you like; I wrote “craft party.”
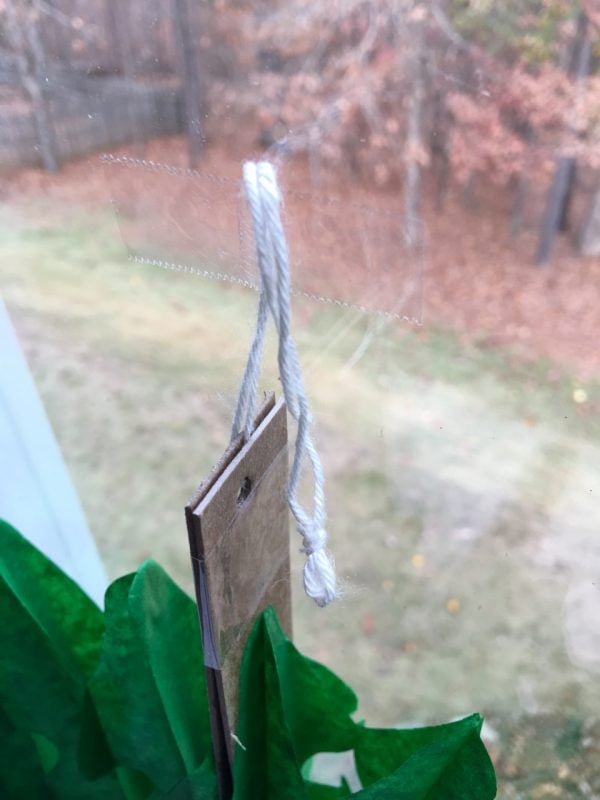
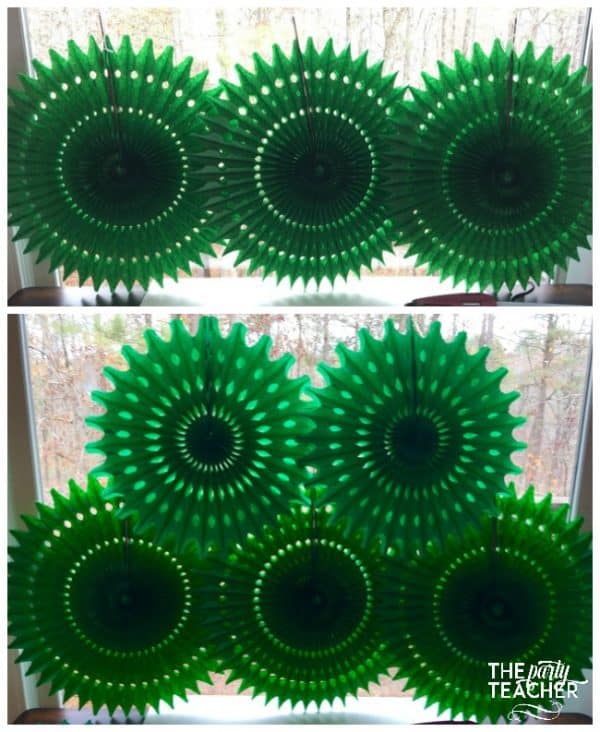
3 – Open the fans and use the packing tape to secure the cardboard strips together. Use more packing tape to tape the string to the backdrop surface. (Packing tape will come off a window, but obviously, don’t apply it to your wall. If you need the backdrop to rest against a wall, you’ll want to mount the fans on the foam board.)
4 – Tape three fans on the bottom row. Tape two fans on the middle row. Tape one fan on the top row. Overlap all the fans slightly to eliminate gaps.
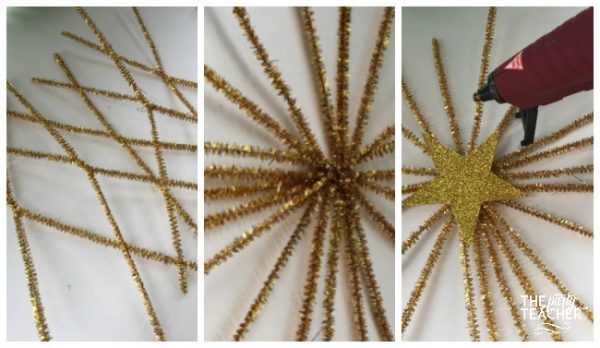
5 – Make the tree topper with a large gold glitter star or a smaller star in the center of a sunburst made from pipe cleaners. Twist together two pipe cleaners and make six sets. Then, layer the six sets on top of each other and twist more to connect them. Fan out the ends. Hot glue the star over the center of the pipe cleaners.
6 – Attach the star and your ornament letters to the tree by rolling up crafting tape so that you basically have extra strong double-stick tape.
And that’s it. I made the ornaments one afternoon, and put together the tree the day before our party. It all came together really quickly.
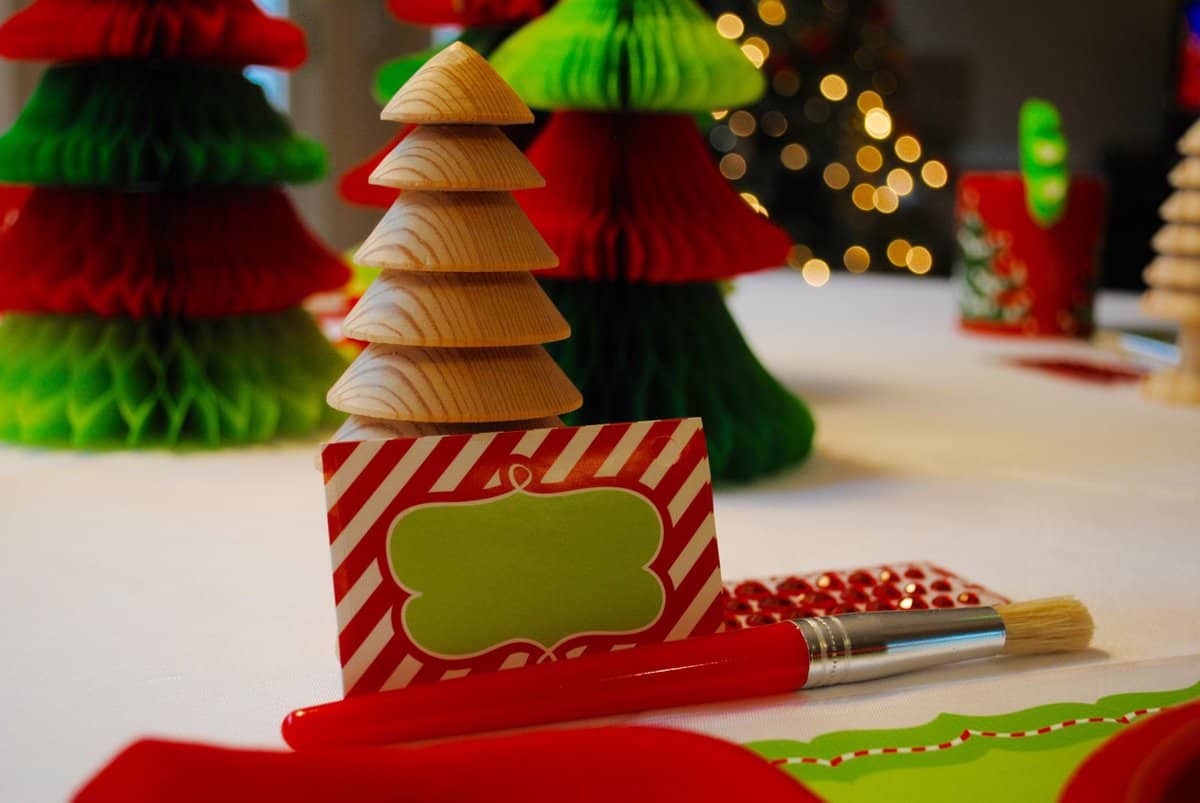
Here are a few pics from our party. Visit me at The Party Teacher to see the full Christmas Crafting Party. Thanks for having me, Toni!!



XOXO,
Jennifer

Since 2011, I’ve been making it easier for moms to create parties their kids declare “the best ever!” If you’re ready to make your next birthday party easy, pop over to The Party Teacher and pick up my free Birthday Party Planning Cheat Sheets! Let’s save you time, save you money, and double the fun you have planning your next party.
Shop: https://shop.ThePartyTeacher.com
Blog: https://ThePartyTeacher.com/blog
Facebook: https://www.facebook.com/PartyTeacher
Twitter: https://twitter.com/ThePartyTeacher
Pinterest: https://pinterest.com/ThePartyTeacher
Instagram: https://instagram.com/ThePartyTeacher
Google Plus: https://plus.google.com/+JenniferNeedhamDFP/posts





Leave a Reply