

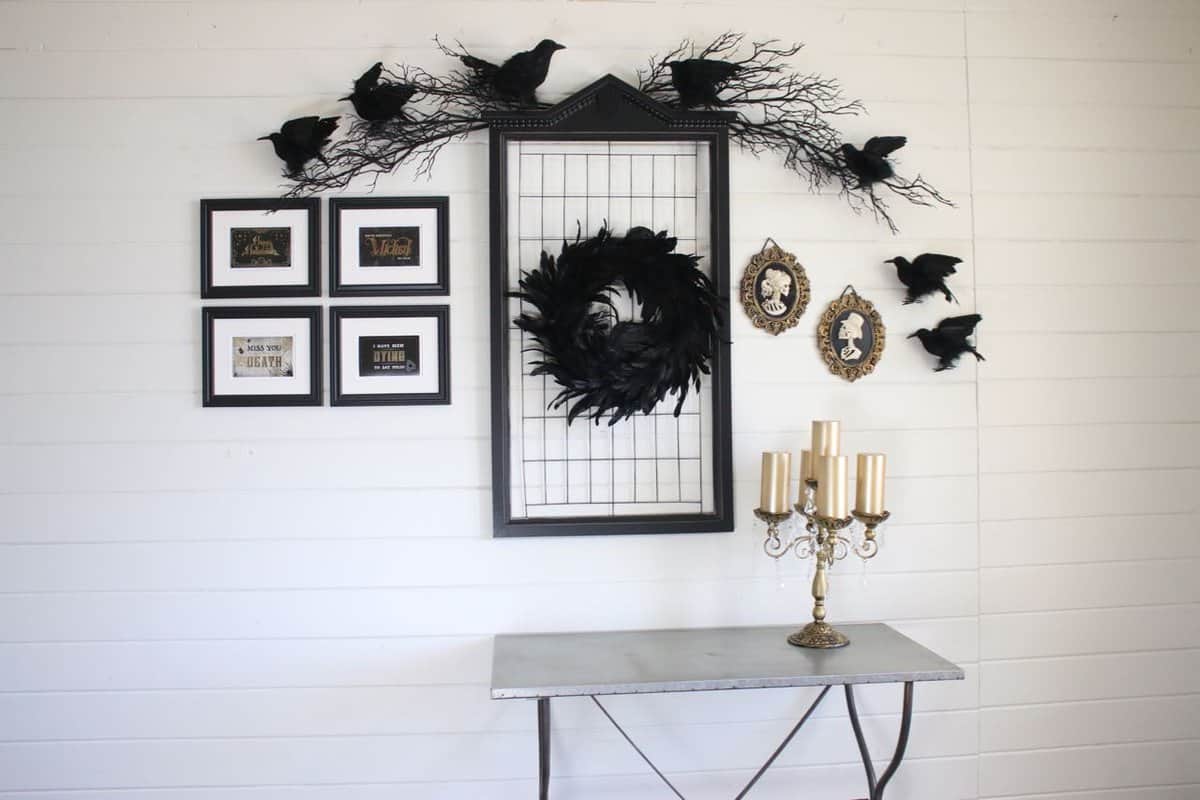
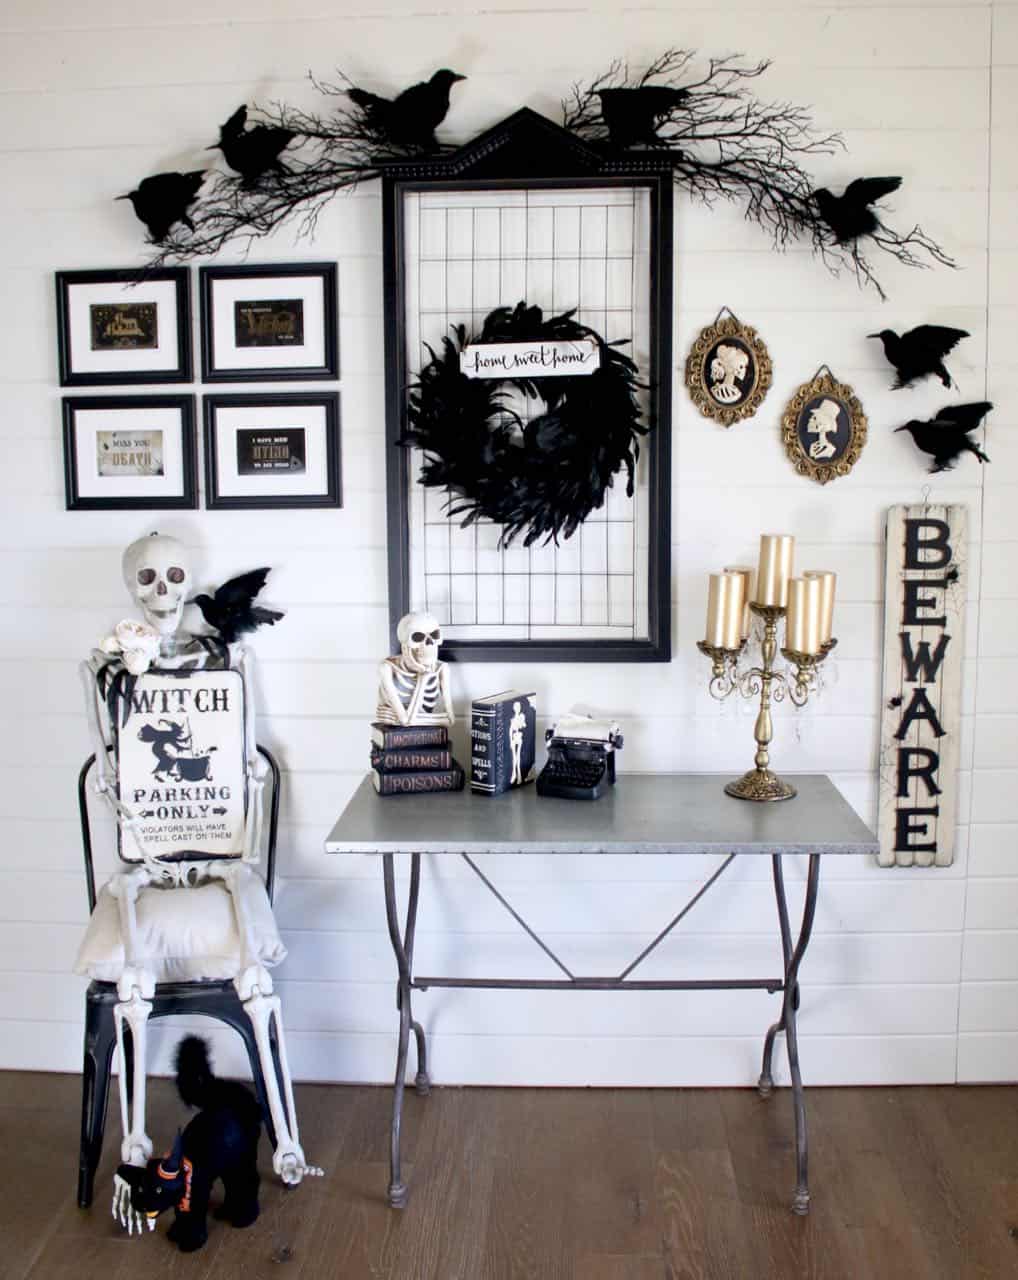
Come sit for a spell! Let the Halloween madness begin for this years theme for my Halloween gallery wall that I created using all of Michaels products. This post is sponsored by Michaels. All opinions and ideas are my own.
All of the items on the gallery wall are Halloween decor except for the main large black frame that is an everyday black frame item typically used to clip photos to display on.
I share step-by-step instructions on how to create this Halloween Gallery Wall. I only used 3 nail holes on this entire wall. I really could have gotten away with 1 nail hole. Having the least amount of nail holes is important when doing a temporary gallery wall.

See the step-by-step instructions for my oh so spooky Halloween gallery wall below!

Isn’t the wall cute? I love how it turned out.
Here is the video:
So, how did I create this Halloween Gallery Wall?
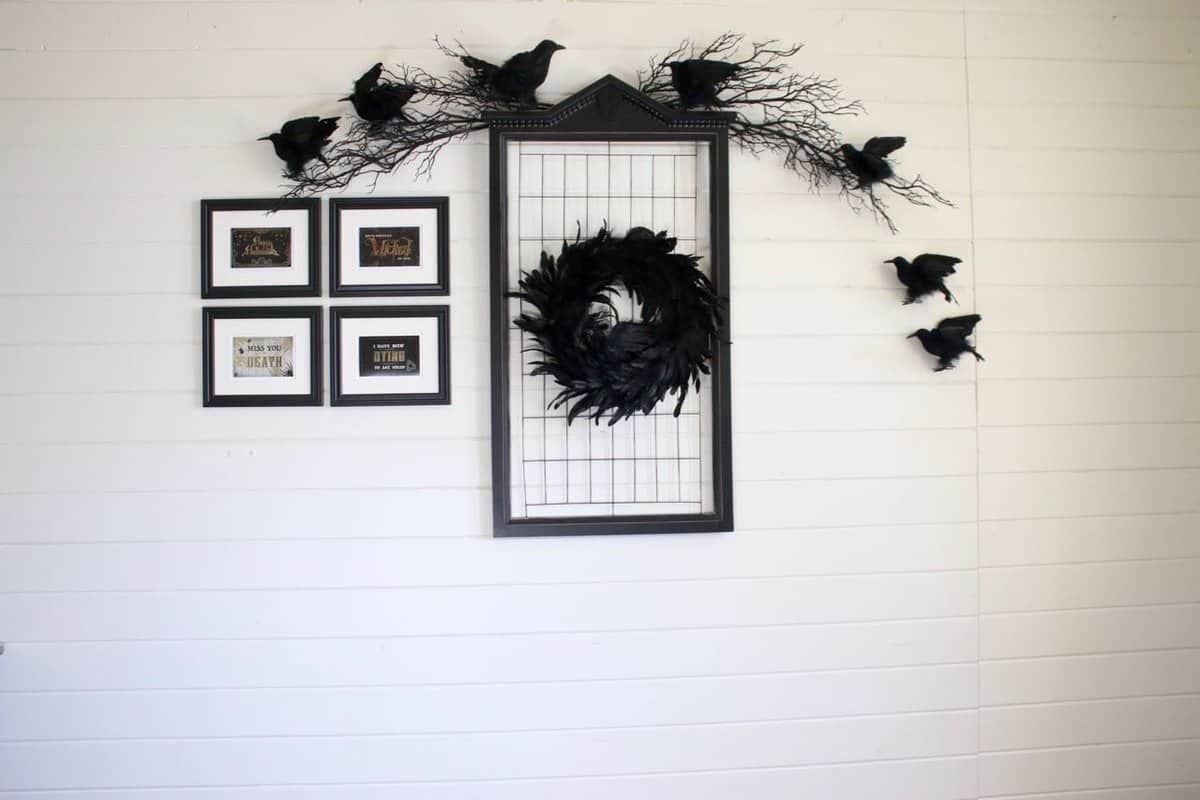
I found a set of black frames at Michaels (shown below) that comes in a set of 4 for $20. Pretty inexpensive. A package of postcards were found in the Halloween scrapbooking area. I added the postcards to the frames to make quick and easy Halloween art.
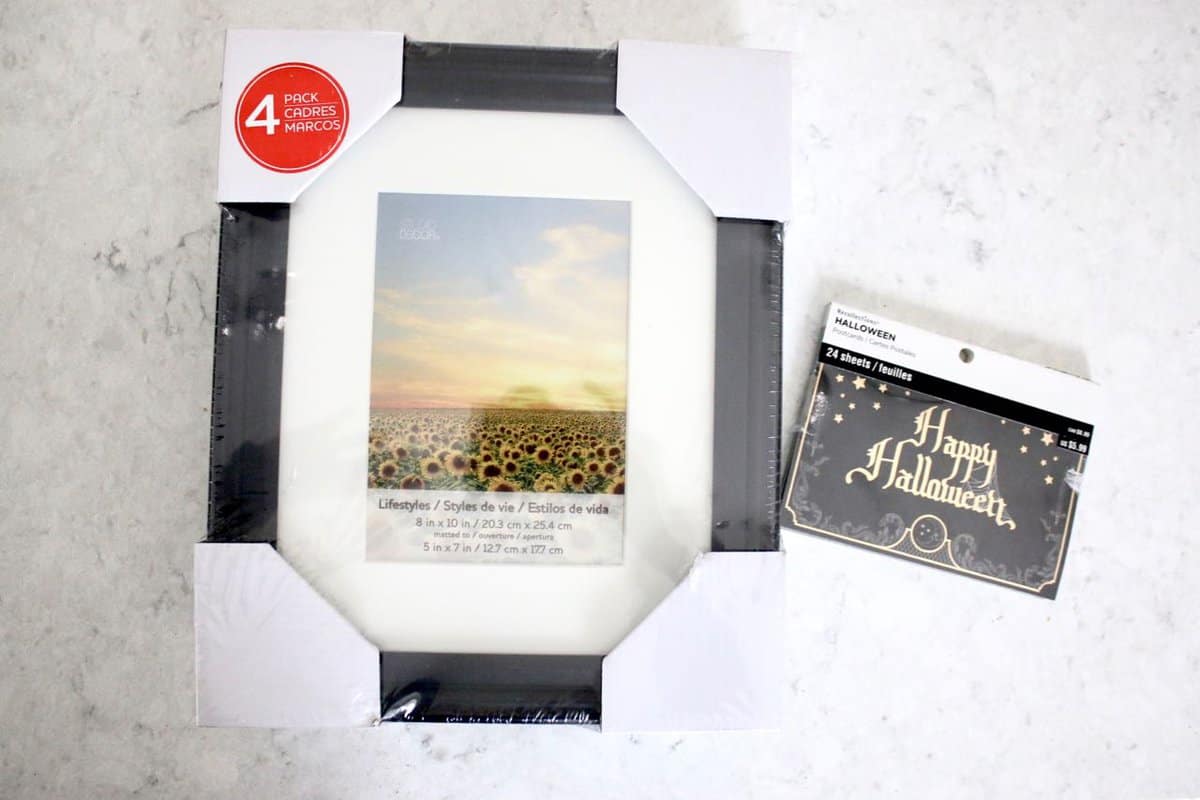
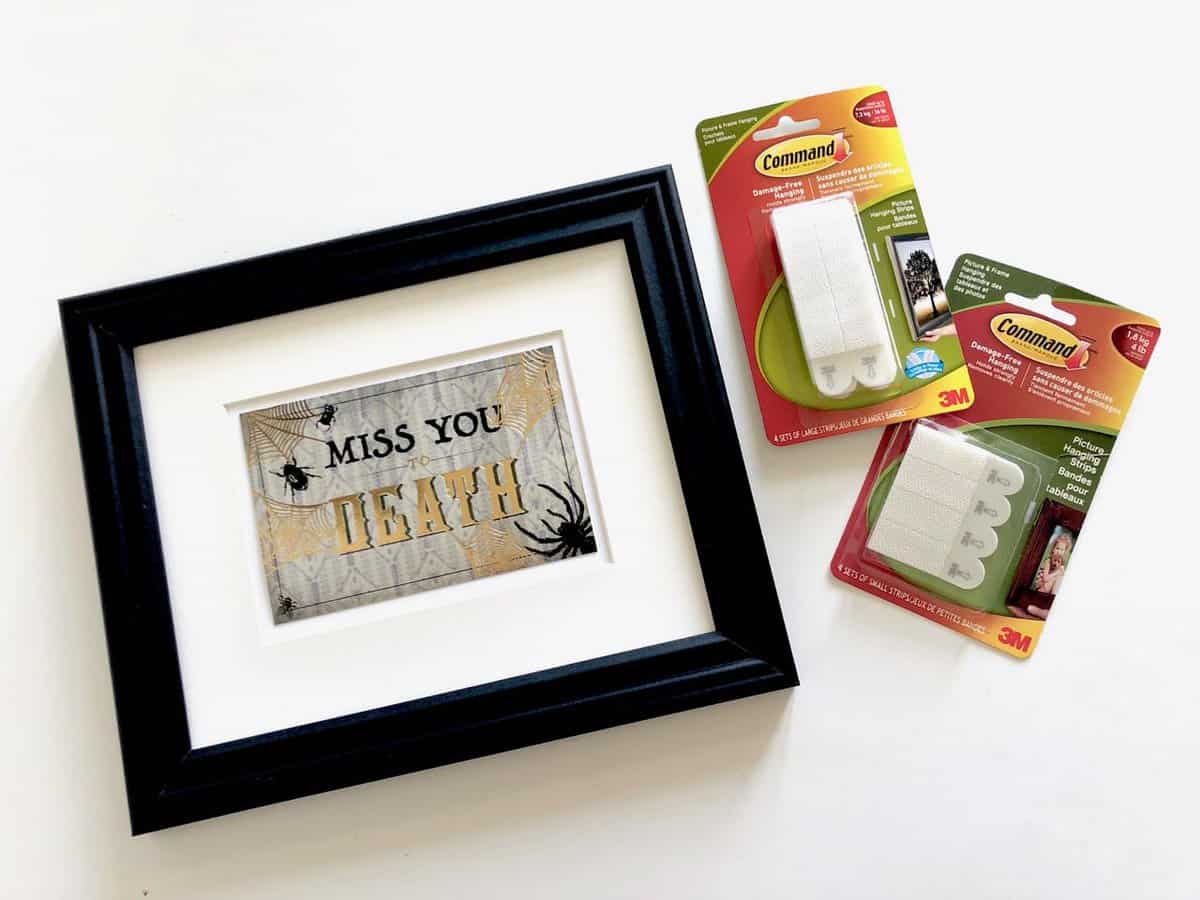
This is one of the Halloween postcards included in the postcard package. Looks like expensive art but in fact very cheap to create. Command strips are ideal to hang wall art that are a temporary hang – such as Halloween art.
Read the instructions on the command strips package and apply as stated.
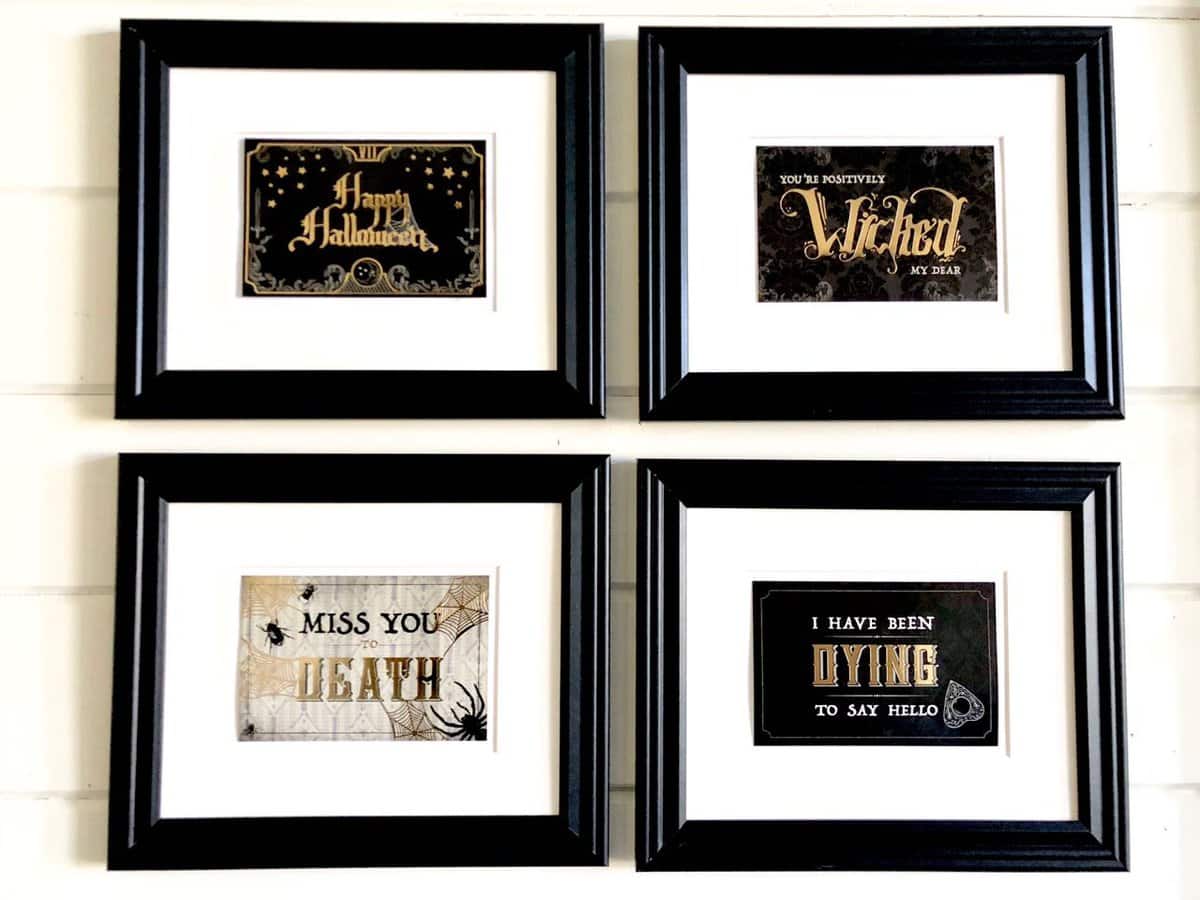
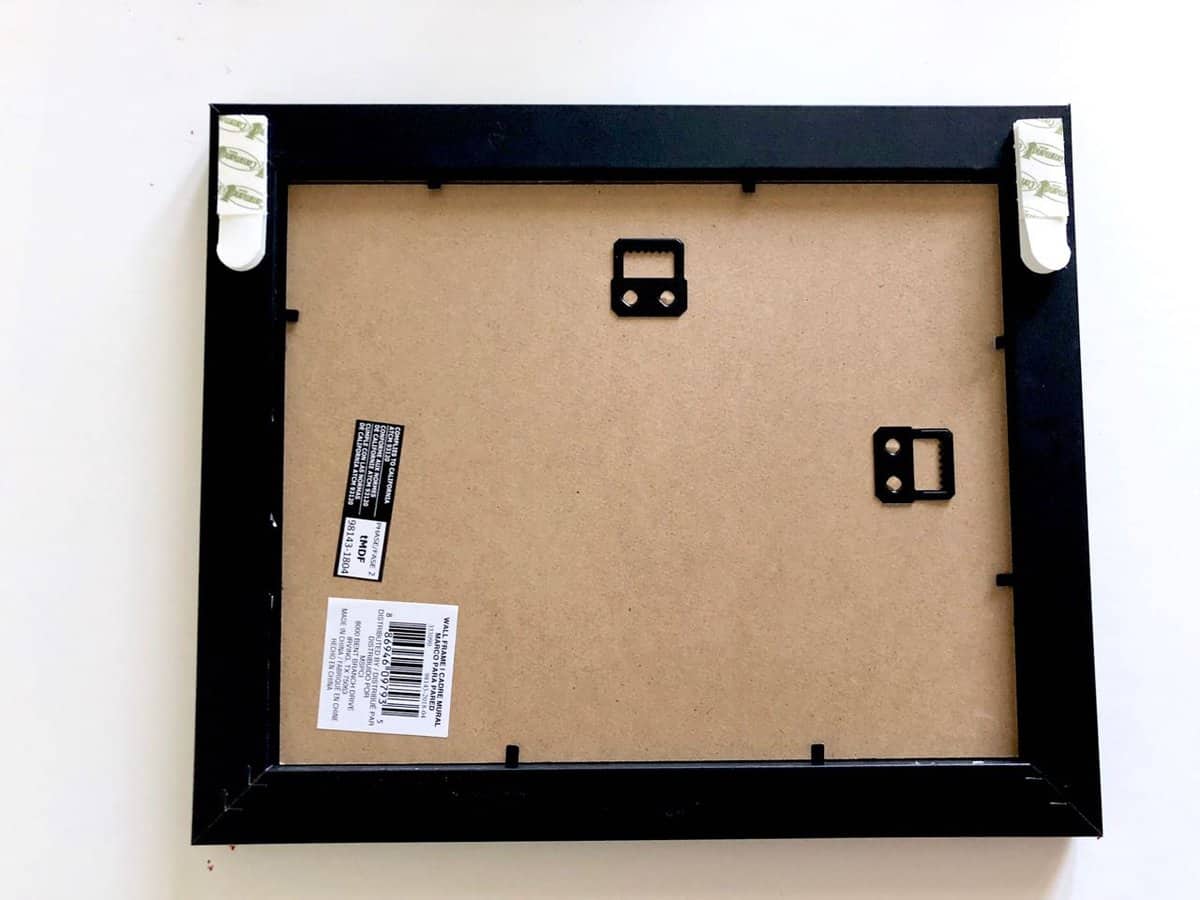
I removed the glass and hung the art in a grouping of four. I just prefer the look of “no glass” with this art. The artwork has shiny gold and doesn’t shine as much with the glass covering it.
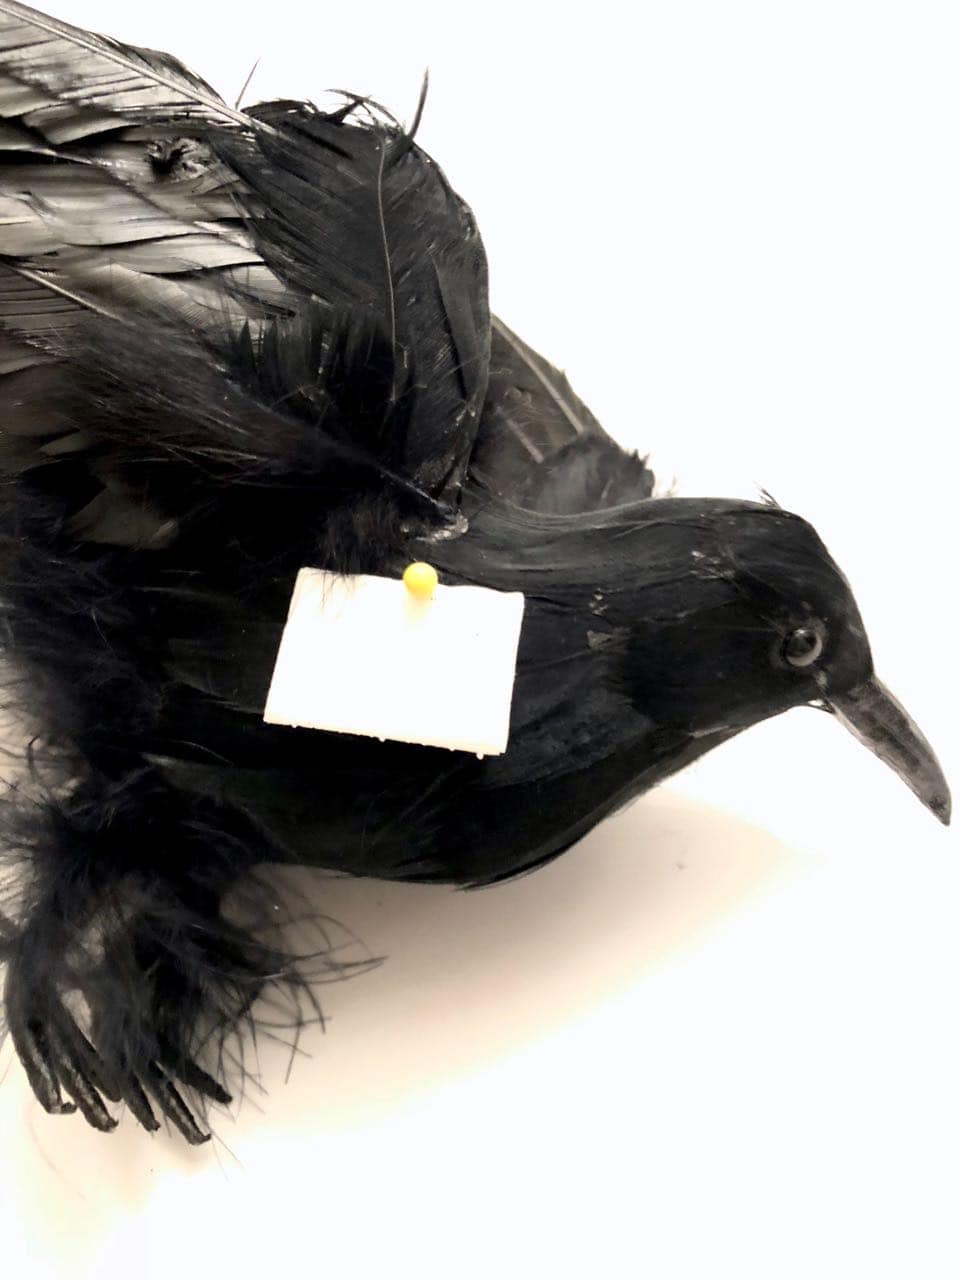
I hung the “flying” crows on the wall also with command strips. I cut the command strips in half and attached one side of the strip to the bird with a straight pin. The pin goes into the “foam” of the bird with no problems. Then I attach to the other side of the command strip and hold firmly in place on the wall.
How I set-up the Halloween gallery wall:
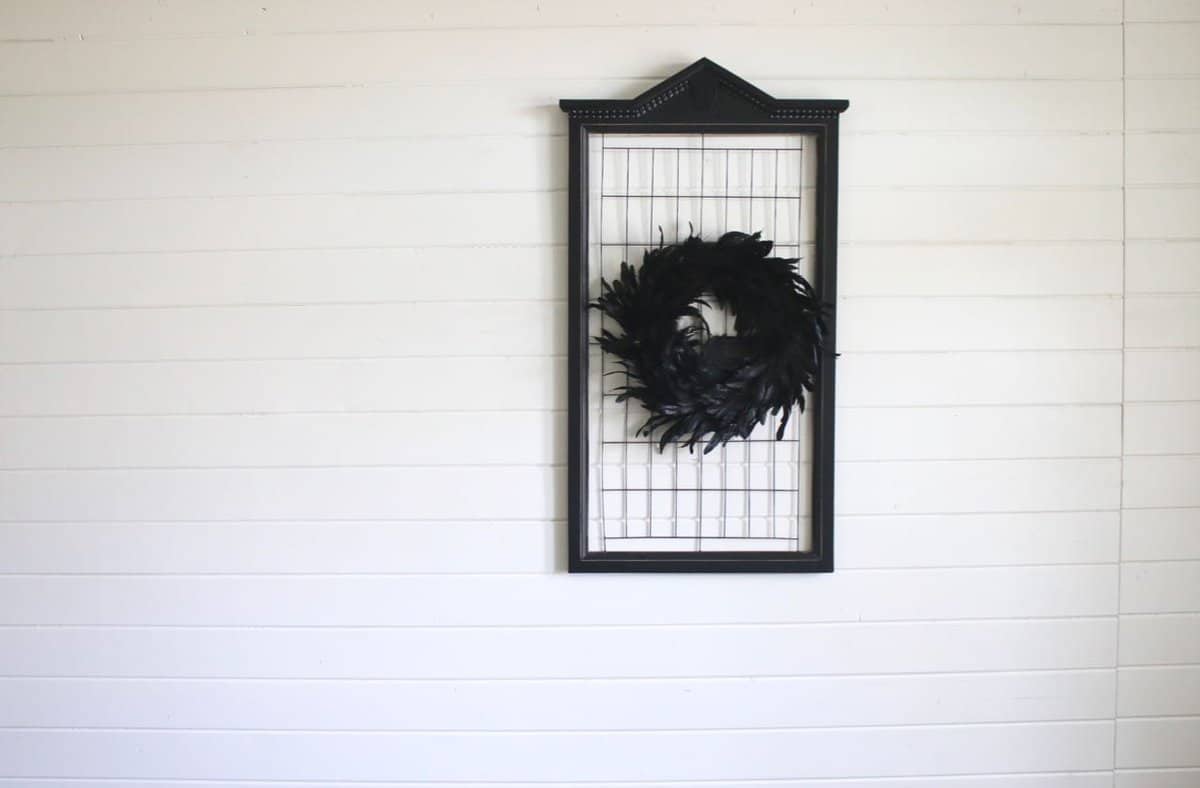
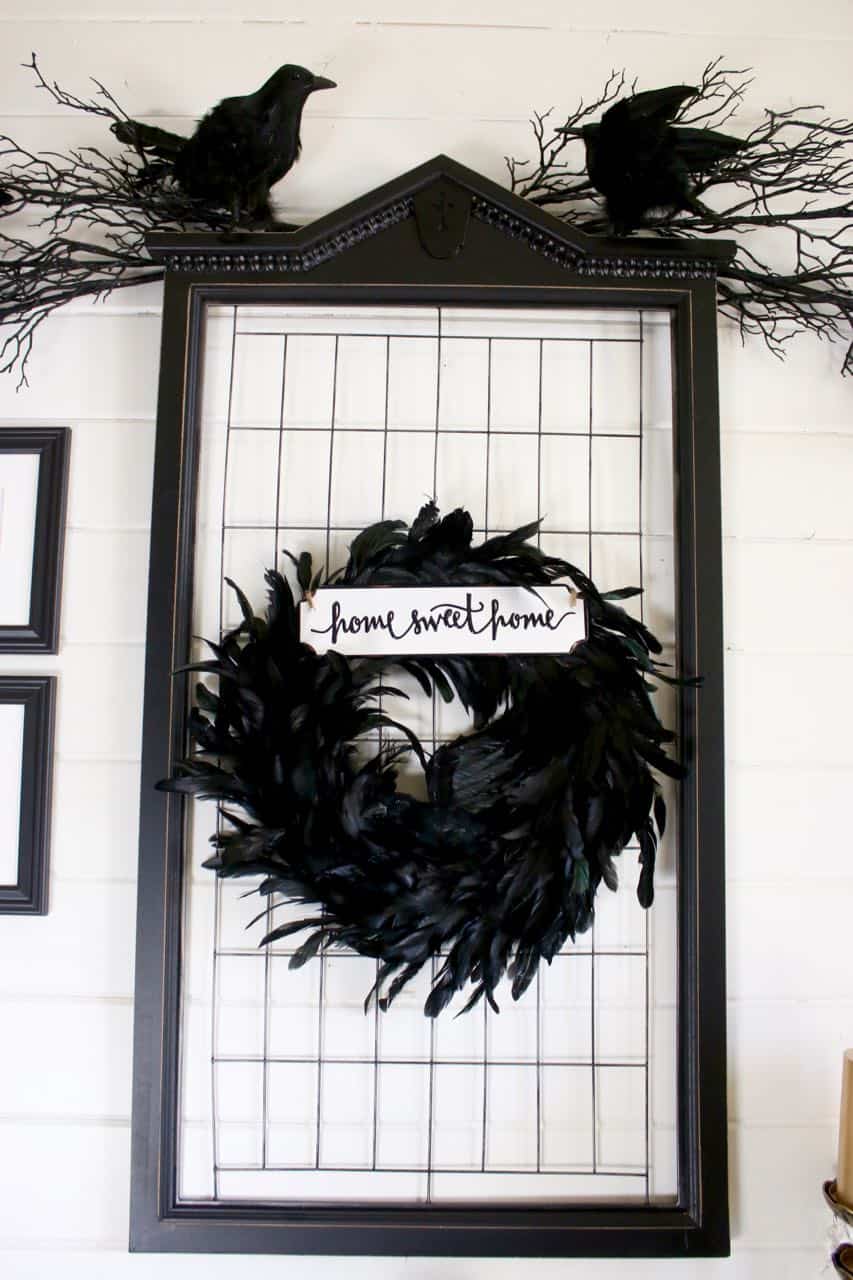
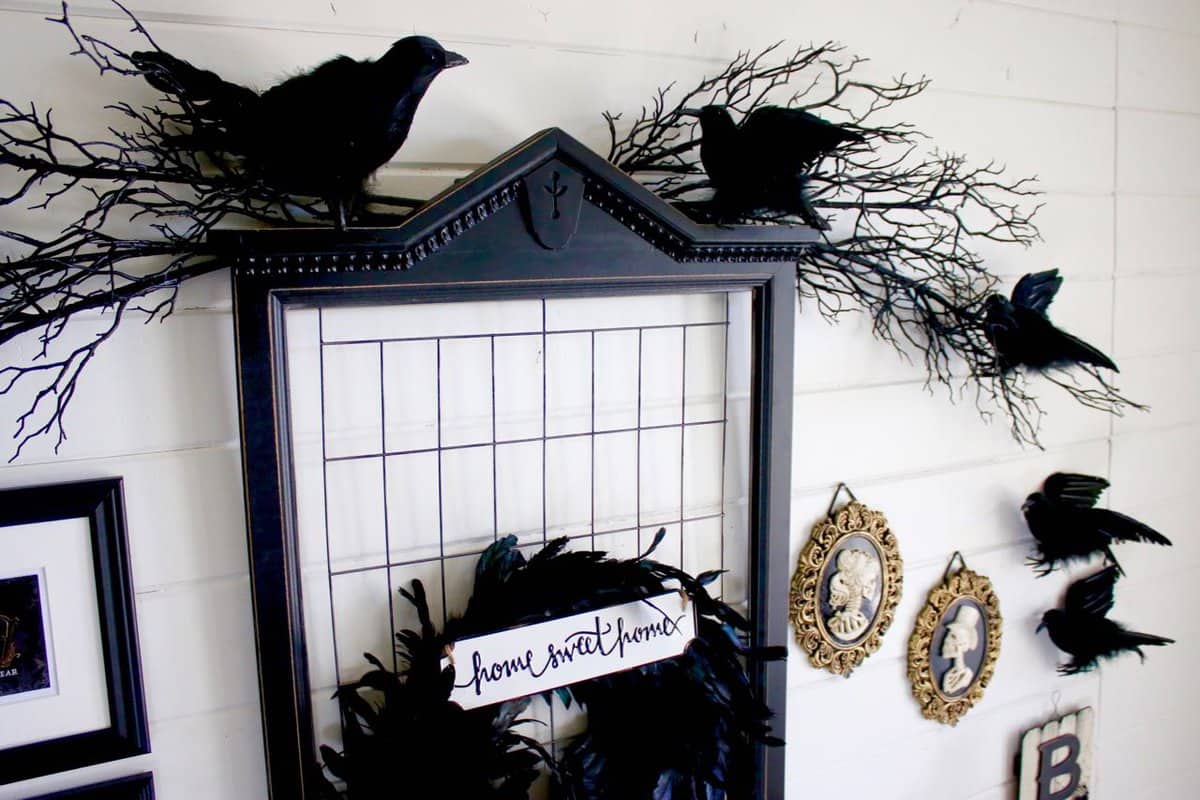
I first started with this frame that I found in the picture frame aisle. It is heavy-duty so I hung with a picture hook. The feather wreath was attached with wire to the mid-section.
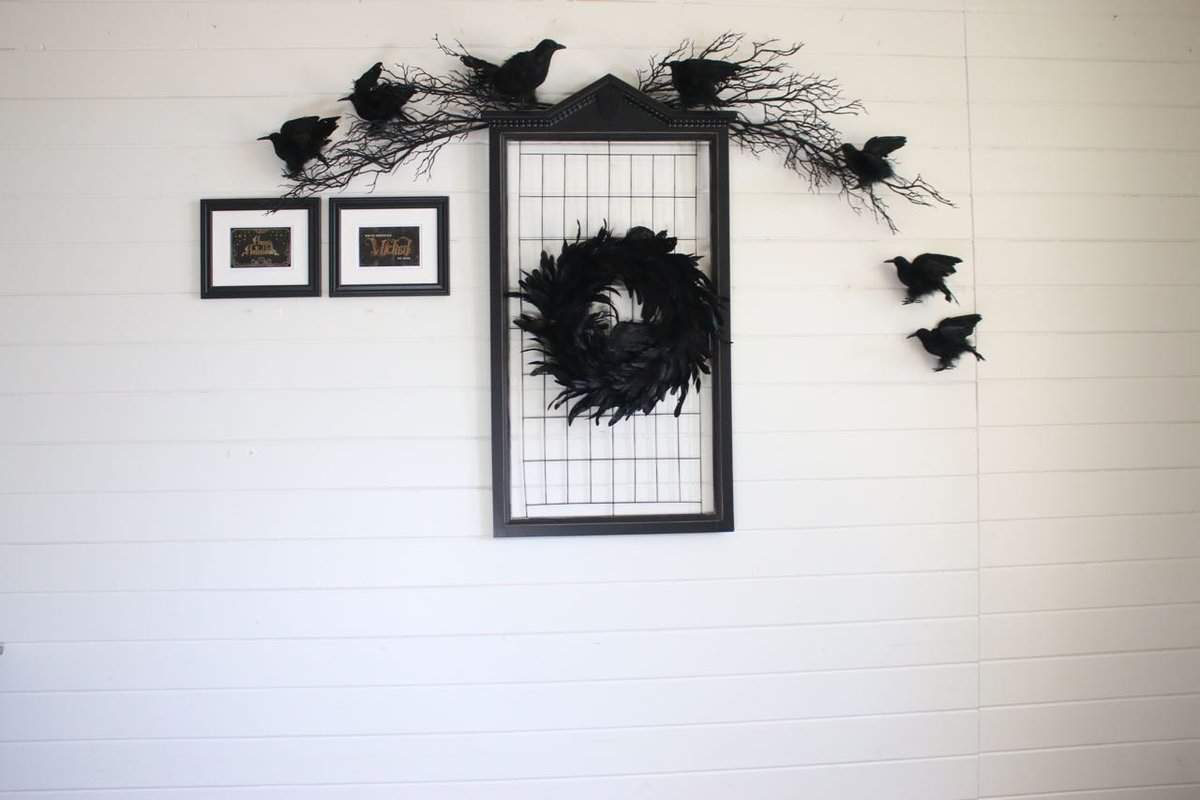
Black branches were found in the floral aisle. The branches were placed on top of the frame and just set in there so no extra nails/hooks were needed. I did wire some of the branches together to create length and fullness. The picture frames were hung with the velcro command strips.
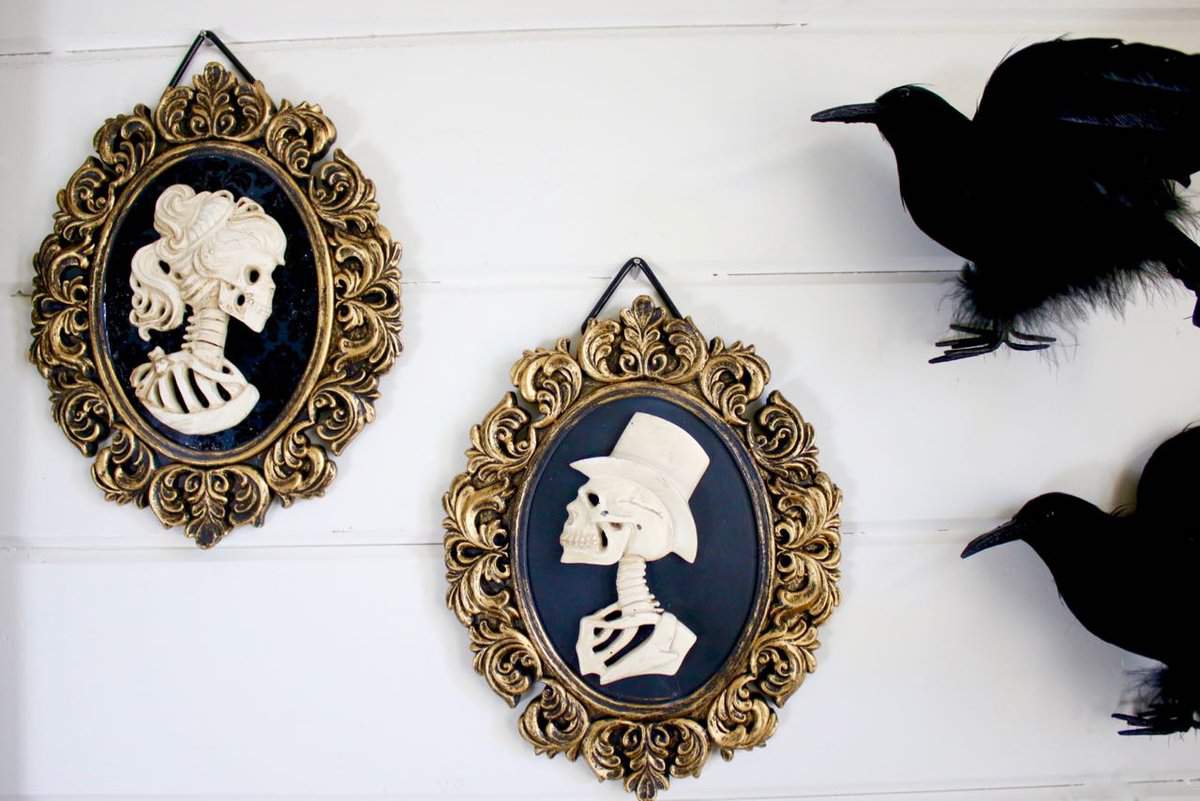
I added the cute skeletons with gold frames and a candlelabra with gold candles.
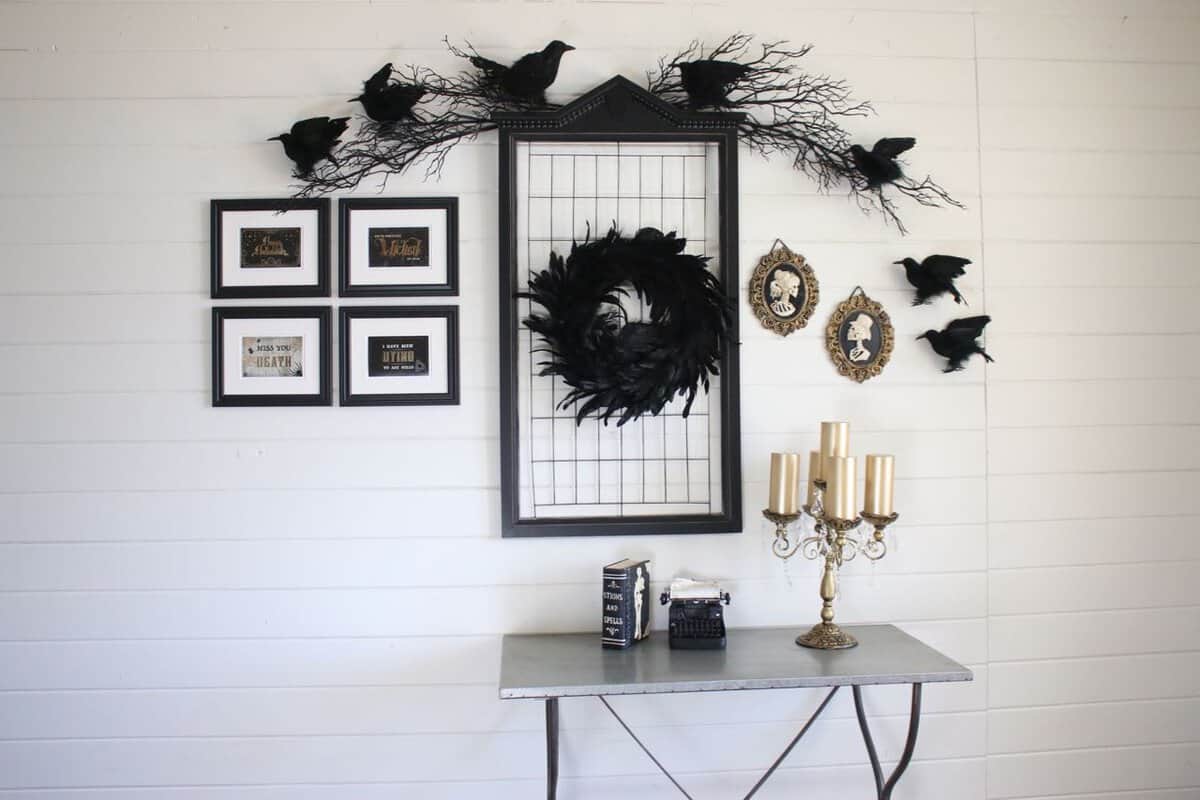

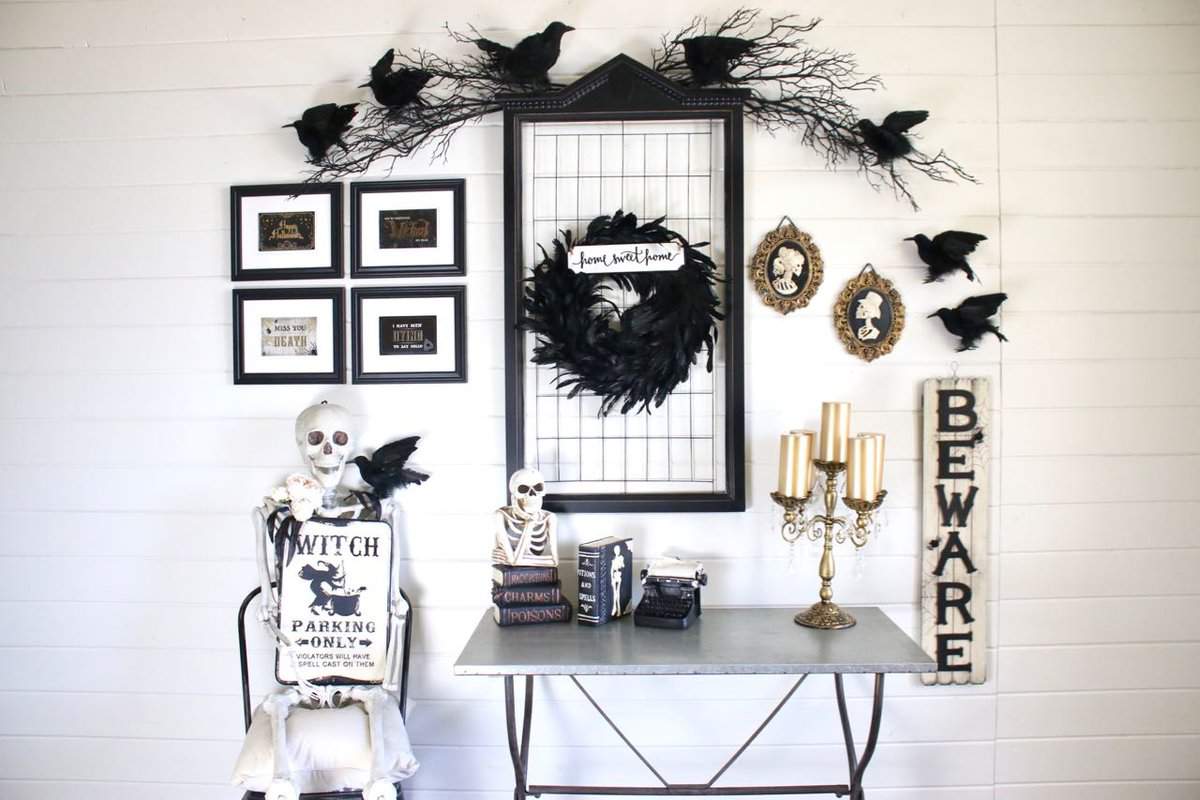
Adding a few ceramic Halloween decor on the entry table added just the right touch. But what I really love is the skeleton that has had a spell cast on her. The sign reads:
Witch parking only
violators will have a
spell cast on them
Some close ups of the Halloween Gallery Wall!

I have three nail holes in the wall with this entire gallery wall set-up. Two of the nail holes are in the crack of the shiplap so they are not noticeable. Everything else was hung with command strips. I love using these strips. When everything needs to come down the strips are easily removed and there is no trace of evidence that anything was actually hanging there.
Are you needing trick-or-treat items, skeletons, or skulls – and all things scary? As your Boo-it-Yourself Bootique, Michaels has concocted everything you need to create the creepiest (and coolest) costumes, and haunt up your home’s decor – just like I did with this gallery wall. Yes, all these Halloween items came from Michaels! Michaels is your Halloween HQ with everything you need to MAKE a spookier Halloween. Get everything you need to create the creepiest (and coolest) costumes, and haunt up your homes décor! Now until 10/31!


Leave a Reply