I love this time of year! There is so much happiness going around. This Christmas, wouldn’t it be fun to have a bright Christmasy party for your kids? With #HostessHoliday, you’ll have a great party in no time! I’m sure you’ve all heard the song “Do You Want to Build a Snowman?” so many times that you’ll never ever forget it- but your kids LOVE it! Well with a few Hostess treats, a lot of love, and Christmas spirit, I have the perfect way for you and your kids to build a sweet snowman- in the comfort of your own warm, cozy kitchen! With this fun DIY tablescape, you get to build your treat, and eat it too. This would be the perfect way for your kids to have a bright, fun party on a dreary winter day. Just head on over to Walmart to pick up a few supplies, and you’ll be on your way, building your very own yummy snowman! This Edible Snowman Centerpiece post is brought to you by Hostess. The opinions and ideas expressed here are my own.
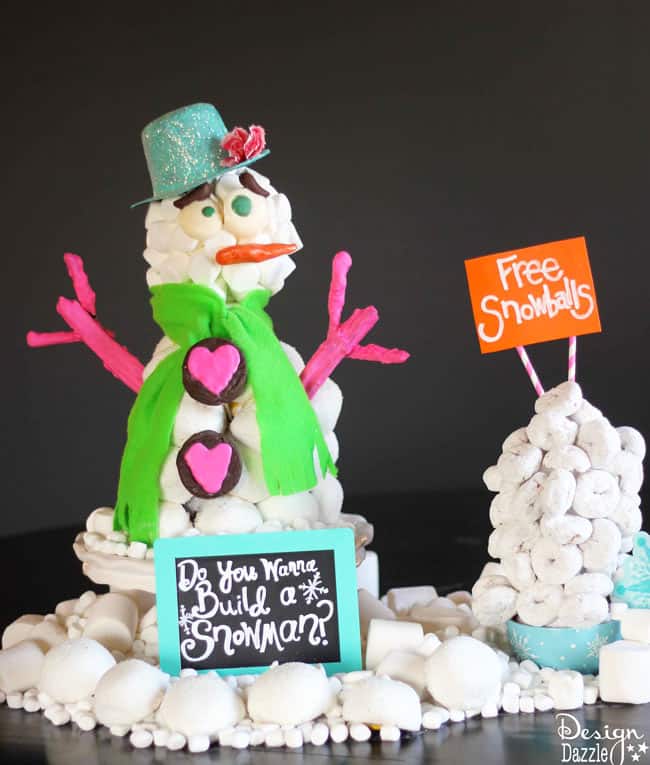
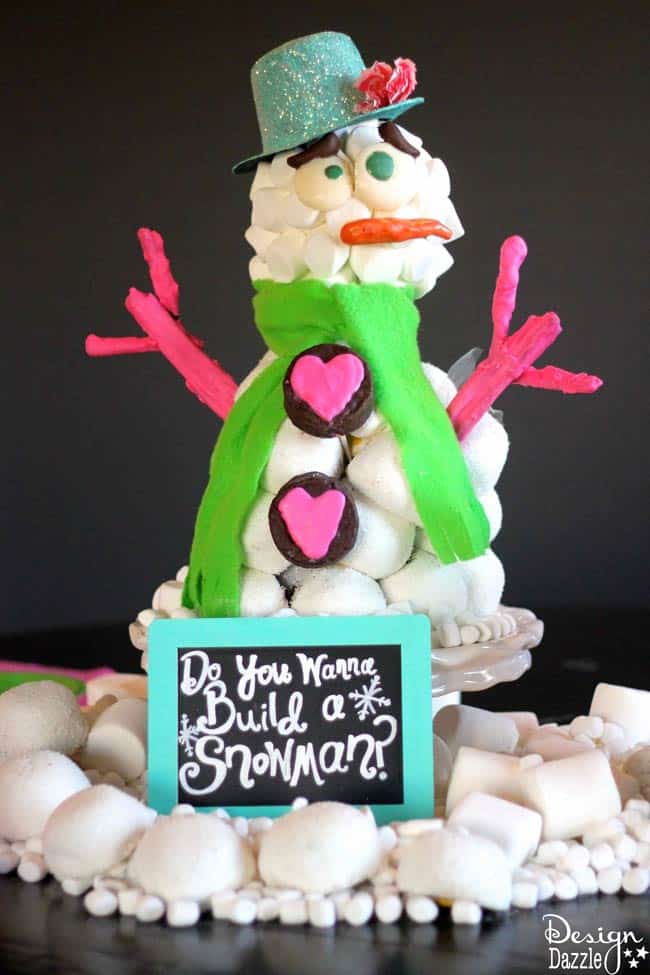
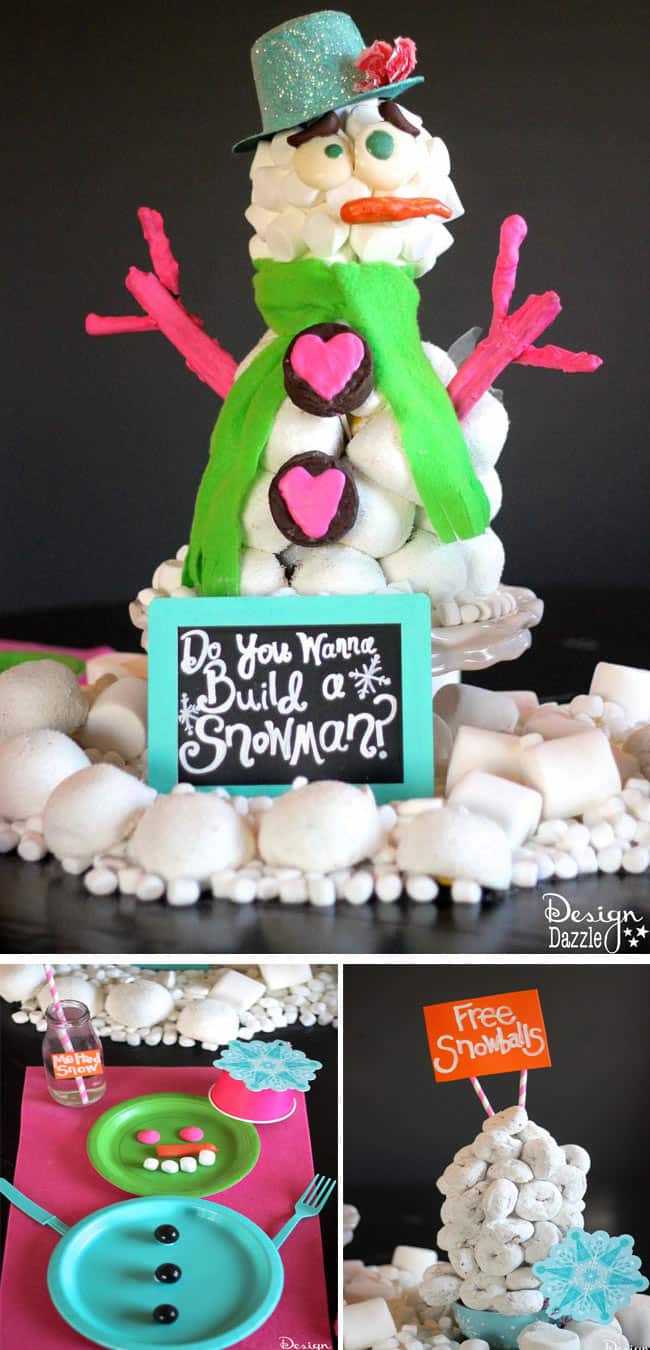
I love this little snowman along with his free pile of snowballs. The yummy Hostess products that were used for these edible centerpiece – Sno Balls. Ding Dongs and Donettes!
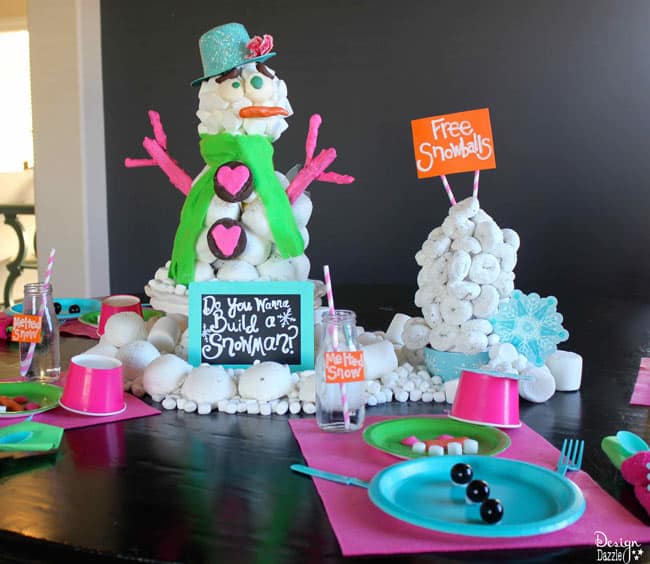
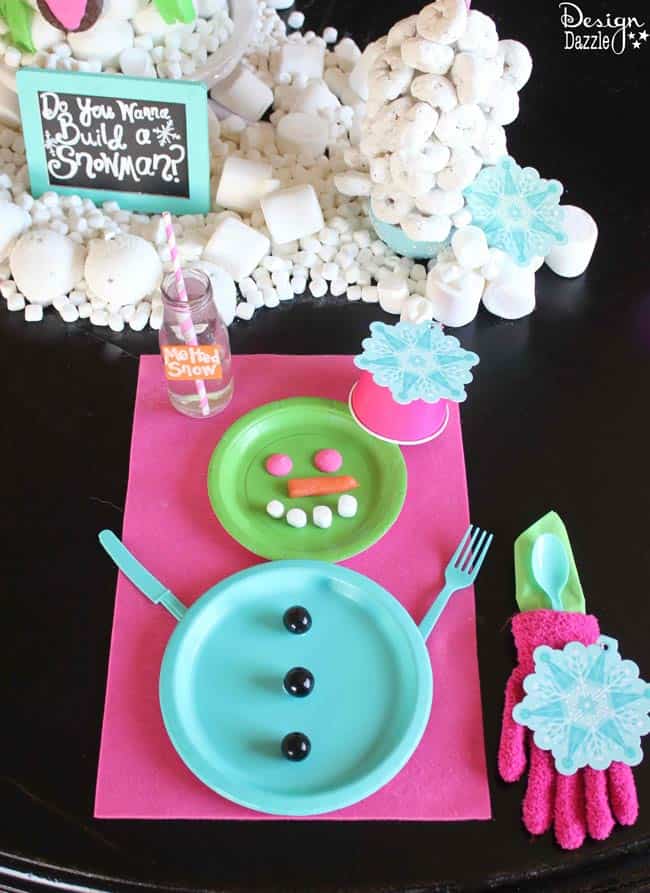
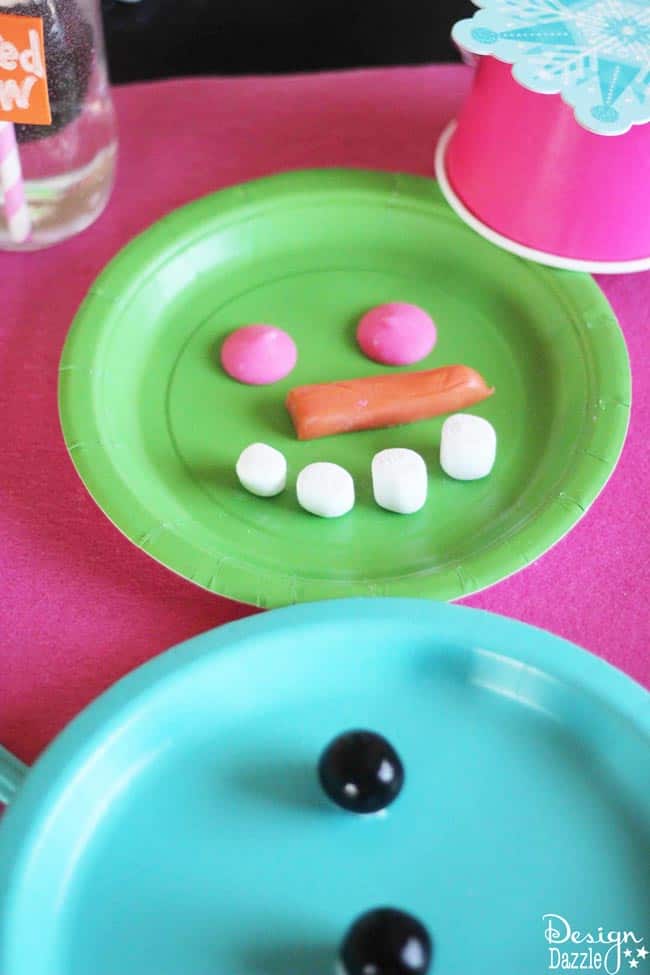
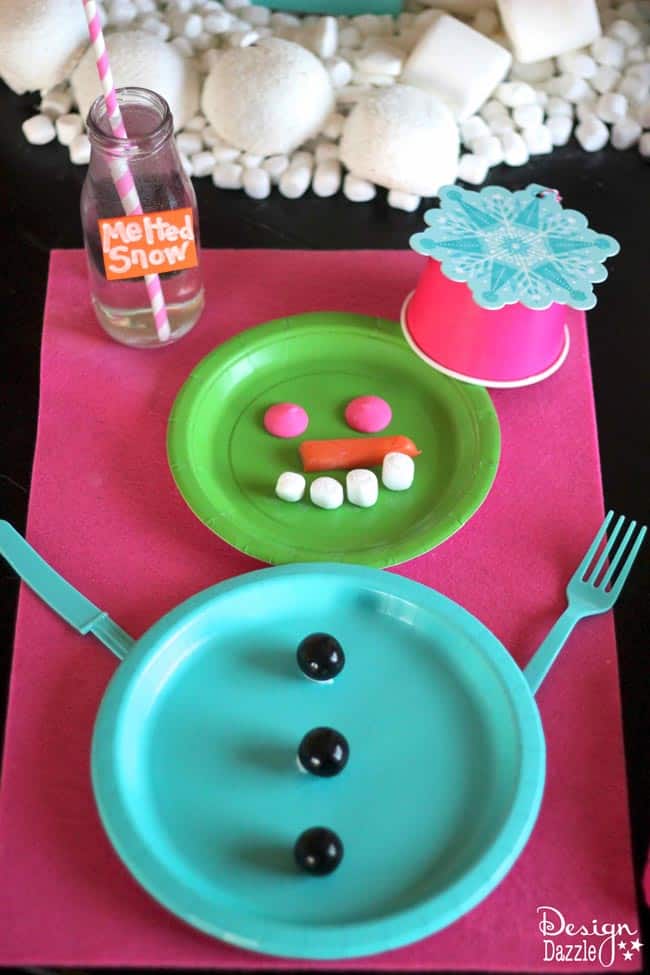
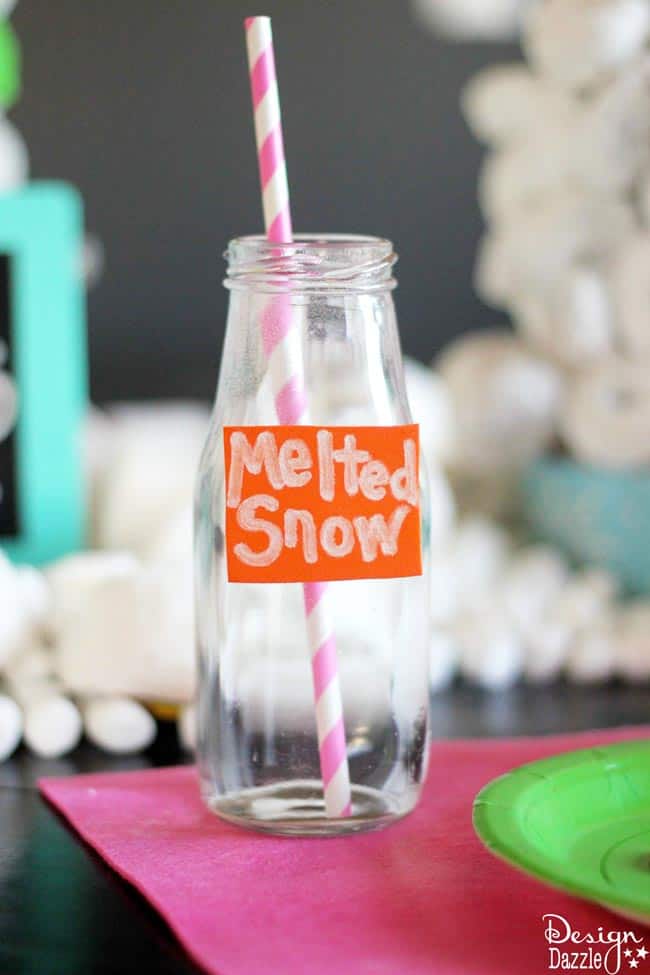
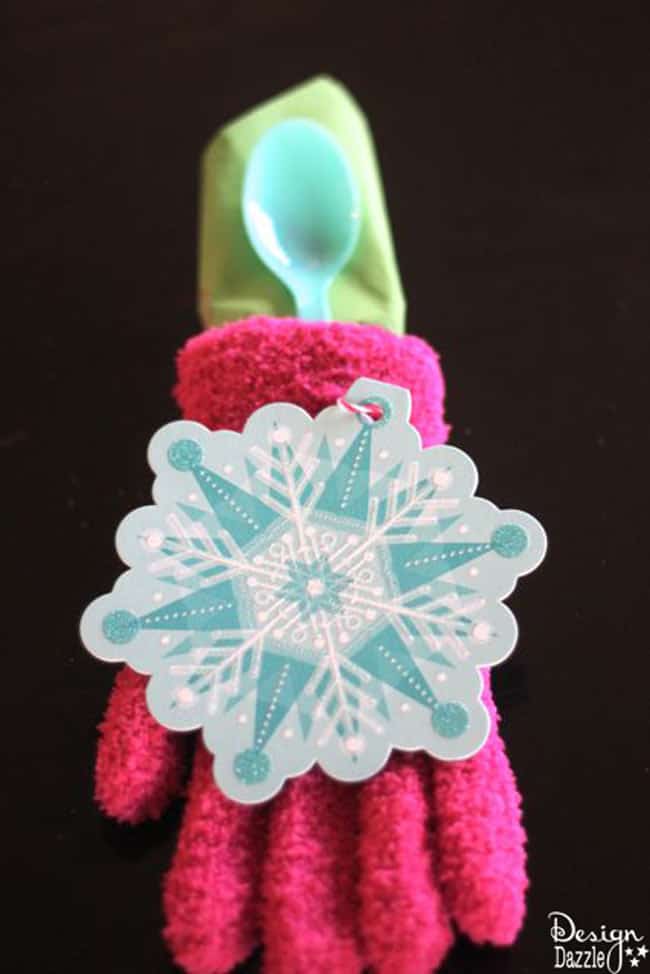
How do you like my snowman tablescape and placesetting? This is so easy to do!!! Your kids will love helping set the table. I used the following to make the snowman placesetting:
- 9″ teal plates and plastic cutlery
- 7″ lime green dessert plates
- green napkins
- pink mittens
- pink large felt rectangle
- pink dessert cups
- black gumballs
- marshmallows, candy nose and candy eyes
- jars for water
Do You Want To Build A Snowman??
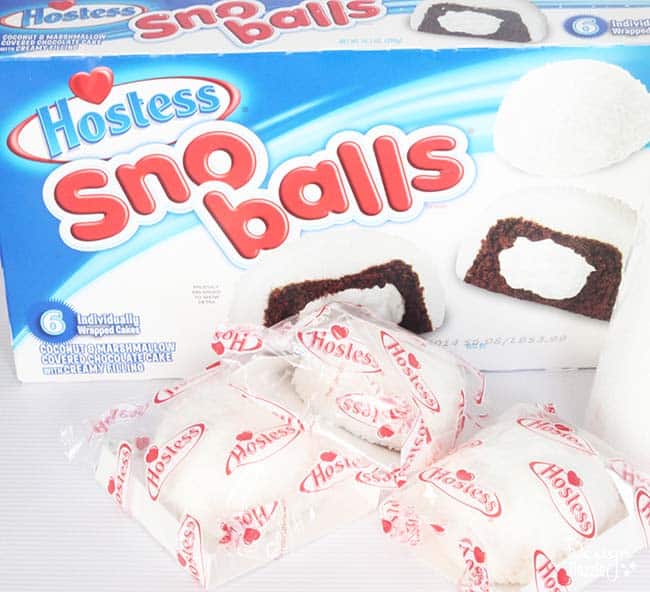
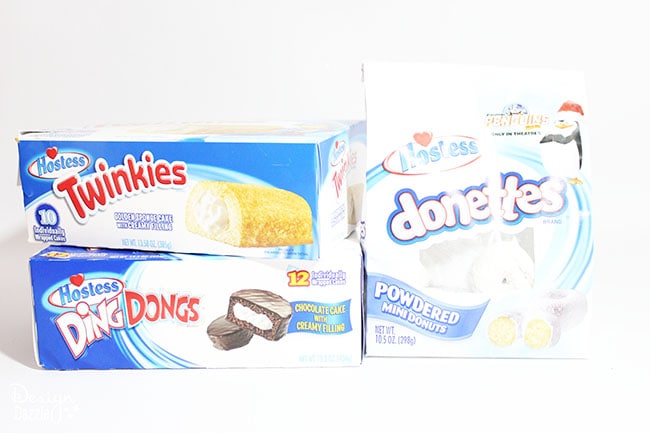

Supplies to Make a Snoball Snowman Centerpiece:
- Hostess Sno Balls
- foam cone
- two half foam balls
- circular foam disk
- styrofoam ball
- candy melts
- toothpicks and lollipop sticks
- soft felt fabric
- miniature hat
- cake board

Step 1: To make a giant edible snowman centerpiece, first you need a secure structure. Cut a cake board down into a circle. Secure the two half foam balls onto the cone with toothpicks. This will help the bottom level stick out a little more, like a snowman. Make sure that everything feels stable.

Step 2: Begin adding snowballs to the structure. I tried a few different ways of doing this, and found that melting candy melts to use as a glue worked best. Let the melted candy melts come to almost room temperature but still runny so that you do not have to hold them on as long. Using some toothpicks or lollipop sticks could also help.
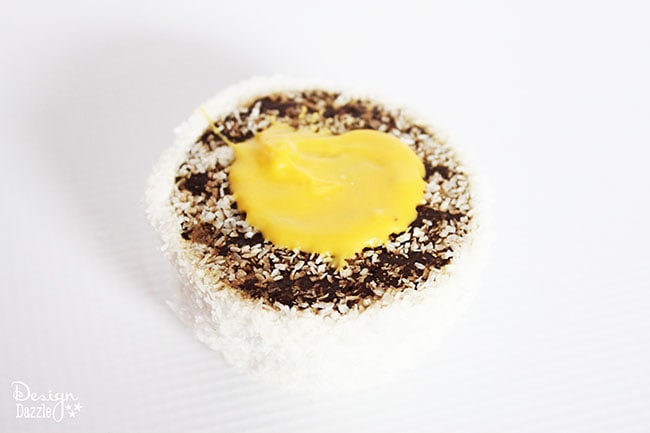
I used yellow candy melts for my “glue” because I had it on hand. I was being very careful not to let it get on the front of the Sno Balls. If you feel uneasy about this, use white candy melts!
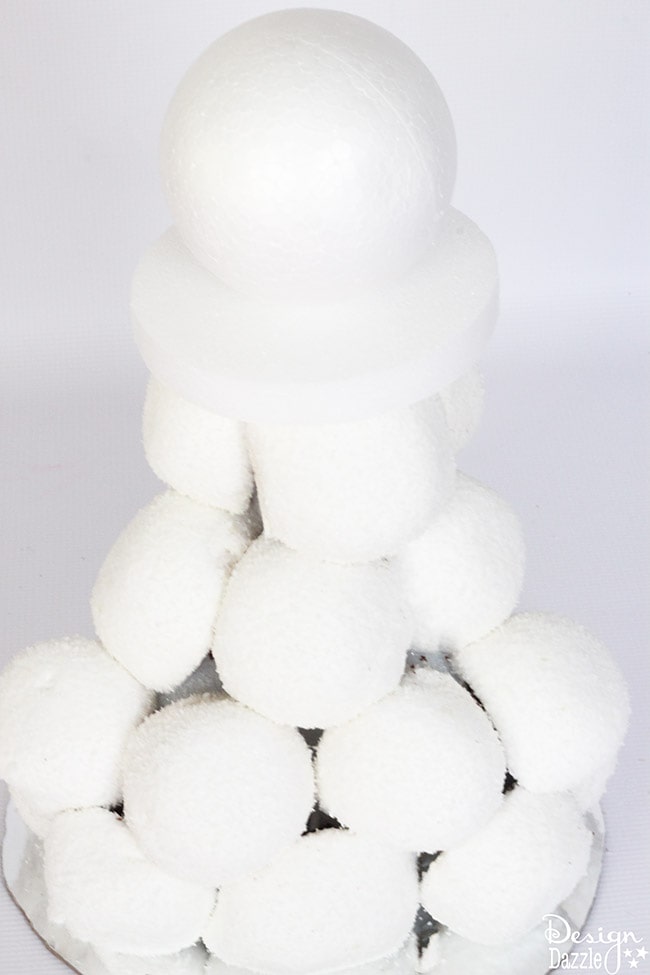
Step 3: Using a lollipop stick, secure the circular disk and styrofoam ball to the top of the structure to make the head. I cut down the circular disk about ½ inch so that it wouldn’t stick out too much.

Step 4: Fill in any holes with more Sno Balls. To make the snowman’s head, cut off about ⅓ of a large marshmallow. Use white candy melts as a glue again, and stick the marshmallows all over, without leaving any large gaps.
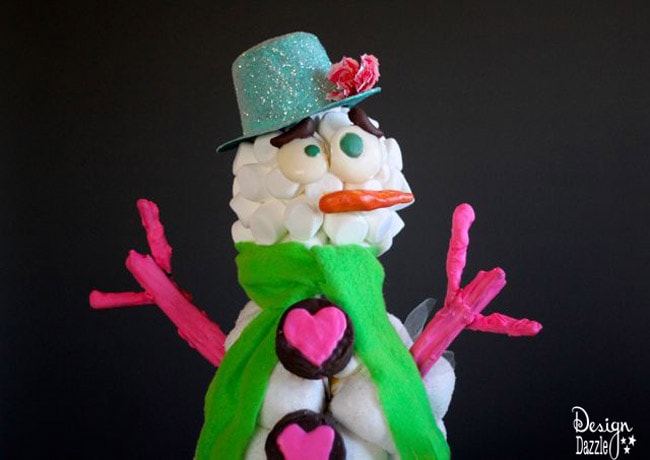
Step 5: Finishing touches!!
- Using a mold, make eyes for the snowman out of different colored candy melts. Stick the eyes on with room temperature candy melts, and hold them in place until they feel secure.
- To make a nose for your snowman, heat a few orange, red, and pink starbursts in the microwave for about 7 seconds. When the starbursts are soft, mix them together and mold them into the shape of a carrot nose. Stick the nose on with room temperature candy melts, and hold it in place until it feels secure.
- To make a scarf, I cut bright green soft felt fabric about 5 inches wide. I fringed the edges, and tied it around the circular disk that is under the snowman’s head.
- To make the hat, I got a miniature snowman hat at a craft store. I painted it and then covered it in glitter.
- To make the snowman’s stick arms, I took 3 chocolate licorice (if I were doing this again, I would use something sturdier- like thick pretzel rods!) and dipped them in bright pink candy melts. To make the little branch fingers, I broke a licorice in half and dipped it in the same bright pink candy melts. I attached the small branches with the candy melts and let it harden. All of this was “glued” on with a lollipop stick. The stick was pushed into the Stryofoam.
- To make the Ding-Dong buttons, I used the same bright pink candy melts I used to make the snowman’s arms and painted on little hearts with a spoon. I attached them to the snowman using room temperature candy melts.
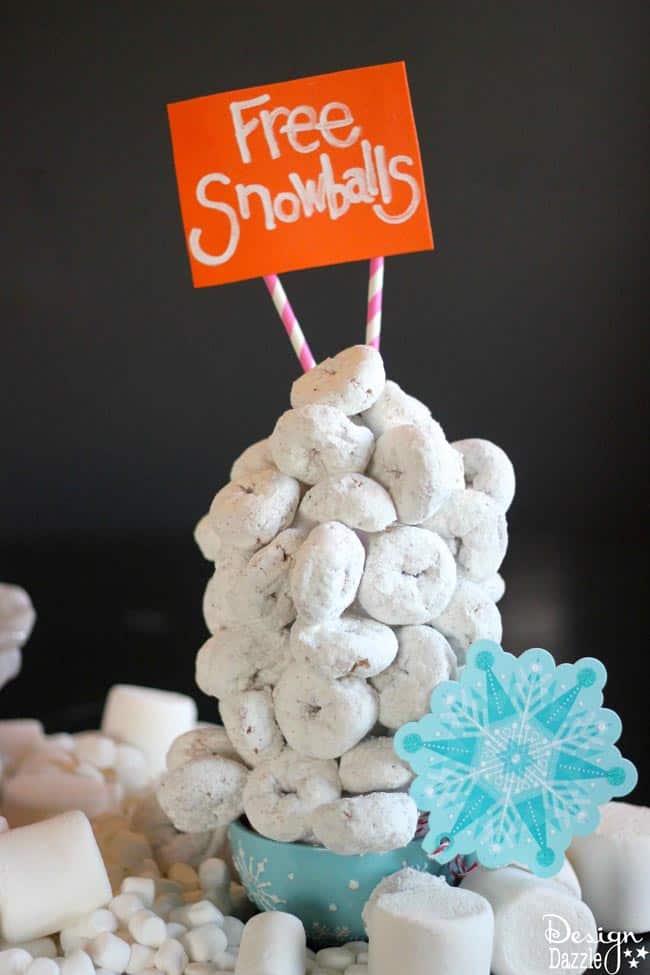
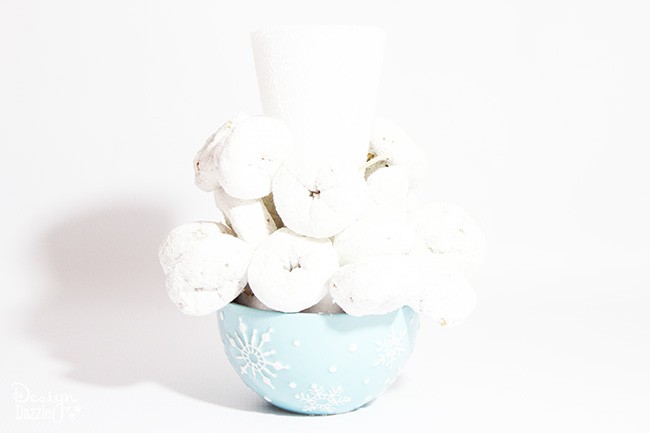
To make the pile of “Free Snowballs” I cut a styrofoam ball in half to use as the base. I then cut a hole in the top and stuck the cone in, upside down. I then stuck the Donettes in on toothpicks at random directions. It’s that simple!!

Hostess Holiday Sweeps Pin to Win special Christmas surprise!
HOSTESS HOLIDAY SWEEPS IS NOW CLOSED!!
A chance for YOU to win a $1,000 Walmart gift card! Hostess is giving away so many great prizes. Go to this link to enter to win! They are giving away three different prizes:
- Grand Prize: One random winner will receive a $1,000 Walmart gift card and Hostess products.
- First Prize: One random winner will receive a $500 Walmart gift card and Hostess products.
- Second Prize: One random winner will receive a $250 Walmart gift card and Hostess product.
You can also win a $100 Walmart gift card below:
Hostess is giving away a $100 Walmart gift card! To enter to win, leave me a comment on this post “what would you make using your favorite Hostess products, then submit your entry via the form below.
Good luck!
a Rafflecopter giveaway
Good luck in making your own edible snowman centerpieces and good luck in the #HostessHolidaySweeps page (bit.ly/HHSweeps). Hostess has some amazing and inspiring tablescapes and festive recipes the entire family will love this holiday season and for years to come. I want you to have an amazing holiday this year. Enter the #HostessHolidaySweeps on Pinterest for a chance to win……. I hope that both will make your Christmas a little brighter!
Make sure to follow Hostess on Twitter @Hostess_Snacks, on Instagram: Hostess_Snacks, on Pinterest at pinterest.com/hostesscakes, and on Tumblr at hostesssnacks.tumblr.com for more recipe and DIY ideas. Also find and like Hostess on Facebook at this link below!
This blog post is part of a paid SocialMoms and Hostess blogging program. The opinions and ideas expressed here are my own.



Jessica Carlton says
Adorable centerpiece! May use it in my classroom party this year! 😉
Toni - Design Dazzle says
What a great idea! Kids would love this!!
Nataly Carbonell says
Awesome centerpiece idea ^_^
Toni - Design Dazzle says
Thank you. It was fun to make!
Tabitha says
That was a cute idea.
We love hostess.
Toni - Design Dazzle says
Thank you. I love walking by the dining room table because it is decorated so cute!!
Christa says
My kids would love this!
Erin says
great giveaway – love walmart!
Jessie says
Such a cute idea – I love it!!
Layne says
This is so super, super cute! I love it!
skathy says
I would make an edible poinsetta centerpiece using zingers and coconut mini donuts for a Christmas feast; of course you could also use other flavors and combo for same
Toni - Design Dazzle says
Sounds fun to make and yum to eat!
Susan Noble says
Super cute centerpiece and fun activity to do with the Children what a wonderful giveaway also!
Cathy Simpson says
That is so cute..
Toni - Design Dazzle says
It sure is fun to look at it as I walk by the dining room. I even sneak a few marshmallow at times ; )