With the holidays officially in full swing, what better time to make some marbleized ornaments? These $1 Store ornaments were just fifty cents each and look incredibly expensive once you are done!
I feel like during the Christmas season, you really can never have too many ornaments. Hot glue them together to make festive wreaths, attach them to garland for a decorative touch, or place them in a tray with candles for added glamour. The possibilities really are endless. Plus, you can customize the colors to match any decor!
Video Tutorial:
Marble DIY Ornament Supplies
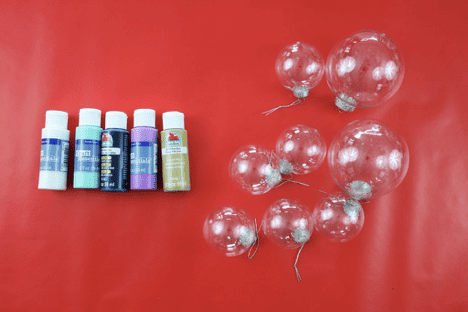
You can get virtually everything you’ll need to complete this little holiday project at the dollar store. Isn’t that just the best? But just in case your dollar store doesn’t come stocked with fillable glass ornaments, this Fillable Glass Ornament Mega Pack on Amazon is the closest thing in price I could find.
To make these marble ornaments, you’ll need some Fillable Glass Ornaments and several acrylic paint options. To get the best marble look, I recommend 3-5 different colors.
At the dollar store, you’ll usually find acrylic paint in the kids craft aisle. Otherwise, you can snag this acrylic paint set for $1.00 each on Amazon here.
How To Make Marble DIY Glass Ornaments
To begin, I recommend laying some spare wrapping paper or newspaper over your workspace. Especially if you are letting kids “help” you will likely have a few spills and be glad your surfaces are covered.
Once your surface is covered, it’s time to select your paint colors! In our house, I’ve opted for a glam Christmas vibe with lots of gold and white, with textures like furs and sequins. However, my first attempt at marble DIY glass ornaments left me unimpressed with just white and gold paint.
On my second attempt, however, I added additional accent colors and the end result looked very Z Gallerie. My kids loved creating “mermaid-themed” marble ornaments with added touches of turquoise, purple, and even navy. I recommend selecting your home decor colors as well as a few complimentary ones to add extra interest to your finished decor.
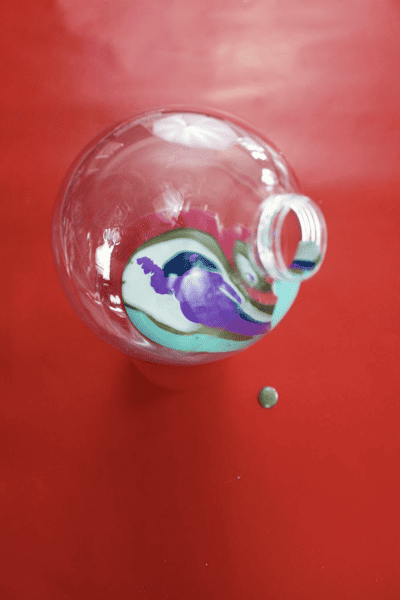
To fill the ornaments, simply pop the top off and pour a small amount of acrylic paint inside. The easy pour spouts in this acrylic paint made this process incredibly easy with zero mess.
When you are pouring your paint inside, be careful to pour the colors directly on top of each other. This will help create the finished marble effect and eliminate your paint forming more uniform stripes.
Once your paint is inside the glass ornament, its time to gently rotate the ornament until the paint has spread around the entire surface of the glass. The colors will start to blend and push each other inside the glass to create beautiful patterns and swirls.
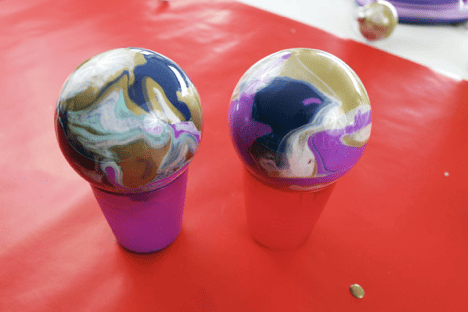
Once you have the desired look you want, drain the excess paint from the ball by setting it upside down in a disposable cup. The extra paint will slowly drain and leave you with beautifully marbleized DIY glass ornaments!
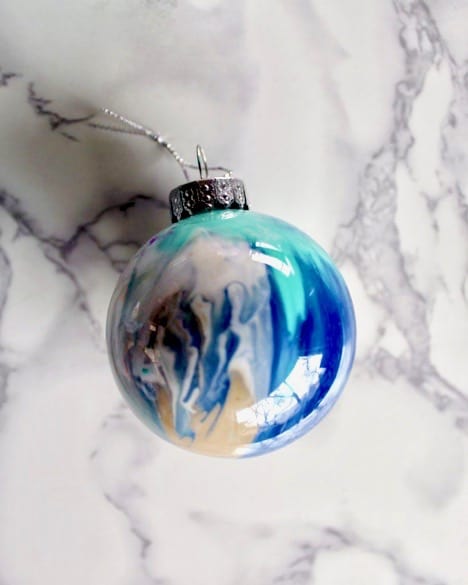
After the paint is dry, simply pop the attachment hook back in place on the top of your ornament and enjoy!

I absolutely love how these marble ornaments turned out and my kids loved creating them! We plan on making several more as grandparent gifts this year as well. (You can see my other DIY ornaments for kids here.) I love it when I can create hands-on projects with my kids….. that also look luxe and professional. Now we have beautiful holiday decor that we can treasure for years.
Thank you so much to Lisa from Creative Fashion Blog for sharing this fun and creative idea with us!






Leave a Reply