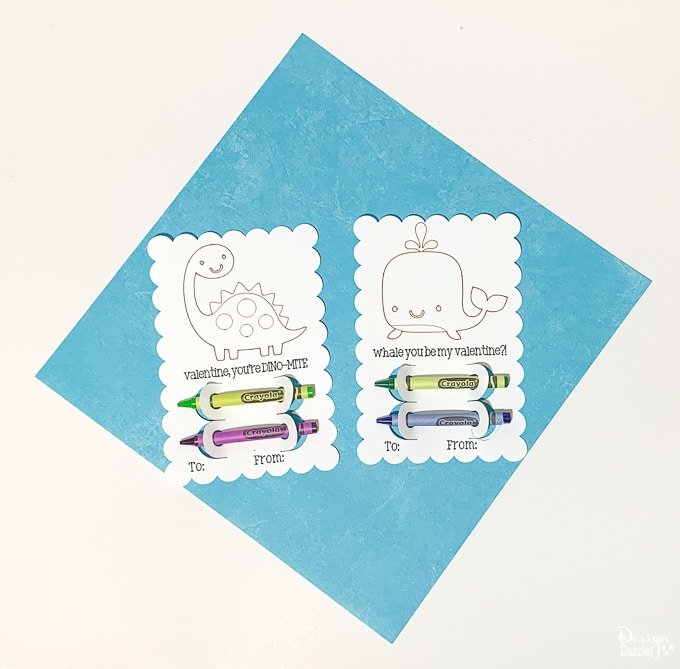
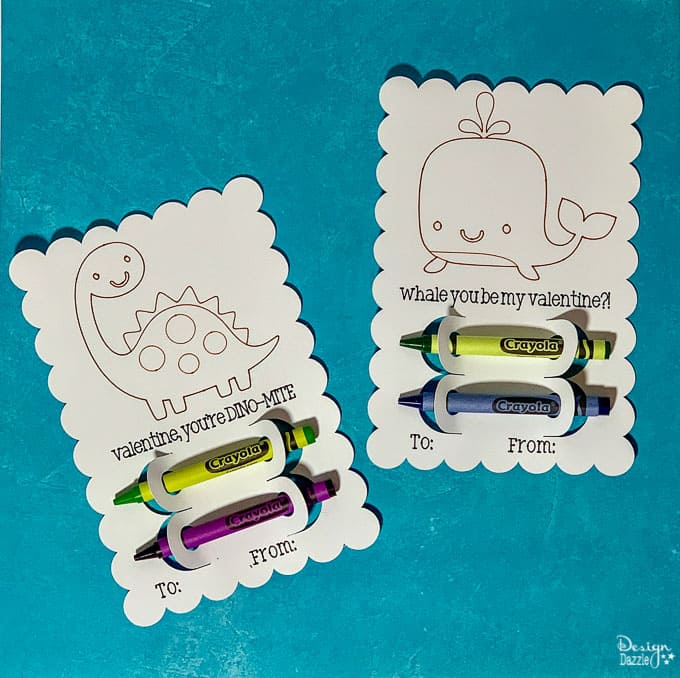
Valentine’s Day is almost here and who doesn’t love to have fun Valentine’s Day cards? These adorable DIY whale and dinosaur Valentine cards made with the Cricut are perfect for boys or girls!
It’s amazing how pricey quality Valentine’s cards can get. If you enjoy crafting and using your Cricut, by making these Valentine’s the price goes down drastically and then you can buy cute favors to go with the cards and not stress about the price adding up!
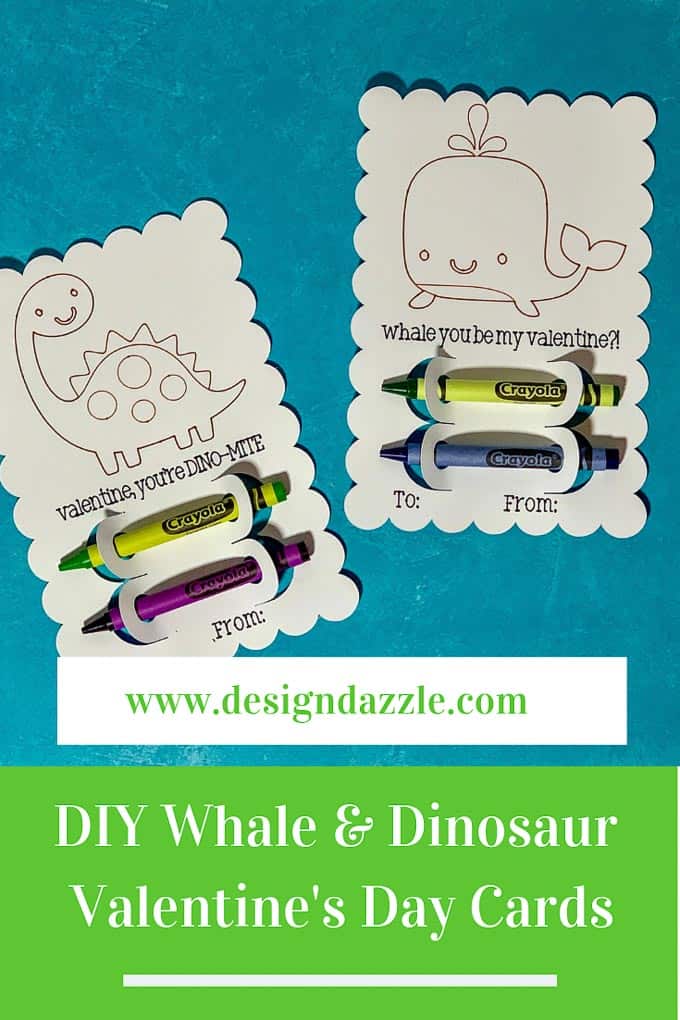
I especially love that these whale and dinosaur Valentine’s Day cards are designed to be given with two crayons. How cute is that? It’s a perfect non-candy Valentine idea!
I used the Cricut to make these Valentine’s. Scroll down to see the step by step instructions on how to make them.
Supplies:
- 4 sheets 12 x 12 white cardstock (to make 8 cards)
- 1 Black Cricut Fine Point Pen
- 1 Tawny Cricut Fine Point Pen
- Cricut Light Grip Mat
- Fine Point Blade
- Cricut Maker
- Cricut Spatula
- Crayons – 2 per card
Instructions:
- Open Design Space.
- Click on projects and do a search for the Valentine Cricut Card Set.
- When you find it, click on it and then click the customize button to open it in Design Space.
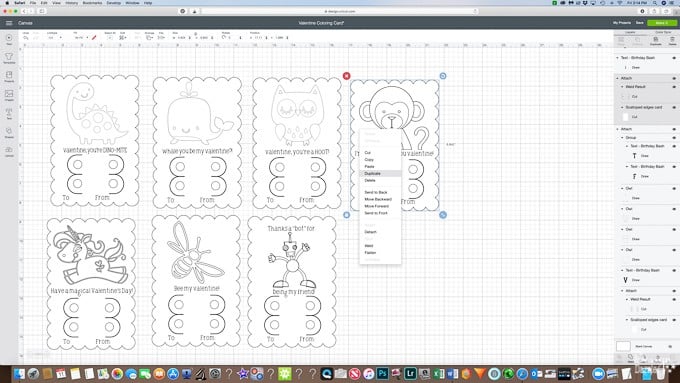
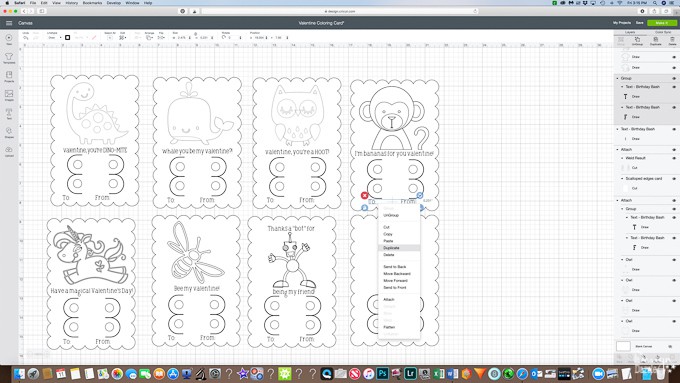
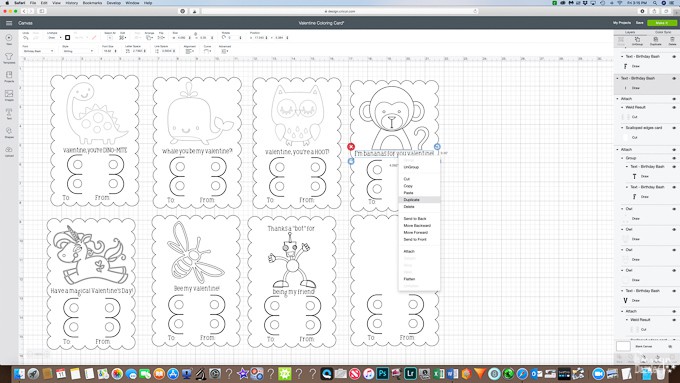
- Duplicate one of the pre-made cards in Design Space by right-clicking on it and selecting duplicate.
- Now drag the duplicate card template to an empty spot on the mat.
- All of the text boxes need duplicated by right-clicking on them and dragging them to the appropriate spot on the new card.
- Double click on the text to change it to say what you want it to.
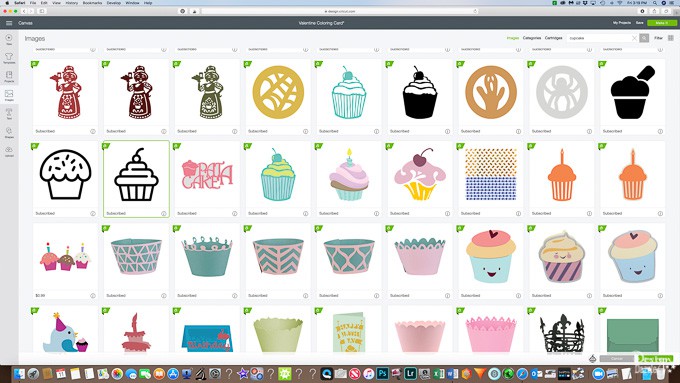
- Once the text is in place, the next step is to click the image button and choose an image.
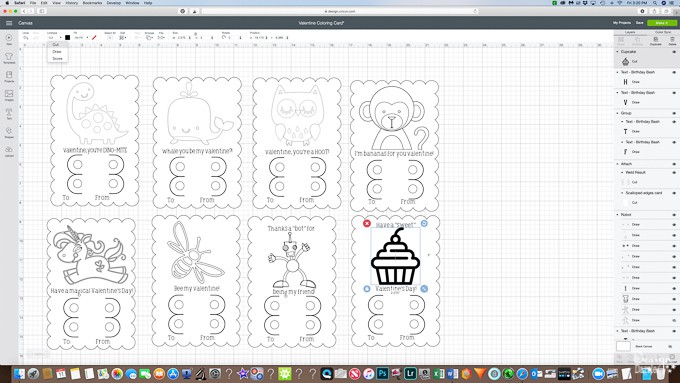
- Once the image is in the right place, be sure you are still clicked on it so it is highlighted and go to the top of Design Space and look for the Linetype box. Change it from cut to draw. This will change how your image looks.
- Once the new card is set up the way you want it, highlight the larger card area and look on the side of the screen where you can see the different layers.
- Now you will notice a highlighted grey box, this is your main card. Right above it, you will see two text areas under the group heading and the design you chose This is all under a main attach heading.
- Highlight all of these sections then go to the bottom and click attach. If you have done this right, the entire card will move where you want it to in Design Space instead of just individual sections of the card.
- Make as many cards or different designs as you want repeating the steps above.
- When you are done, be sure to click save and name your project.
- Now you are ready to click the make it button.
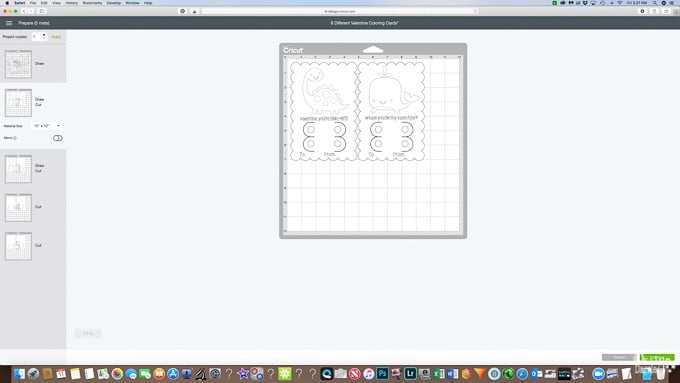
- Once the design is opened and ready to make you might notice the cards are spread out over several mats. This is ok.
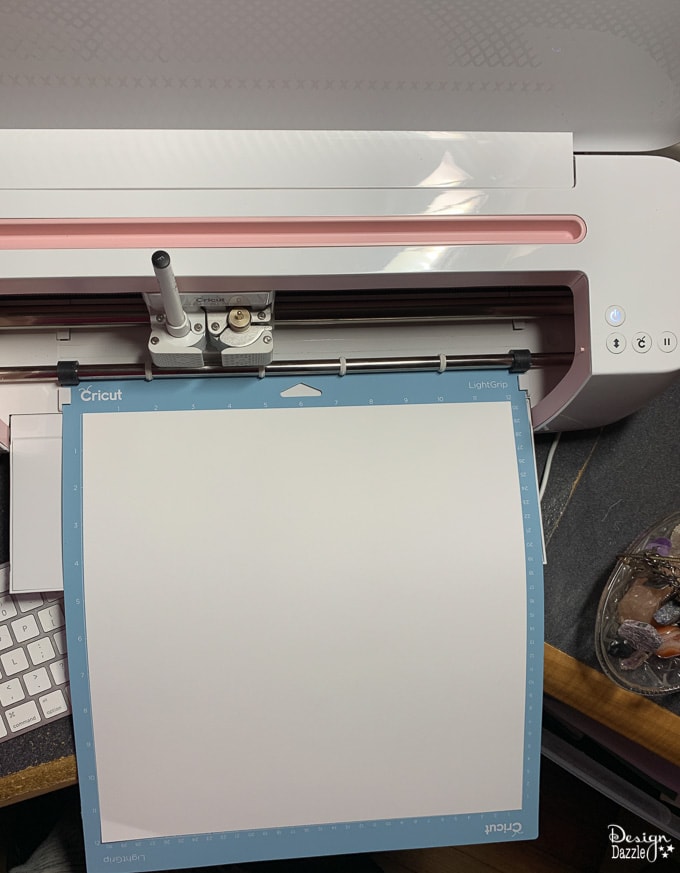
- Place a piece of 12 x 12 white cardstock on the light grip Cricut Mat.
- Press the continue button at the bottom of the screen.
- The software will look for your Cricut Device and automatically find it.
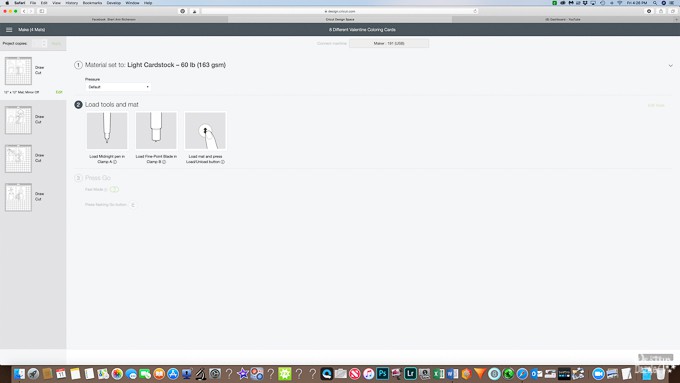
- Now you are going to be asked to choose the material. Click popular and choose either the 60 pound or 80 pound cardstock depending on which you are using.
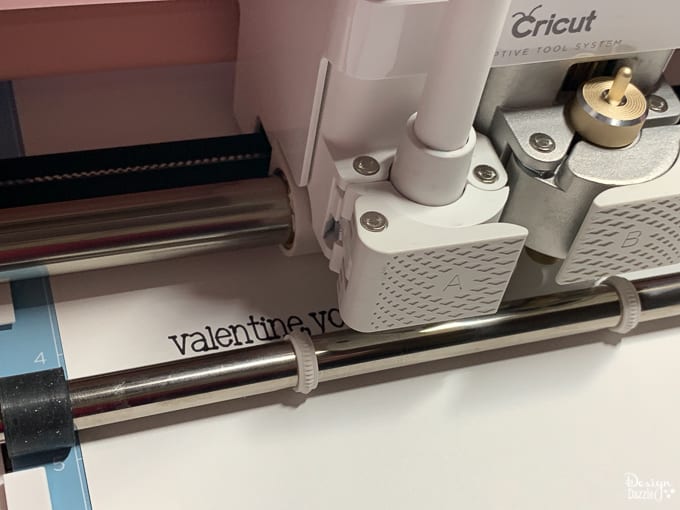
- Once you make your choice, the load tools and mat section will come up. It will tell you to load the Cricut Pen in clamp A and the fine point blade in Clamp C. Be sure to listen for the pen to click in place because if it does not, it will not work. The machine will still work, however.
- Once this is done, press the load/unload button on your machine to load the Cricut Mat with the paper on it.
- As soon as the C on the machine begins to blink, press that button and the machine will begin to draw.
- The machine will ask you to change ink colors once the text is done. This is optional. I chose to change the pen to a different color.
- Let the machine finish drawing the design then it will automatically start to cut the rest of the design. Just let the machine work.
- Once the machine is done, the load/unload button will begin flashing. Press it to unload the mat.
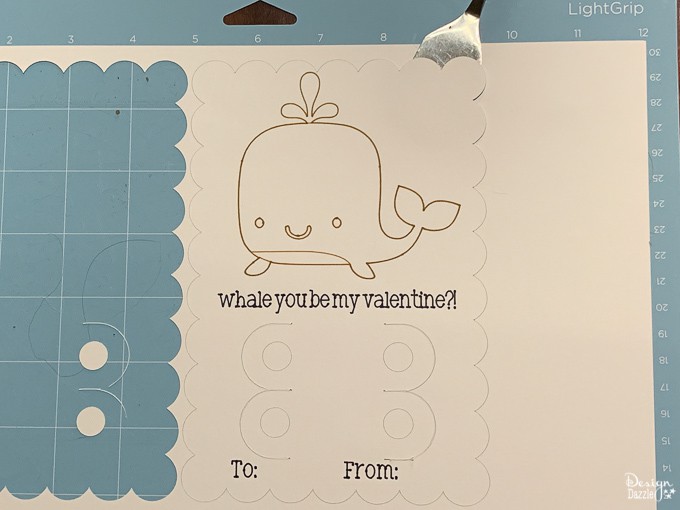
- Now use the Cricut Spatula to carefully loosen the design from the mat. Doing this keeps it from bending or rolling when you remove the cardstock from the mat.
- Once the design is removed, simply add two crayons to each card.
- Fill out the to and from areas or let your kids do that.
- Now the cards are ready to be given out for Valentine’s Day!
Aren’t these adorable? Did you try making them? I would love to hear what you think in the comments!






Leave a Reply