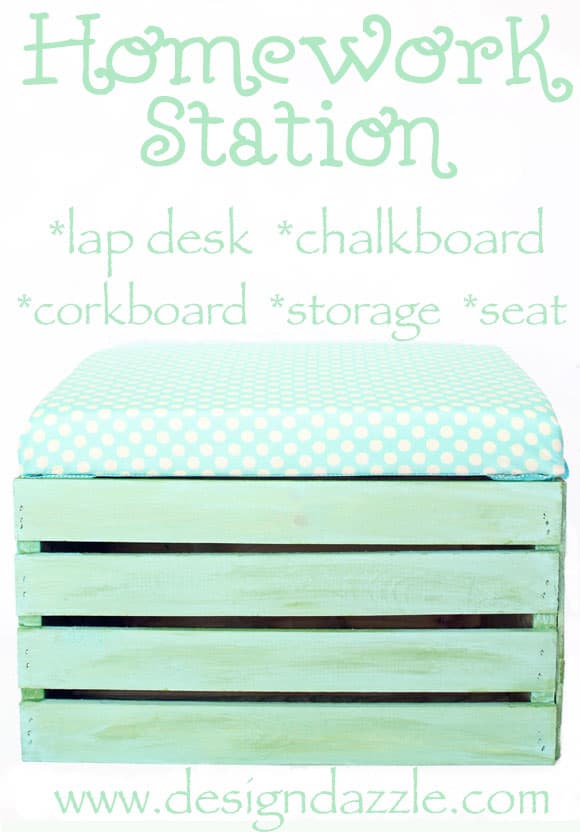
It’s time to gear up for back-to-school!
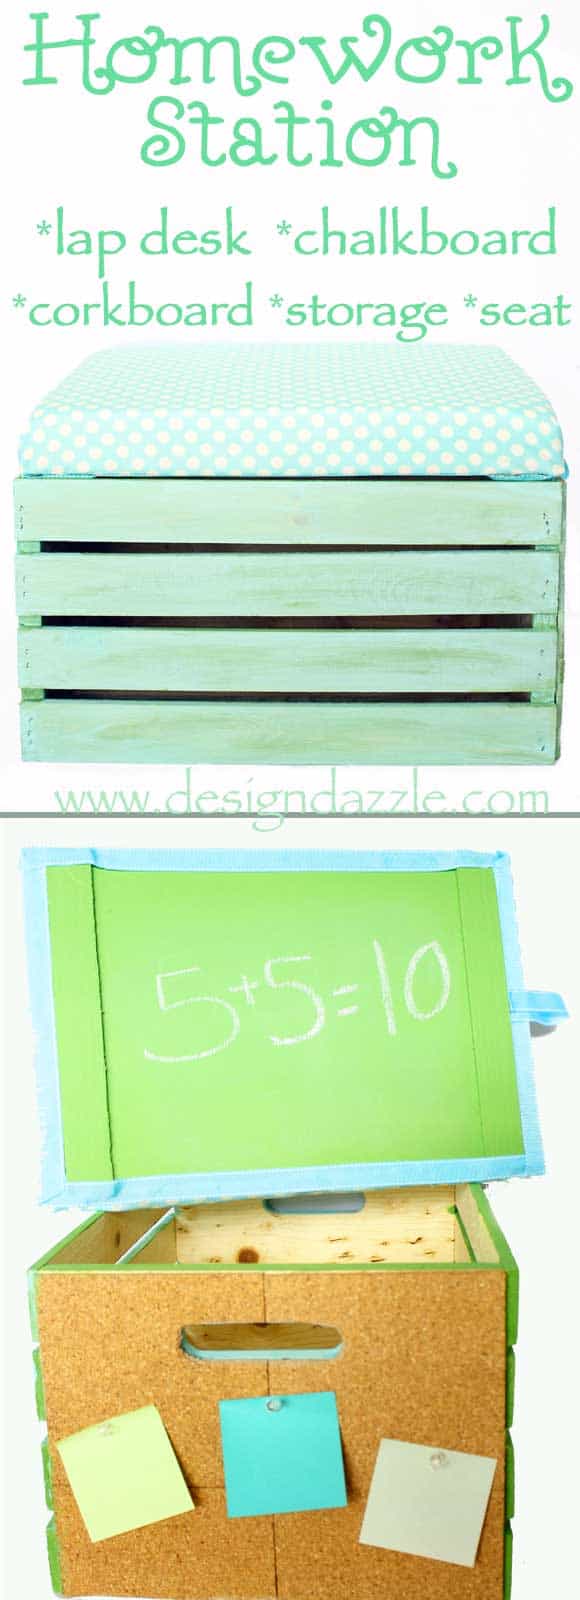
I’m part of the Michaels Makers team. The challenge this month was a back-to-school theme – teacher gifts, organizational tools, etc. I choose to create a DIY portable homework station as my challenge. What started out as a wood crate became a seat, lap desk, storage unit, chalkboard and corkboard!! Yes, it’s an all-in-one portable homework station.
What child doesn’t want a “spot” to call their own. Make the homework station a place where your kids can be organized. They can move their station to the family room, their bedroom, to grandma and grandpa’s. If you are on-the-go taking kids everywhere, this works to bring it in the car and keep it all together.
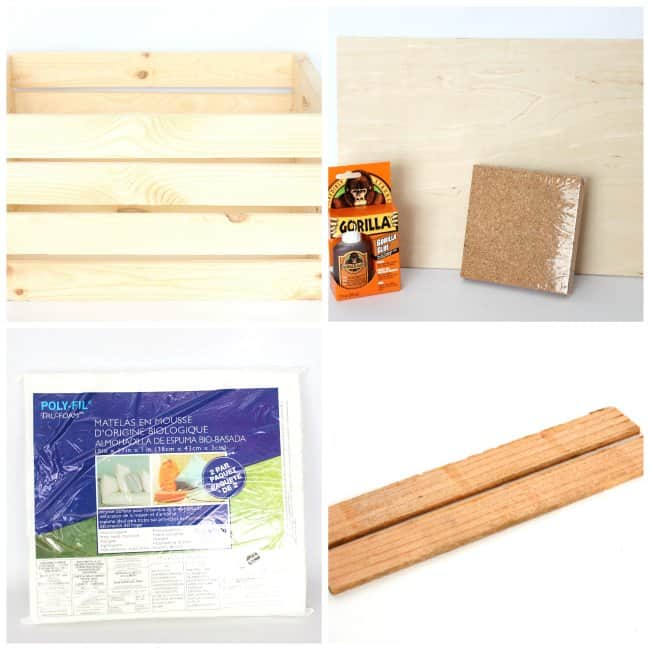
Supplies/Tools:
- wood crate
- birch plywood 12″ x 24″ sheet ¼ thickness (or scrap wood)
- poly-fil rectangle foam
- Gorilla Glue
- corkboard squares
- chalkboard paint – I used Craft Smart apple green chalkboard paint for the chalkboard and base coat on the crate
- acrylic paint – I used FokArt Jamaican Sea (the paint used on the crate over the basecoat)
- scrap fabric (½ yard)
- wood trim pieces
- ribbon
- foam paint brush
- tape
- staple gun
- hot glue gun
- scissors
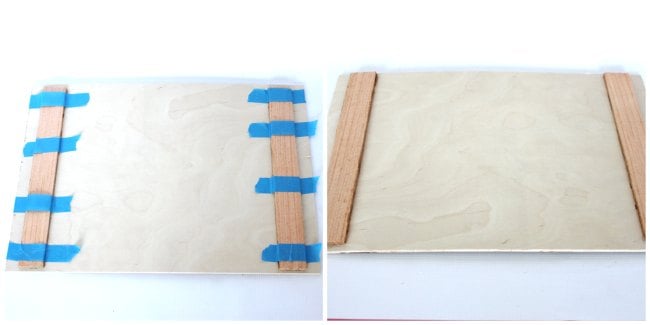
Seat topper: Cut the birch wood to fit the top of the crate (edge to edge). For the seat to fit securely on top of the crate add wood trim pieces. This way the “seat” part of the homework station has something to keep it secure and hold it place so it doesn’t slide off. Measure the inside measurements of the wood crate and place the trim pieces on top of the board. Tape the trim pieces onto the main board and make sure to fit it on top of the crate for fitting before gluing. Trace around the board with a pencil. Remove tape and glue trim pieces onto the bottom of the board.
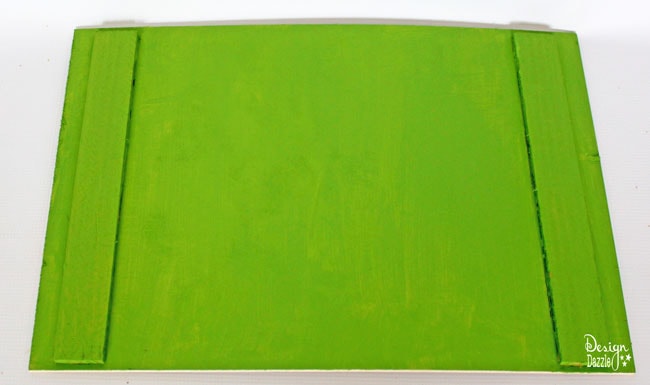
Paint the bottom of the board with chalk paint.
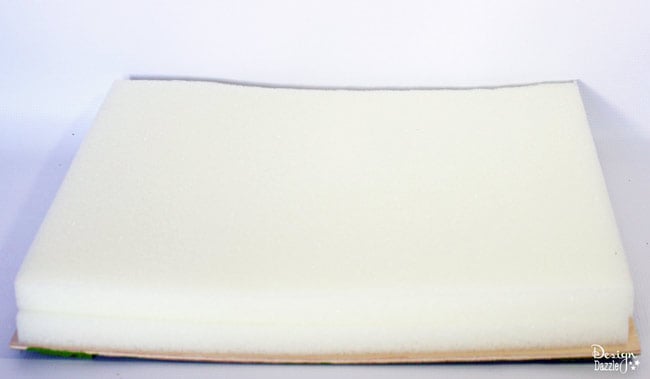
When the chalkboard has dried, turn over and glue the foam to the wood. There are two pieces of foam in the package. I used both pieces and used the Gorilla Glue. Follow the instructions on the package (you will need to add water to the glue).
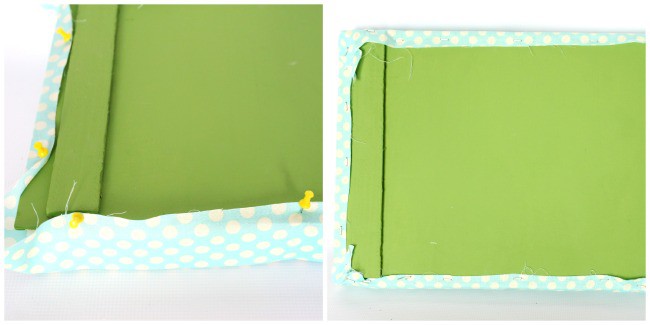
Iron the fabric you will be using for the seat. Use push pins to place the fabric tightly around the wood board. Pull the fabric taught. When the fabric is in place and to your liking, use the staple gun to secure the fabric. If you have someone to help out with holding the fabric, you can skip the push pins step.
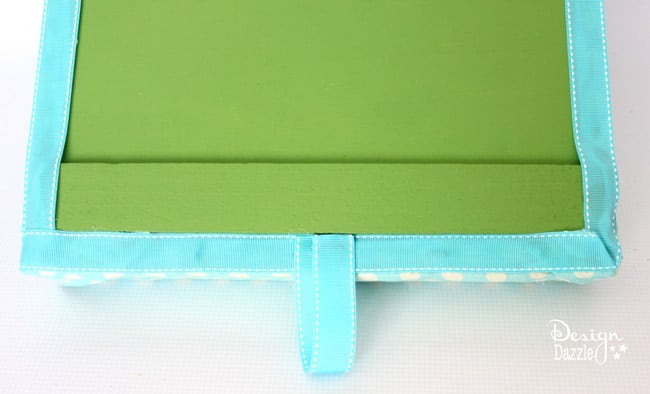
Choose a coordination ribbon and hot glue onto the board to hide the fabric edges. Cut a piece of ribbon to create a loop so the seat can be removed easily from the crate. Use a staple gun to staple the loop end piece to the board, then fold over (to create the loop) and glue gun the top piece.
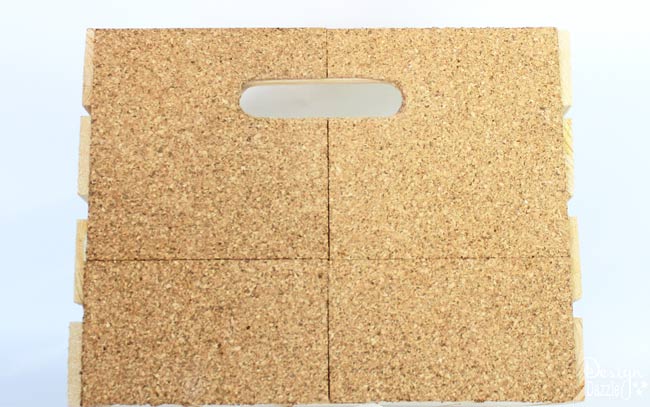
A roll of corkboard looks cleaner than the squares but I choose the squares because it was quite a bit cheaper. Tape the cork board into place and use a pen to trace around the handle (from the inside of the crate) and overlap on the bottom. Use heavy duty scissors to cut the cork board. Gorilla Glue was used to adhere the cork into place.
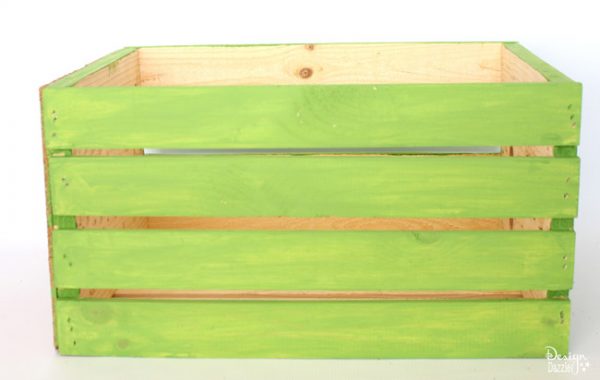
The crate was painted a base coat with chalkboard paint. Painting the inside of the crate will give it a more finished look. I decided to keep mine raw.
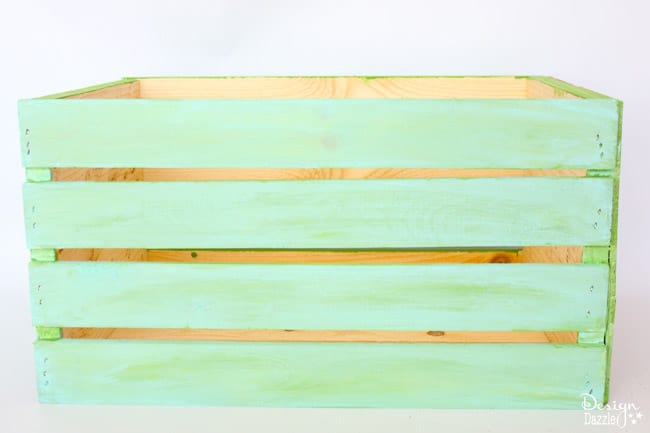
After the chalk paint dries, apply the acrylic paint with a foam brush to create a “washed” look. I wiped some of the paint off to see more of the base coat. Adding a little water to the paint also helps to give it a washed look. I love the “two-tone” weathered look of this crate.
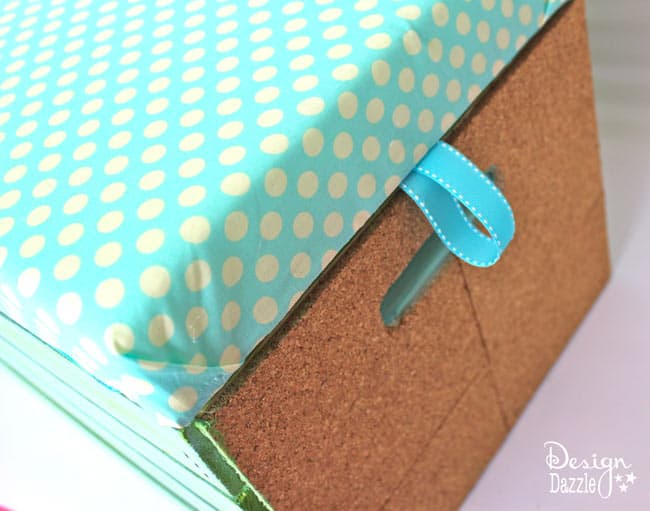
Add the seat to the crate and you’ve got an all-in-one portable homework station!!
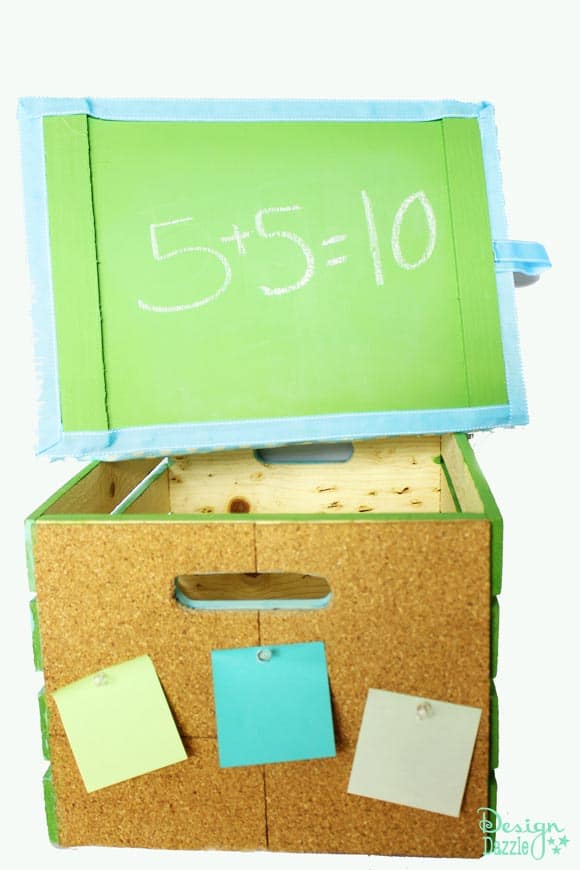
So here it is complete – the all-in-one DIY portable homework station.
To finish off your portable homework station, fill with items your kids might need – crayons, erasers, pencil sharpener, personalized school supplies and may other items can be found at Michaels.
- Teachers – It’s time to start planning for the new school year and Michaels has all of the ideas and supplies you need to create a one-of-a-kind classroom, plus you get a 15 percent discount on all classroom purchases!
- Check out Michaels’ Back to School Pinterest Board to find fun and creative project ideas to kick the year off right!
I received a gift card from Michaels to complete and share craft challenges. All ideas and opinions are my own.
Check out all the other Michaels Makers ideas this month:



Michele @ The Scrap Shoppe says
Great idea, Toni! I love this!
Toni - Design Dazzle says
Thank you, Michele! I appreciate all the comments.
Jen says
Wow, so creative! I love how you can do so many different things!
Rosalinda says
Fabulous!! I want to make one for my son.
Cheryl says
I love this and we already have some of the supplies at home!
Toni - Design Dazzle says
If you make one, I would love to see it. It’s always fun seeing others make one of your projects!
Erica Brooks says
This is a great idea. My daughter would love helping me to make this.
Toni - Design Dazzle says
Erica, this would be a great project to make with kids. They would certainly take pride in ownership!
Paula @ Frog Prince Paperie says
That is pretty fabulous, Toni! Maybe it will inspire my kids to WANT to do their homework!
Toni - Design Dazzle says
Wouldn’t that be awesome??
Susan Noble says
Such a clever idea i love this!
Toni - Design Dazzle says
Thank you, Susan!
Layne says
What neat idea! I love it.
Toni - Design Dazzle says
Thank you, Layne!
Tonya Coleman says
love this idea! Thanks for sharing this. Looks like even I can do this!
Toni - Design Dazzle says
Thank you, Tonya!