

Hi there! I am so happy to be a part of Christmas Wonderful here on Design Dazzle! I am Amy from Commona-My-House. I’m married, have 4 kids and we’ve moved 14 times in 16 years of marriage. I love sharing ideas about how to make a house feel like ‘home’. I post on everything from easy crafts and recipes to my favorite paint colors, design tips and antiques.


I love using paper straws for parties. Stripes, Polka Dots, Chevron…I love them all!
But I always feel sort of guilty throwing them away when the party is over…don’t you? They’re just too cute to just use as party supplies! I wanted to make some crafts using some of the cool straws I’ve been seeing out there lately. So when I found these birch tree straws I knew I wouldn’t be using them for a party…but for a wreath!
Supply List:
cardboard or flat wreath form
appx 100 straws
glue
twine
scissors
glue gun
{This is a fun project for kids about 8 and older with adult supervision due to the glue gun and cutting, etc.}
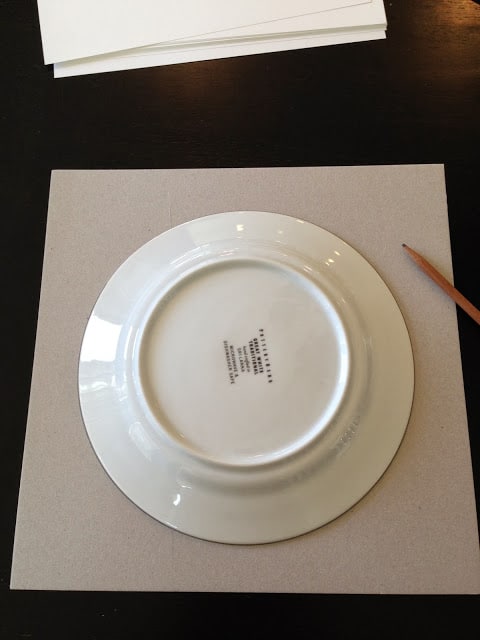
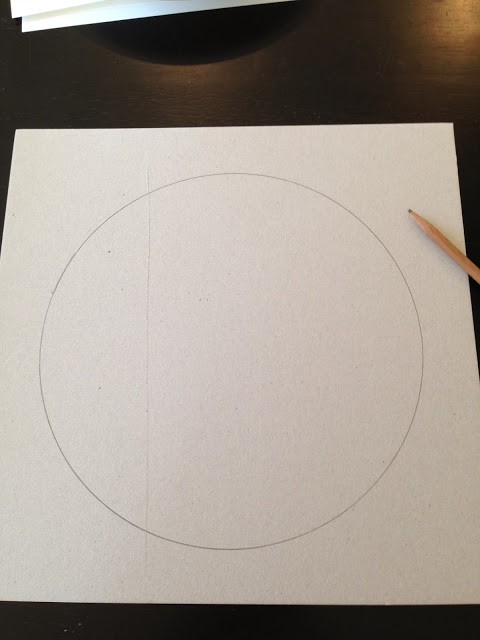
I really like making things with stuff I already have. So instead of buying a chip board wreath form or some other type of flat wreath form, I just made one by tracing a plate on a piece of cardboard.
{Again, this would be a great project for say, a pre-teen girl to decorate her own bedroom, door, give as a gift, etc.}
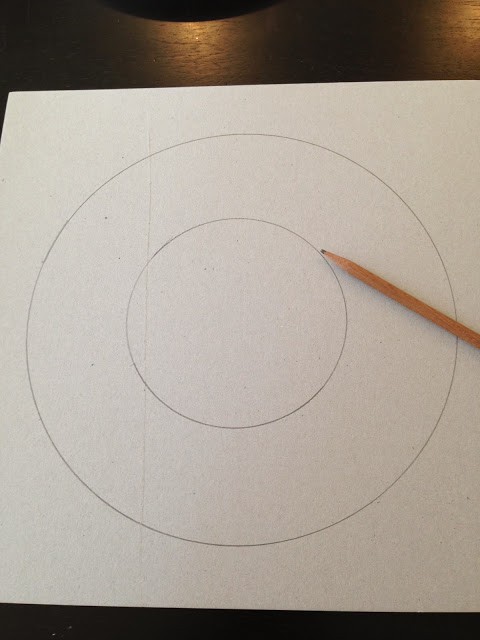
Then, I used a cannister jar lid in order to get the smaller circle for the inside of the wreath.

Then, cut on the line…or if your child is cutting, as close to the line as possible.
{My daughter realized after a few snips that pinking shears are pretty hard to handle on cardboard!}
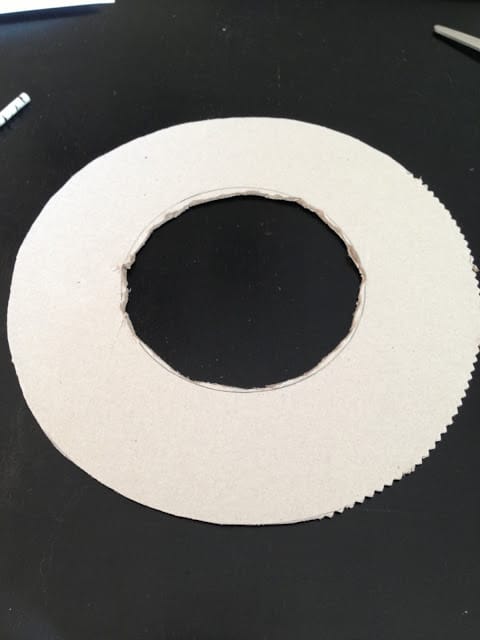
The wreath cut out doesn’t have to be perfect! No one will see it from the front of the wreath!
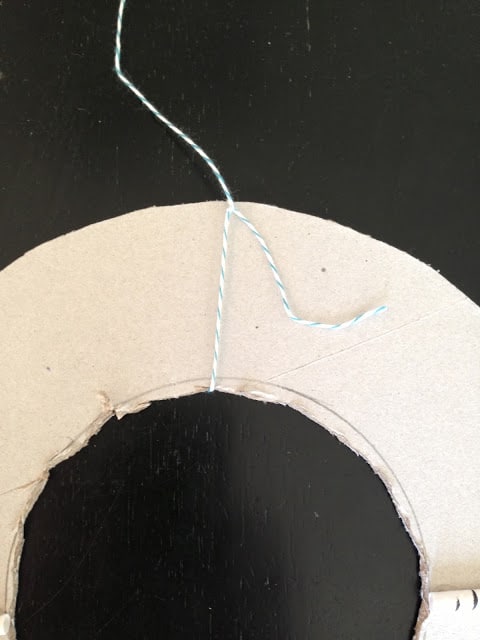
We wrapped a piece of twine around the wreath so that hanging it will be easy.
Even if you want to hang it or decorate it with ribbon, you’ll now have a loop of twine to run your ribbon through on the back of the wreath.
We started playing with the straws and began gluing down the straws in sections, splitting the distance between straws in order to fill in as much as we could.
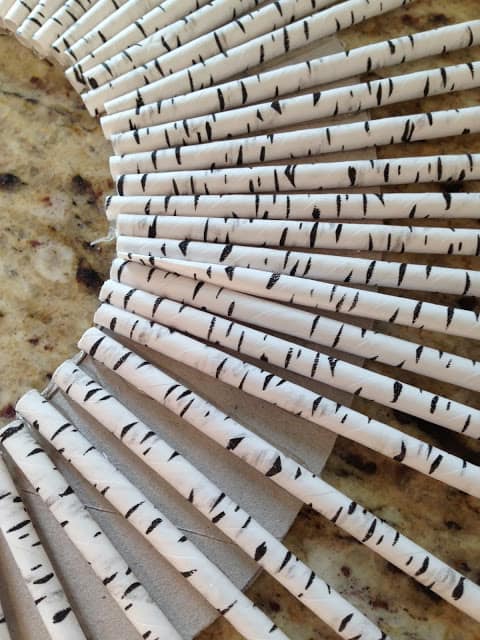
You can see in the picture above just how easy it is to work with paper straws. As I was filling in the gaps between the straws I simply pinched the tip of the straw to make it fit. (This part will be covered by the 2nd level of straws). You can ALSO see in the pic above the joys of working with a glue gun. I ALWAYS get glue webs (glue cob-webs) everywhere, no matter how hard I try not too. Don’t worry: these come off easily at the end of the project.
When the form was full I cut the remaining straws..cutting ⅓ off of the end.
Continue to make a second level with these pieces, positioning them to cover any flaws.
Then use the remaining short pieces to make your top, final level of straws.
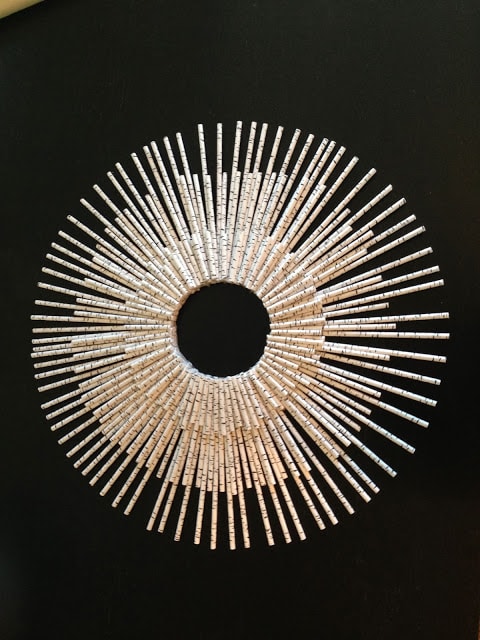
You can see the levels by the lengths of the straws.
(Long Straws on first level, medium straws on the second level, and short pieces on the top).
Once you are done you can have fun decorating your wreath.
It all depends on what straws you are using, but we tried 3 different looks for our birch wreath.
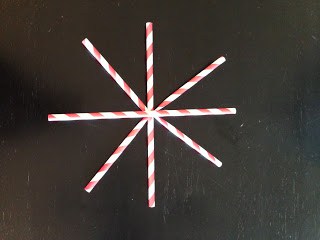
Style #1. Red and White Striped Snowflake
We made a red and white straw ornament to place in the center or off to the side on the wreath.
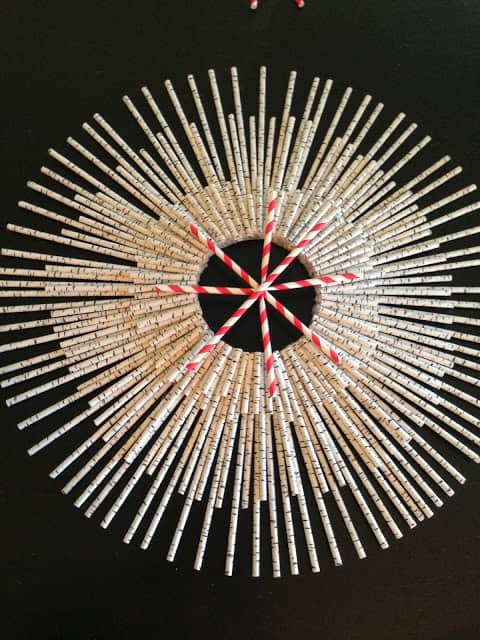
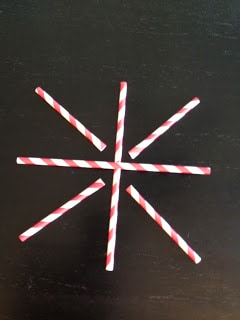
Glue all straws together in center. This would be so cute decorated with paper snowflakes and ribbons.
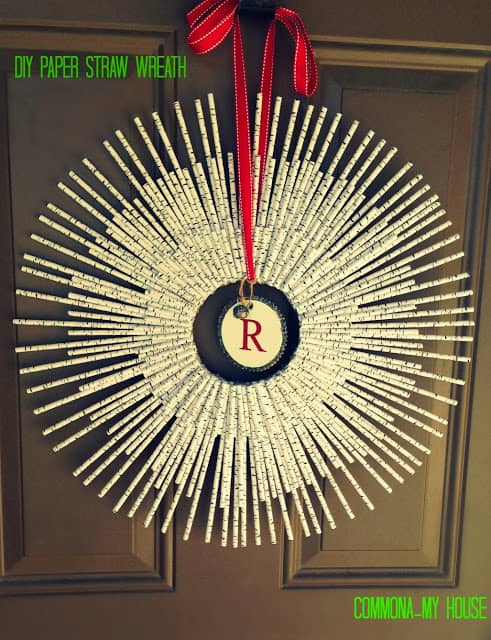
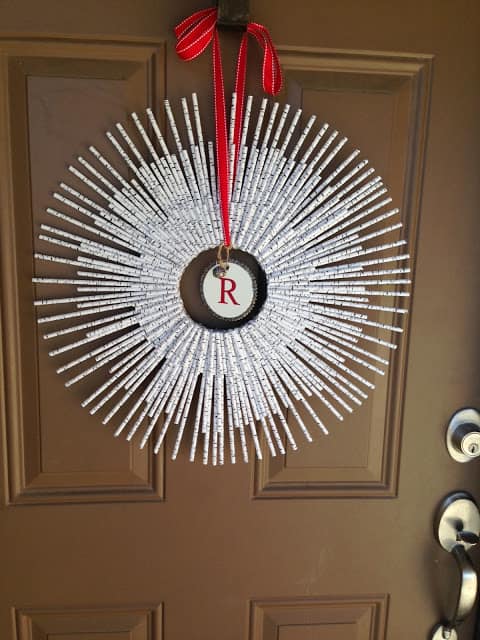
Style #2. Red ribbon and a monogram
We hung a monogram ornament off of the ribbon and hung it from the door.
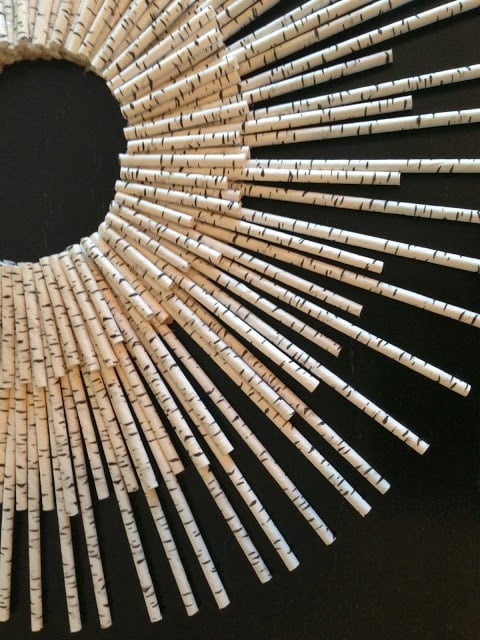
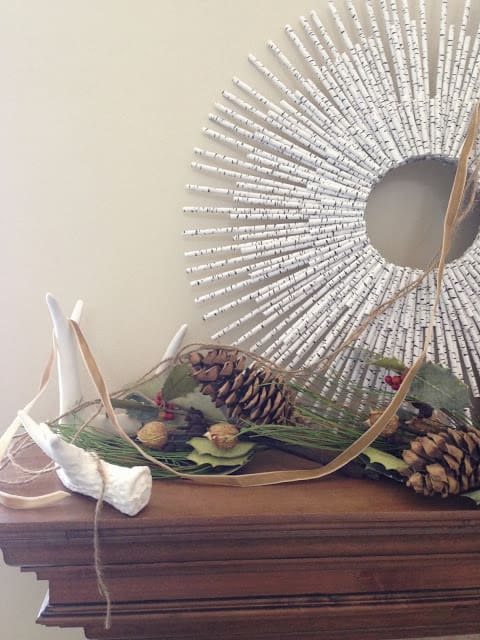
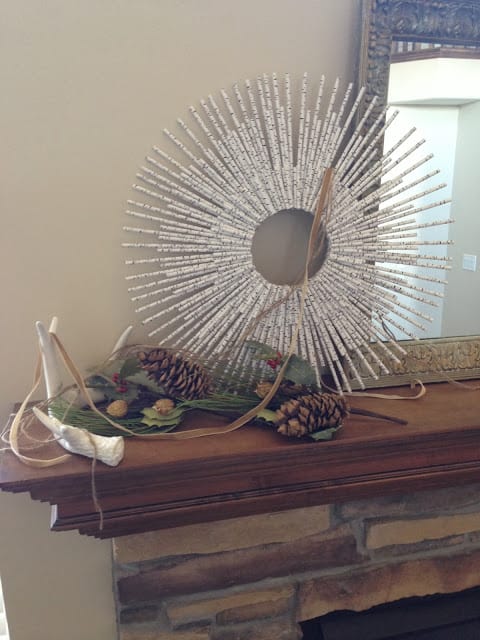
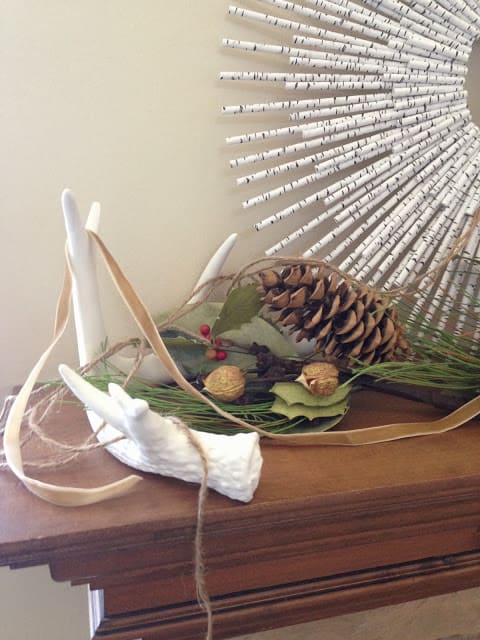
Style #3: Rustic Wreath
This one is more my style. And because of the birch straws, I think this fits really well with pine cones and antlers and other nature inspired elements.
I think I want to make several…striped ones to hang over each of my kids beds at Christmas time!
There are so many designs of paper straws out there the possibilities are endless!
And a box of 100+ straws typically costs between $7-$9, so it’s a pretty inexpensive and fun project.
Hope you make your Christmas Wonderful this year!
XXXOOO.


Toni - Design Dazzle says
Love it Amy! Thanks for sharing such a fabulous and easy Christmas craft! Love that it can be a front door wreath or mantle decoration.
Hugs,
Toni
Bev says
I love this! Such a simple idea, thinking of trying this out with used paper. Another way to recycle them!
Toni - Design Dazzle says
I love simple ideas that are totally cute. Great idea with used paper Bev!