


Learn how to make faux birch logs from pool noodles! Perfect to use decorating for Christmas!
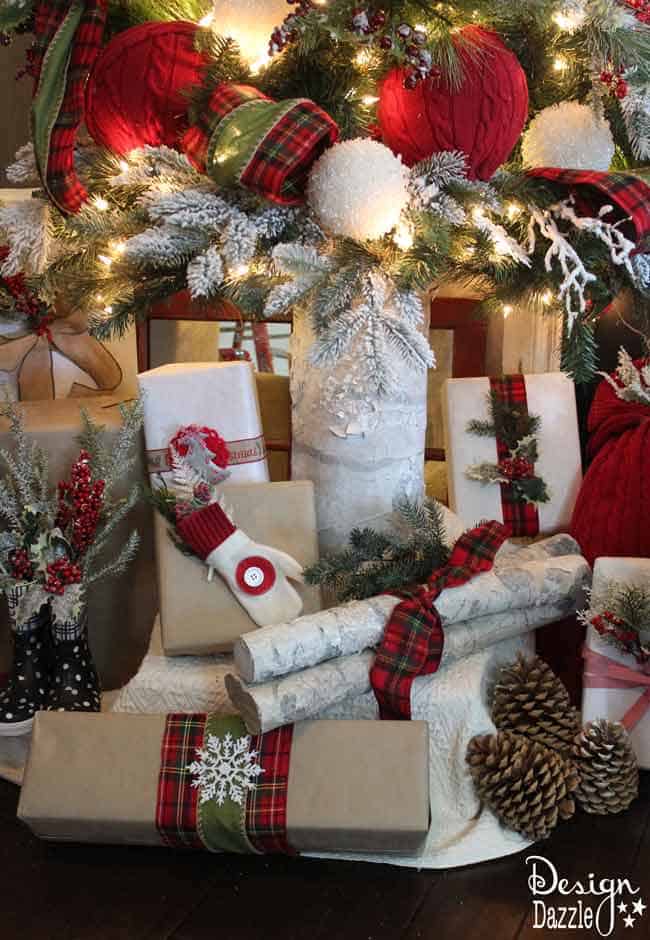
One of the highlights of my Michaels Makers Santa’s Cabin in the Woods Christmas Dream Tree was the faux birch logs. Real birch logs are so beautiful and bring a bit of the great outdoors into your cozy home. However, they can be hard to find or expensive.
I wanted to place some birch logs in the tree. And of course, the real logs would have been too heavy. These pool noodle fake logs are lightweight and not as messy as the real thing.
This tutorial is a great alternative to keep your budget intact and get creative in how you can repurpose items from around your house.
Who knew you could make faux birch logs using pool noodles?! I share an exact step-by-step process to make it easy and a great way to create your own in various sizes that you need.

Fake Birch Logs Tips:
- If you can’t find pool noodles, purchase foam pipe insulation which you can get at your local hardware store. I made some of the fake birch logs out of foam pipe insulation and it’s much easier to get year-round.
- You don’t need to purchase Kraft paper. Just reuse brown bags from the grocery store. Lunch sacks could work too!
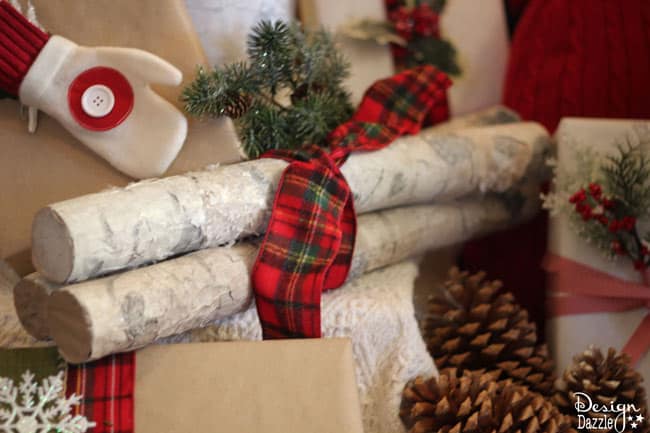
- You’ll be surprised how awesome these fake birch log bundles can look in your home decor!
- Christmas decorations can take on a new look with these rustic craft projects using the look of birch logs. Depending on where you live they can be hard to find.
- These logs are the perfect addition to any Christmas decor idea that you want for the holiday season!
- If you see pool noodles at the dollar store, buy them! There are lots of fun ideas to create with pool noodles and they are inexpensive.
- Indoor use only because they are made with paper. If they are sheltered from the rain/elements, they could probably work outdoors.
Faux Birch Log Supplies
- Pool noodles or plumbing insulation foam tube
- Roll of brown kraft wrapping paper
or brown paper bag
- White tissue paper
- white, brown, grey, and black craft paint or you can use chalk paste
- Tacky glue or mod podge
- Foam paintbrush
- Buffalo Snow iridescent flakes
- optional: spray snow
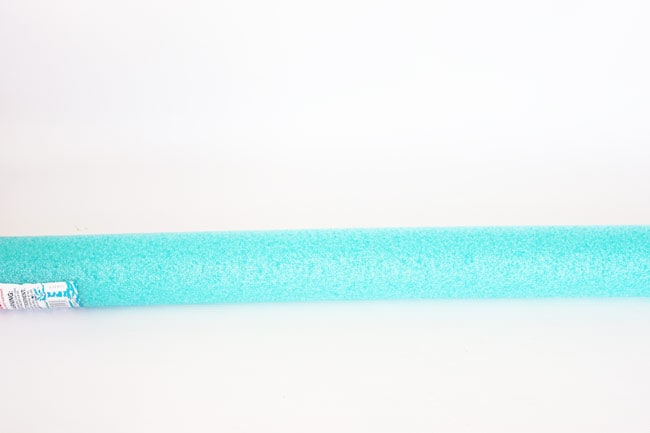
Step 1: This first step depends on how long you want your birch logs. Since I’m using mine for Christmas decor and putting them into bundles and on my Christmas tree, I wanted mine to be about 2 feet tall. To get my birch logs to be about 2 feet each, I used scissors (or a knife) to cut the pool noodles in half equally. For the plumbing insulation foam tube, I cut it into thirds
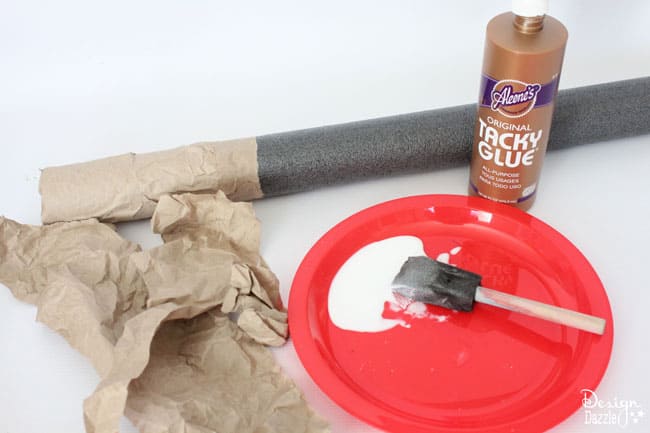
Step 2: This picture shows the foam plumbing insulation. We used both the pool noodles and this insulation. Use what you can find. First, wrap the craft paper around the pool noodle to measure how much paper you will need.
Cut at the proper width, making sure that the whole noodle is covered. Rip the paper into strips horizontally. Crumple the strips into wads so that the paper will be wrinkled. Then, paint the pool noodles with the tacky glue.
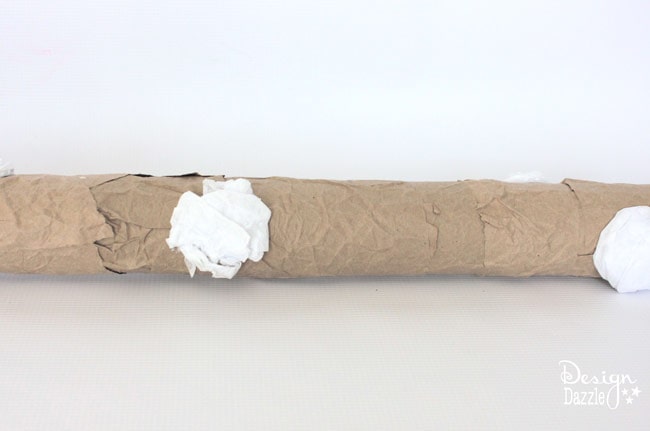
Arrange the paper on the noodle, covering the whole thing. It is okay to have lumps and wrinkles, they make it look more realistic!
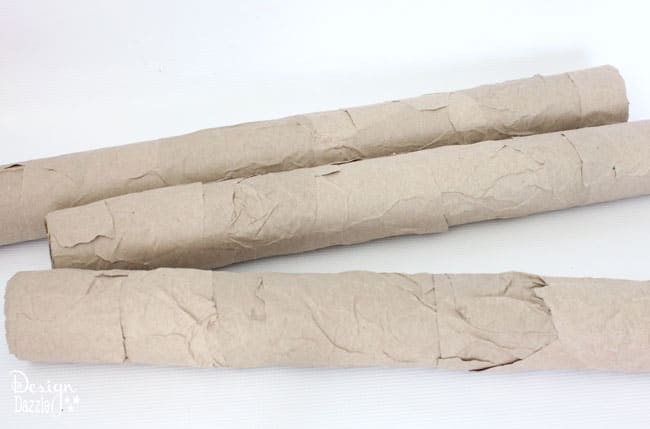
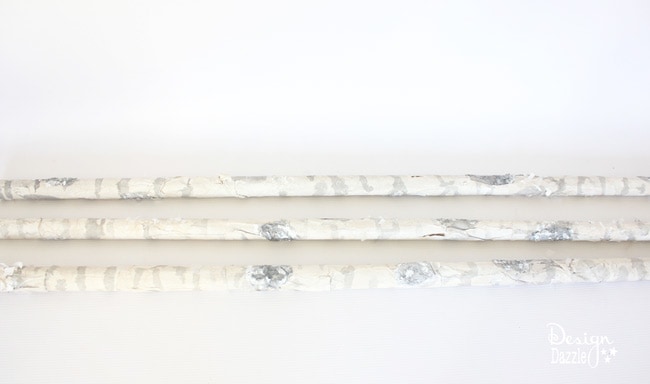
This is what the birch logs should look like once the paper is all glued on and dried.

Step 3:
In order to finish the cut edges of the noodle, trace the ends of the pool noodle which creates the outline of a circle. Cut the circle out and glue it on the end.
Step 4:
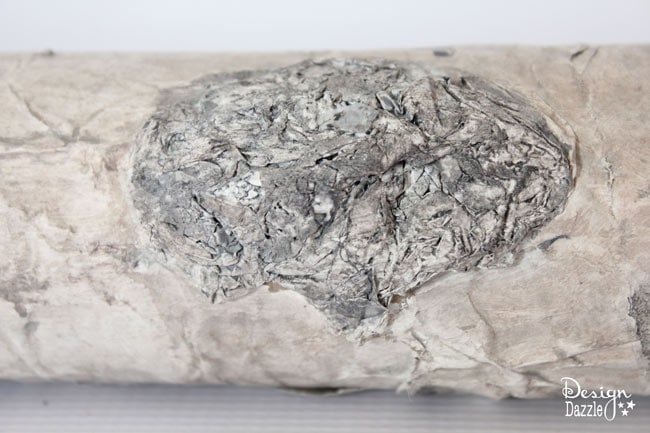
Take a sheet of tissue paper and rip it into strips. Crumple the strips up and make them into little wads. Glue the wads on, place them spread out on the log.
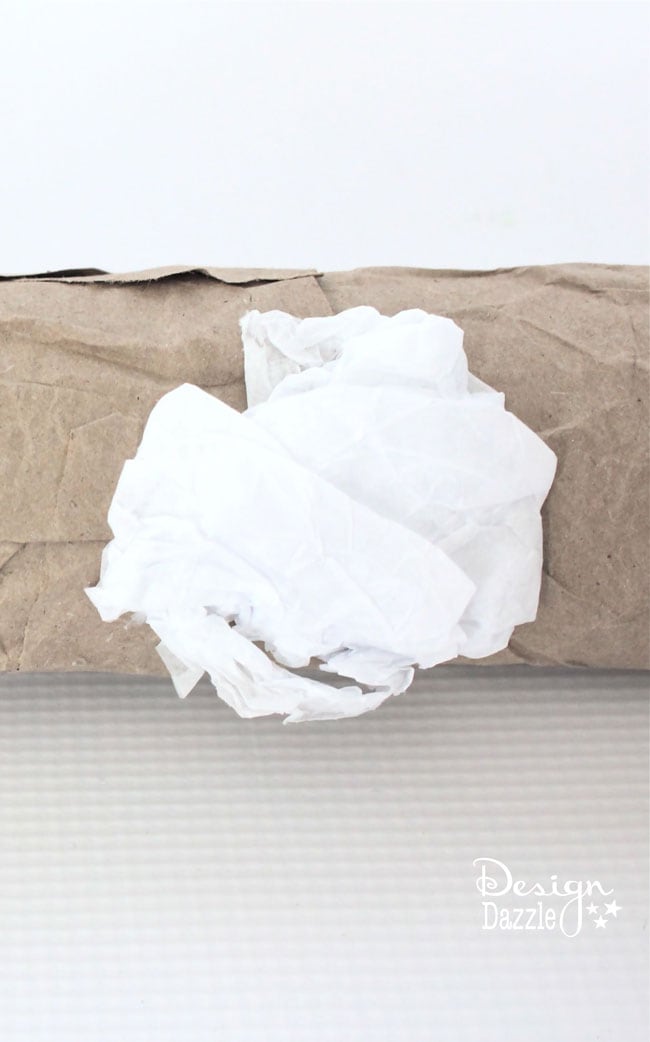
This is what the wads of tissue paper look like up close.
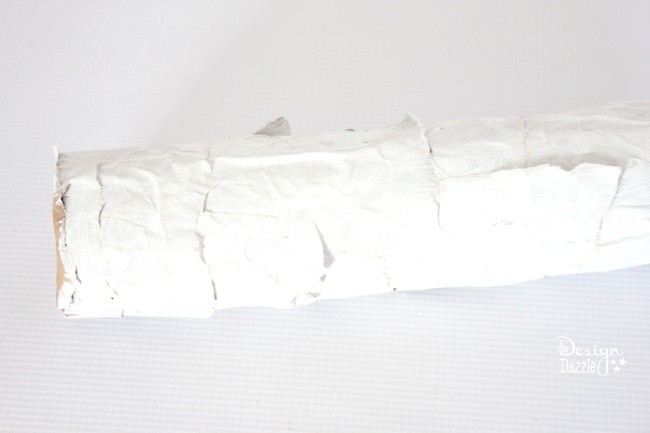
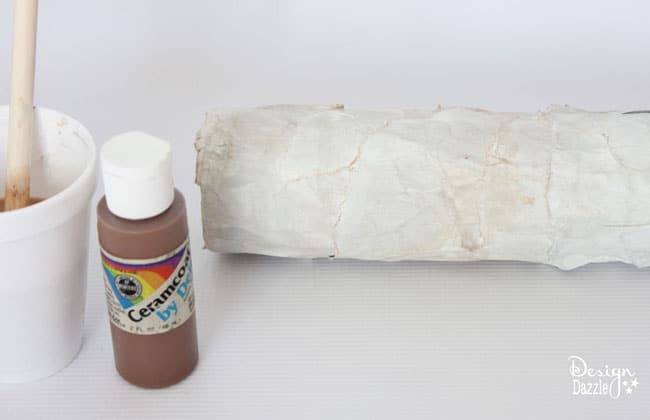
Step 5: Paint the entire birch log with white craft paint, including the tissue paper wads. It is okay if the tissue paper wads do not get covered completely. Let it dry.
Step 6:
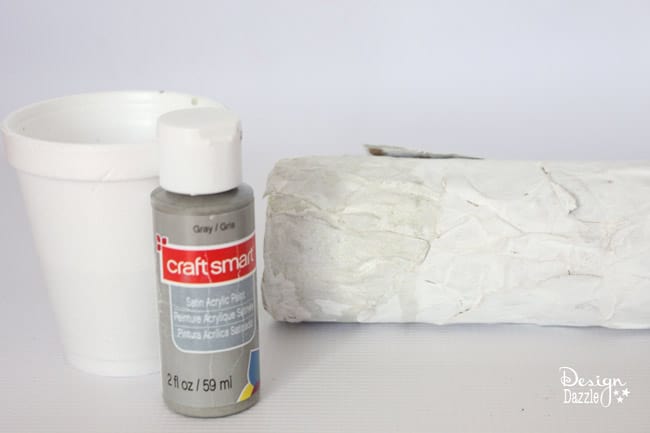
Once the white paint has dried, make a grey wash by mixing grey craft paint and water. I used about a tablespoon of paint at a ratio of 1 part paint to 4 parts water. This combination may vary, just make sure that it isn’t too dark. Paint the entire log, including the tissue paper wads. *Save the remaining grey wash! You will use the rest later.
Step 7:
Once the grey wash has dried, make a LIGHT beige wash with the same ratio. Make sure that it is also not too dark. Add water if it seems too dark. Paint the entire log. You can see the image below the when painting the brown wash it is very light in color.
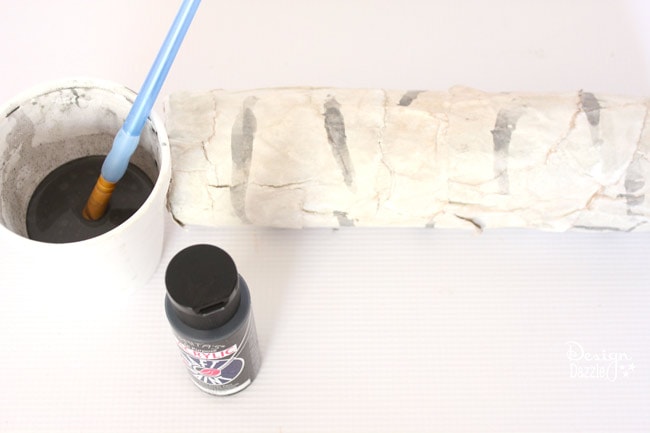
Step 8:
After the beige wash has dried, use the remaining grey wash and add a few drops of black craft paint. You don’t want it to be too dark, but you do want it to be dark enough to show contrast. I added about 5 or 6 drops of paint. Paint stripes along the log to give it the birch wood effect.
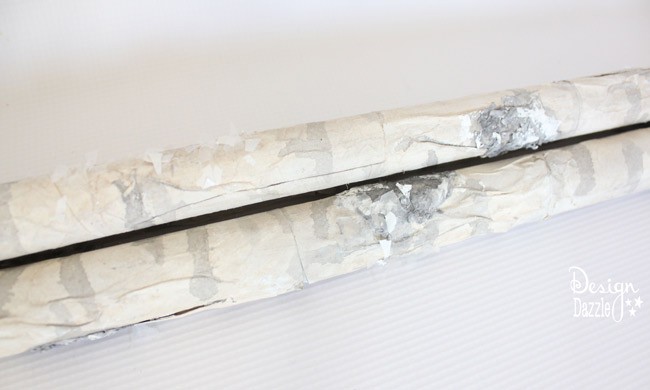
Step 8:
Using the dark wash, paint the tissue paper wads. They will absorb the moisture and crumple up, to create the knotted birch bark effect. You may have to do a few coats of this wash to get it dark enough.
Step 9:
Once your birch logs are completely dry, paint glue on random spots on the log. Press buffalo snow onto these spots to give the logs more texture and a bit of sparkle. If you are going to use spray snow to add more texture, do this before you put the buffalo snow on. The buffalo snow is completely optional.
The great thing about this faux birch look is that it is very versatile! I did it on wooden dowels, as pictured above. I also made it on an 8-inch concrete tube form to put over my Christmas tree stand to look like the trunk of a tree, as shown in the first picture of this post.
Are you excited to try this faux birch log look in many different ways? How about faux logs in the fake fireplace? These can look great placed in greenery on a mantel. The sky is the limit!
This faux birch log look is easy to achieve and a cheaper and more functional alternative to buying the real deal. I hope this fabulous tutorial will complete your holiday decor!
Make sure to check out…

All 200+ of our Christmas ideas
The actual Santa’s Cabin In The Woods Tree
My Christmas Tree Decorating Tips & Hacks post
How to create Designer Ribbon Using a Glue Gun
And for those who want to make Elf Spaghetti


Lynda says
I love your ideas! thanks for sharing them all with us.
Toni - Design Dazzle says
Thank you Lynda I appreciate your kinds words!
Debbie says
So cool! Thanks for sharing!
Toni - Design Dazzle says
Thanks Debbie!
Nikki @ Tikkido says
Absolutely brilliant, Toni! You got the texture and the color absolutely perfect.
Toni - Design Dazzle says
Thank you Nikki! That means a lot coming from you!
Toni
Michele @ The Scrap Shoppe says
No WAY, Toni!! That is amazing!!
Crystal @MyBlissfulSpace says
Love this!!! Great job!
Toni - Design Dazzle says
Crystal,
Thank you very much! I appreciate your kind words.
Toni
Katie says
Love your ideas!
Toni - Design Dazzle says
I appreciate your comment Katie! Thank you : )
Linda @ Itsy Bits And Pieces says
This is such a great project…love the technique…I can see lots of possibilities! Thanks for sharing the great tutorial!
Toni - Design Dazzle says
Thank you, Linda!
Virginia says
This is fantastic! I can’t wait to try it. Saw your project featured on Country Living Magazine’s Facebook page.
Toni - Design Dazzle says
Thank you Virginia! I so appreciate your sweet comment!!
Debi M says
Toni, you amaze me with your creativity. Thank you for sharing!
Toni - Design Dazzle says
I appreciate your sweet comments. Thank you so much Debi!
Karen @ Dogs Don't Eat Pizza says
This is genius! Totally doing this this year for Christmas. It would be perfect by our living room fireplace!
Toni - Design Dazzle says
Karen –
So happy to help out! I had a a large site share this on their Facebook page. It was 99.999999999% positive – with a few people asking why?? People don’t understand that not everyone has access to these logs or they can be very expensive. I wanted to place them on my Christmas tree and the real thing is too heavy to do that with. Also, it was going to cost me $100 to buy just a few logs at the local craft store. So I decided to craft them instead.
Have fun making them!
debbiedoos says
Those are pretty darn Amazing Toni! WOW, you would never know. Thanks so much for sharing at the Dollar party. Merry Christmas. XO
Toni - Design Dazzle says
Thank you Debbie! I appreciate you sweet comment.
Merry Christmas to you!!
the cape on the corner says
that is insane! in a good way. i am so super impressed with the idea and the execution.
b
Toni - Design Dazzle says
Thank you!! They are fun to make!
Shannon @ Fox Hollow Cottage says
Those are fan freaking tastic Toni!!!!!
I can not believe you made Birch logs.
And coincidentally, they are exactly what my fireplace is missing. 😉
Those knocked my socks off.
Bravo!!!!
Toni - Design Dazzle says
Thank you, Shannon!! Wow, that means a lot coming from you!! I really appreciate your sweet comments!
Lorey says
I really like this idea! I just moved to FL from RI and I’m going to miss all things New England. This will help cut down on some of that homesickness for sure! I can see using this to cover a foam wreath as well. Great idea!
Toni - Design Dazzle says
Lorey,
Probably not too many birch trees in FL ; ) I’m so glad that you’ll be able to use this idea!
Thank you!
Tracy says
Hello! I’m visiting from Better After! These are sensational. Well done and thank you for the inspiration. Merry Christmas!
Toni - Design Dazzle says
Thank you, Tracy. I appreciate your kind comments! Merry Christmas to you too!!
Billie Souto says
I Have Been Lookin For The Directions For These Logs For So Long. Thank You So Very Much, I Love Them. The Log’s Look So Real.Thank You Again. Merry Christmas.
Toni - Design Dazzle says
Billie – so glad you found them. Have fun while crafting!
Susan Wood says
Please add me to your list.
Toni - Design Dazzle says
Hi Susan,
I just checked our subscribers list and it looks like you haven’t confirmed your email you received. Once you click on that link you will be directed to our free printables. Thanks.
Rhett says
These are very realistic and really look nice with Christmas decor, you are very talented. I am going to try this soon
Toni - Design Dazzle says
Rhett – so glad to help. I hope you enjoy crafting these!
Karen says
Lovely! I will definitely be trying this.
Toni - Design Dazzle says
Thank you, it’s a fun project.
Jenna says
I made these for a store window display! I kept the ends open, attached a dowel to a base and slid the noodle on to the dowel so they can stand up in the window! Now they look like real trees with the fake snow! Great idea! Thank you!
Toni - Design Dazzle says
Wow, that sounds awesome!! I would love to see pictures!
Sharon Wagoner says
Love the idea of diy Birtch logs.
Toni - Design Dazzle says
Awesome! So glad to help!
Kathryn A Wall says
This is an oak wall-mounted paper towel holder I revamped into a jewelry organizer. I painted flowers on outside ends and stenciled “pretties” on top of back board. Added cup hooks on bottom edge and now have necklace and bracelet storage w/o tangles!
Toni - Design Dazzle says
Kathryn, I love your ingenuity! So clever. Thank you for sharing.
Meghan says
This is what I was looking for. Thankyou! I have new furniture this year and I’m already trying to plan for Christmas. I am going to half to do the half tree thing on my Christmas tree to make it fit and I had the idea to cover the bottom exposed pole with pool noodles but was searching for an idea on how to best make it look like wood. YOU are a lifesaver!!!! Thankyou so much!!!!! Wonderful!!!
Toni - Design Dazzle says
I hoped it all turned out fabulous!!
Shirley Coleman says
Thank you sooo much for your help!
Toni - Design Dazzle says
You are more than welcome!
Toni - Design Dazzle says
You are very welcome!
Rebecca says
Thank you so much for this idea
I have never seen this before but I will definitely be making these for my home this xmas x
Rebecca Gallagher says
You have such great ideas. Thanks for sharing with us.
Toni - Design Dazzle says
Rebecca, thank you!! You made my day : )
xoxo
Pamela says
Love this idea
Toni - Design Dazzle says
Thank you, it’s easy and fun!
Sharon Campbell says
You are so creative! I love these birch logs, and will be making these to add to my Christmas decorations. I just hope mine look as good as yours. Thank you!
Toni - Design Dazzle says
Thank you. When I was working on them I kept thinking – not sure if this is going to work. LOL. But when it’s all done it comes together. Especially adding it to Christmas decor it helps pull it all together.
Have fun!
Natalie says
Amazed at what you go through to make these! Our yard is full of real Birch logs. Not heavy like you mention. Very light weight and easy to cut any length and work with.
Toni - Design Dazzle says
That’s awesome! Most people don’t have access to birch logs in their yards.
I had to purchase them. The ones I purchased were too heavy for the Christmas tree. So I decided to make them. It doesn’t take that long to make but this is great for people who don’t have the trees.
Thanks
Ida L. Malysh says
Just absolutely fabulous ideas! I only wish I had known of this 10 yrs or so ago!!! I’m so excited that even though I am getting on in age, I hope to be able to try this project for this year!!!👏👏👏👏
Toni - Design Dazzle says
Thank you, Ida. It’s a fun and easy project. Put on some Christmas music or a Christmas movie and enjoy crafting!
Marcia Jones says
Toni
These birch logs are by far the best version I have come across!!! So natural looking. Your instructions are clear and pictures at each step are so helpful. So glad I found you!!!! Thanks for sharing your beautiful work!!!
Toni Roberts says
Thank you for your kind comments, Marcia! They are fun to make.