
Greetings, Design Dazzlers! My name is Lauren, and when I’m not embarrassing myself by belting “Baby it’s Cold Outside” at the top of my lungs with the windows rolled down at stop-lights, I’m sharing something crafty over at my blog, The Thinking Closet. So, if you have a penchant for IKEA hacks or neatly organized fabric or creative gift ideas, stop on by. The closet door is always open.
Well, if you couldn’t already tell, I’m reeeeally excited to be a part of the Christmas Wonderful series this year. I know it’s only early November, but Christmas crafting is already in full gear down here in Orlando, FL. And today, I’ll be sharing with you lovelies my latest d.i.y. project, and it involves everyone’s favorite craft supply: washi tape!
I feel like I was a little bit late to the washi tape party. It has been all over Pinterest-land for forever-and-a-day, but it was only earlier this fall when I got my hands on some. The Crafting Fairy just happened to be in my neighborhood and dropped a box of goodies on my doorstep. As I opened up this box of wonder and spied the bright and colorful collection of tapes, I could practically hear the angels sing.
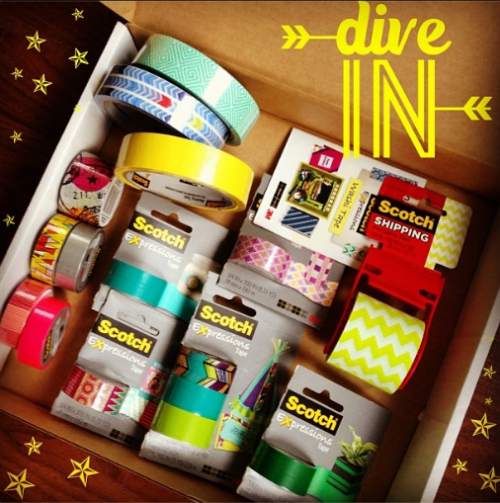
The collection of washi, masking, and Scotch tapes was too much fun not to use…so, I thought up a fun project in which to use them all! And it’s one that would be great fun to do with the kids, too: D.I.Y. Christmas Gift Tags!
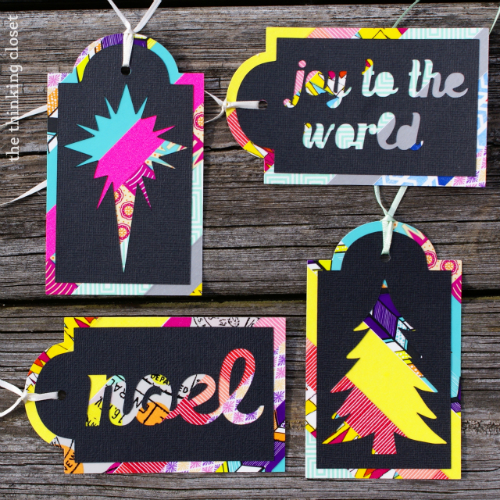
Here’s the step-by-step tutorial, so you, too, can jazz up your Christmas gifts this year with some d.i.y. gift tags (and so, you have a good excuse to go on a washi tape shopping spree!).
Tutorial
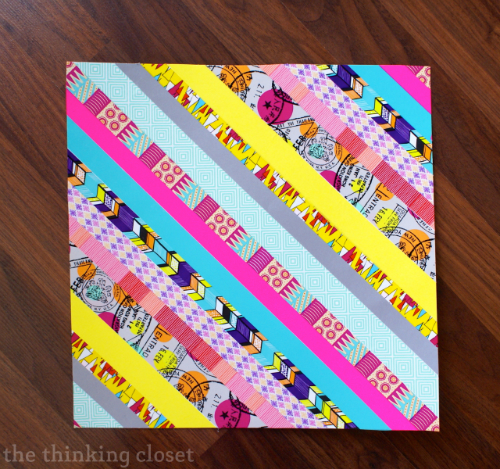
Step 1. Decorate white cardstock with washi! This is a great opportunity to involve the kids in your Christmas crafting. Just give them some colorful tape and have them go hog-wild layering it and creating patterns on a sheet of 12″ x 12″ white cardstock. Since my only “kid” is a little kitty cat named Mangy who lacks opposable thumbs, I decided to tackle this step myself, applying my strips of washi side-by-side diagonally across the paper.
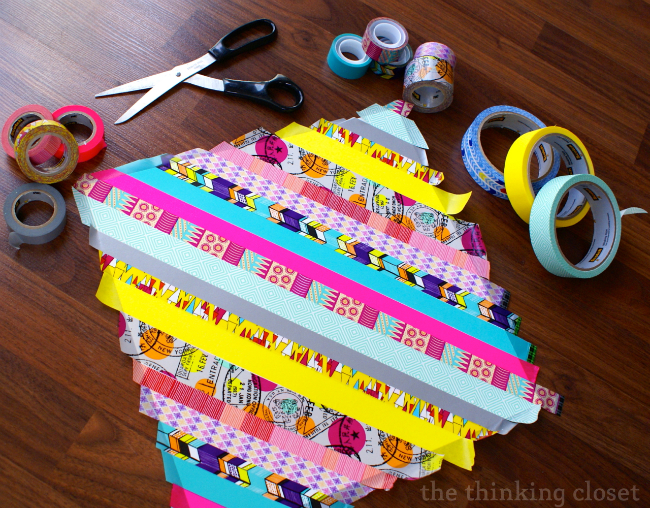
Then, I trimmed the edges so they were nice n’ clean.
Step 2. Design your tags! Now, I used my Silhouette machine for this project, but know that you could still create these gift tags without one; it would just take some more time and effort using an x-acto knife. Ain’t no shame in that, though!
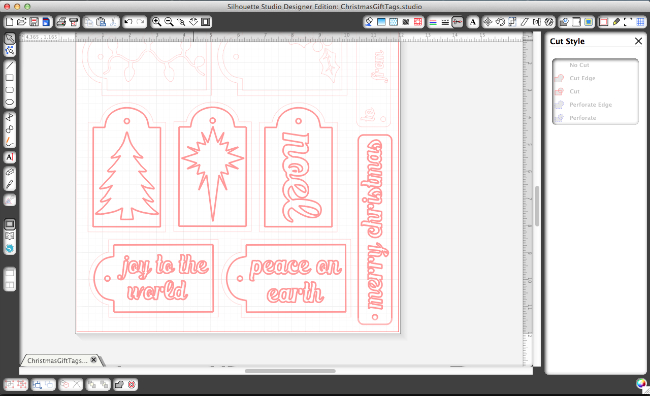
For those of you who do have a Silhouette machine, here’s how I created the designs for my tags. I created my own gift tag shape in Silhouette Studio using a rectangle and circle welded together. Then, I used the internal offset tool to create a slightly smaller tag inside the larger one. Next, I added various Christmas graphics to the tags from free clip art files I found, and I used one of my favorite free fonts, Marmellata Jam, to create text for some of the tags.
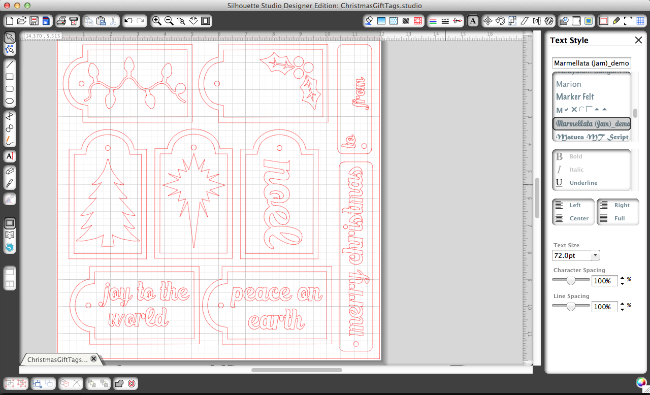
Free Cut File
To save y’all some time, I’m sharing a free cut file with 9 different tag designs for you to download today. Just click on the image below to visit box.com and download the file to add to your collection. [Fine print: This design is for personal use and not to be used for commercial purposes.]
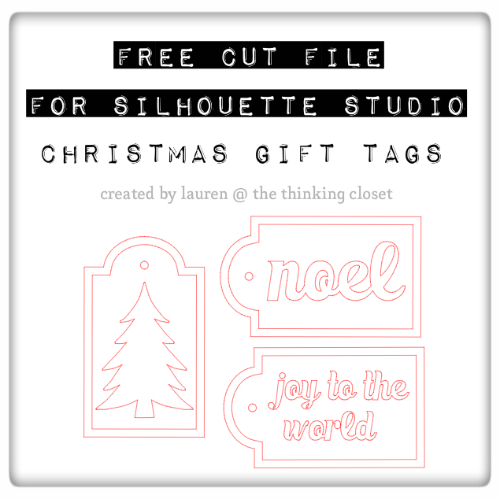
Step 3. Cut your outer tags. Before cutting your tags, you need to tell your Silhouette which lines to cut and which to ignore. So, open up the Cut Style window (the little scissors), and select “No Cut” to all shapes except the outer tag shape and the tiny hole-punch. For those, you’ll want to select “Cut.” (What is in bright red is what your machine will cut.)
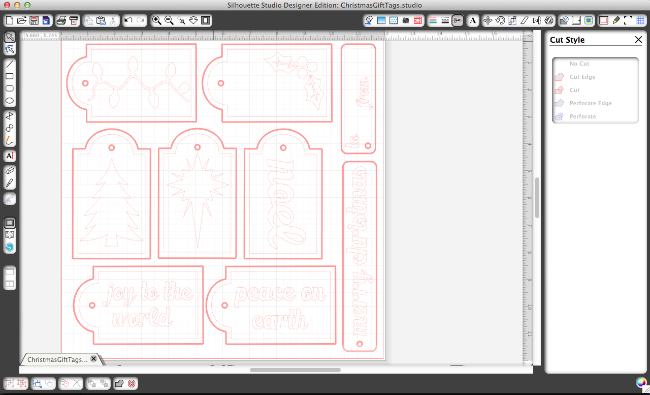
Now, while you may think it smart to cut out your tags washi side down, so your blade doesn’t get caught on the tape…
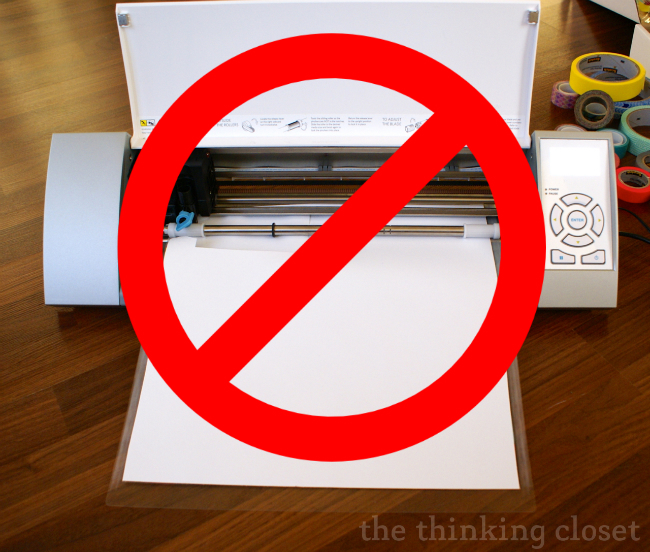
…don’t do it! I found that because of the waxy finish on the washi tape, my cardstock wasn’t sticking well enough to my cutting mat, and it began floating every which way. I definitely ruined some of my washi’d paper that way. {Sad-face.}
However, when I flipped my cardstock over so the washi side was up, it cut seamlessly! I didn’t change any cut settings; just used the standard settings for cutting cardstock.
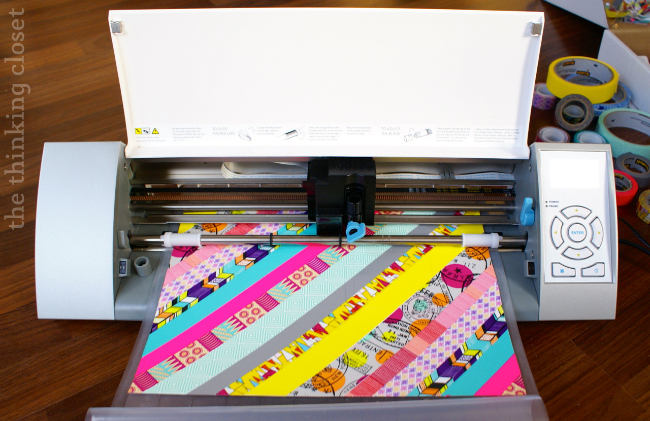
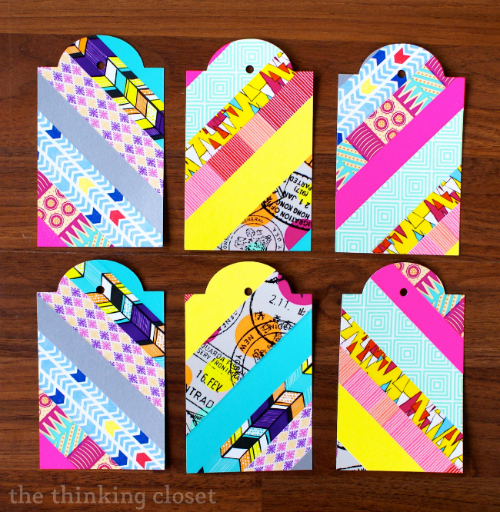
Then, I weeded out my newly cut tags. They were so bright and colorful, I contemplated stopping right here…but something inside told me to press on. And press on, I did.
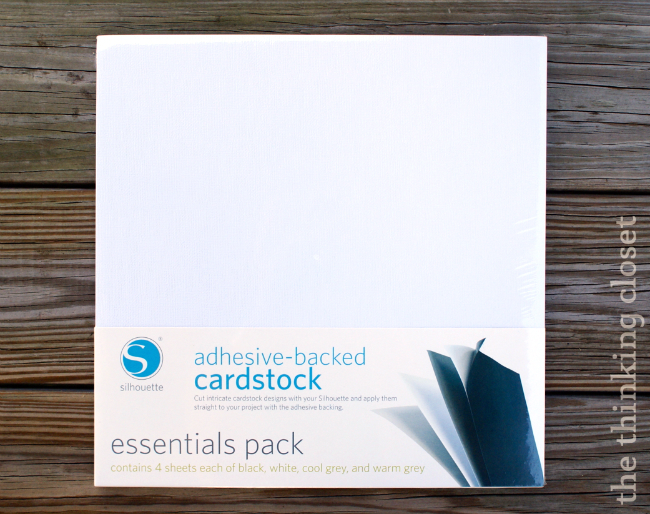
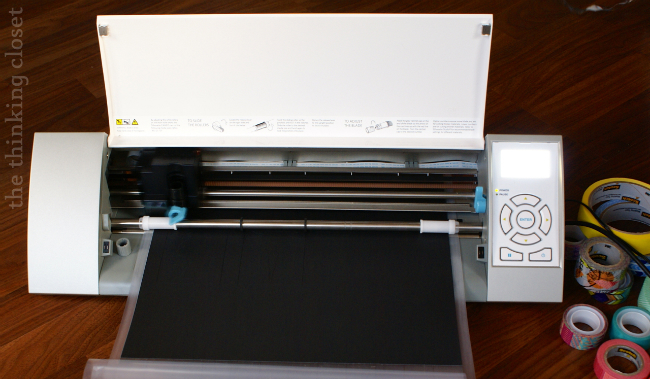
Step 3. Cut your inner tags. I absolutely loved working with the adhesive-backed cardstock on my DIY Photo Booth Props this October, so I seized this opportunity to use the material again! I pulled out some sheets of the black adhesive-backed cardstock and prepared to cut out the shapes I had designed on my inner tags.
Like earlier, I had to open up the Cut Style window and select “No Cut” to all shapes except the inner tag shape, the Christmas graphics and text, and the tiny hole-punch. For those, I selected “Cut.”
Then, I put my machine to work yet again!
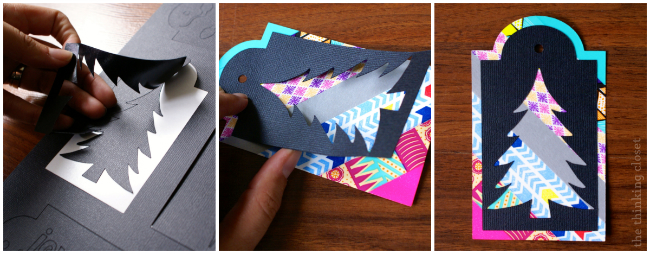
Once the inner tags were cut, I peeled them up off the page and applied them to the outer tags, matching up the hole-punches as I went along.
The final step was to tie some ribbon through the hole-punches to get these tags gift-ready, and here they are:
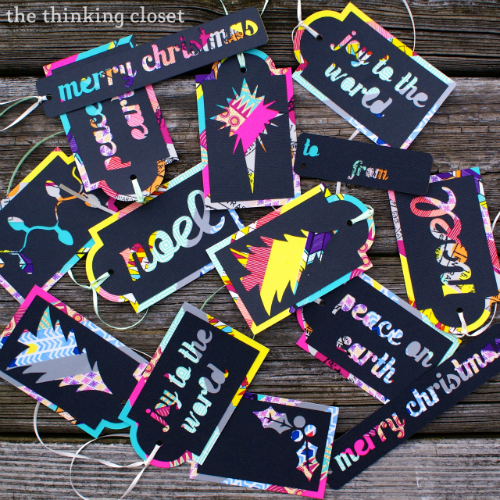
I couldn’t be more pleased with how they turned out! I just love how the bright and bold colors of the washi stand out in contrast with the black.
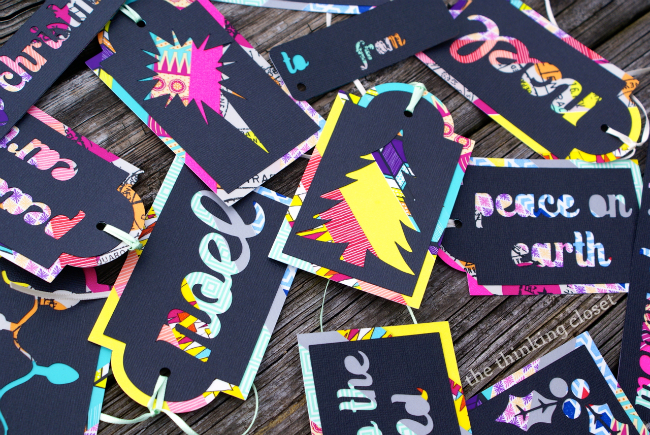
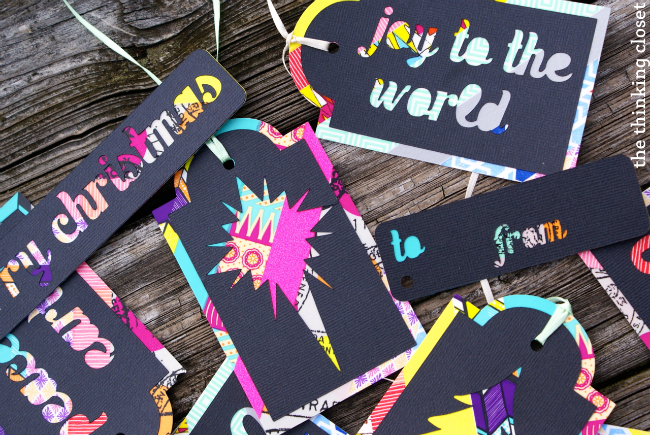
The rebel in me also delights in the fact that they’re not your typical Christmas colors; the hot colors almost imply they were created by a child of the 80s. Hmmmm…. Verrrry verrry interesting. {Wink.}

My Christmas Gift Tags are the opposite of a mullet: party on the front…
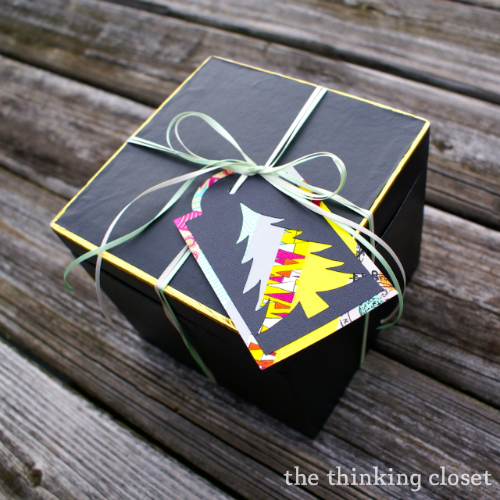
…business on the back!

Well, now that I have my Christmas gift tags made, it’s time to get to Christmas gift-making! Good thing we have the rest of the Christmas Wonderful series for inspiration on that front!
To Close
A great big hug and thank you to Toni for having me here today! I loved sharing my Christmas Washi Gift Tags with y’all. And I hope to see you over in my neck of the woods sometime, at The Thinking Closet. In fact, if DIY gift tags and gift wrap are your thang, well then, I’ve got you covered! Check out my Handmade Stamped Gift Tags, Stamped Wrapping Paper Tutorial, & 5 DIY Wrapping Paper Tutorials.
“So, really I’d better scurry. Well, maybe just a half a drink craft more….”
![]()


eva scott says
Wow, these are so cute!! Thanks for the inspiration. I’m headed over to follow your blog!
the thinking closet says
Aw, thanks, Eva! So glad to have you in our Silhouette FB Group now, too!
Marmie says
These are so colorful and cheerful!! I’m feeling the holiday JOY! Thanks for sharing!
Toni - Design Dazzle says
Thanks! I’m feeling the joy too!!
Pat says
Wow.. great tutorial. Thanks for the studio file. Looking forward to trying to learn more about my silhouette!