Hi! I’m Jennifer from The Party Teacher, where I teach moms how to party like a pro. I’m thrilled to be back at Design Dazzle, sharing how to make balloon garlands. It’s not news that balloon garlands are super popular party decor right now. I’m always shocked how quick and easy they are to put together. Today, I’ll show you how to make a balloon garland.
Supplies
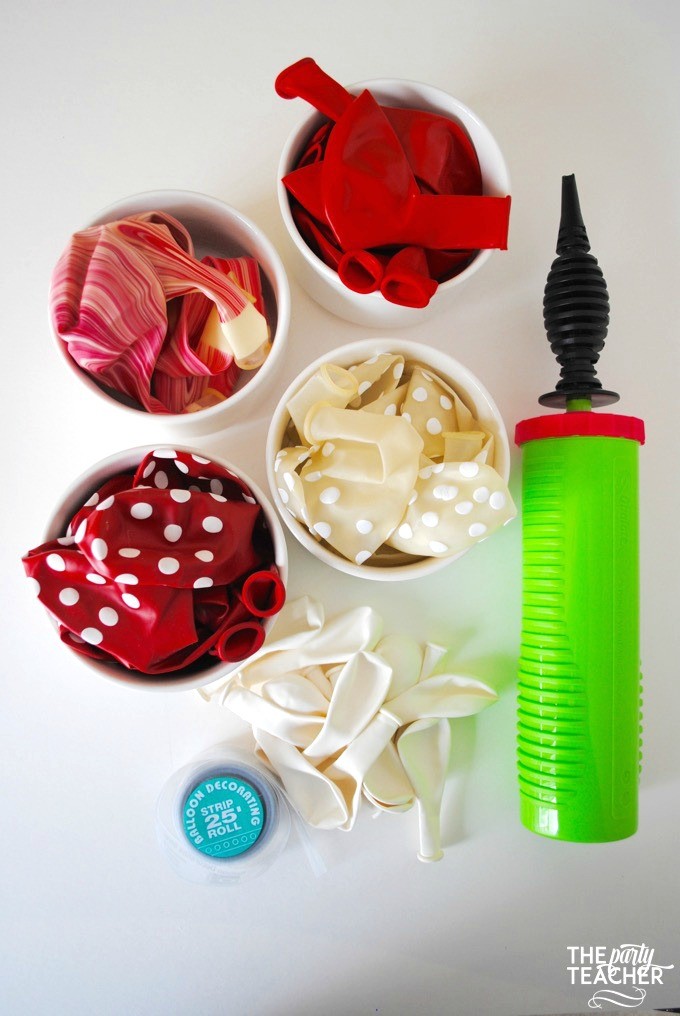
- Qualatex hand balloon pump – Amazon – You’ll want a good quality pump. Yes, you can find pumps at the dollar store, but they don’t work as well.
- Latex balloons, 11-inch size
- Latex balloons, 5-inch size
- Ladybug balloon decorative strip – Amazon
- Optional: clear packing tape
Instructions
If you’d rather not buy the plastic balloon strip, there are two other ways to create your balloon garland:
- Thread baker’s twine through a needle and pull the needle through the tail of the knotted balloon. If you go that route, you’ll need to space out your balloons by eye.
- You also can skip the needle and just tie the twine around the knots in your balloons, but again, you’ll need to manually manage the spacing.
So here are the instructions using the plastic balloon strip. It has holes in it that just make everything easier.
- Choose the balloon pattern you want to create. Keep in mind that you’ll use more 5-inch balloons than 11-inch balloons.
- Cut off the amount of balloon strip that you need. I used 8 feet to run the length of my dining room table.
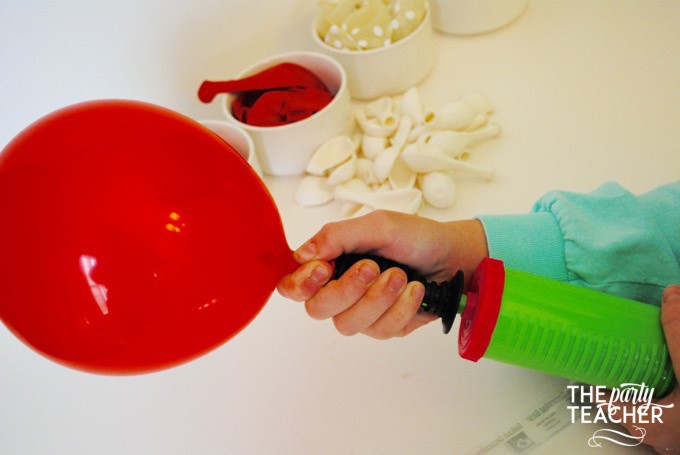
- Blow up your balloons and tie them off with tight knots.
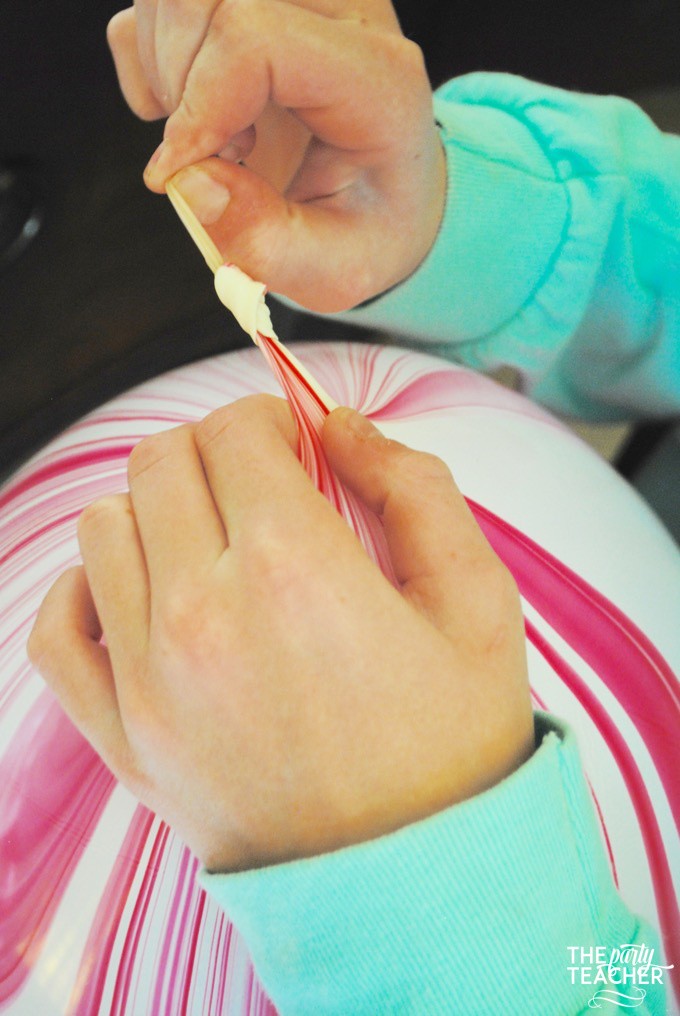
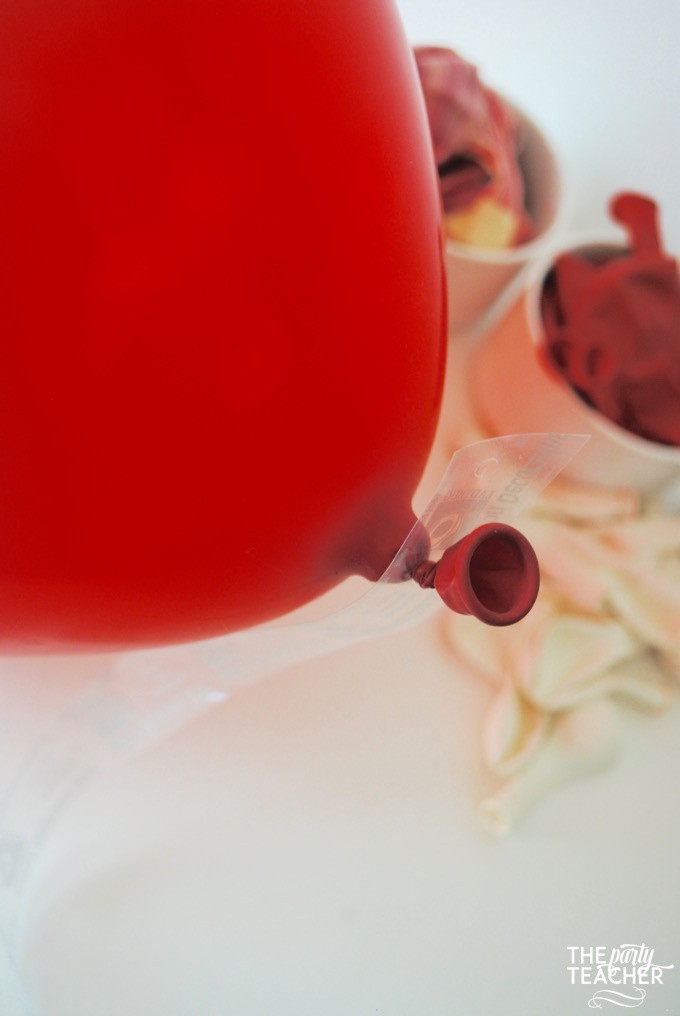
- Insert the knot of an 11-inch balloon through the first hole in the balloon strip.
- Skip one hole.
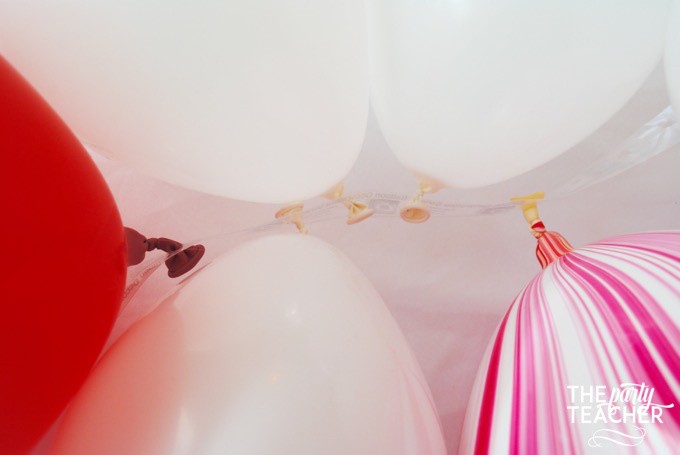
- Insert the knot of a 5-inch balloon through hole three, but insert it from the opposite direction.
- Insert another 5-inch balloons from the opposite direction in hole four.
- Insert another 5-inch balloon from the opposite direction in hole five.
- Skip hole six.
- Insert another 11-inch balloon from the opposite direction in hole seven.
- Repeat the pattern.
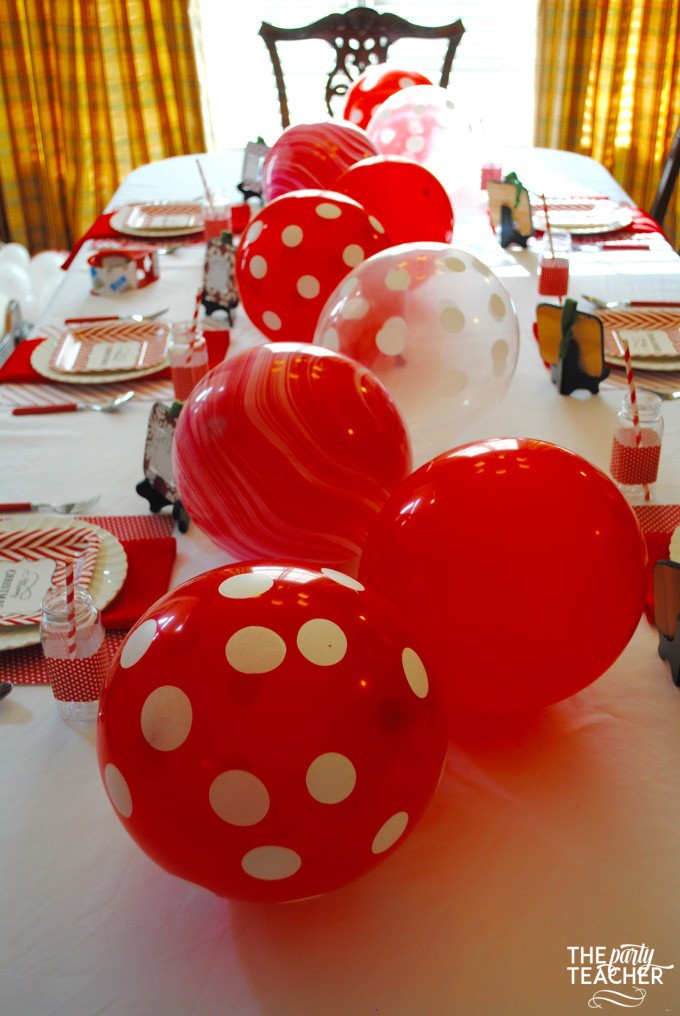
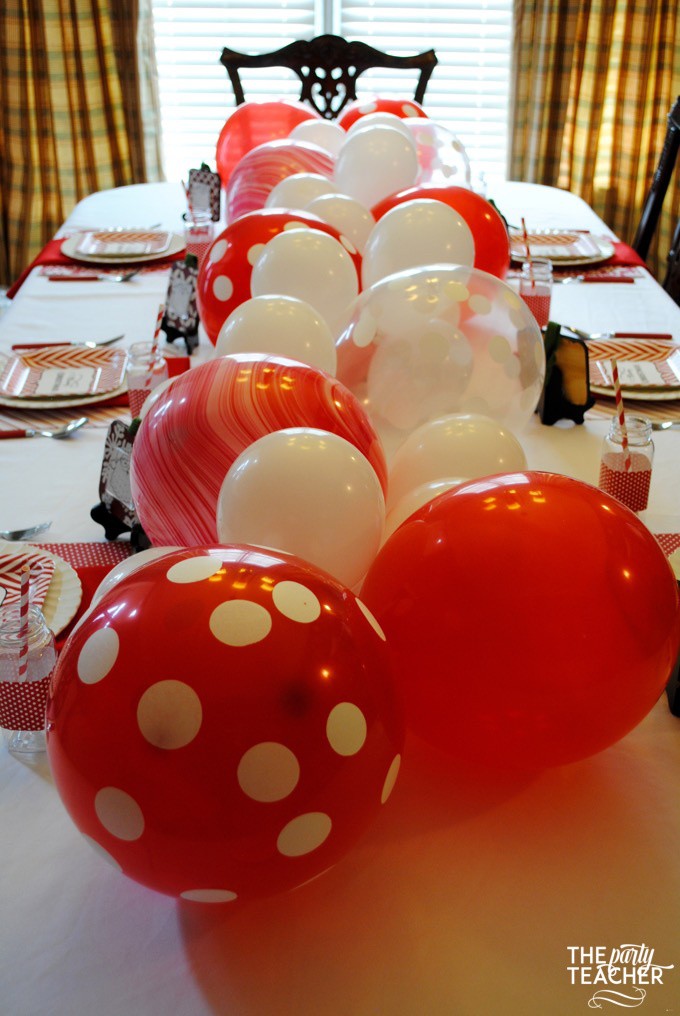
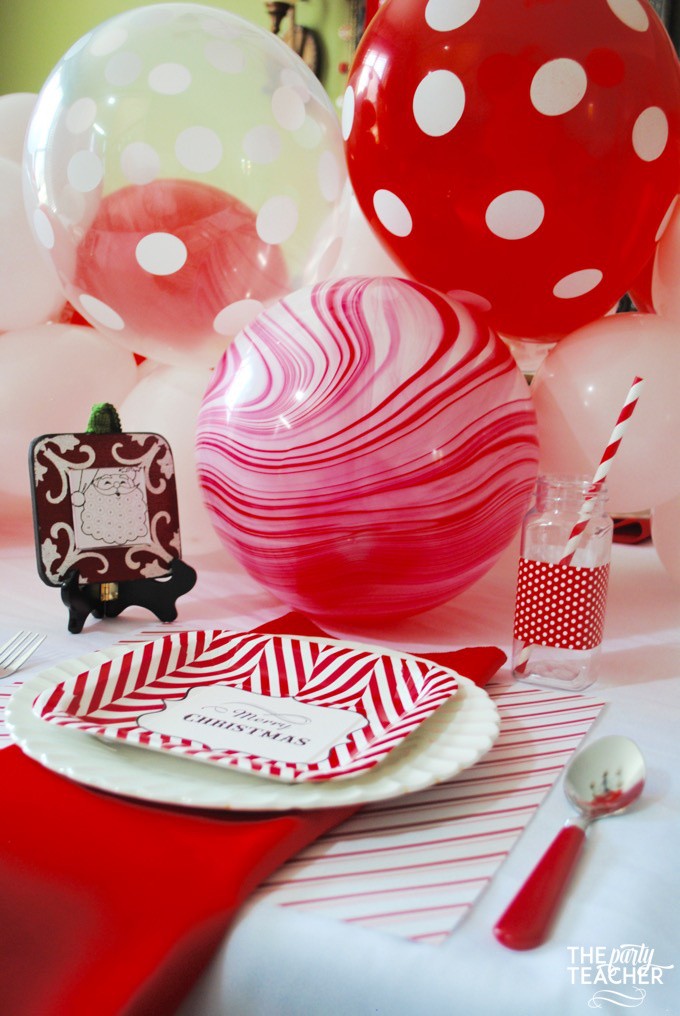
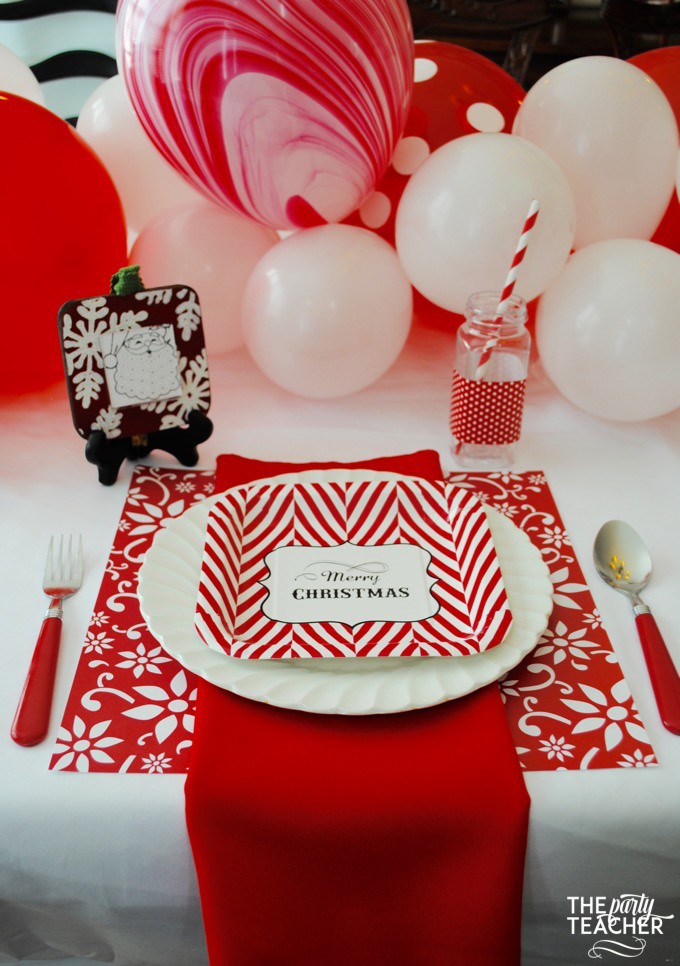
And here’s the finished balloon garland on my dining room table.
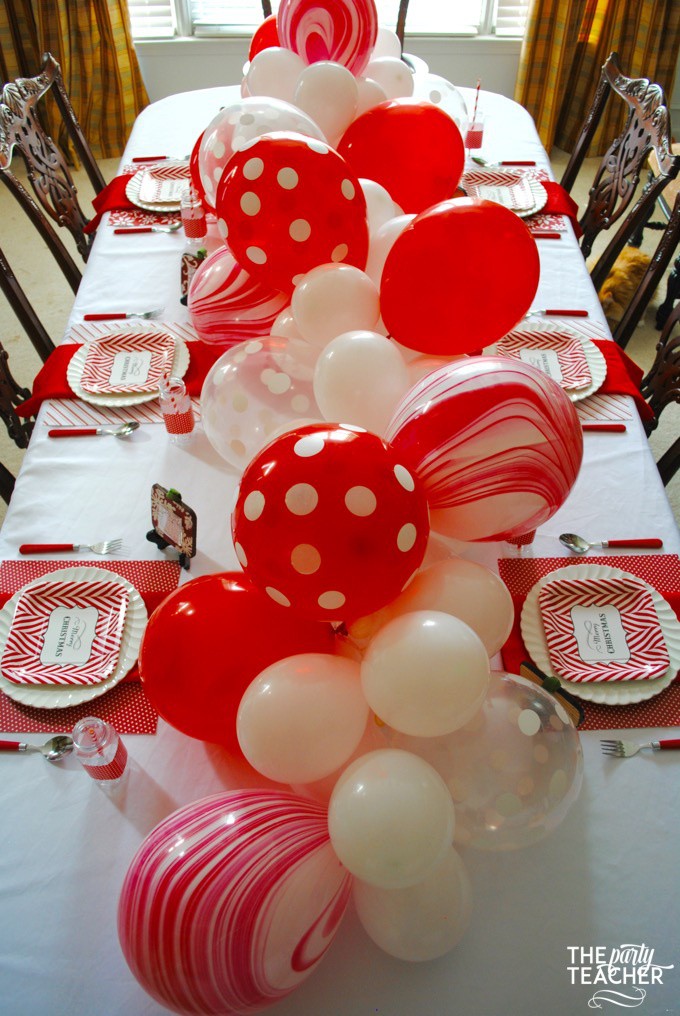
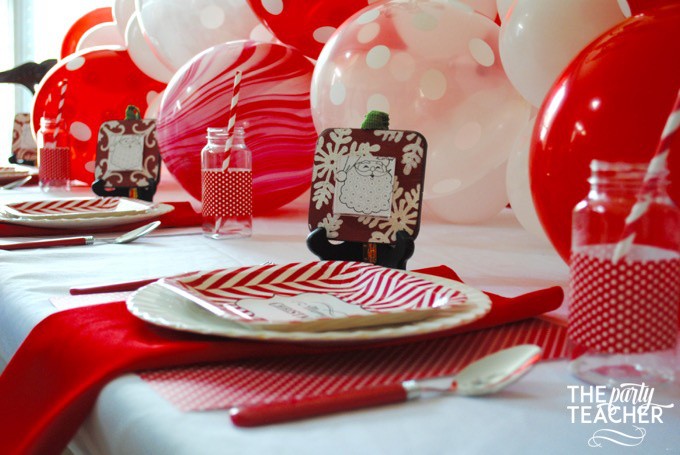
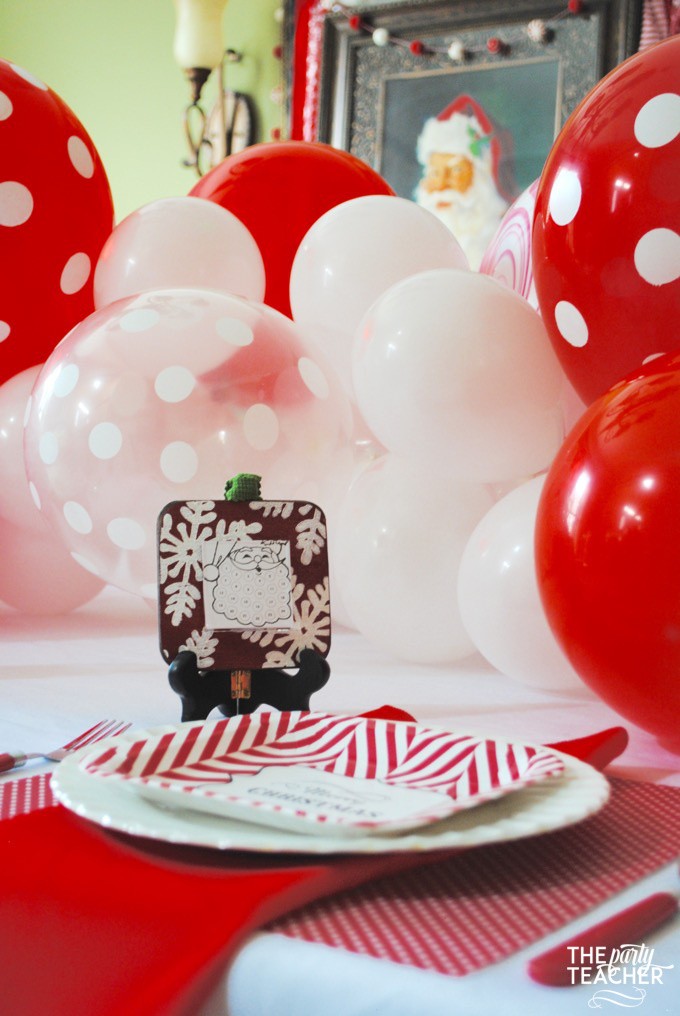
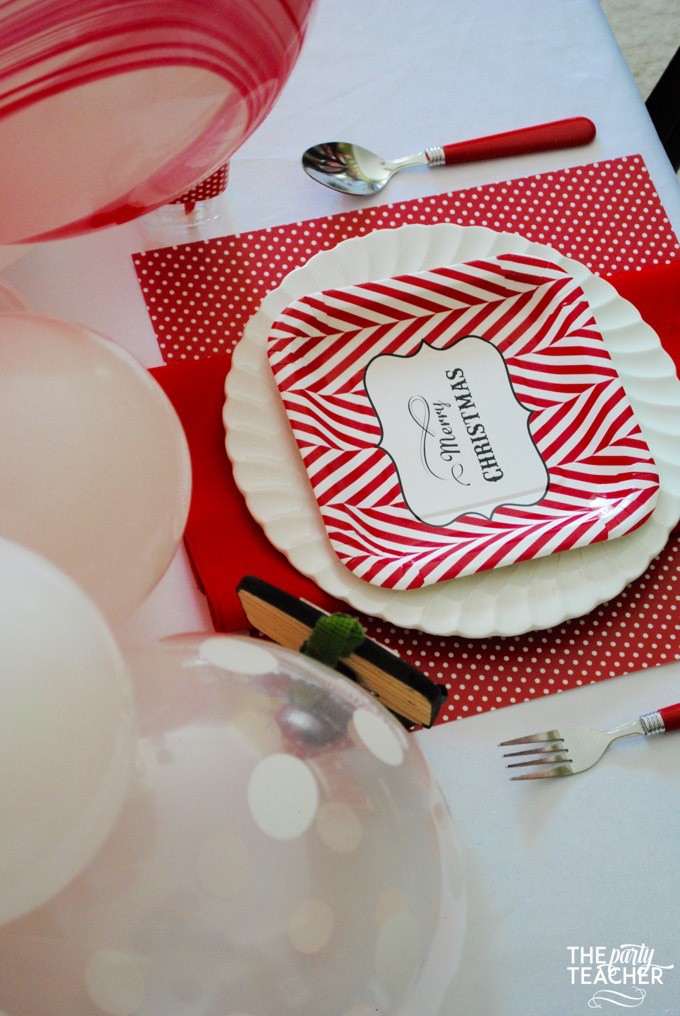
I used this peppermint-inspired balloon garland as a table runner in my Visit to Santa After-Party. The garland is a little bodacious and I worried that it was too tall for cross-table conversation. (I really don’t think kids would mind, but old habits die hard…)
If you want the balloon arrangement to lie flatter on the table, here’s what to do:
- Roll up a strip of clear packing tape. Place it on the table and top it with an 11-inch balloon. Point the balloon’s knot down and toward the center of the table. That will hide the knots.
- Repeat this process with your other 11-inch balloons, placing each balloon within a few inches of the others. Alternate the direction of the balloons. Keep pointing the knots in and down toward the surface of the table.
- Fill in the gaps with the 5-inch balloons, taping them on the table. Go up one side of the garland and down the other.
- Fill in any gaps from the top of the garland by taping them to the other balloons.
Tips for Making Your Balloon Garland
Calculate how many balloons you’ll need: For my 8-foot long by 2-foot wide garland, I used 16 11-inch balloons and 50 3-inch balloons. Remember, your pattern is ONE 11-inch balloon, then THREE 5-inch balloons, followed by another 11-inch balloon. It takes five balloons in that pattern to cover 7 inches of plastic balloon strip.
Remember your pattern: Keep your un-inflated balloons in the order your want your pattern to appear in the garland. Once you add balloons to the garland, it may be a little hard to see the pattern because the balloons will be twisting. Taking a quick look at the un-inflated balloons will remind you of what order you need to add balloons to the garland.
Make your garland bendy. You may feel like your garland will be more full if you don’t skip holes — and you’ll be right. But, your balloons will be crammed together so tightly that you won’t be able to twist and curve the garland the way you want to. (Does anyone else remember Phoebe on Friends telling Chander, “I’m very bendy”?)
Make it early. You can definitely make your balloon garland in advance. My Halloween balloon garland lasted two weeks, with just a few balloons deflating. I think the safe thing to do is to make your garland 24 to 48-hours before your party.
Allow about an hour. Depending on the length of your garland, and if you have any helpers, it will take about 30 minutes to blow up your balloons and another 30 minutes to assemble your garland. My 12-year-olds are champs at blowing up balloons with the pump and building the garland using the balloon strip.
Keep your garland inside if it’s hot outside. I tried a balloon garland outdoors for one of our annual summer lemonade stands, and eventually the heat got to it. We’d be busy selling lemonade, and toward the end of the second hour outside, balloons would just randomly pop. Live and learn!
Mix in other decor. You may want to scatter in other decor items in your balloon garland. For our lemonade stand, I added beach balls of various sizes. I’ve also seen faux leaves, faux flowers and Christmas ornaments used. Get creative!
How to Hang Your Balloon Garland
Hanging your balloon garland may be the trickiest part of the whole thing.
If you are using a pipe and drape backdrop system (here’s how to build one), then you can use clear zip ties to tie the balloon strip to the pipe. That’s what I did for our lemonade stand.
If you’re hanging your garland against a wall, this is where it really matters that your garland is flexible. I like to use a 3M Command Strip Hook on the wall. Then I use string or fishing line to tie a generous loop around the plastic balloon strip. Hook the loop around the hook. If you need to shorten the loop to make the garland hang higher, just tie a knot in the loop and re-hook it.
At The Party Teacher, I teach other busy moms how to fit party planning into their lives, so they never miss an opportunity to celebrate special moments with their kids. My blog is your go-to source for party planning tips, party tutorials, recipes and birthday party plans.
If you’re ready to make planning your next birthday party easy, pop over to The Party Teacher and pick up my free Birthday Party Planning Cheat Sheets! Let’s save you time, save you money, and double the fun you have planning your next party.
Shop: https://shop.ThePartyTeacher.com
Blog: https://ThePartyTeacher.com/blog
Facebook: https://www.facebook.com/PartyTeacher
Twitter: https://twitter.com/ThePartyTeacher
Pinterest: https://pinterest.com/ThePartyTeacher
Instagram: https://instagram.com/ThePartyTeacher
Thanks so much for having me back, Toni!
Vendor Credits:
- Party Styling and Photography: The Party Teacher
- Mini Frame Ornaments: Quite a Pair Keepsakes
- Peppermint Fabric Garland: The Party Teacher’s Etsy Shop
- Red Straws: The Party Teacher’s Etsy Shop
- Santa Countdown Calendar: Lovebugs & Postcards
- Balloon Decorative Strip: Ladybug on Amazon
- Peppermint Swirl Balloons: Qualatex on Amazon
- Red Dot Balloons: Balloon Emporium on Amazon
- Solid Red Balloons: Fun Express on Amazon
- Clear Dot Balloons: Qualatex on Amazon
- 5 Inch White Balloons: Neo Loons on Amazon
- Chocolate Peppermint Cake Smallcakes Woodstock
- Merry Christmas Plates, Peppermint Bark, Chocolate Covered Pretzels and Peppermint Ribbon Candy: Tuesday Morning
- Plastic Milk Bottles: Bird’s Party Shop
- Red Handled Silverware: WalMart
- Red Napkins: Tablecoth Factory
- Santa Portrait: Hobby Lobby
- Peppermint Ornament (used as cake topper): Old Time Pottery
_______________________________________________________________




Jennifer says
Thanks for having me back, Toni! I always love seeing all your Christmas Wonderful posts!
Toni - Design Dazzle says
Thank you, Jennifer. Your talents show through with your fabulous ideas!!
Toni - Design Dazzle says
Jennifer, this balloon garland is fantastic! Thank you so much for doing such a fabulous job! We have loved having you be a part of our Christmas Wonderful Series!
Razatrade says
Nice Beautiful and Decorative Idea
Toni - Design Dazzle says
Thank you!
BZ says
Hi, Did you use 50 5-inch balloons?
Toni - Design Dazzle says
Hello,
I didn’t create this but the tutorial states 11″ and 5″ balloons. Have fun!
Robert says
Very Helpful and Informative post.
Shasta says
Good information. Lucky me I ran across your blog by accident. This post was really useful for us
ACL says
Thanks for making this list.