Hey “Design Dazzle” readers! I am Abeer, the face behind a little blog called Cakewhiz and I am thrilled to be part of this wonderful Christmas party ![]()
I LOVE baking, cake decorating and making all sorts of fun edible crafts!
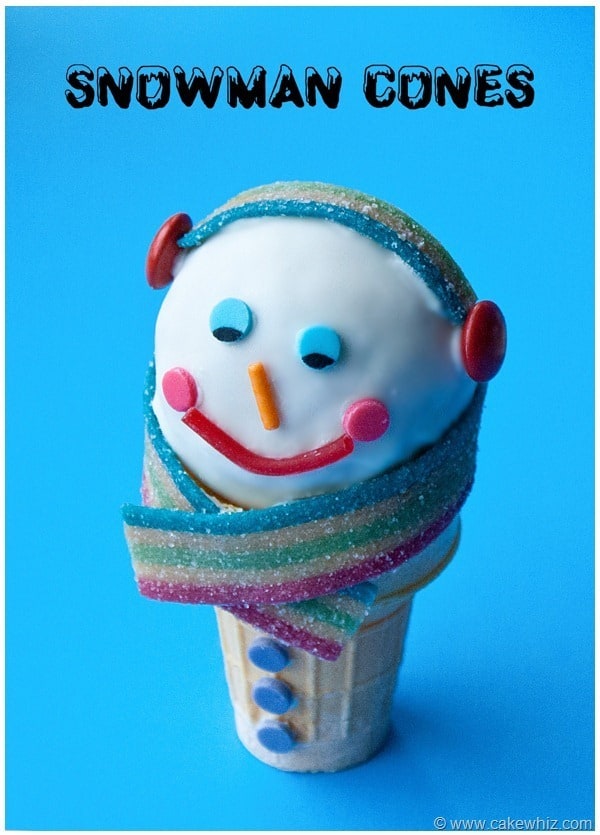
Today, I am sharing the complete “how-to” on making cute snowman cones.
You see…I spent most of my childhood in places where the weather used to be very hot. So, I never got to see snow until I moved to Canada.
And I still remember how excited I was when I first saw snow. It was even better than I imagined! hehe
To this day, I look forward to snowfall. It reminds me of all the times my siblings and I would run out into the backyard to make snowmen. We used to have so much fun!
Thinking of all the good times inspired me to make these adorable cones!
Just follow these steps and you can make your own for Christmas time…
Step 1:
Make cake balls. They should be big enough that they easily rest on top of an ice cream cone.
I also stirred in some chocolate chips when I was making these cake balls. The more chocolate, the better …lol ![]()
TIP: I have a tutorial for making cake balls here if you are new to that.
You can also easily use store-bought donut holes or munchkins from Dunkin Donuts. That would be even easier and faster than making cake balls.
Step 2:
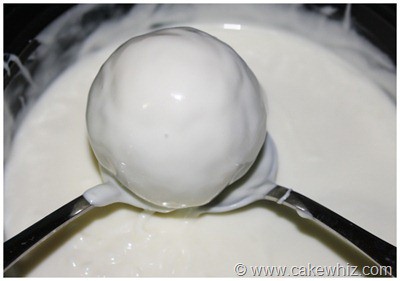
Dip your cake balls in melted white chocolate until they are fully covered.
Tip: If you freeze your cake balls for 15-20 minutes, it’s easier to cover them in melted chocolate.
Step 3:
Place these cake balls on wax paper or parchment paper until the chocolate dries up (usually takes a few minutes).
Step 4:
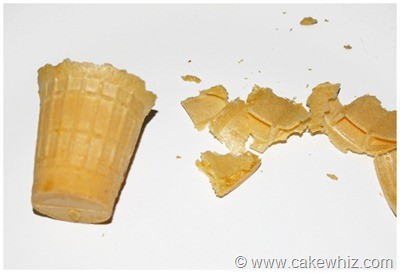
Make your cones different sizes so that some of your snowmen are big and some are small.
To do this, I used a regular ice cream cone and then I also used some where I broke off the top.
Step 5:
Fill your cones with candy for an additional surprise.
Pour some melted chocolate around the outer rims on your cone.
Step 6:
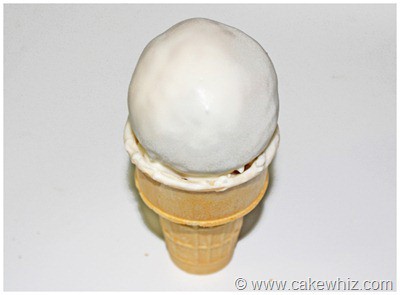
Now, place your cake ball on top of the cone. The melted chocolate will help to stick it in place.
Step 7:
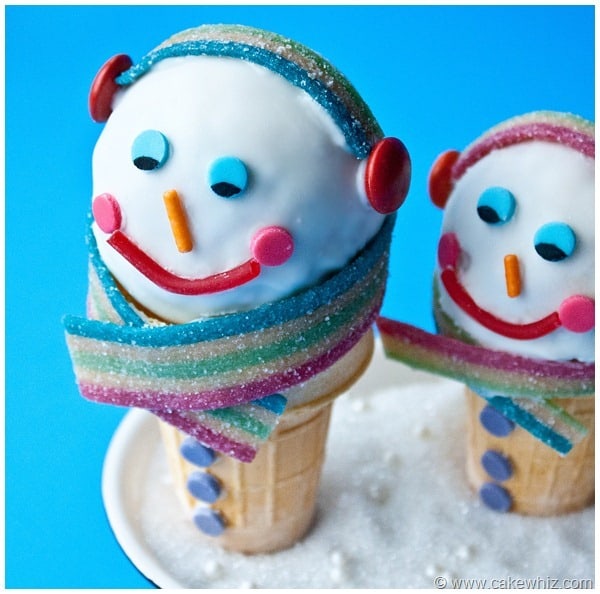
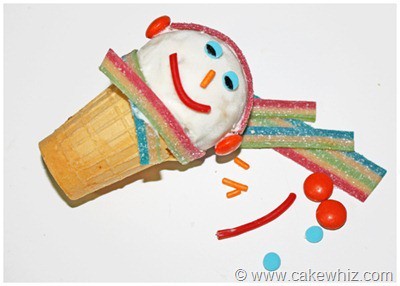
Use melted chocolate to stick all these features…
– Blue confetti sprinkles for eyes
– Purple confetti sprinkles for the buttons (not shown in this picture)
– Pink confetti sprinkles for the cheeks (not shown in this picture)
– Sour candy strips and orange Reese’s pieces for the head muff
– Sour candy strips for the scarf (use scissors to cut them if you want them smaller or thinner)
– Orange vermicelli sprinkle for the carrot nose
– Red licorice rope for the mouth/smile
You can play around with other candies too.
Place these snowmen on a tray filled with sugar and some edible pearls (optional) and you are DONE!

Now go ahead and make these snowmen with your kids and have fun!
And that’s all for now. It’s been a pleasure guest-posting here… Thanks for the invite Toni ![]()
I hope all of you have a fantastic Christmas with loved ones!

Thanks for sharing such a fun idea, Abeer!
Christmas Wonderful continues! Come back tomorrow for another fun idea!





Suzie says
Love them! They look so easy to make too. I like the surprise in the cone also. Thanks for the tutorial!
john@kitchenriffs says
These are beyond cute. I really love the M&M surprise in the cone! So creative – terrific guest post. Thanks so much for sharing.