

Merry Christmas from Canada!
My name is Missy and I create over at Lookiewhatidid.

My family and I recently relocated from Dallas, Texas to Calgary, Alberta and will be spending our first “snowy” Christmas in Canada. I’m so happy to be a part of Design Dazzle’s “100 Wonderful Christmas Ideas”.
This year, I wanted our son to have an Advent calendar. After looking around to purchase one, I thought it would be more fun to make one. I was in the dollar store a while back and I saw a set of 12 small matchboxes for a $1.00. I instantly knew that these would be the starting point for my calendar. Here is the finished calendar, but let me show you how I made it.

Here is what you will need to create your own Matchbox Advent Calendar Board……
24″ x 24″ sheet of plywood
Paint
Scrapbook paper
Matchbooks (I got my at the Dollar Store, 12 for a $1.00)
Paper cutter and scorer
Velcro Dots
Scrapbook embellishments
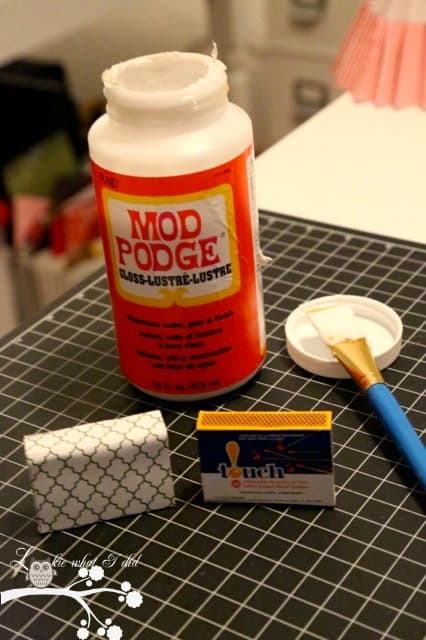
Mod Podge

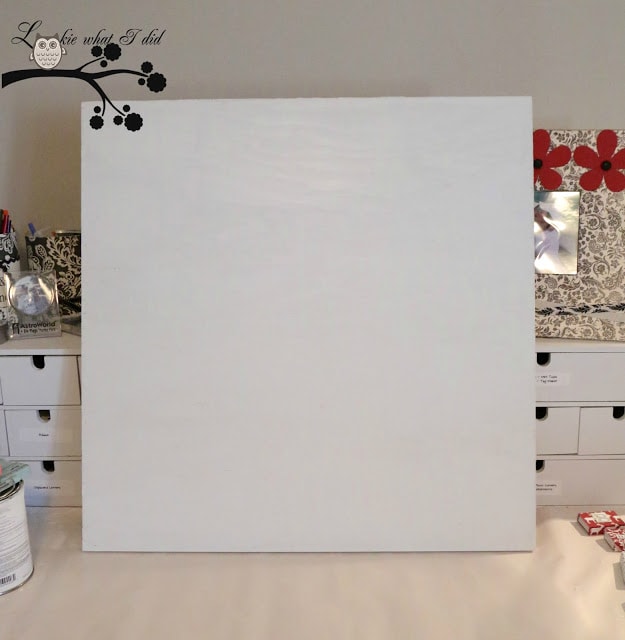
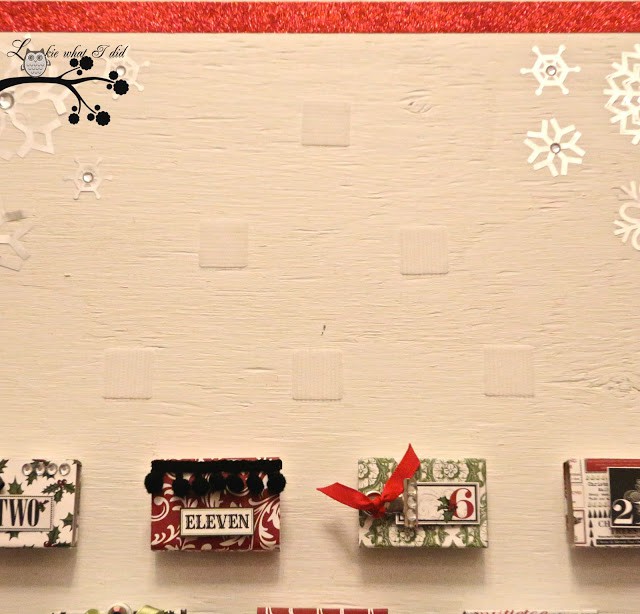
I first started by painting my board white. You can either use spray paint or regular paint. I had a can of white paint leftover from some furniture painting so I just used it.
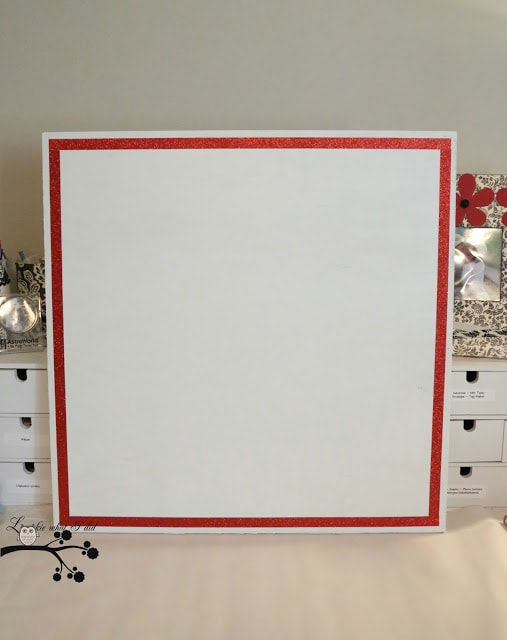
After it dried completely, I used some glitter craft tape in red to frame it out and give it some color.
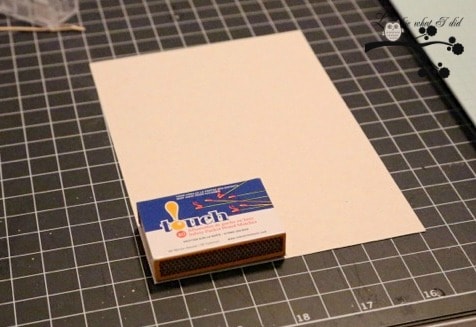
The first thing I did for the matchboxes was made a template out of a scrap piece of paper. Making a template will make cutting out all of the scrapbook paper so much easier.
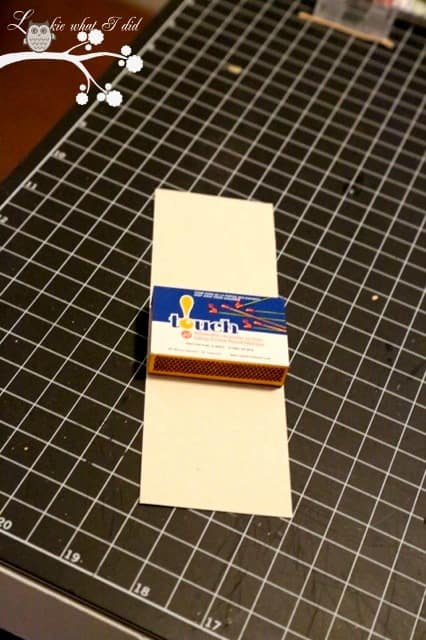
Next, measure your matchbox and draw the lines. This is important because the lines indicate where you will need to score the paper for folding. Scoring will make it easier to fold and give the lines a cleaner look. I have the Cutterpede Straight Edge Trimmer by EK Success. This trimmer has interchangeable blades that you can purchase.
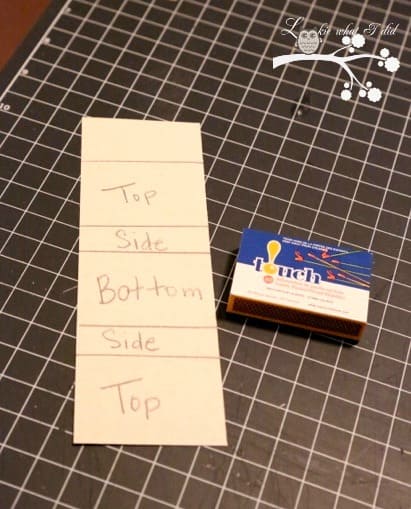
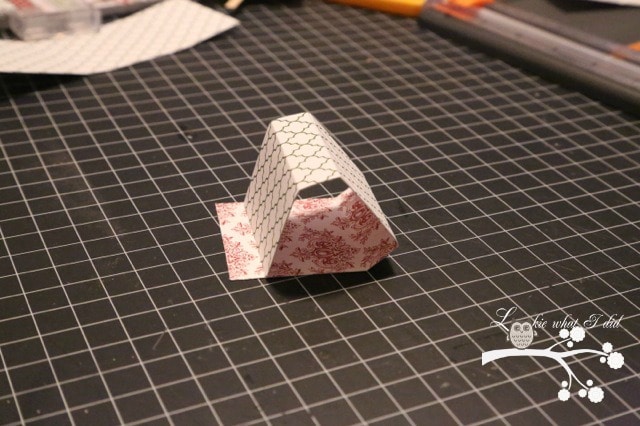
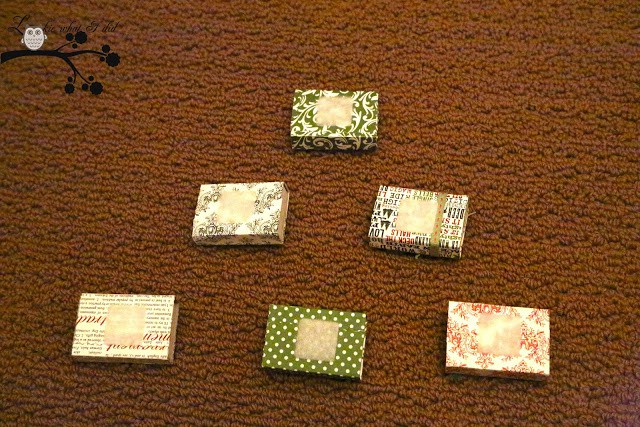
Taking my template, I then traced where to cut and score. This paper was double sided and so I was able to cover two matchboxes with one piece of paper.
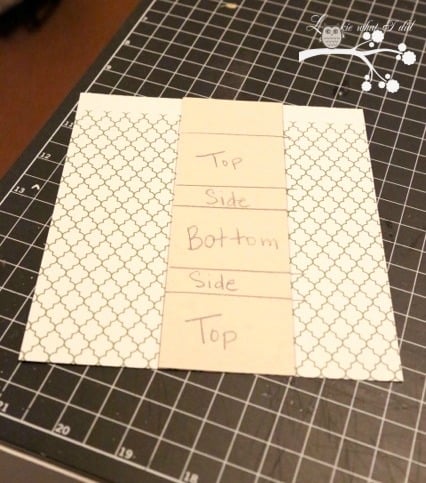
See the little lines I marked….these are the lines I’m going to score.
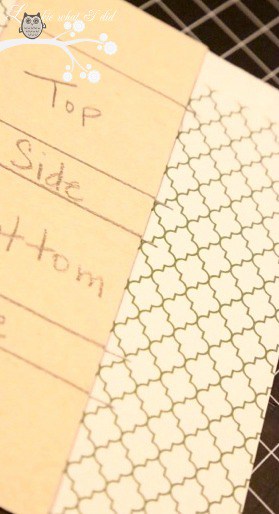
In the picture below, I am using the scoring blade. The scoring blade does not cut, it only indents the paper. It makes folding where you need lines a lot easier.
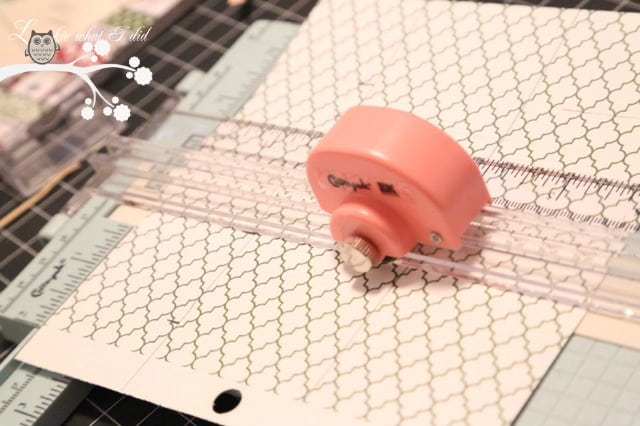
After I scored and cut it, this is what it looked like.
I then mod podged each strip onto the empty matchboxes.
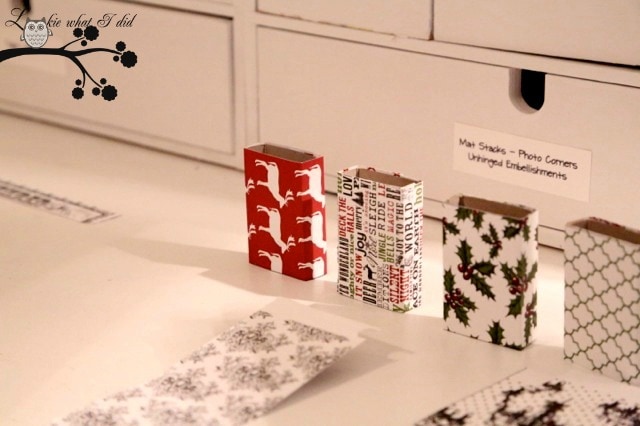
I formed an assembly line and covered all of the matchboxes before I started embellishing them.
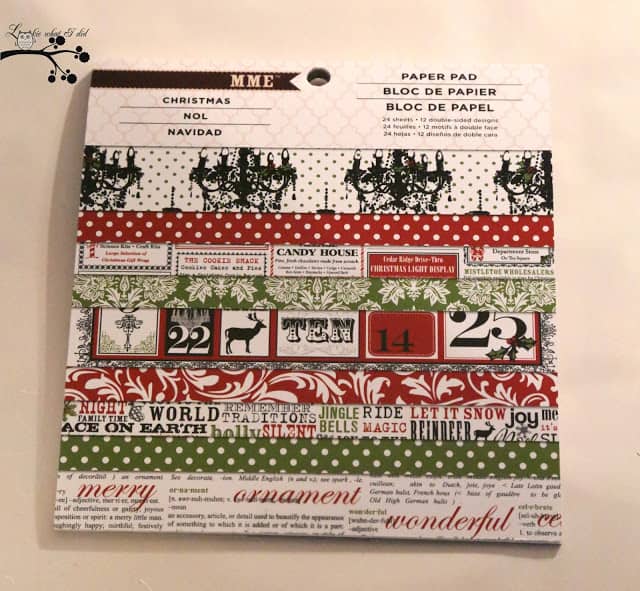
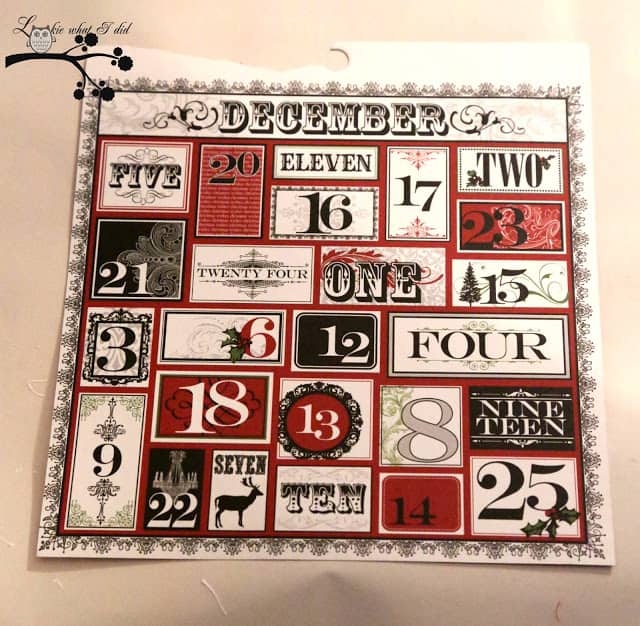
After all of the boxes were covered, I cut out the dates from the sheet that came with the scrap pad. I purchased this 6″ x 6″ scrapbook paper from Michael’s. It’s made by My Mind’s Eye.
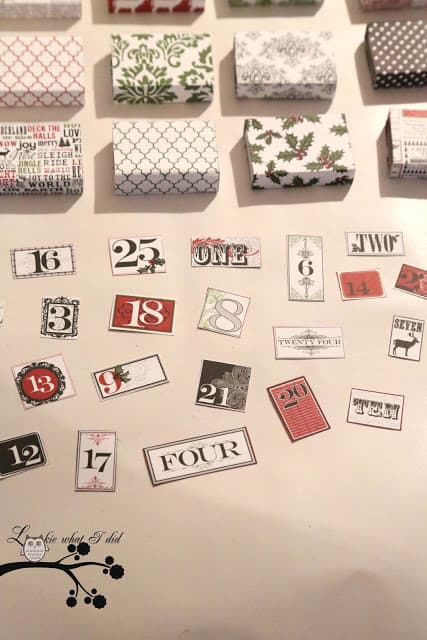
After all of the dates were cut out, I embellished all of the boxes with scrapbooking supplies I already had. Here is a close-up of all of the boxes and how each are embellished.
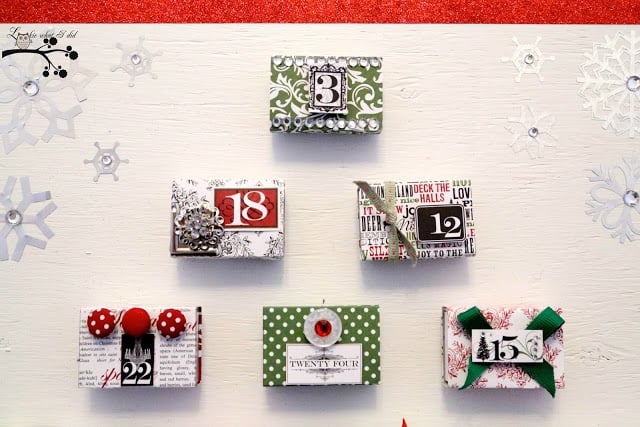

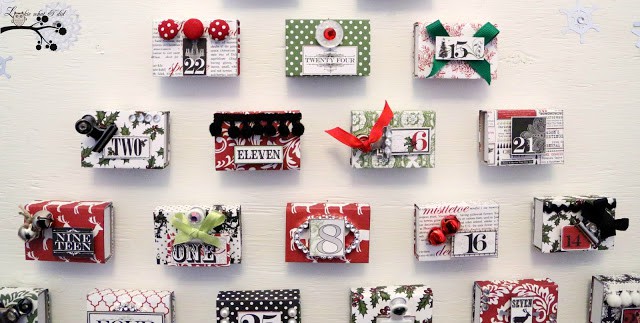
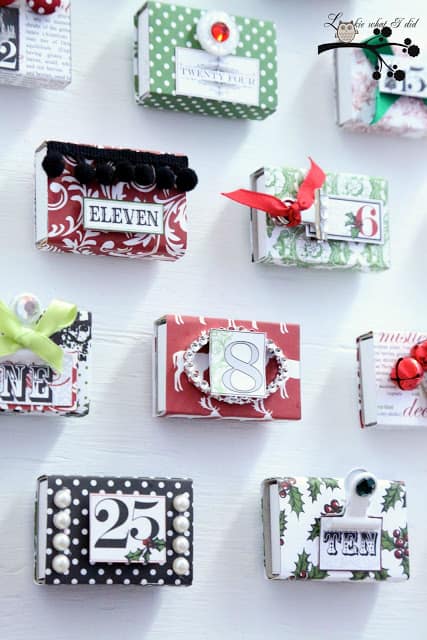
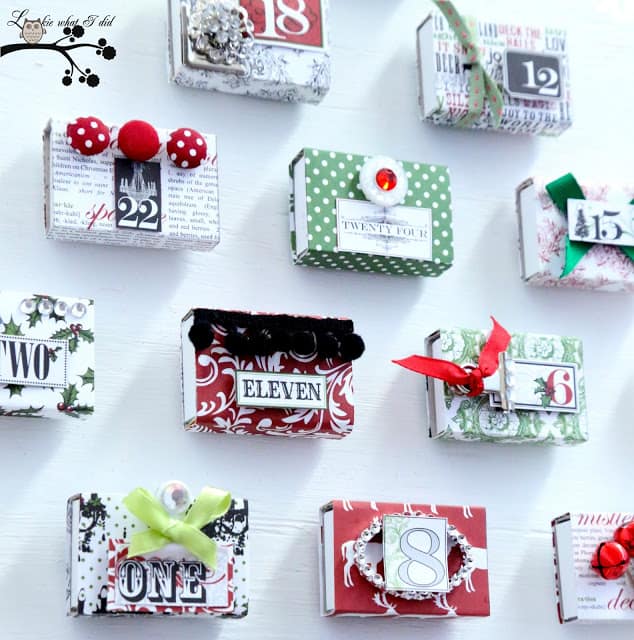
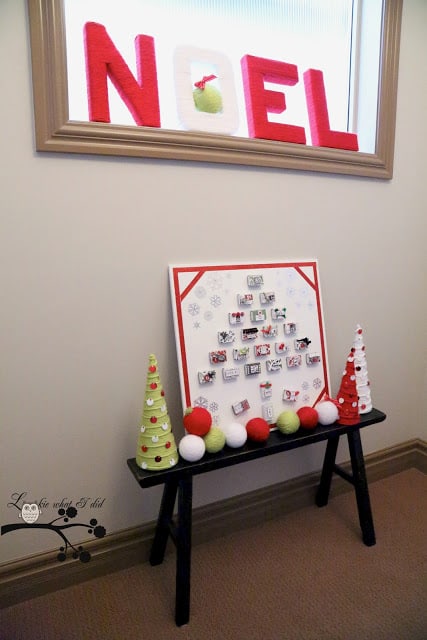
I thought the idea of forming a Christmas tree out of the matchboxes was a cute idea and I simply just started from the top and worked my way down. I used Velcro dots to hold the boxes in place on the board. Each morning, our son can get up and pull the box off and look inside. The Velcro also allows for him to play with the boxes and rearrange them if he would like.
Here are the back of the boxes…
When the tree was finished, I decided to add some silver snowflakes that I cut out with my Silhouette Cameo and used rhinestones in the center to make them pop.

I have the calendar on a small bench on one of the stair landings so it’s the perfect height for our son to open and see his goodies and treats.
Thanks for letting me share my Advent calendar with you. I wish each and every one of you a Very Merry Christmas and Happy New Year.
This has to be one of the most creative Advent Calendars I’ve ever seen! Thanks for sharing, Missy!
Come back tomorrow to see more Christmas Wonderful ideas!


Jeannine Scateni says
This is soooo adorable and really creative!
I am wondering though, what little trinkets did you manage to find and put in the tiny boxes, if you don’t mind sharing a few ideas?
Thank You
Toni - Design Dazzle says
Jeannine
Lookie What I Did created this cute Advent calendar. So not sure what she used – if anything. It just might be a cute countdown calendar. The only thing that would really fit inside would be little notes. Maybe bible verses, or anything related to Christmas.
Enjoy
Toni