


Hello Design Dazzle readers!
I’m excited to back again this year for another Christmas Wonderful series.
I’m Michele, and I create at The Scrap Shoppe.

I love to take unique twists on traditional crafts and make them my own.
And while I’m doing that, I figure I’ll show you step-by-step how to do it, too!
So all of my projects come with full tutorials so that we can all create together.
This year I want to share a simple little treat that can either be made for your little ones as a special Christmas treat, or you can let them be hands on with this project as these would also make great Christmas teacher gifts!
My boys love helping out, especially in the kitchen, so they would love to give their teacher’s something they helped make for the holidays!
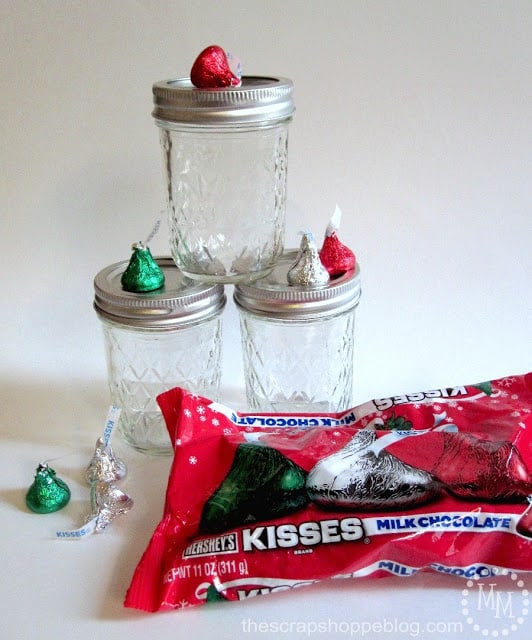
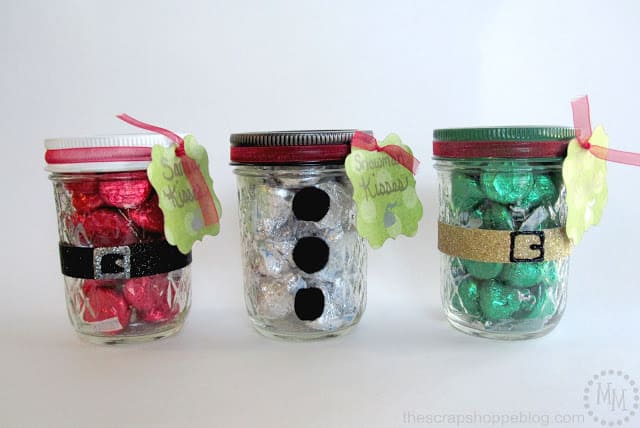
For these Christmas Kisses Treat Jars we’ll need two main ingredients:
3 jars and Christmas Hershey Kisses (2 bags).
I like the quilted Mason jars for this project, but you could also use smooth Mason jars.
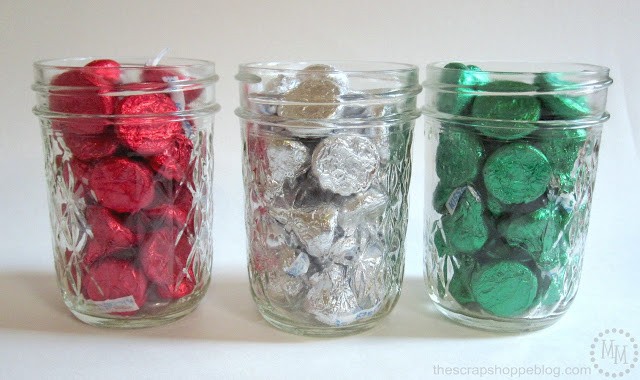
Divide the Hershey Kisses by color then place each color in a jar.
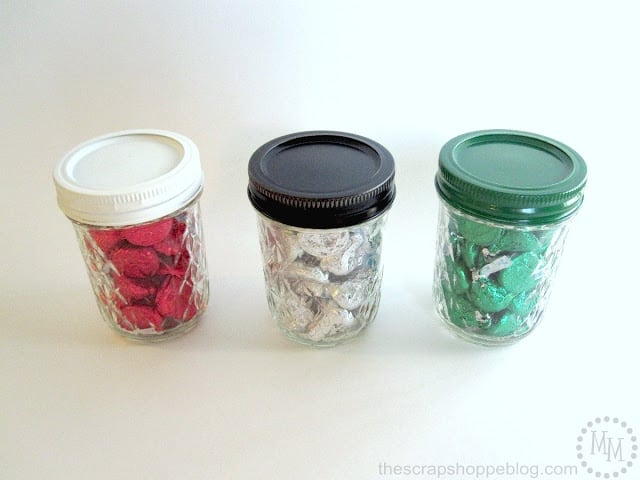
Spray paint one lid white, one black, and one green.
Once dry, replace the lids on the jars.
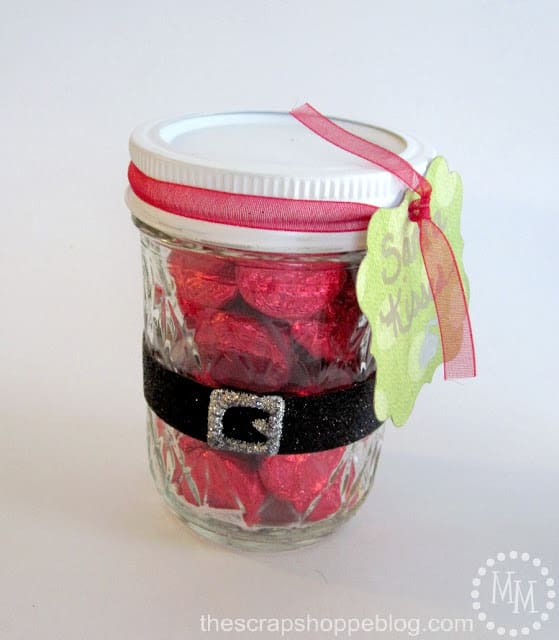
Match the white lid with the red Hershey Kisses, the black lid with the silver, and the green lid with the green.
The red Hershey Kisses are meant to represent Santa Claus, and the green a Christmas elf.
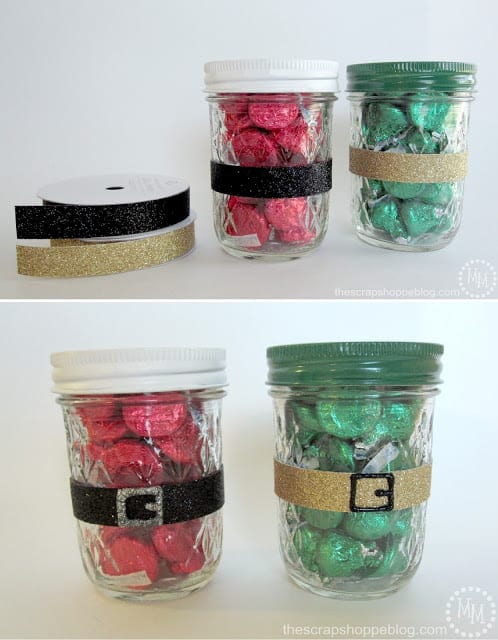
They both would typically wear belts, so wrap glitter ribbon around each jar and glue it in place.
I used black for Santa and gold for the elf.
Once secure, use glitter glue to draw a belt buckle on the ribbon.
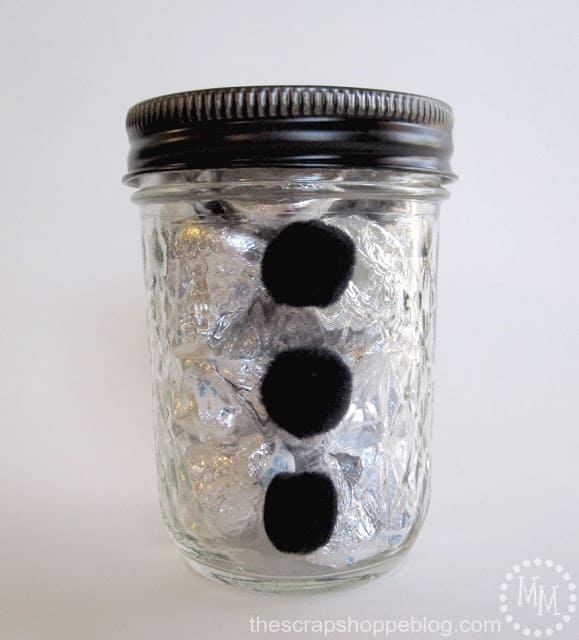
The silver Hershey Kisses with the black lid is our snowman.
Glue 3 black pom poms down the front of the jar to represent a snowman’s coal buttons.
Make 3 little tags and label them Santa Kisses, Snowman Kisses, and Elf Kisses
and tie them on with some ribbon.
You can write the child’s name on the back of the tag.
Or, if they are helping make them for their teachers, write the teacher’s name on the back.
Quick, simple, festive, and cute!!
Thank you so much for having me over today, Toni!
I would love to have you all visit me at The Scrap Shoppe sometime soon.


Cute and delicious! Thanks for sharing, Michele!
Christmas Wonderful runs until mid-December. Check back for more great ideas like this one. 🙂


Suzi @ chores and chandeliers says
Adorable!
Beverly {Flamingo Toes} says
Oh my goodness, these are the cutest!! I love them! That glitter ribbon is just perfect. 🙂
Marisa says
Those are sooo cute. What a great idea.
donna says
These are way too cute. I can think of 10 people to give them too and that is just getting me started. Thank you.
heather says
What a fun idea! I stumbled across this on Pinterest and am almost done with a couple of sets, with the exception of the Santa and elf “belts”. I need to find some sparkly ribbon still! Thanks for the inspiration!!!
Sandra says
Totally didn’t work, the spray paint, although having used high quality paint, scrapes off when you screw the lid on, who wants paint chips in their chocolate.