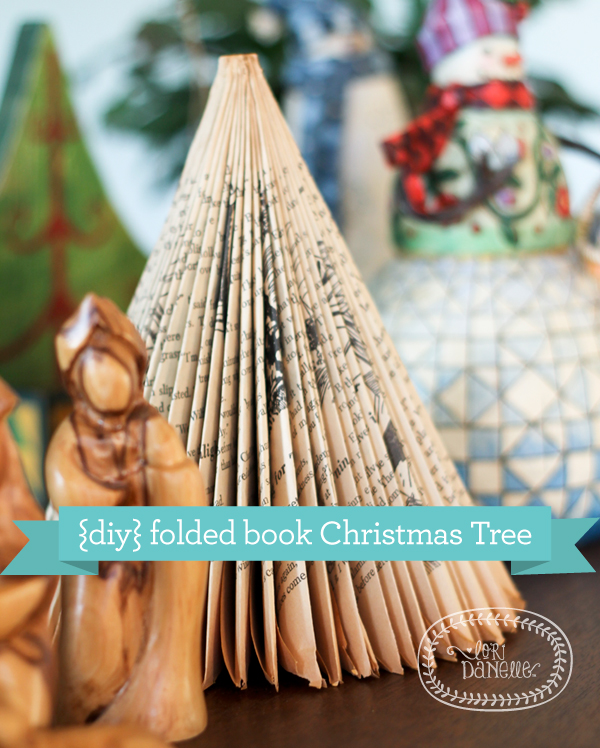
Merry Christmas Design Dazzle readers! I’m Lori Danelle, Paper Cut artist & Maker of Things. When I’m not hand-cutting illustrations or my clients fingerprints out of a single sheet of paper, I’m making something. I love taking something that someone has deemed worthless, and breathing new life into it and creating something beautiful.

When Christmas rolls around I am so excited to decorate. My goal is to turn my house into a Winter Wonderland from Thanksgiving to New Year’s Day. Unfortunately, I’m not there yet. So crafts that are easy, don’t cost a fortune and that my young girls can help me with always rank pretty high on my quest to cover every square inch of my house with Christmas magic. Taking old books and turning them into folded book Christmas Trees is the perfect fun & flexible holiday craft.
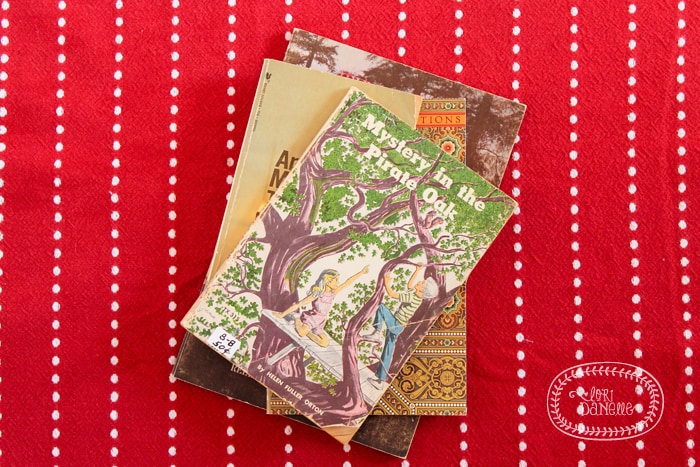
If your own bookshelf can’t provide, thrift stores and antique stores will furnish you with all the books you could ever need, but would never want to actually read! The antique store I frequent even had a section of 50¢ books which is ideal for this craft. I picked up a handful for well under $5, allowing me to cheaply create a forest of Christmas Trees instead of just a couple. Look for books with at least 120+ pages (front & back) as you’ll need about 60 pages (single sheets) for each tree. If the book is well over 120 pages you can use the extra to create another tree.


To start, carefully, but firmly remove the cover of the cover of the book from the pages.
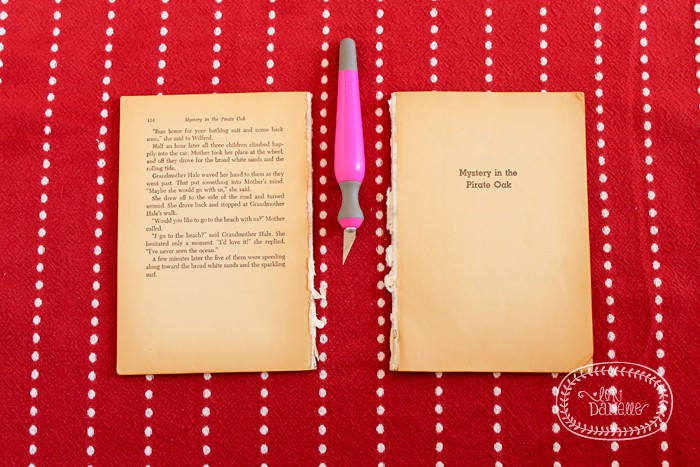
Count out 30 page sections and using an X-ACTO knife, carefully cut the section away from the rest of the book resulting in 2 sections.
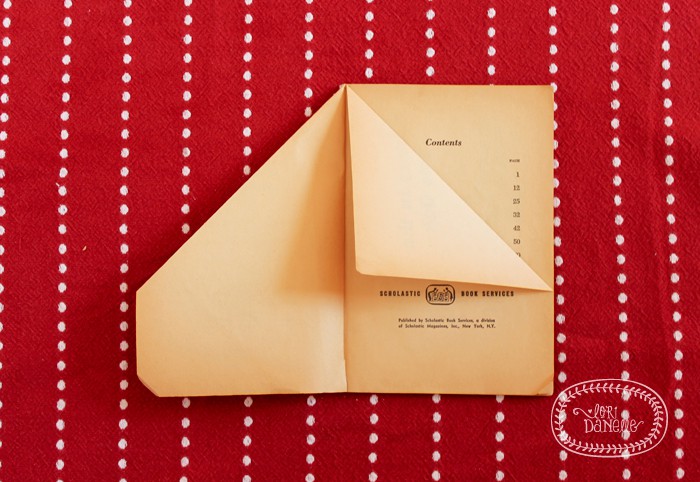

Fold all the pages so that the top right corner meets the middle or gutter of the book. I find it easiest to go ahead and do the entire section before moving on to the next fold. Do not worry about getting the folds perfectly flat as the folds are what give the tree its fullness.
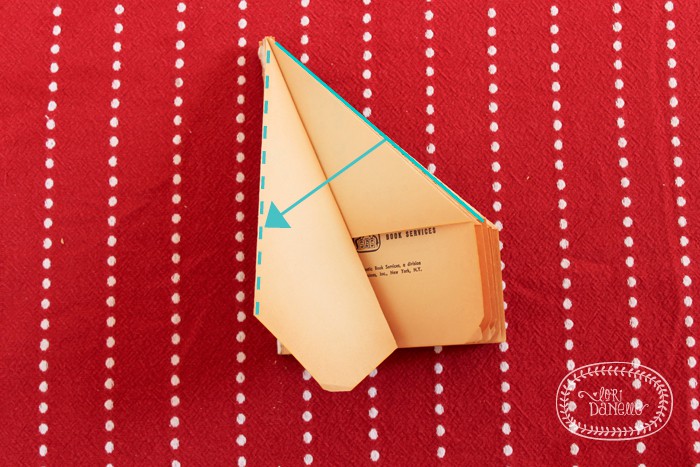
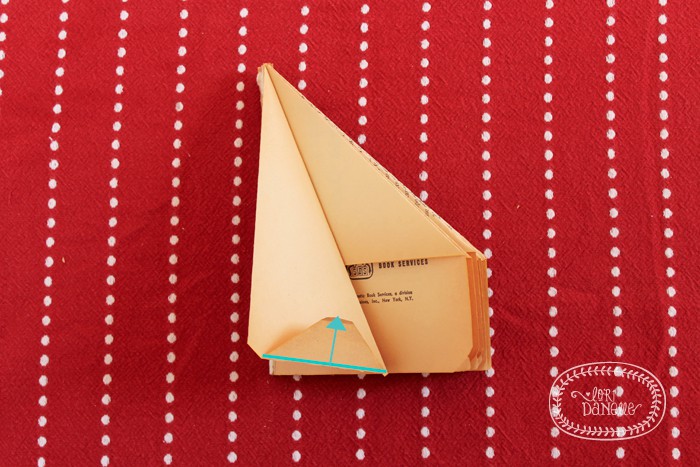
Now go through again and the outside diagonal egde into the center fold, as shown. Then fold the overhanging portion at the bottom and fold it up. Do this for the entire section.Once completed, do the same folding steps for the other section.
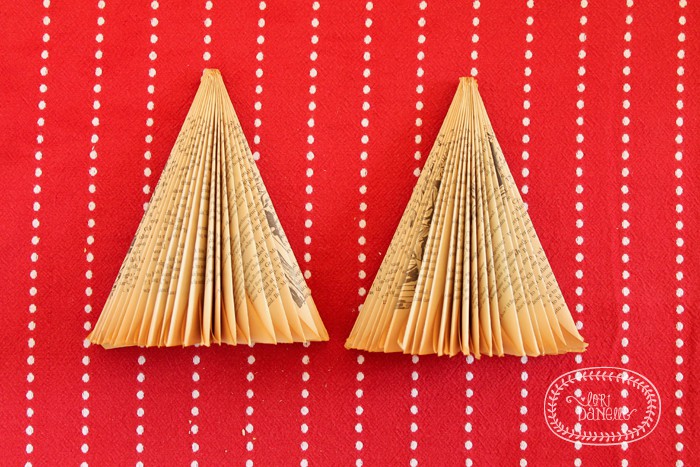
Using craft or paper glue, glue the two sections together, let dry, and. . . .
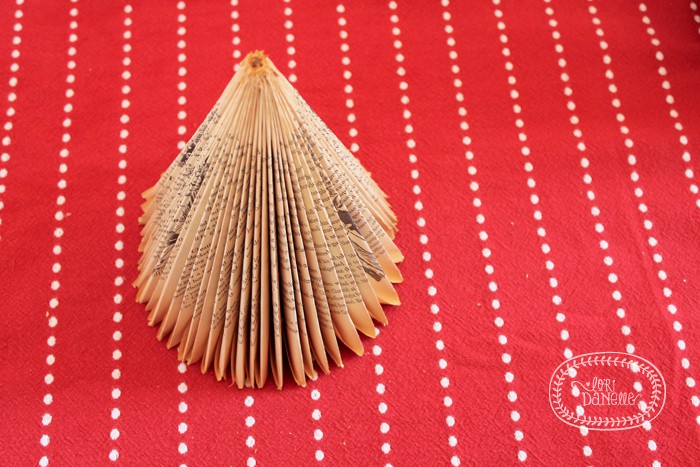
Ta-Dah!!!! A beautiful Christmas Tree!! Keep it simple and make just one or create another 10 using various sizes of books to create an instant Christmas Tree forest.
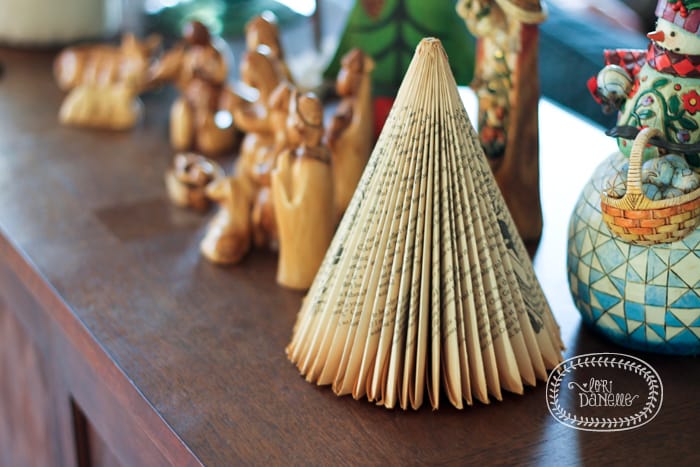
I hope you enjoy making these Christmas Trees. . . they’re a little addicting!
Stop by and visit me at LoriDanelle.com or Facebook for more projects!!!
xoxo Lori Danelle






deebi27 says
What a great use on something old, ah I mean new, ah I mean fabulous idea. I wish I could get a pre-k class to work long enough to make some of these for the "Holiday" display!
Bisani says
I've gone through the whole post and found it very informative exactly upon my liking, Thanks a lot for this wonderful post i will come again soon..Click here to check Latest Mobile Price