
Christmas is one of my favorite times of the year and I love decorating my house for the holiday, especially my Christmas tree with each of my artwork ornaments that tells a different story.
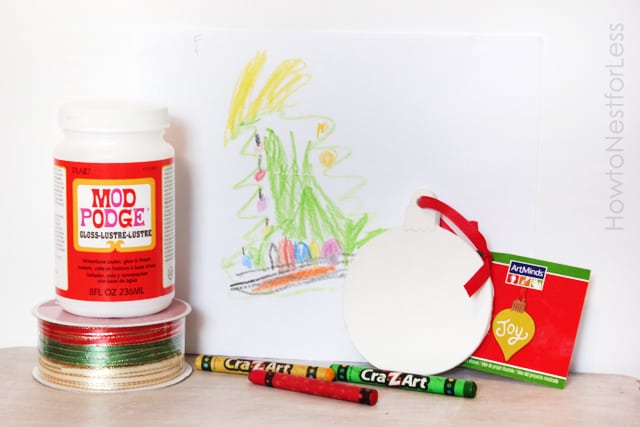 First I gathered my supplies:
- 1 piece of printer paper
- Crayons
- 1 clay ornament from Michaels (for only 69¢)
- Ribbon
- Mod Podge and brush
- Scissors
- Red, green and white paint
- Pencil
- Scanner (optional)
To start I had my daughter draw a Christmas picture on a piece of normal laser paper. I tried to keep her to a certain size so it would fit on the ornament… but she’s 4 and has a mind of her own! So instead I scanned the artwork and reprinted it out to fit perfectly on the clay ornament.
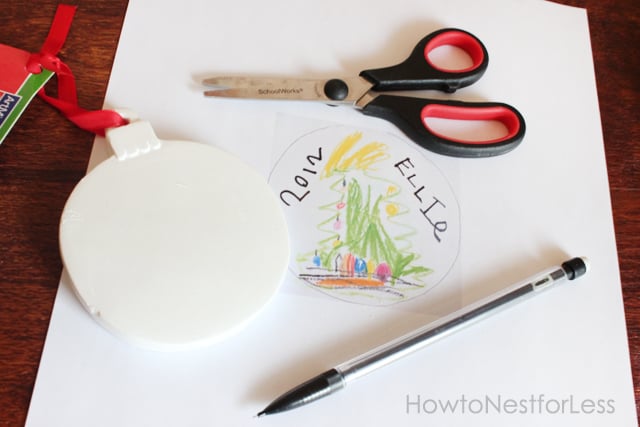
Next I traced around the drawing to the shape of the ornament. I had my daughter write her name and the year within the space.
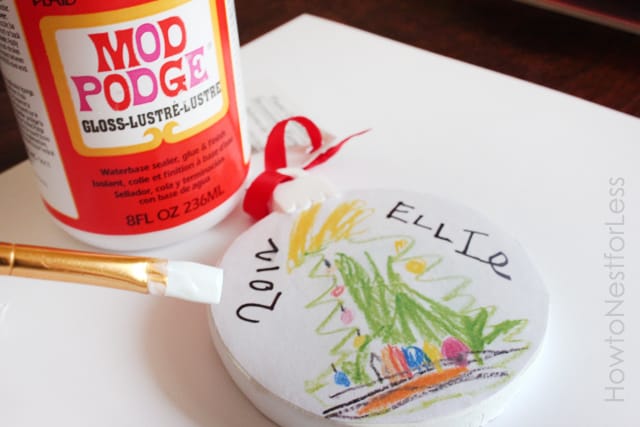
I trimmed out the drawing with scissors and used Mod Podge to adhere it to the clay ornament. I put a little underneath the drawing and then additional layers on top and around the edge.
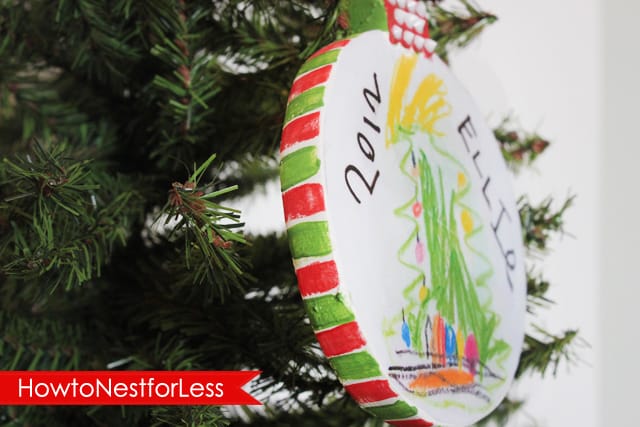
Next I painted the edges of the ornament with green and red paint to add a little pizzazz. I also added some Christmas colored ribbon to hang on our tree. And that’s it!
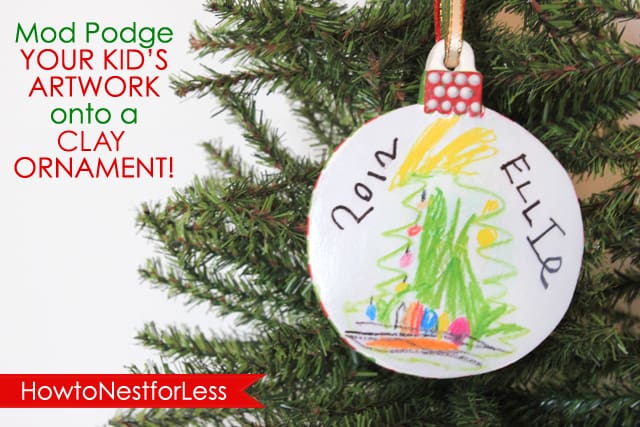
An adorable Christmas ornament with your kiddo’s artwork that will be cherished for years to come. These also make wonderful gifts for family and friends!
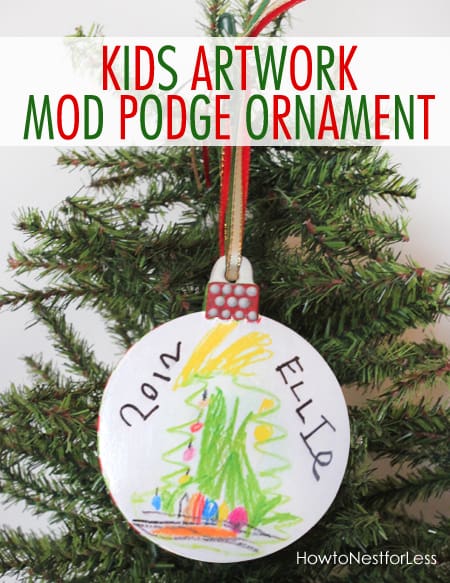
GOOD LUCK IN MAKING YOUR KID ART CHRISTMAS ORNAMENTS!
please visit my blog How to Nest for Less.
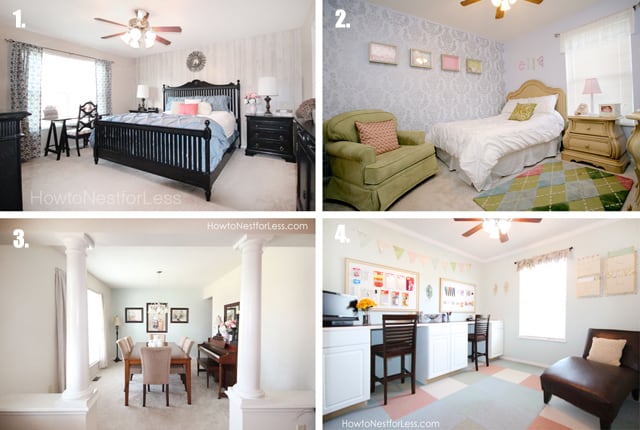
2. Daughter’s Stenciled Bedroom
3. Dining Room Mini Makeover
4. Craft Room Makeover

How to Nest for Less






Jessica Kielman says
How adorable! I am sooo doing this with Kate!
Bisani says
I've gone through the whole post and found it very informative exactly upon my liking, Thanks a lot for this wonderful post i will come again soon..Nokia, Samsung, HTC, Iphone, Blackberry, LG Mobile Prices