

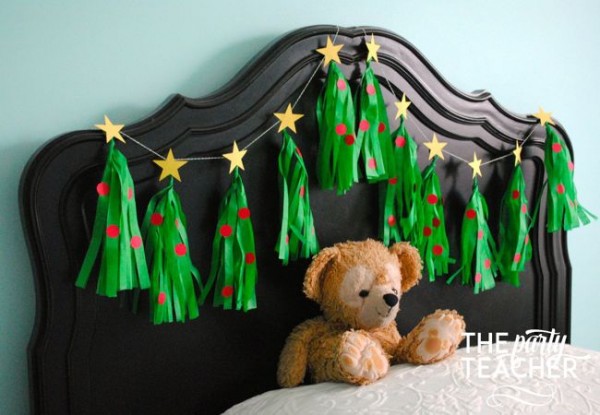
Hi! I’m Jennifer from The Party Teacher, where I teach moms how to party like a pro. I’m thrilled to be back to Design Dazzle, sharing my Christmas Tree Tissue Tassel Garland! I love tissue garlands, but I’d never made one before. It is really so much easier and faster than I thought it would be!
(This is one of those projects that looks like it has a lot of steps, but I promise: try this once, and you’ll speed through the rest.)
Now, if you need to minimize your holiday season DIY, by all means: buy a tissue garland and then skip to my instructions about how to embellish it.
Supplies
- Tissue paper — you’ll get four tassel garlands out of one sheet of tissue paper
- Scissors or craft knife and self-healing mat
- Ruler
- Optional: hot glue gun
- Baker’s twine
- Yellow scrapbooking cardstock
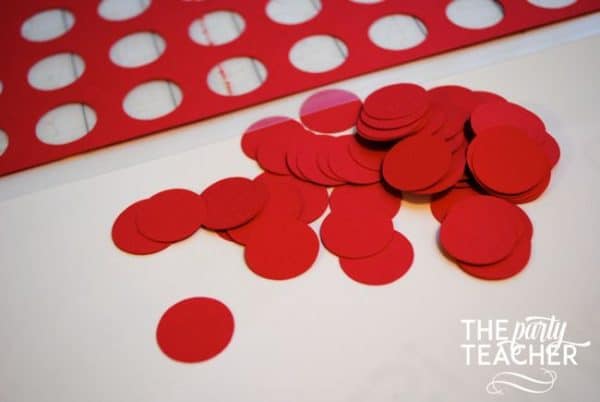
- Red scrapbooking cardstock
- Pop-up glue dots
- Glue stick
- Star and circle punches or Silhouette Cameo
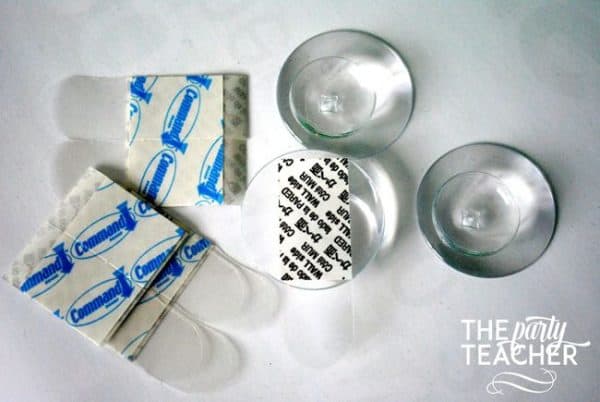
- Command Strip Party Banner Anchors
Instructions
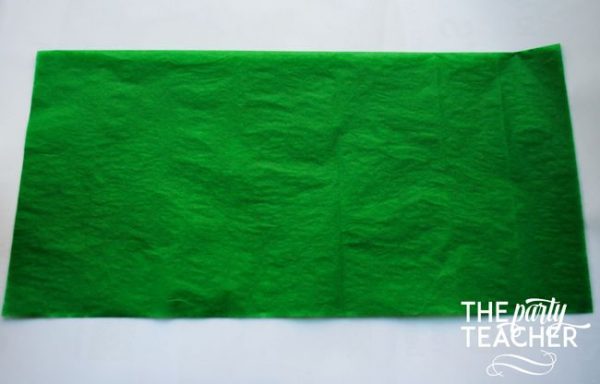
1 – Unfold your tissue paper flat so it’s laying horizontally. (Did you know you can iron tissue paper? Keep your iron on the lowest setting, iron several sheets at a time, and move quickly so you don’t burn the paper.)
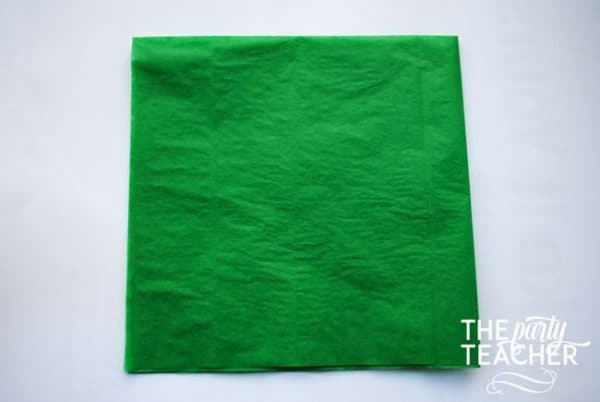
2 – Fold the paper right to left to form a square.
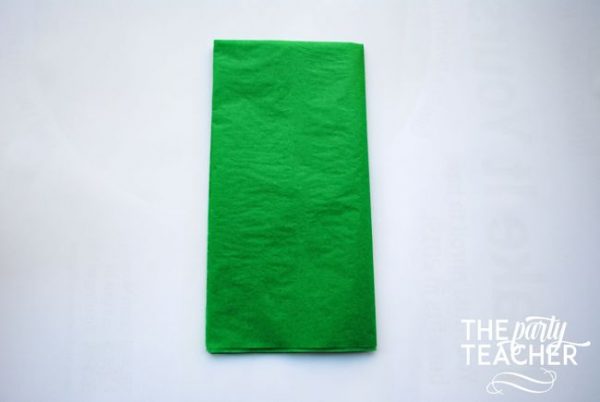
3 – Fold the paper right to left again to form a rectangle.
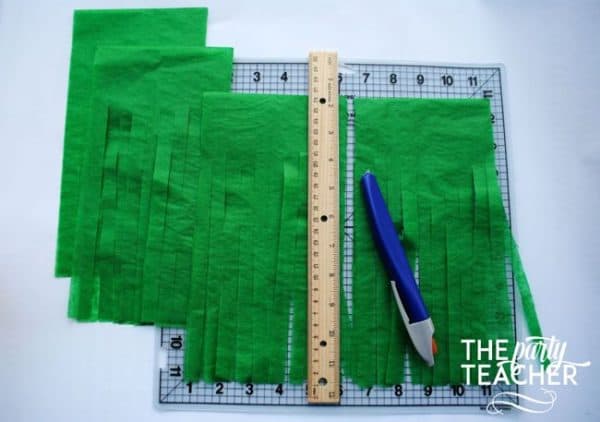
4 – With the fold at the top and the open edges at the bottom, place your ruler about ¼ inch in from one side of the tissue paper. Allow 2 inches from the top of the fold, and then start slicing ¼ inch strips.

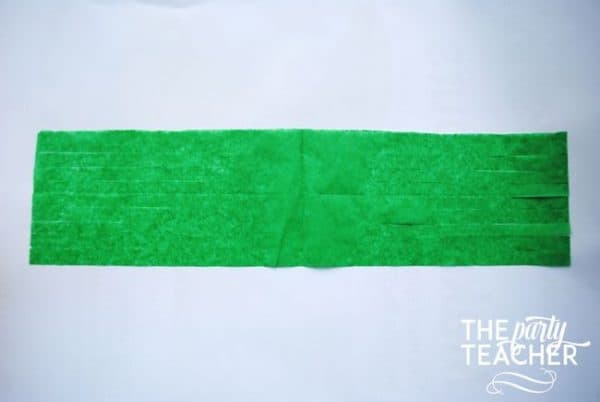
5 – Open up your tissue paper where you folded it in half. You should have two rectangular sections and one square section. Put the ruler in the center of the square and slice it in half.
6 – Unfold one section all the way.
7 – Roll up the tissue paper, so the roll is about the size of a straw.
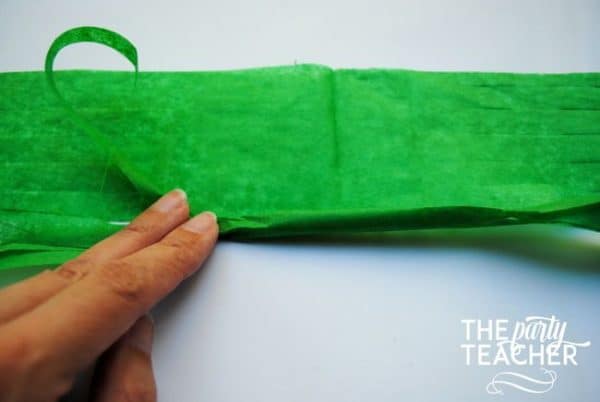
8 – Tightly twist the rolled portion of your tissue paper.

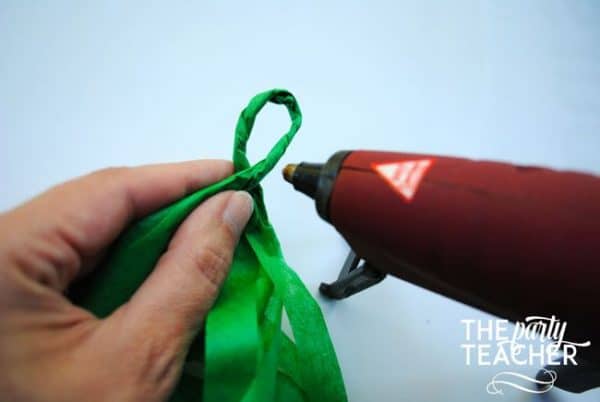
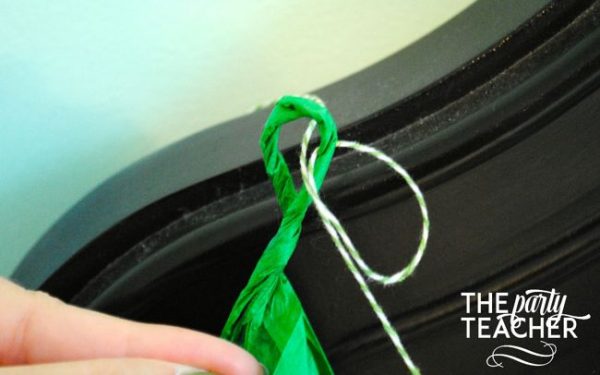
9 – Make a loop with the twisted section. You may want to secure it with a drop of hot glue. Either way, twist the loop several times to secure it.

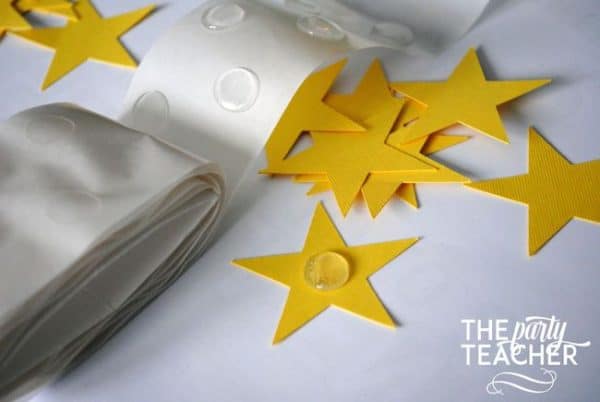
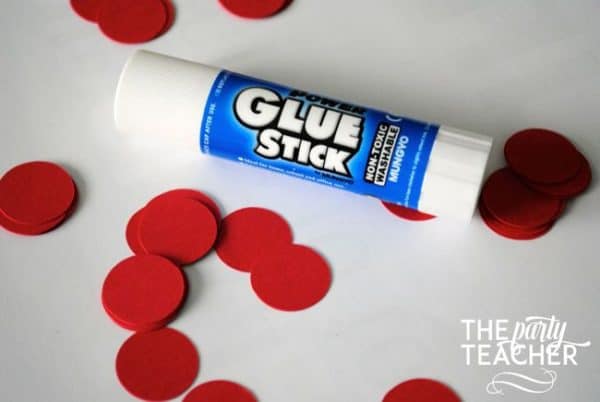
10 – At this point, you’ve made tissue garlands — go you!! If you want to take your garlands to the next level, cut or punch out 2 inch stars and .7 inch circles (ornaments).

11 -Place your Command Strip Party Banner Anchors where you want the banner to hang. I positioned three behind my daughter’s headboard. (Just follow the package directions to prep — and later to remove — the anchors.)
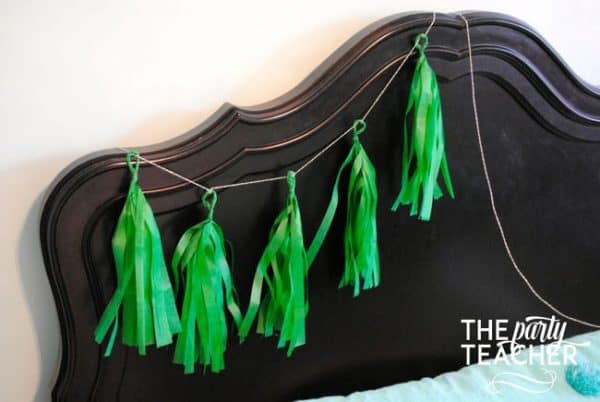
12 – Drape your baker’s twine in the place you want to hang your garland. (I wanted to hang mine from my daughter’s headboard to dress up her room for Christmas.) This will tell you how long to cut your garland.
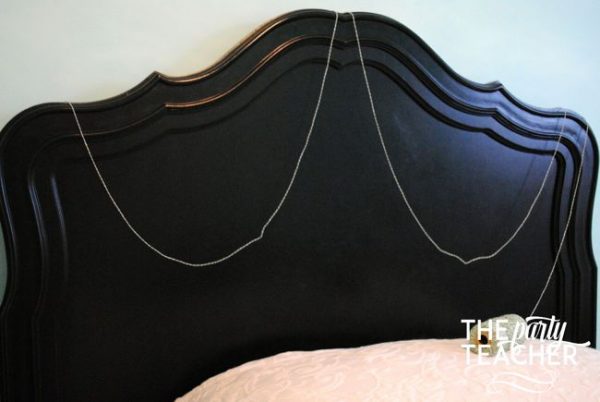
13 – Twist the twine around the first anchor and then start to add your tissue tassels. I did a double loop of baker’s twine so the tassels wouldn’t slide around.
14 – Once all the tassels are hung, add a pop-up glue dot to the backs of your stars, and position those over the tissue loop. (Make sure to not press the glue dots against the headboard.)
15 – Attach the ornaments to the tissue tassel Christmas trees with glue stick.
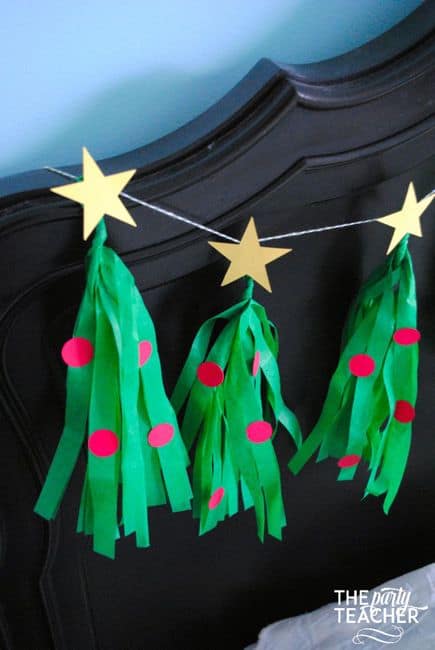
And here is your finished Christmas Tree Tissue Tassel Garland!

If you’re ready to make your next birthday party easy, pop over to The Party Teacher and pick up my free Birthday Party Planning Cheat Sheets!
Thanks for having me, Toni!!
XOXO,
Jennifer


RM, Home Confetti says
Love this! What a great spin on the tissue tassle!
Toni - Design Dazzle says
Yes, it is super cute!!